This re-build was completed back in 2014, and is now being enjoyed by her now owners.
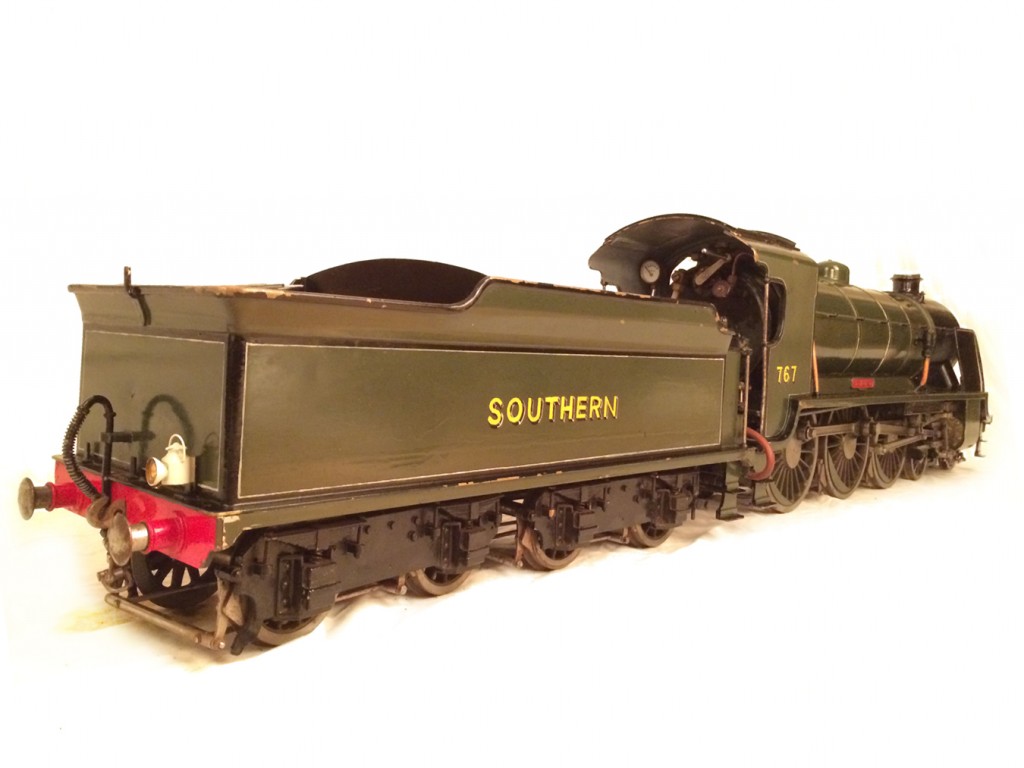
Here we have a portfolio to follow the re-building and re-paint of a nice little 3 1/2" Southern King Arthur N15. The model it's self suffered a weaping stay during it's last hydraulic test, and it became apparant that it wasn't going to be possible to caulk the issue with comsol. The decision was taken to fully strip the model back, primarily to re-stay the boiler, but as the paint was a little on the tired side, it was decided to repaint the whole thing at the same time. You can follow the progress on this page, and updates will be added as we go.
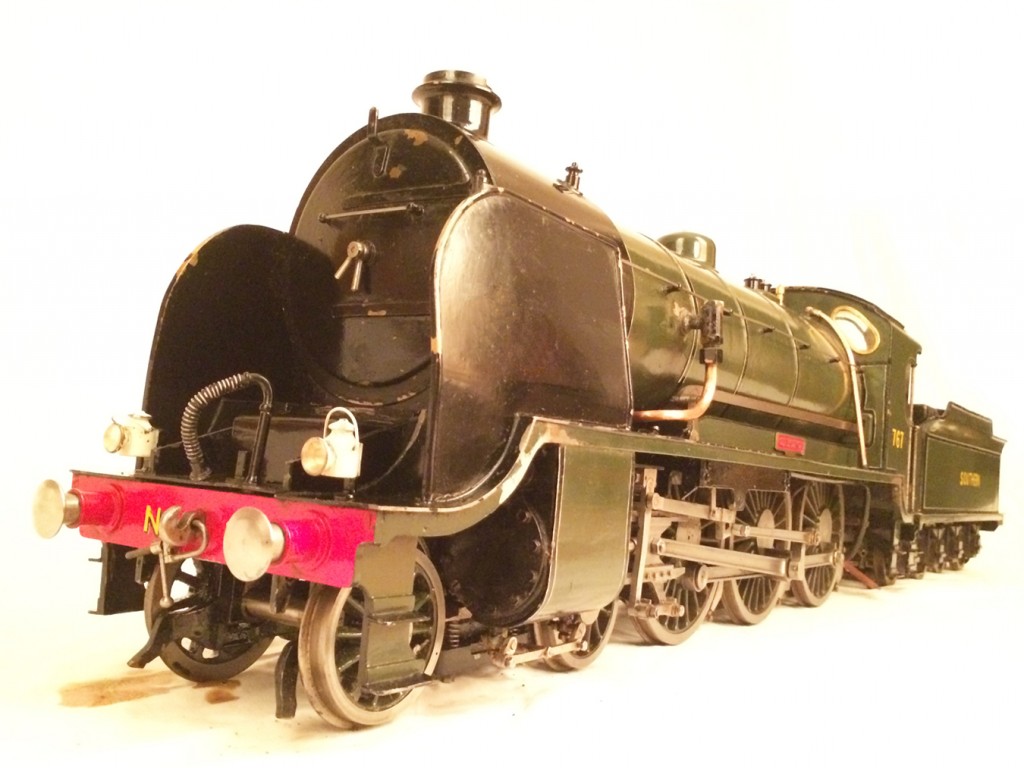
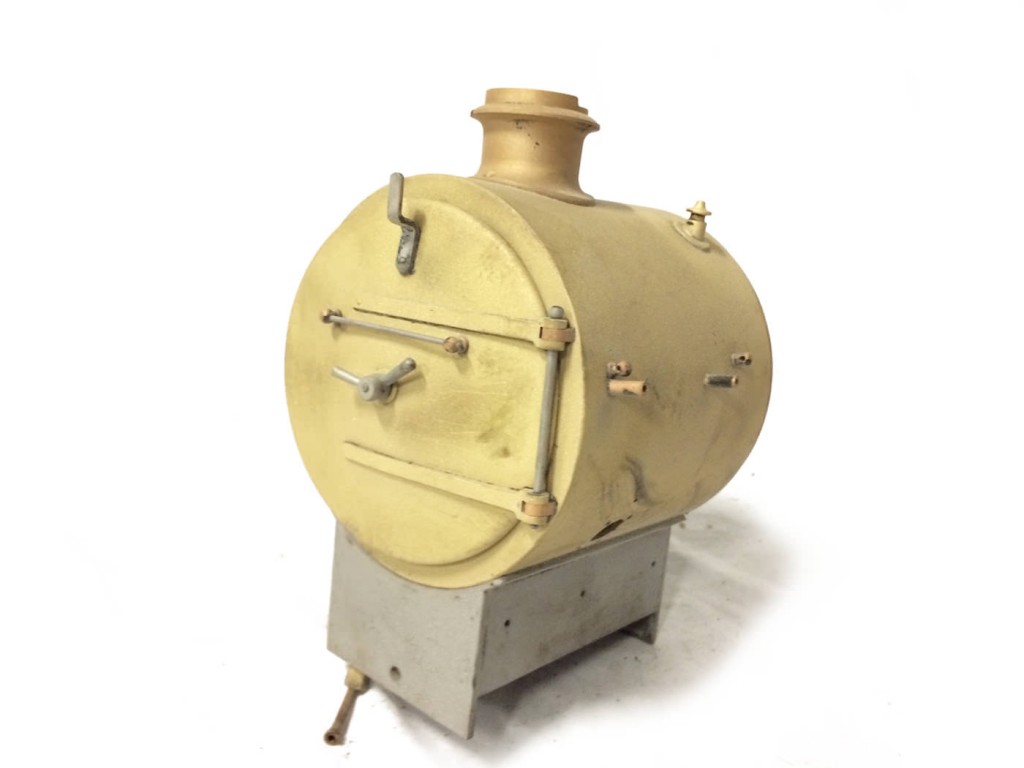
This is how the model started.
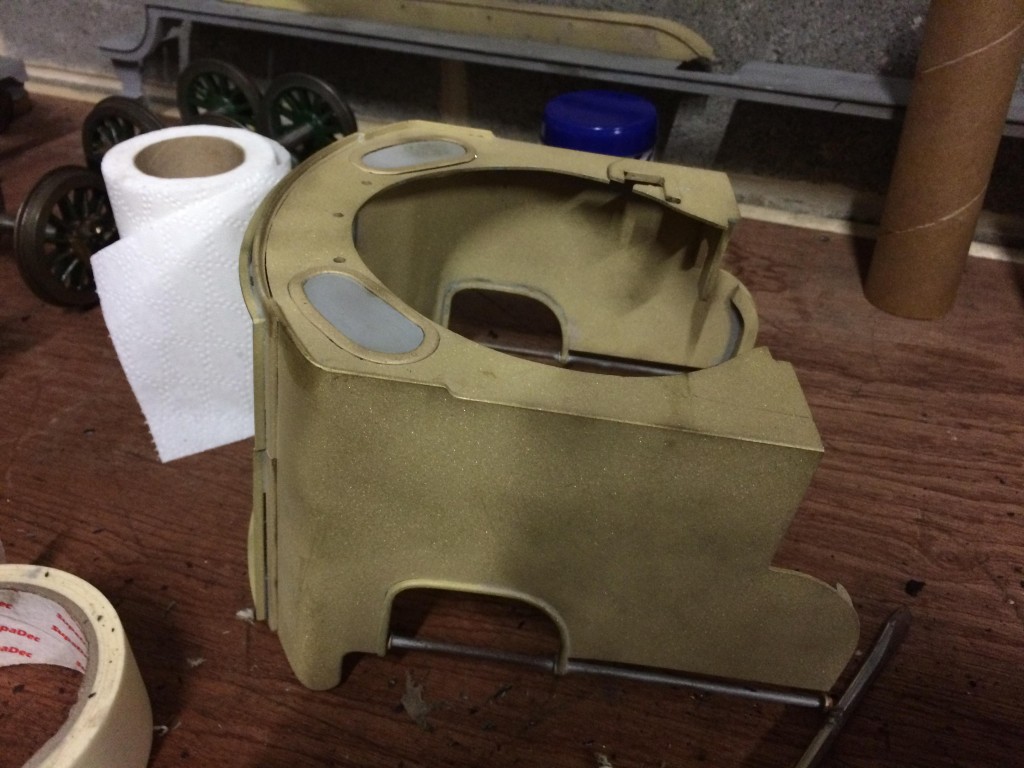
The first stage is always to strip the locomotive down to however many bits makes sense to start the paint stripping process. We will rarely just flat back an existing paint job in order to paint on top, as you can just find yourself fighting contamination or incompatibility issues further down the line. Time wise, it just makes more sense to start a fresh paint job from a clean, beet blasted and etch primed surface. So paint strip first......
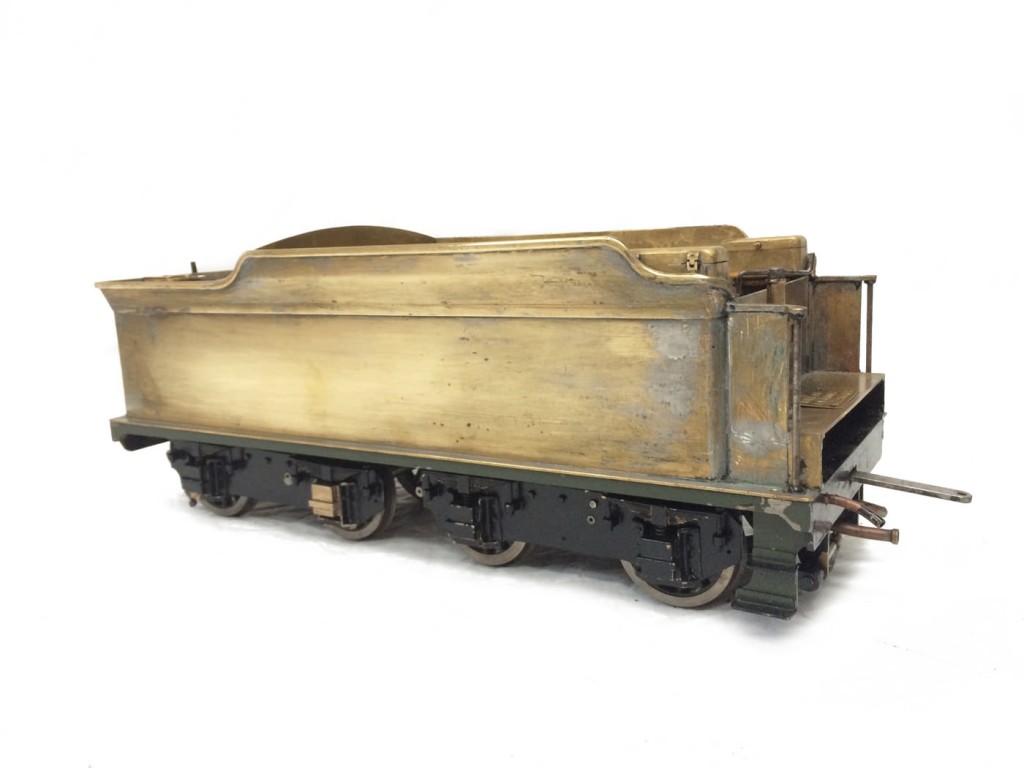
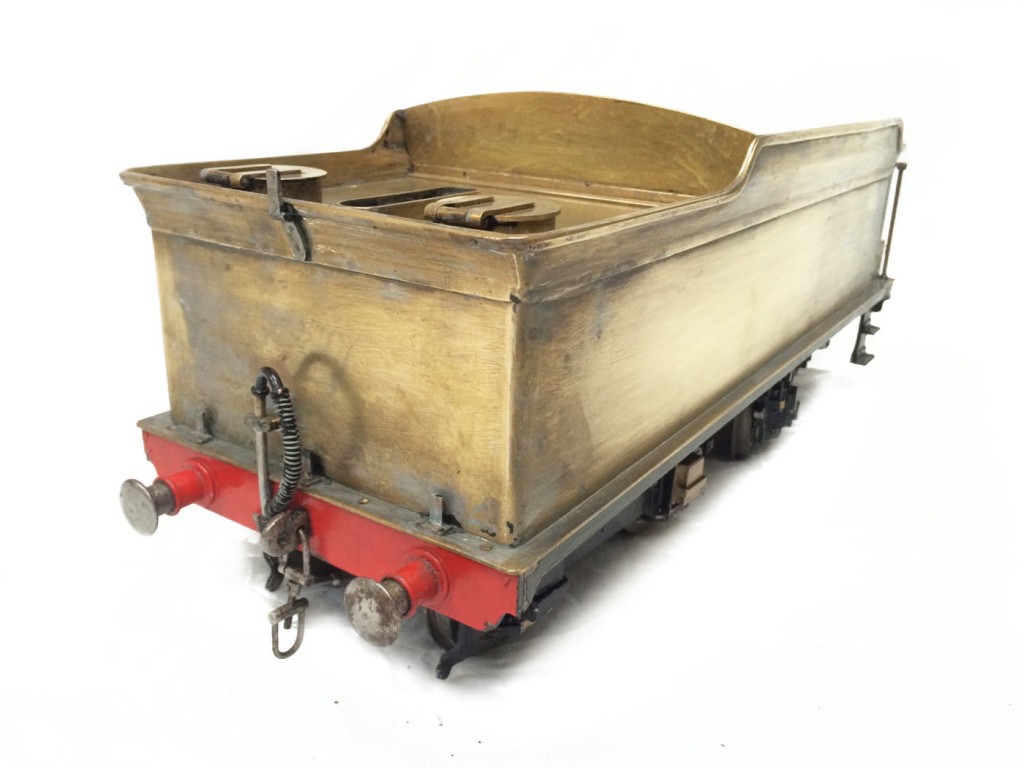
........followed by a spell in the bead blast cabinet to prepare the surfaces.
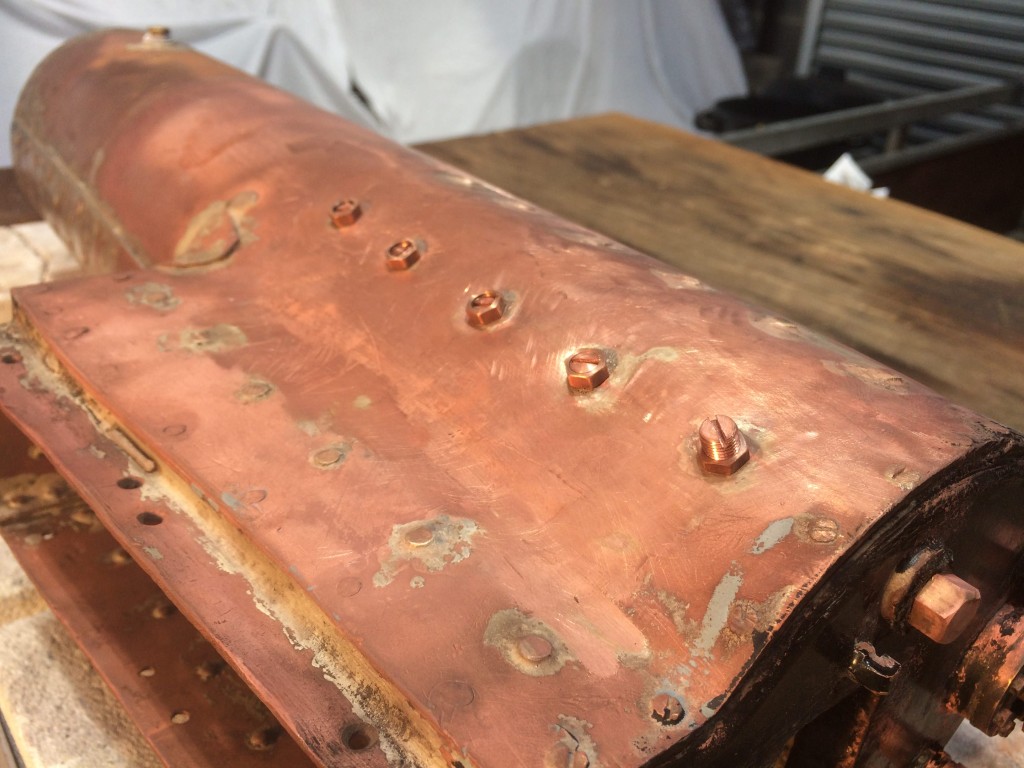
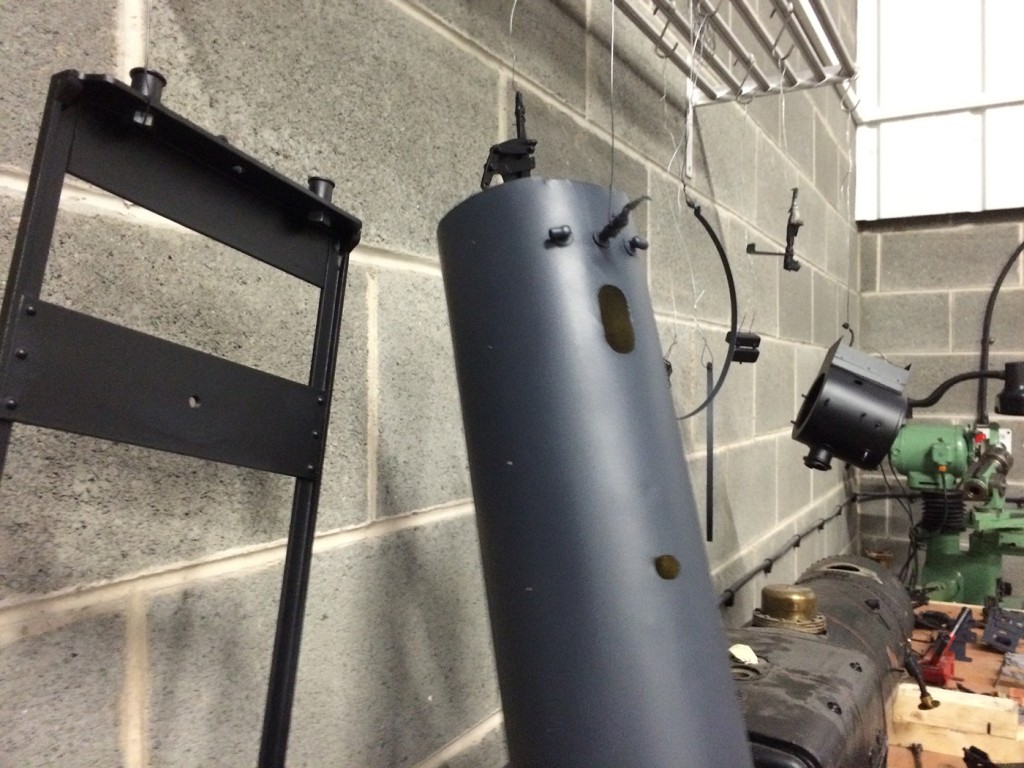
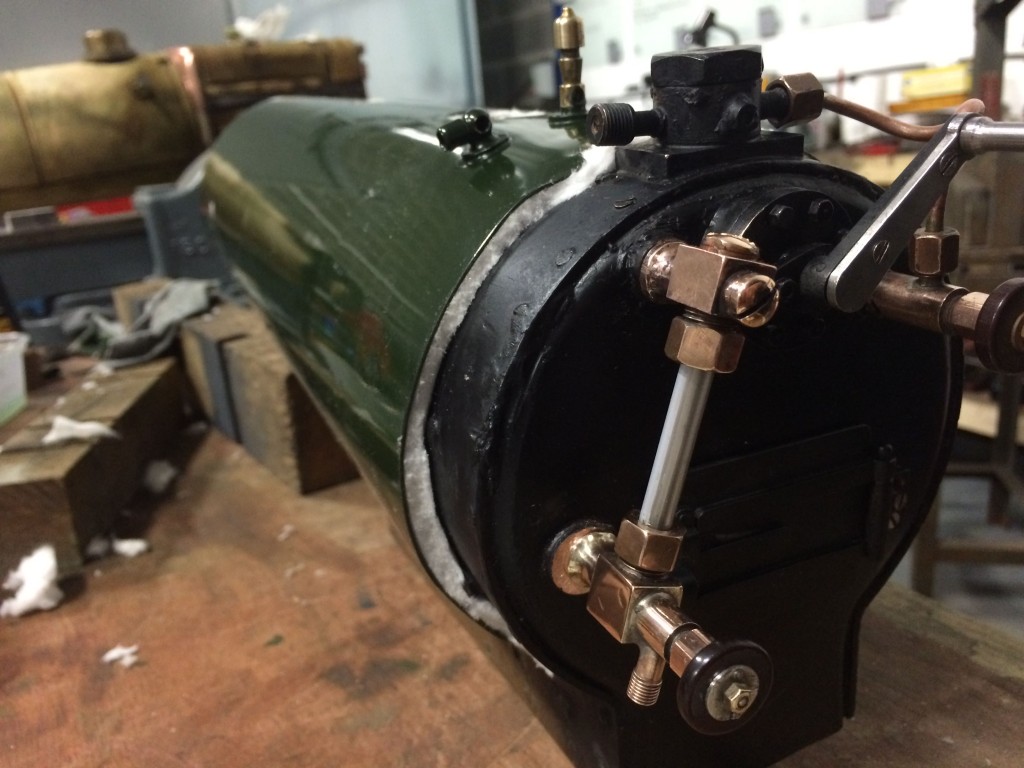
At the same time as the body work was being stripped and beadblasted, the boiler went on the milling machine to have the offending stays milled out and removed. The stay holes have then been enlarged a little and tapped to take heavier and stronger stays.
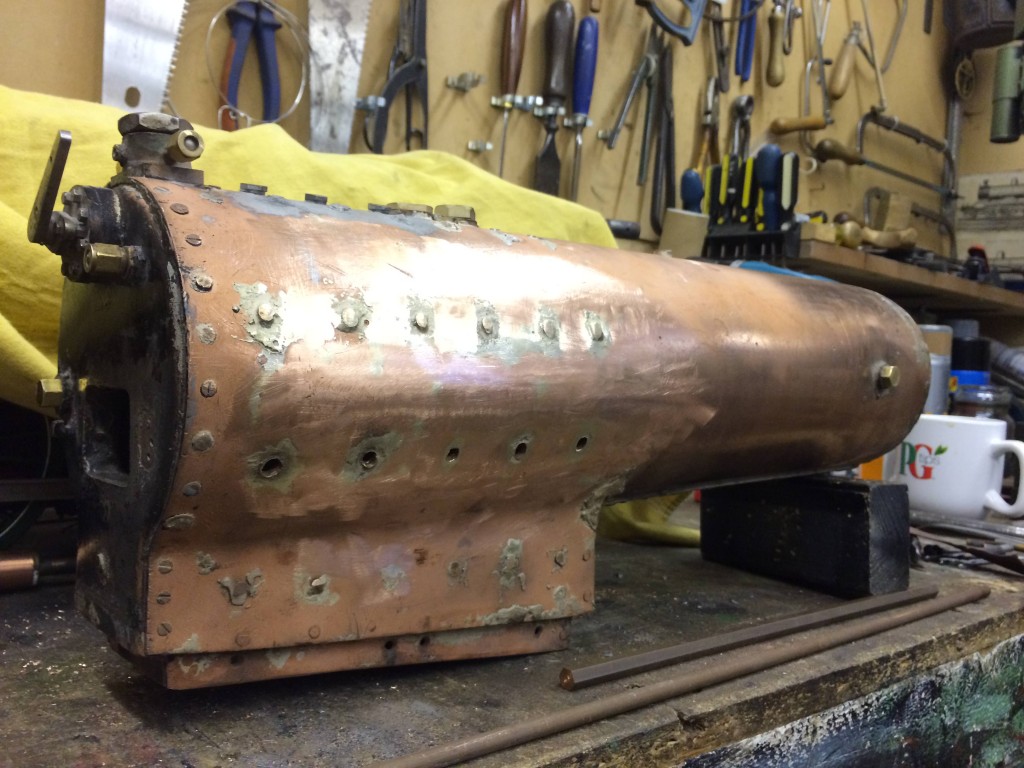

The 'beefed up' new stays were all screw cut as the first job for the new Hardinge lathe, and we machined up a set of shallow copper stay nuts to lock them all in place. Then the boiler was tapped to receive them. Once in and tightly nutted up, the whole thing was sealed with comsol. The excess stay length and nut were then filed back to enable the cladding to fit back around the boiler without being held too wide by the new larger stays.
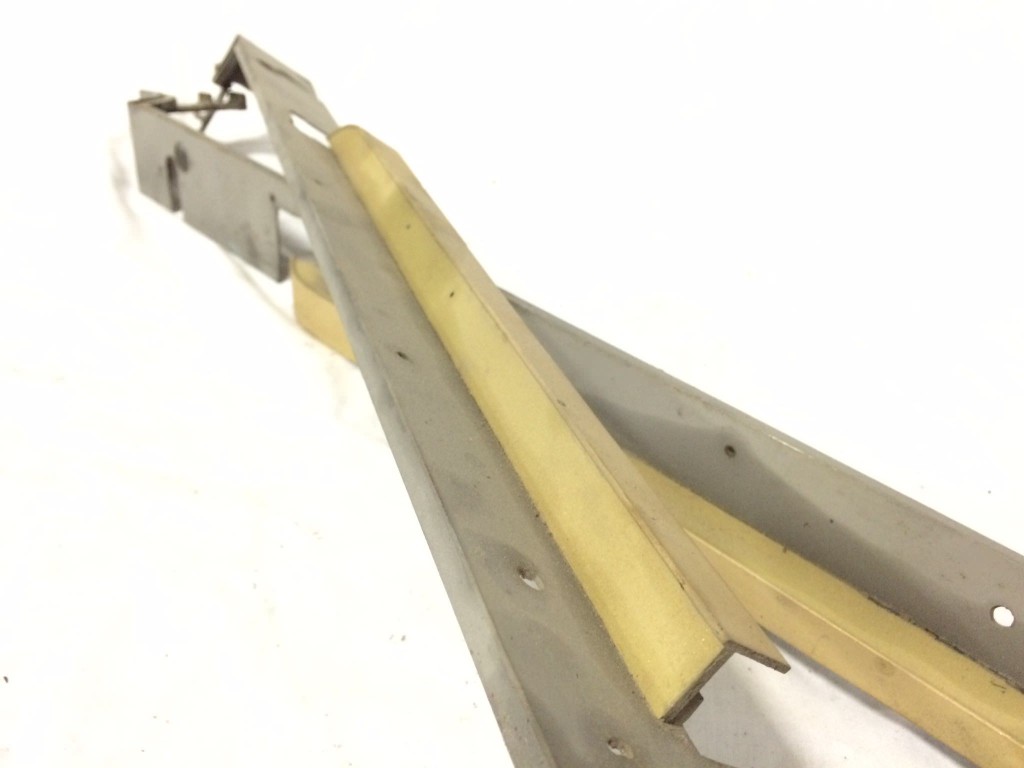
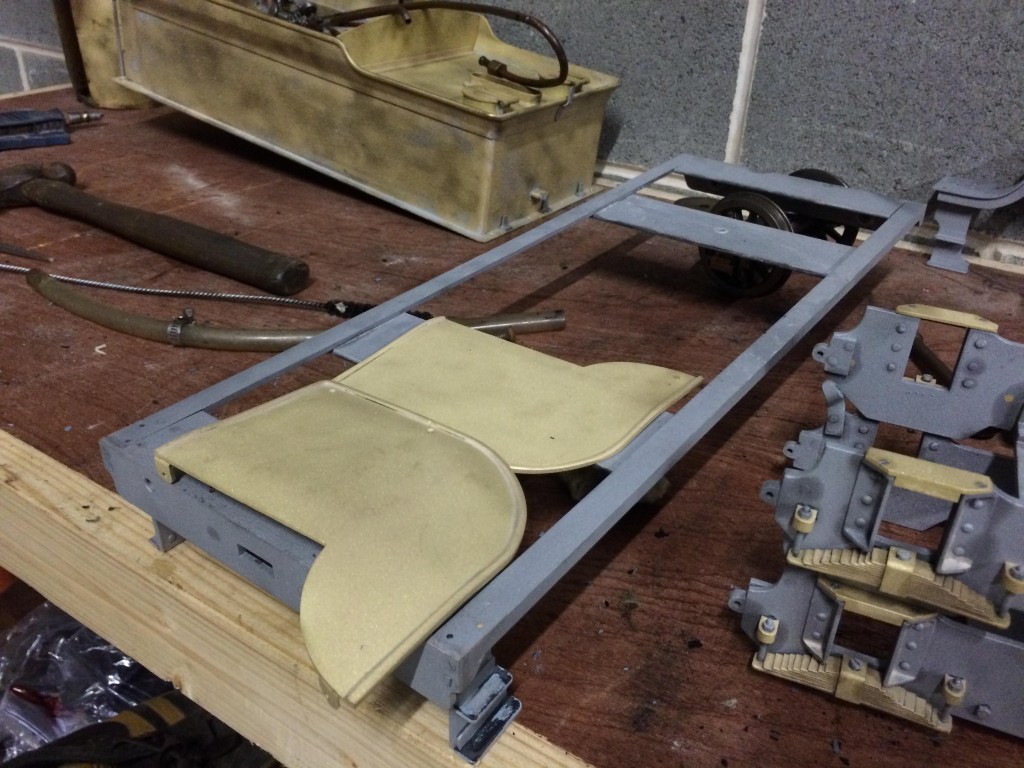
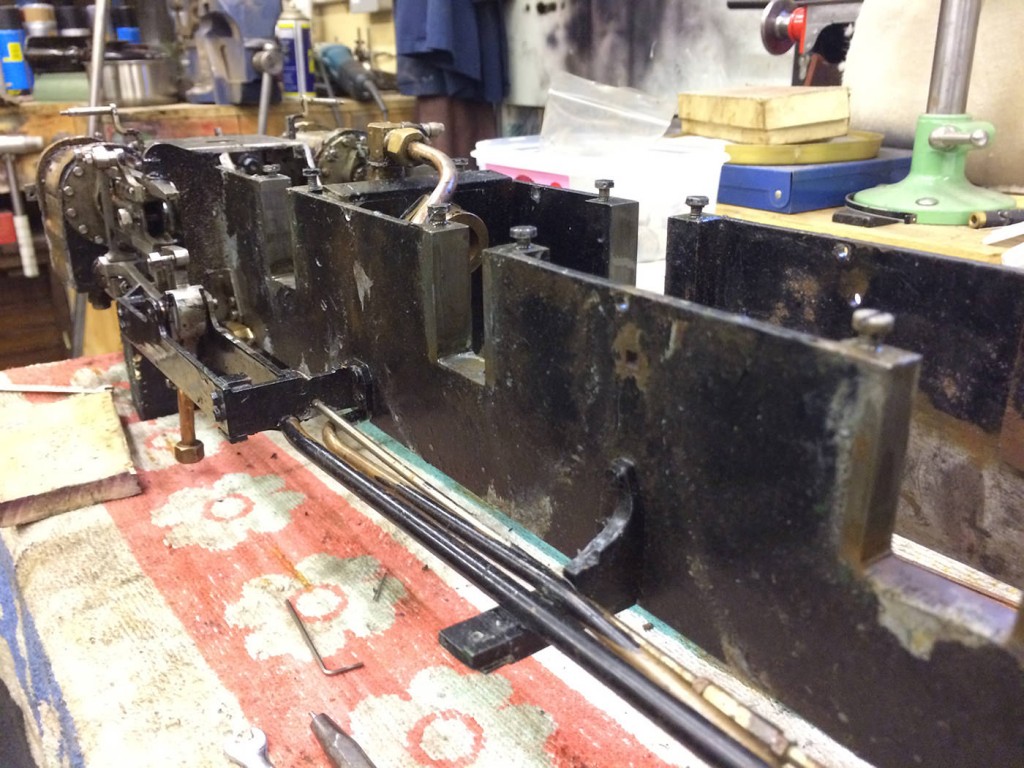
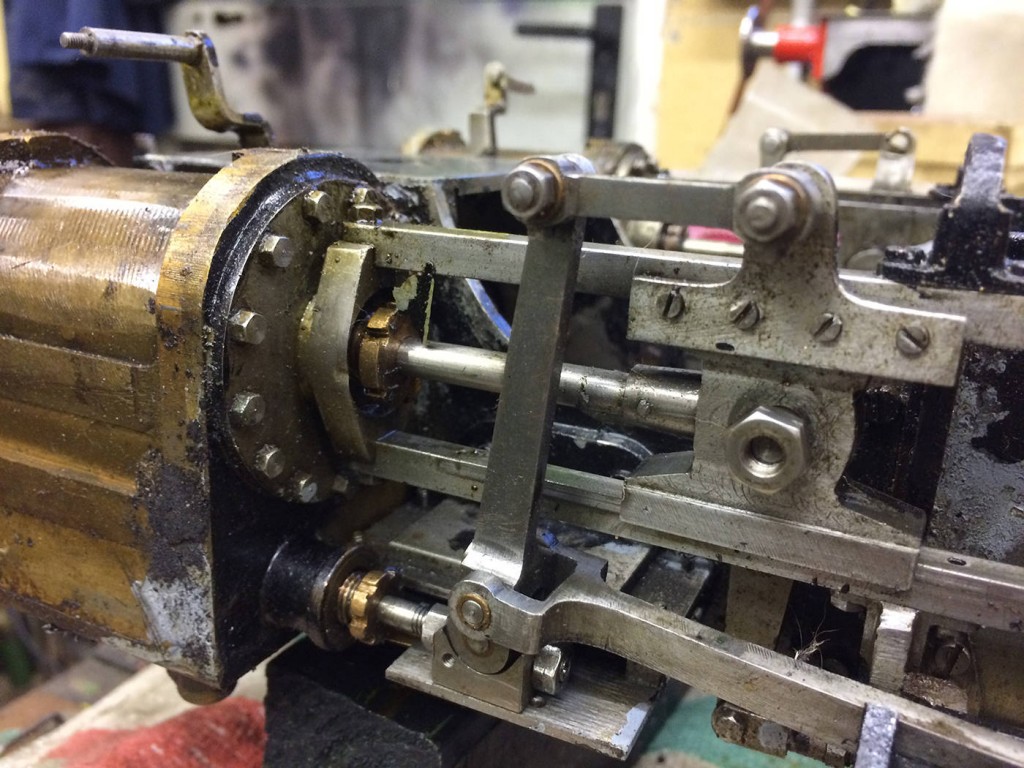
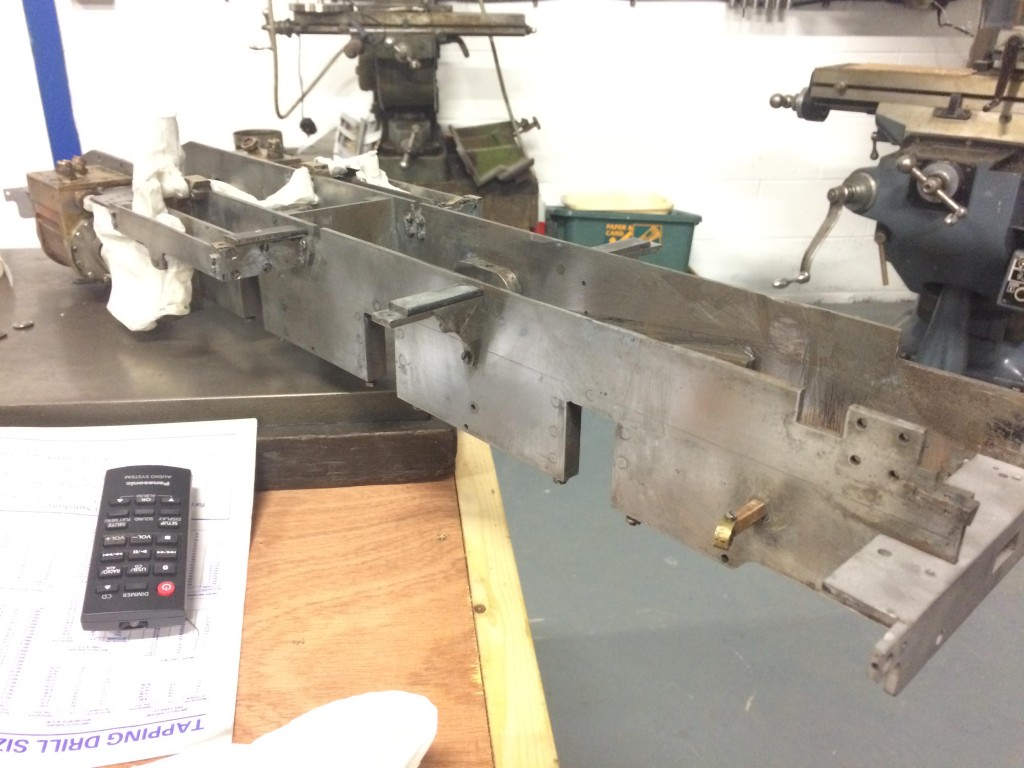
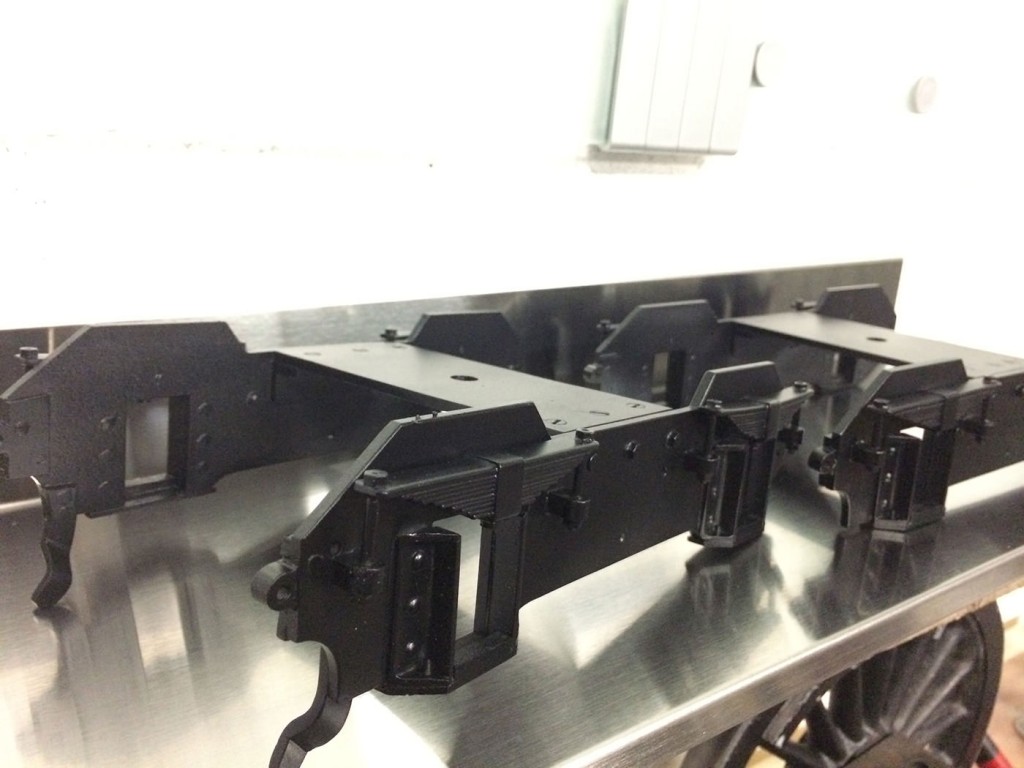
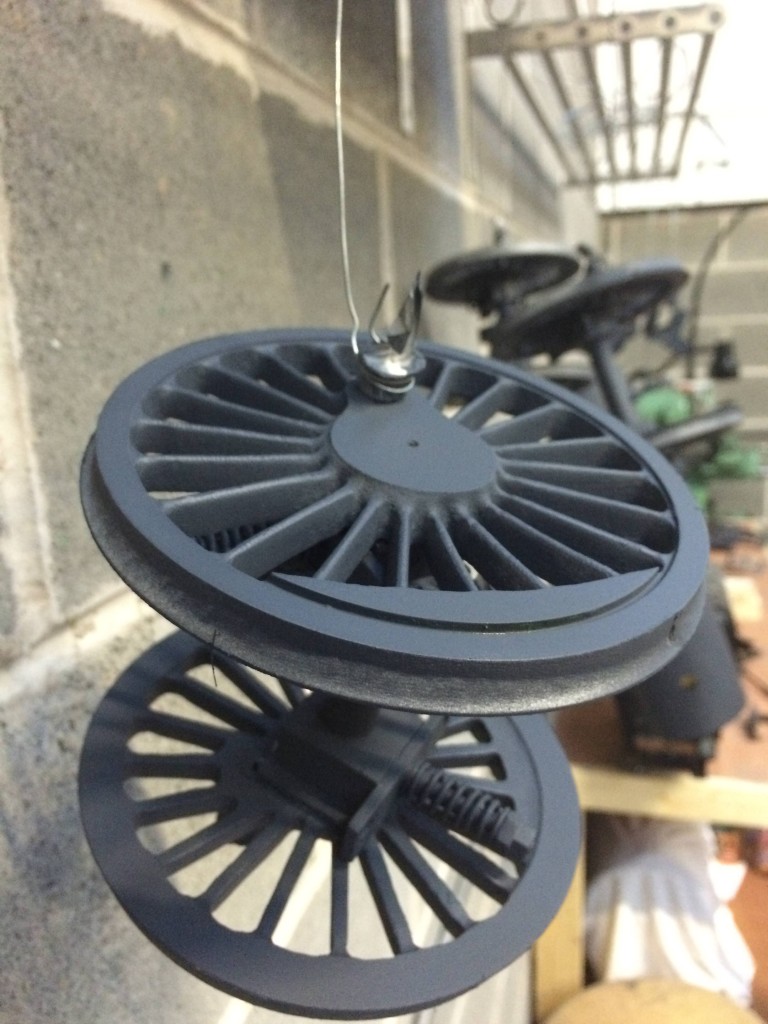
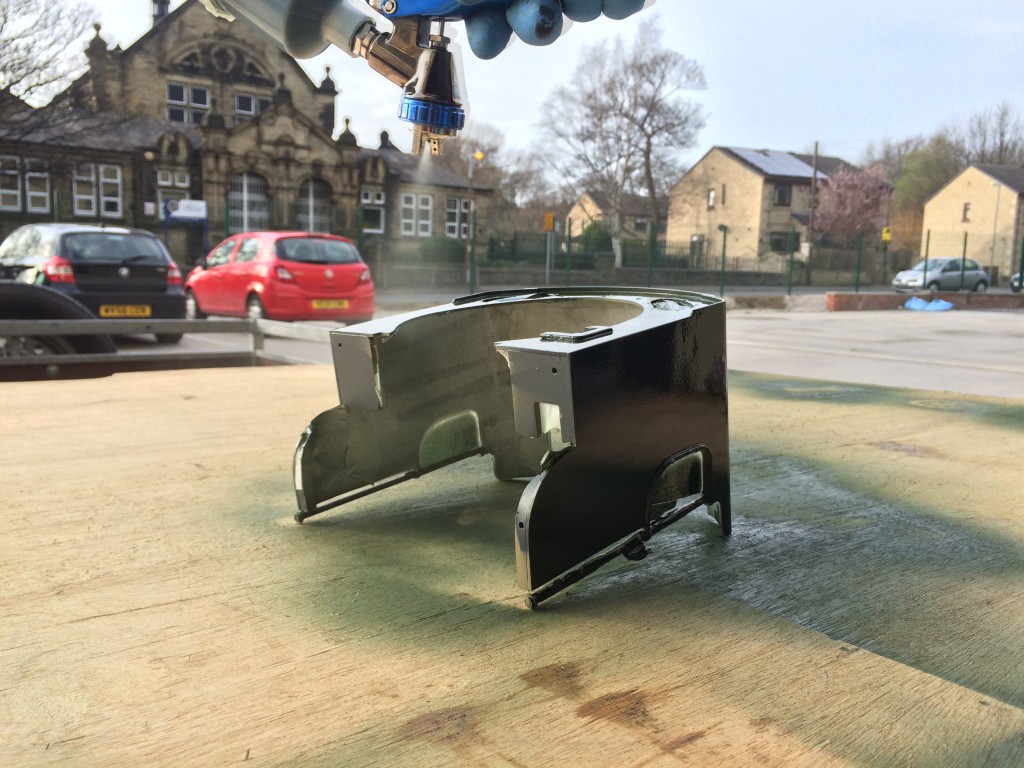
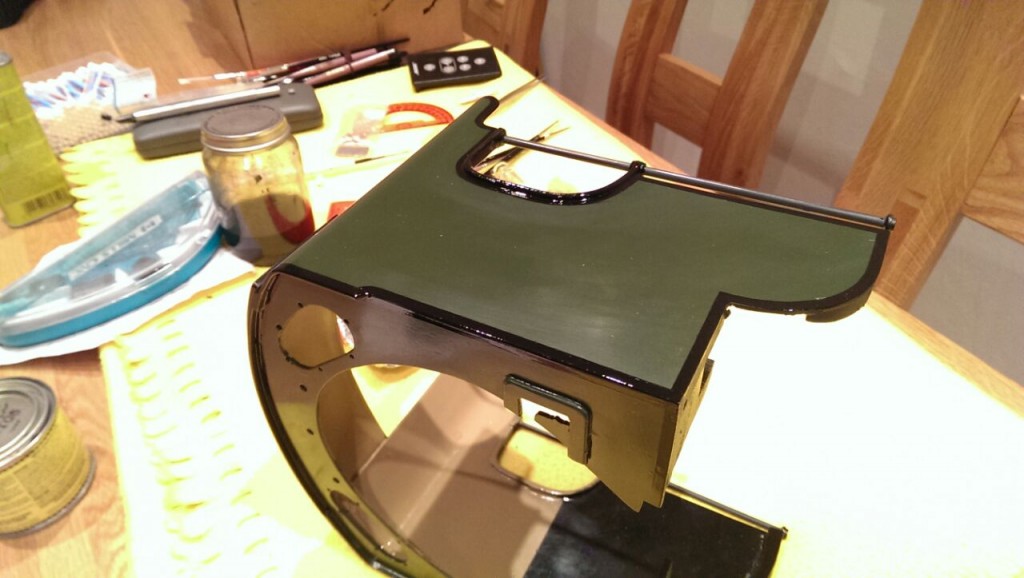
The main chassis was stripped right down to the bare bones, all the paint removed before the surfaces were prepped, etch primed and painted in satin black.
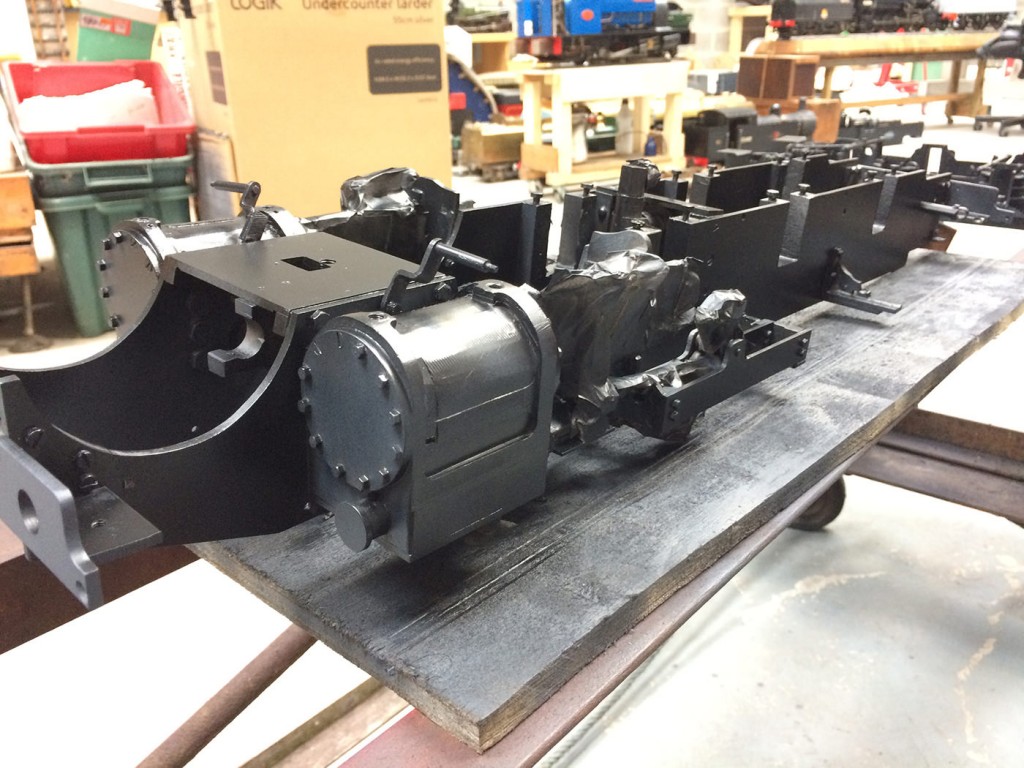

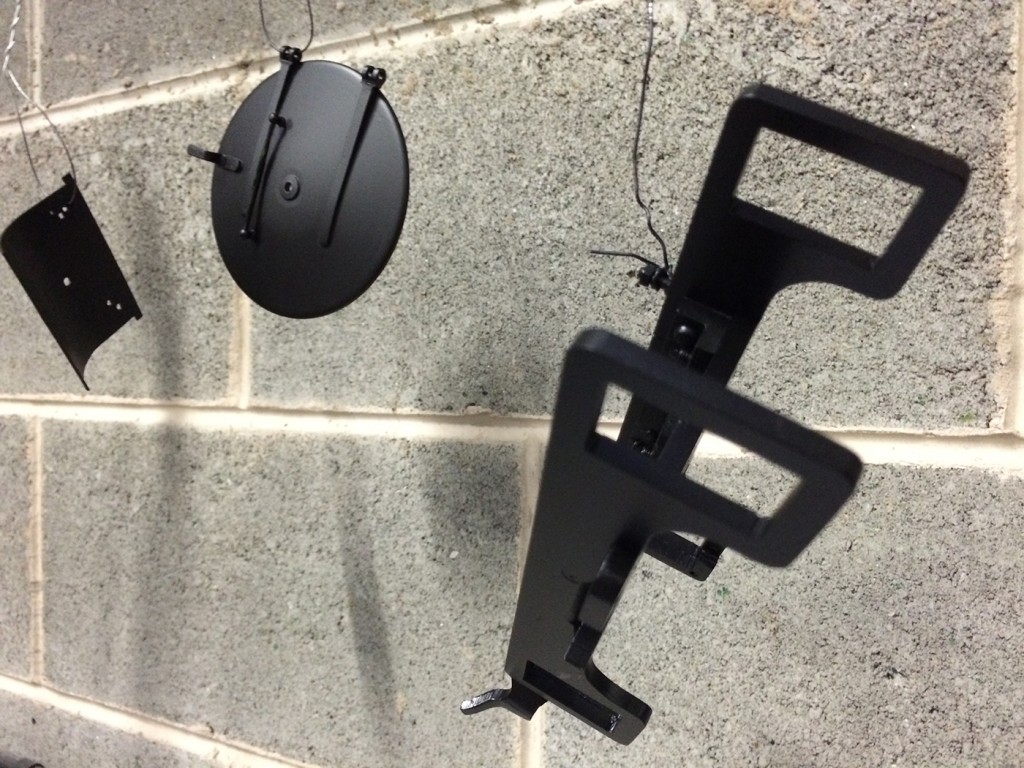
....and along the way of course all the other bits and bobs were stripped, tidied up, bead blasted where appropriate, etched and top coated so everything was ready for re-assembly.

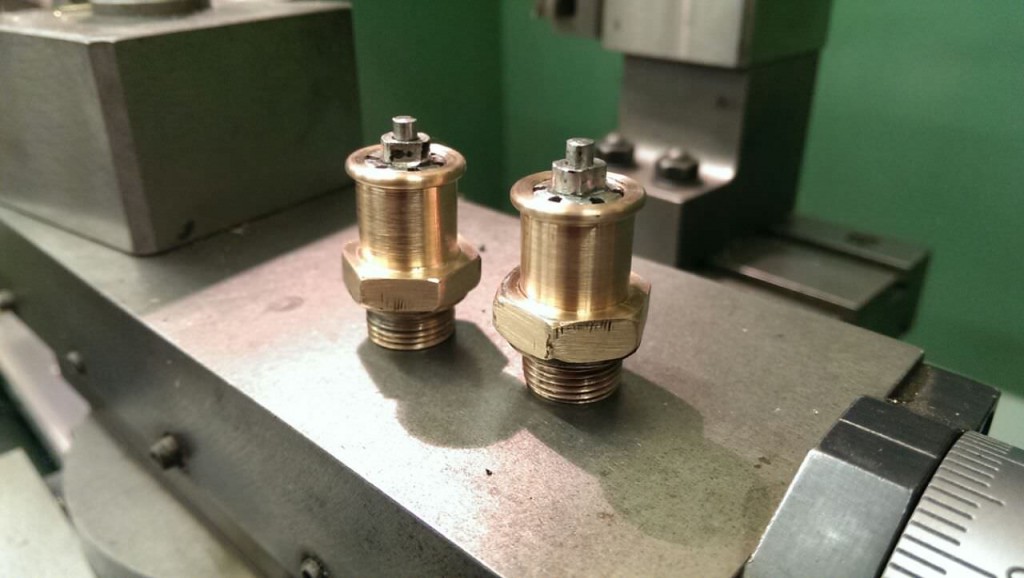
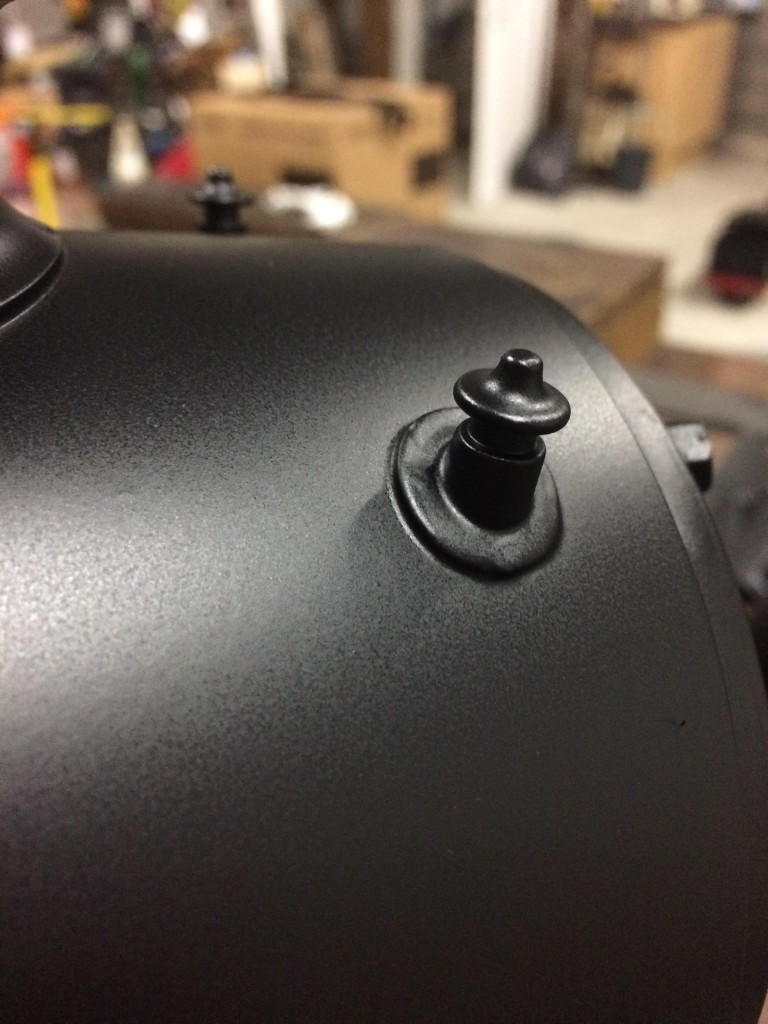
Safety valves re-machined to ensure that they will easily release enough steam to comfortably pass the accumulation test.
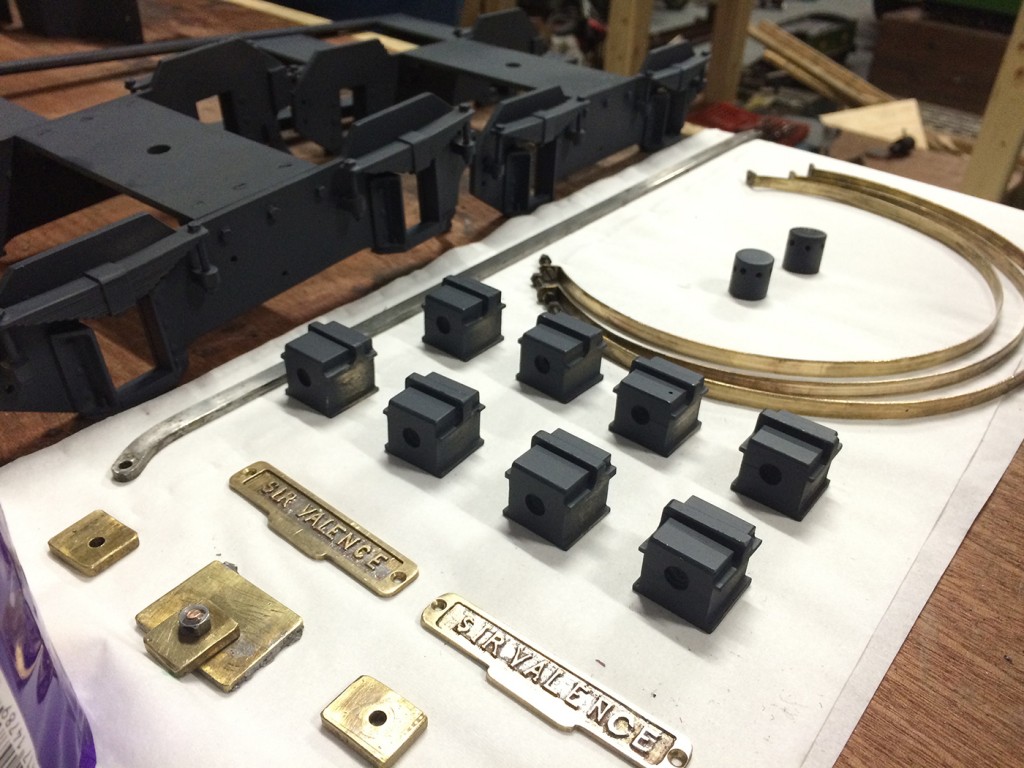
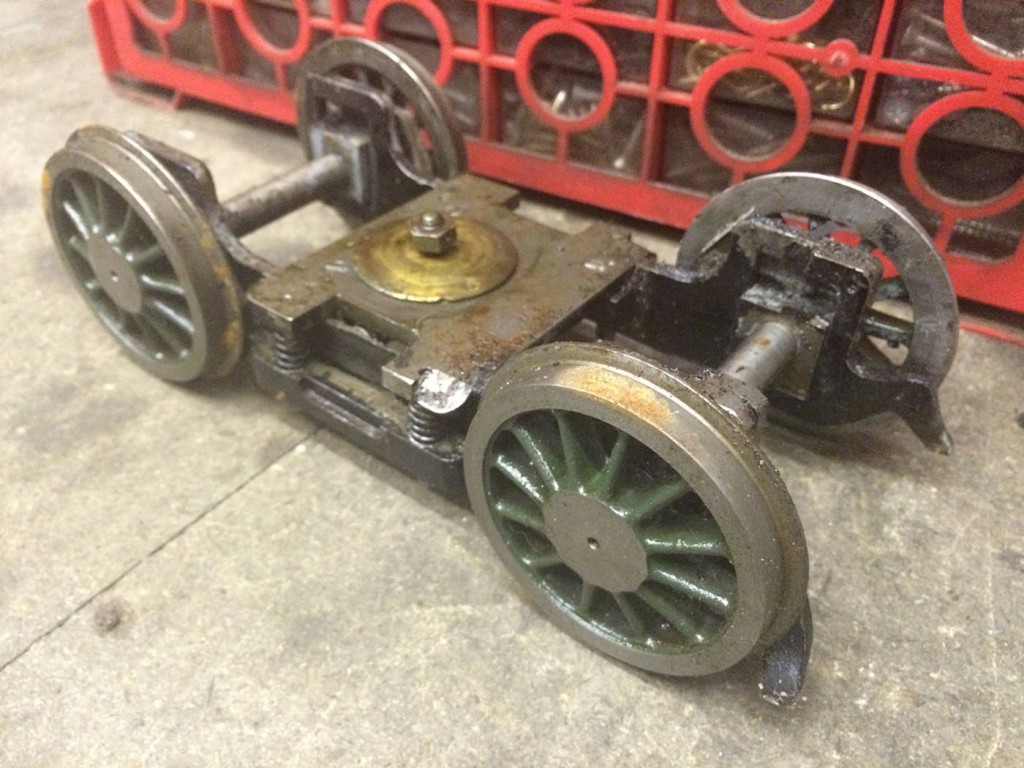
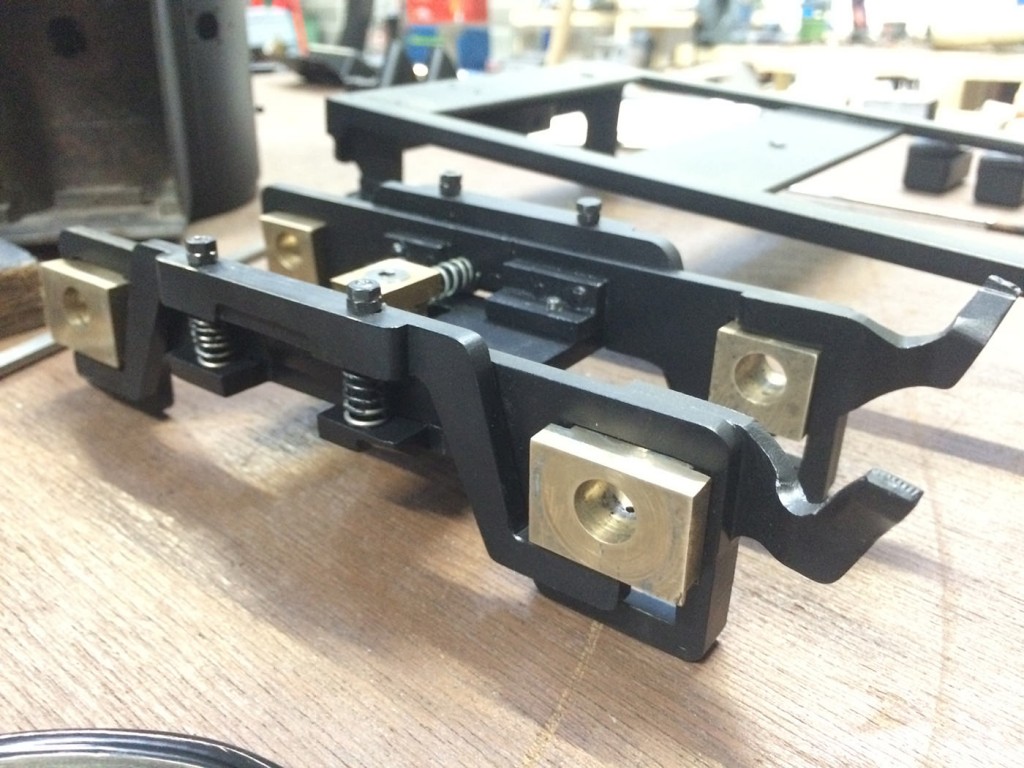
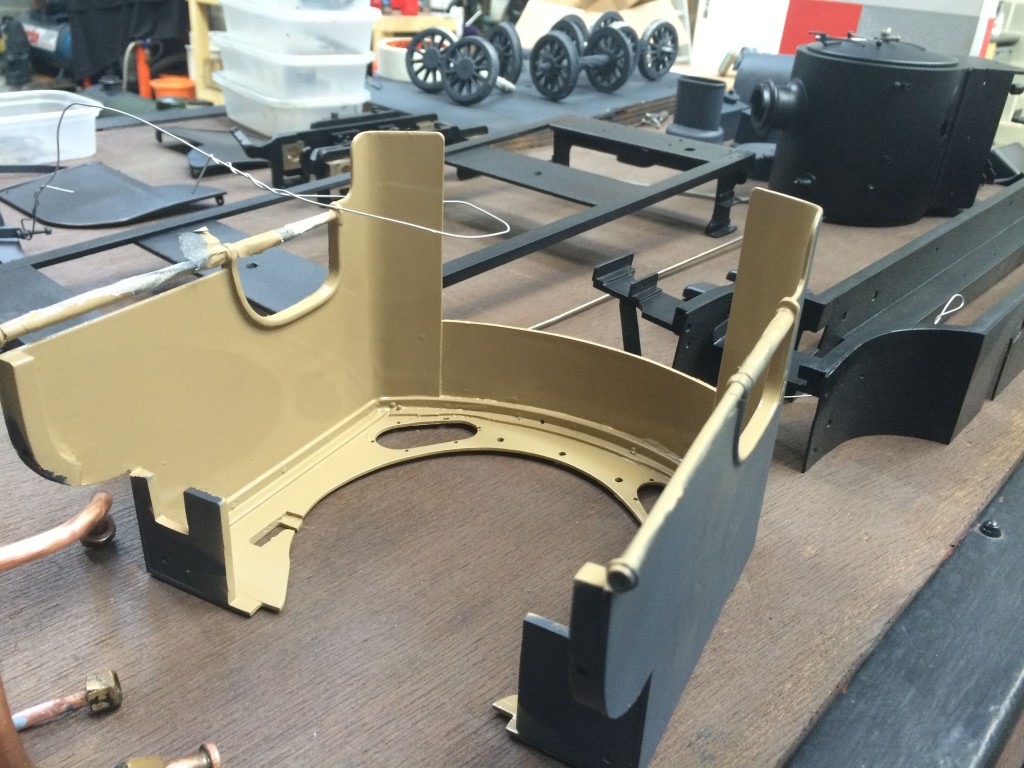
The locomotive bogie here, before stripping, and the frame at the beginning of the re-build process, now wearing it's fresh paint.
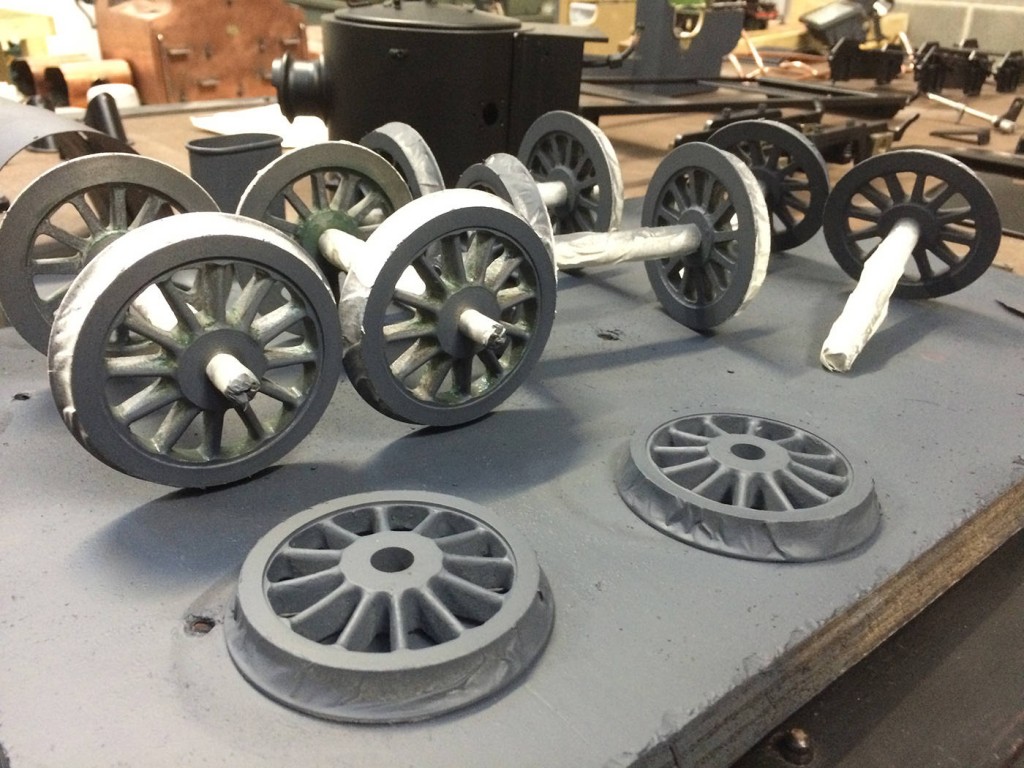
and the tender bogies and wheels following the same route. Obviously all the wheels are stripped, masked, blasted and then put into etch primer before the green top coat is applied.
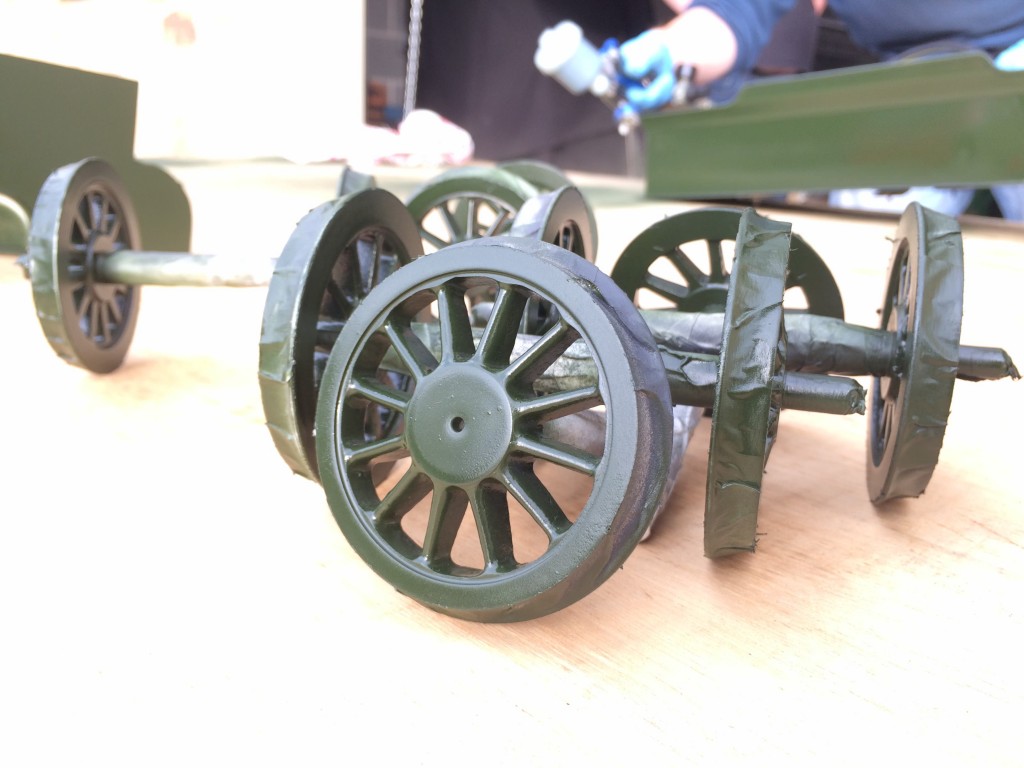
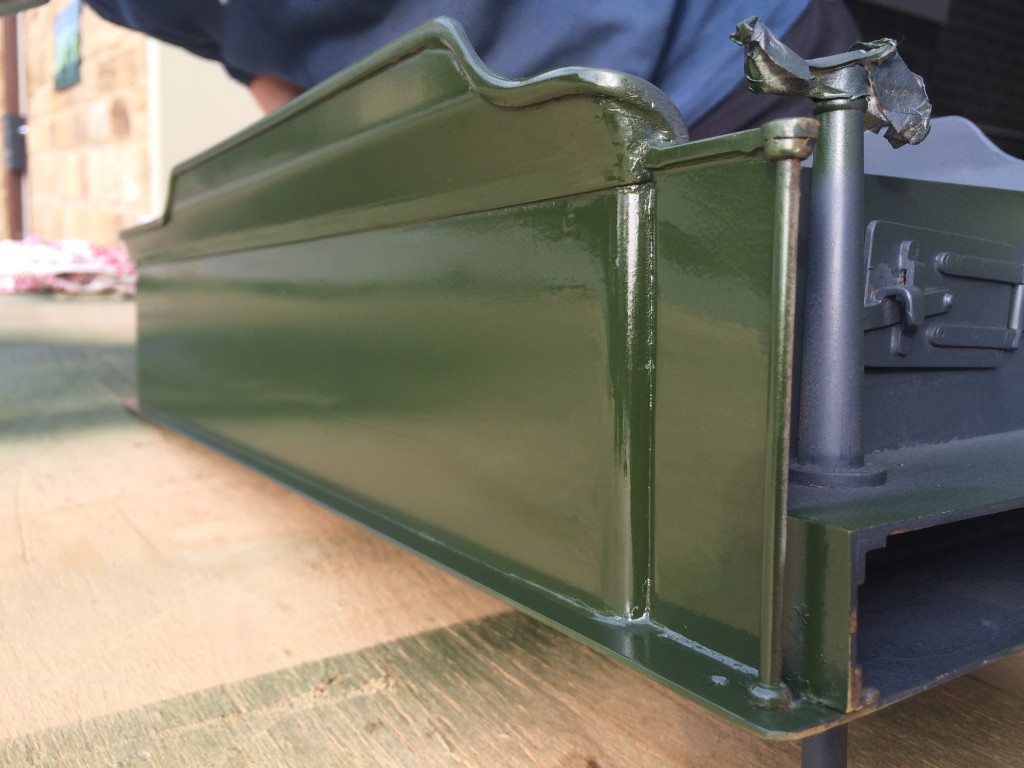
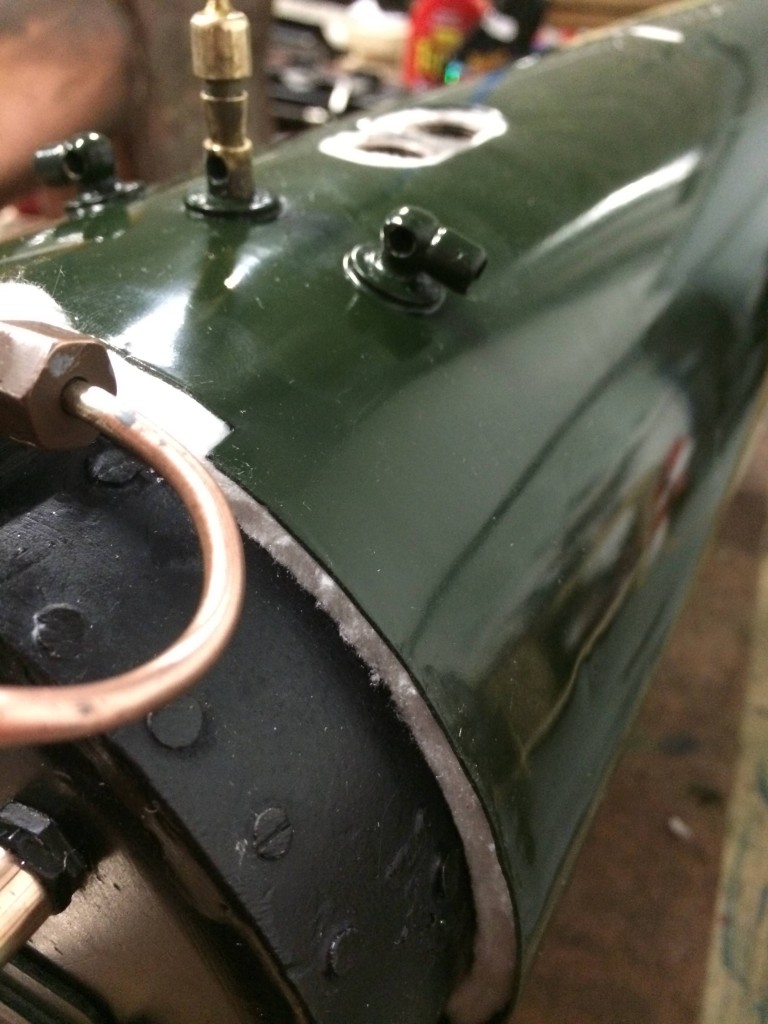
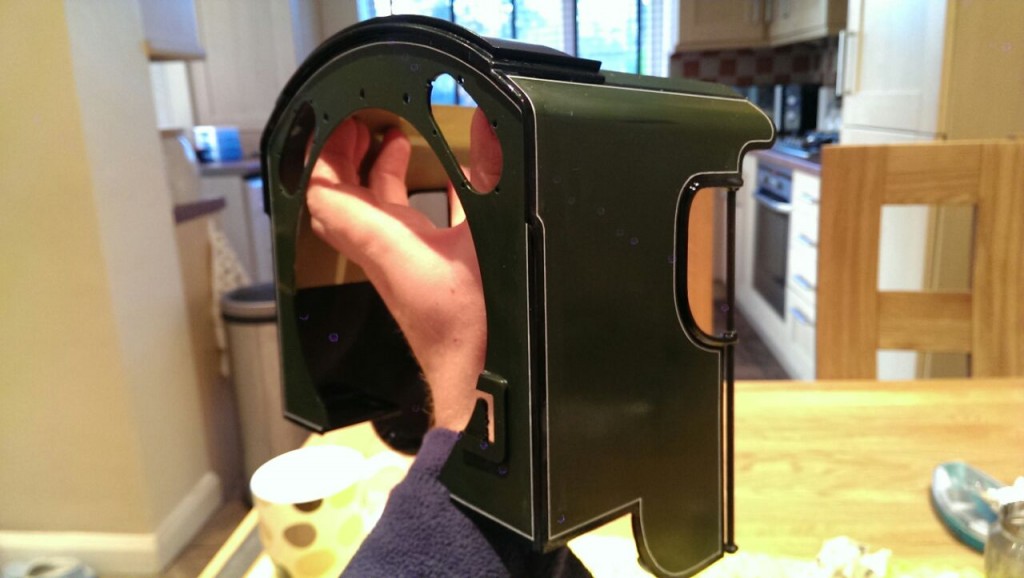
Well the green is on! It needs to be polished up in readiness for the lining to go on later this week. Starting to really get there now, and very much on the final straight! The boiler has it's new stays now, so the whole thing can start to go back together.
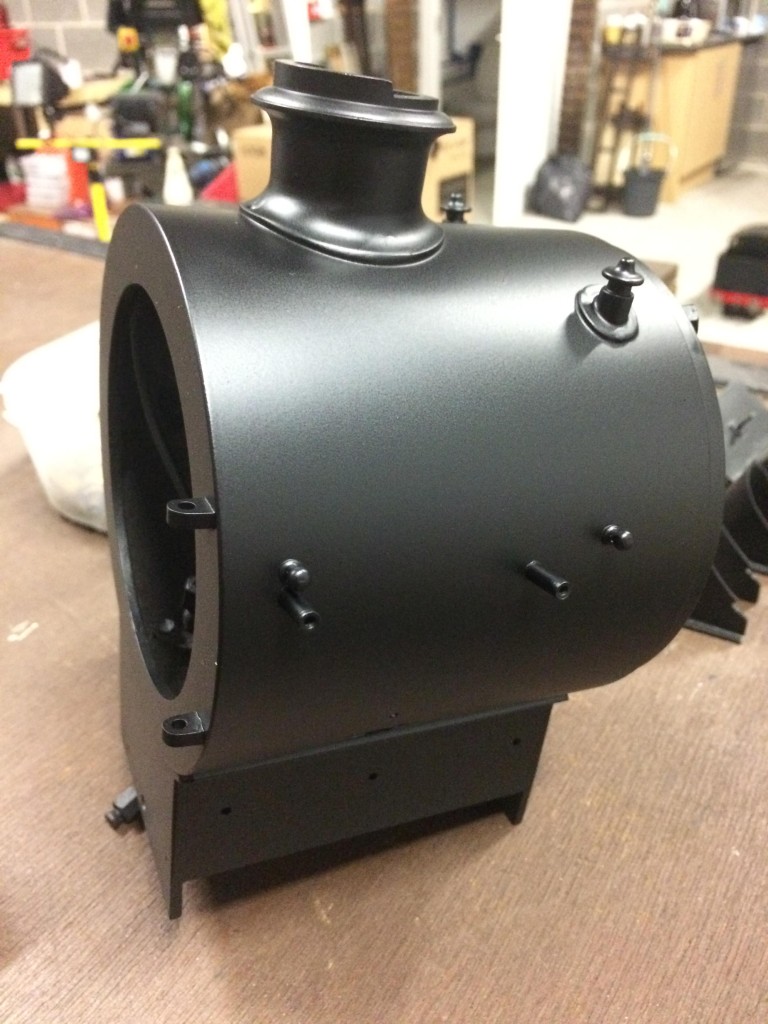
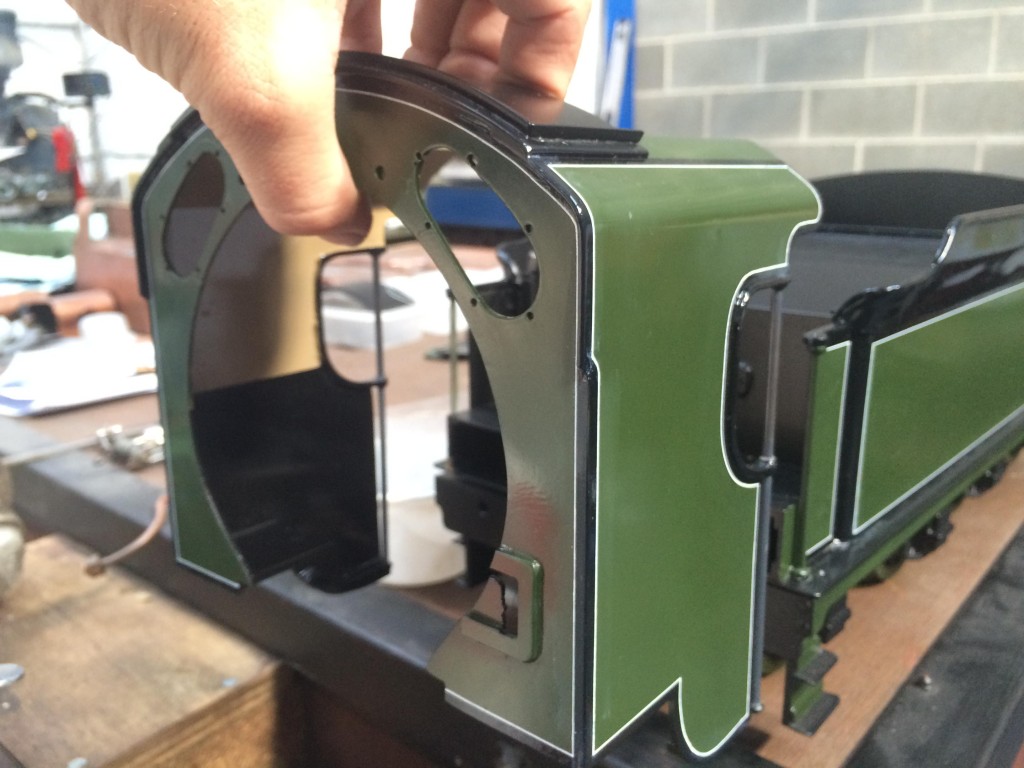
So first the cladding goes back onto the boiler.
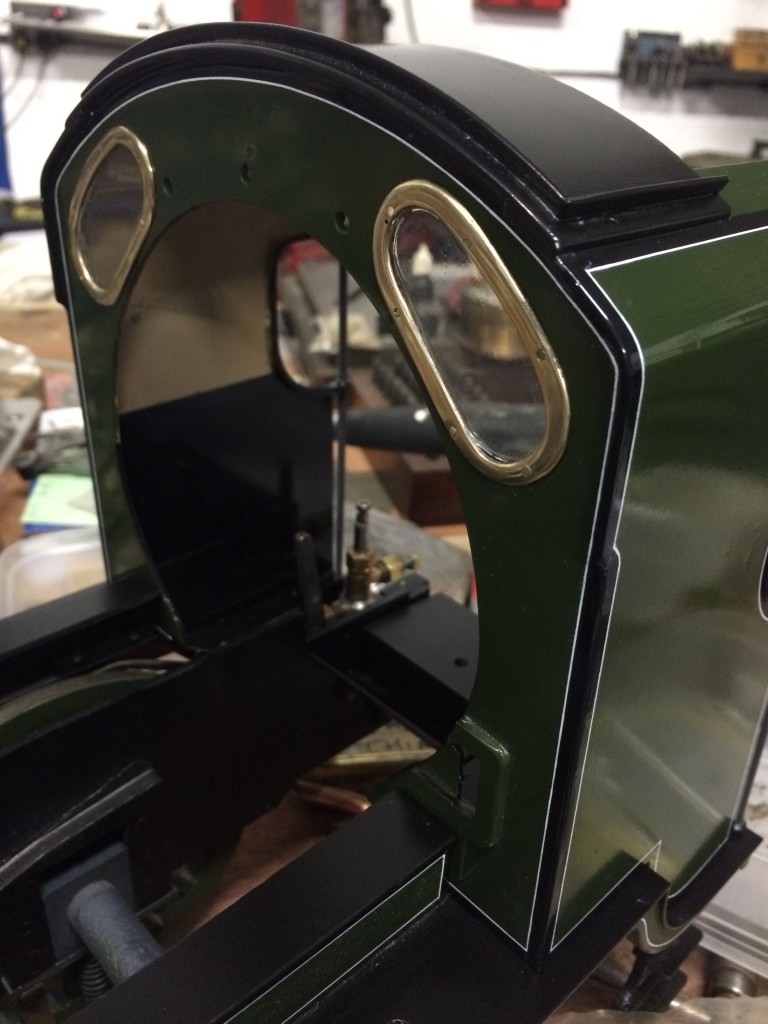
Then finally to the lining.
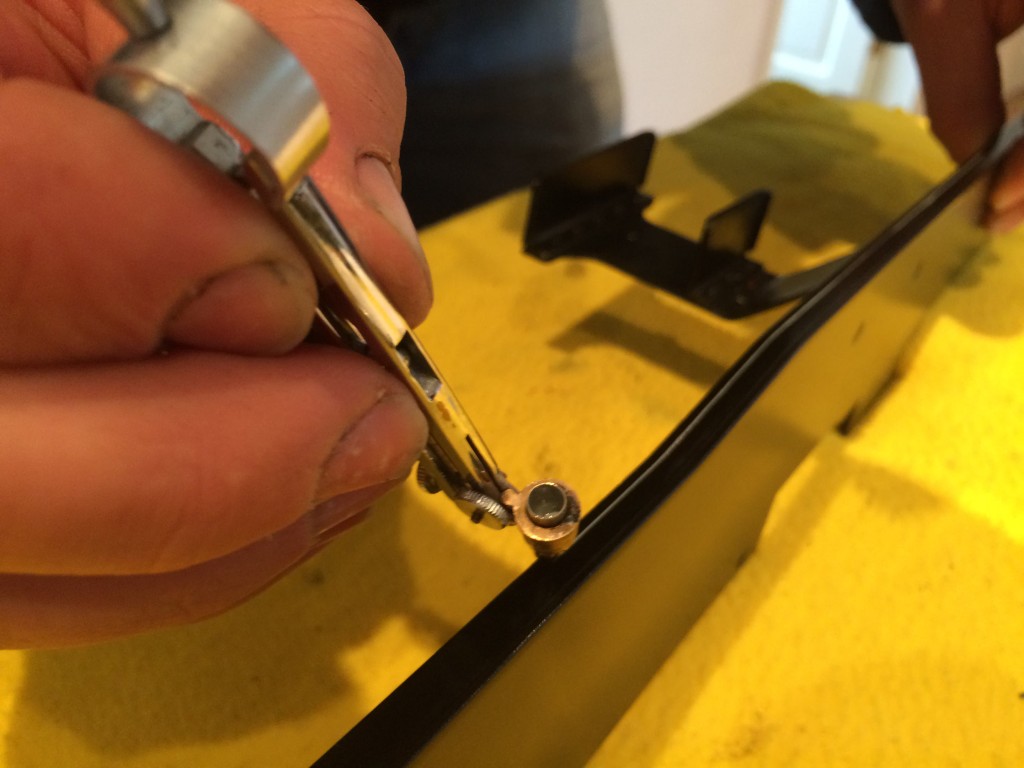
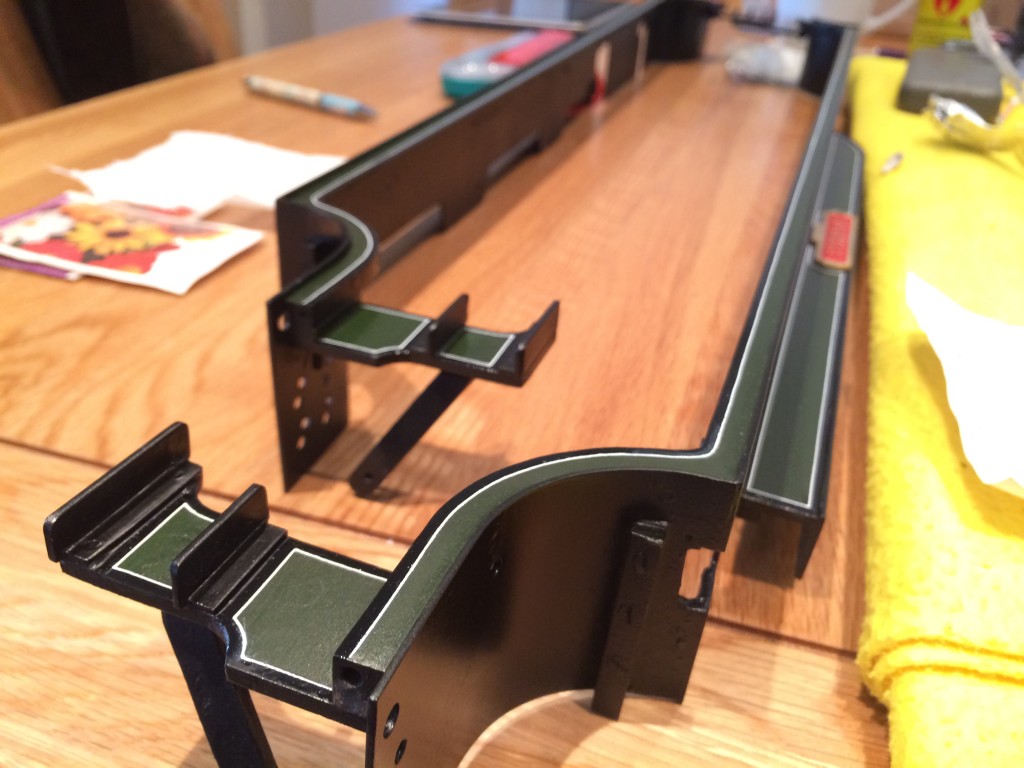
.....and the running boards....
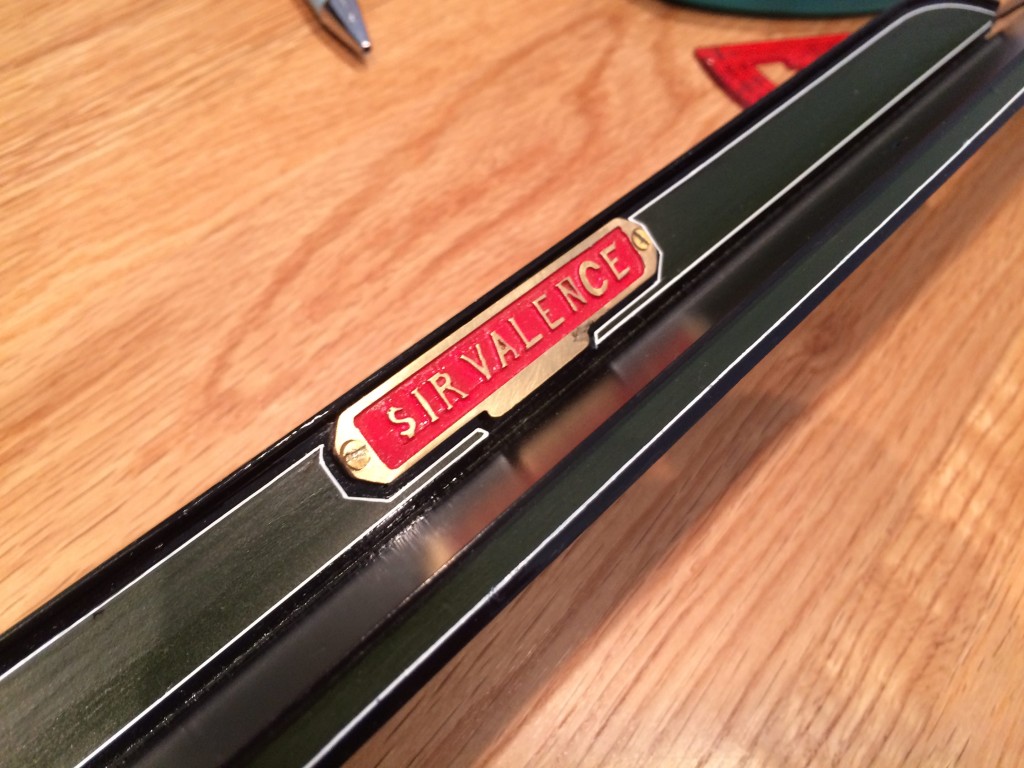
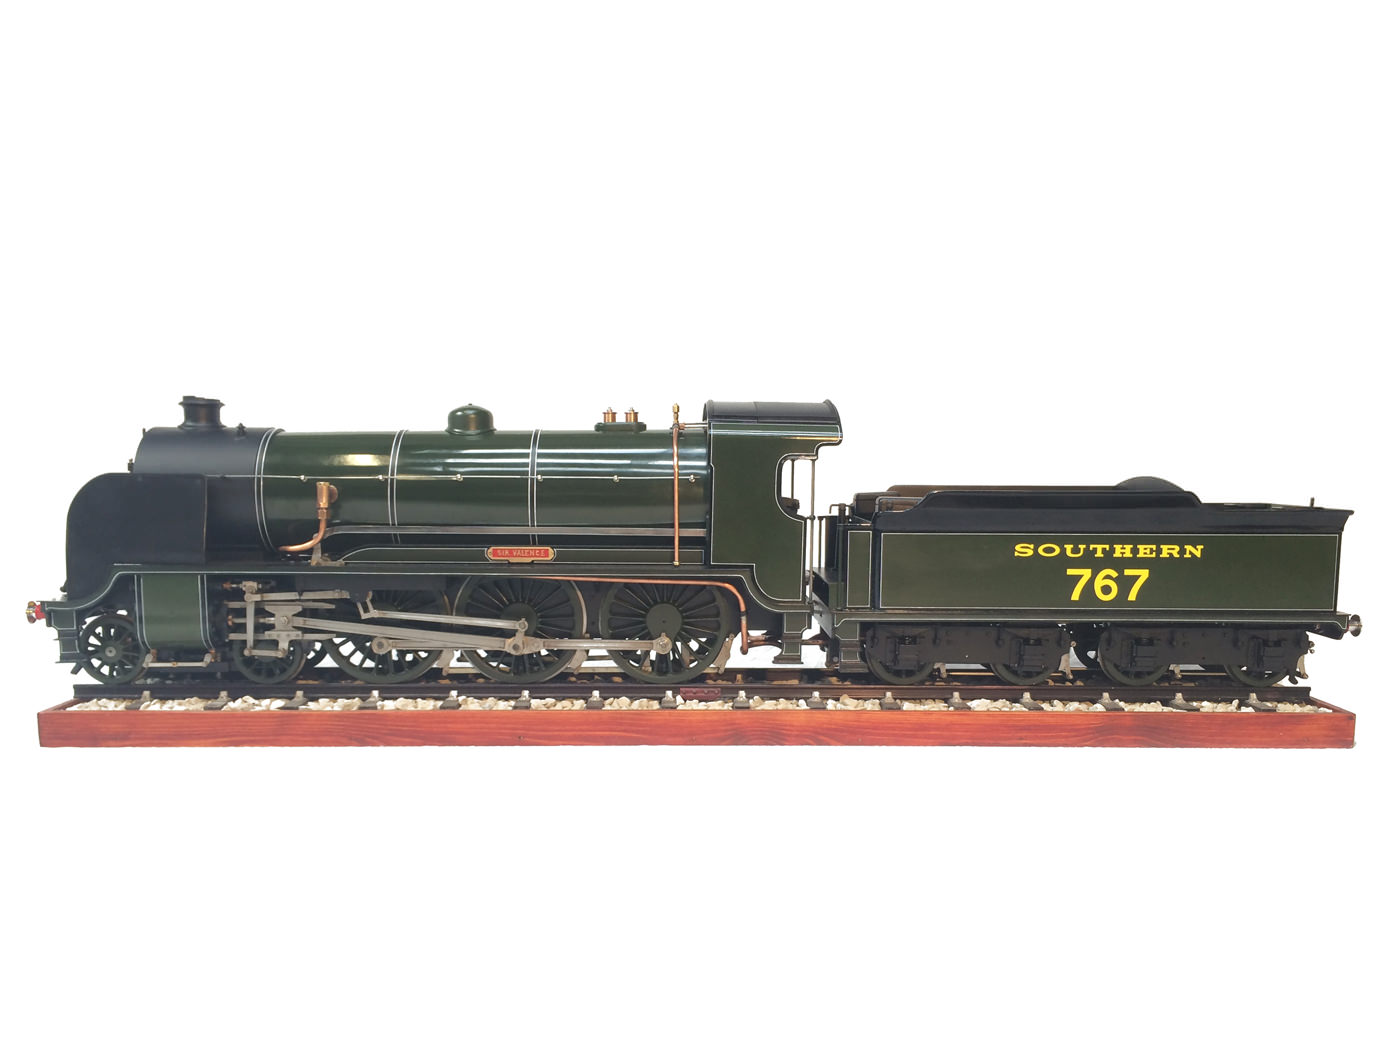
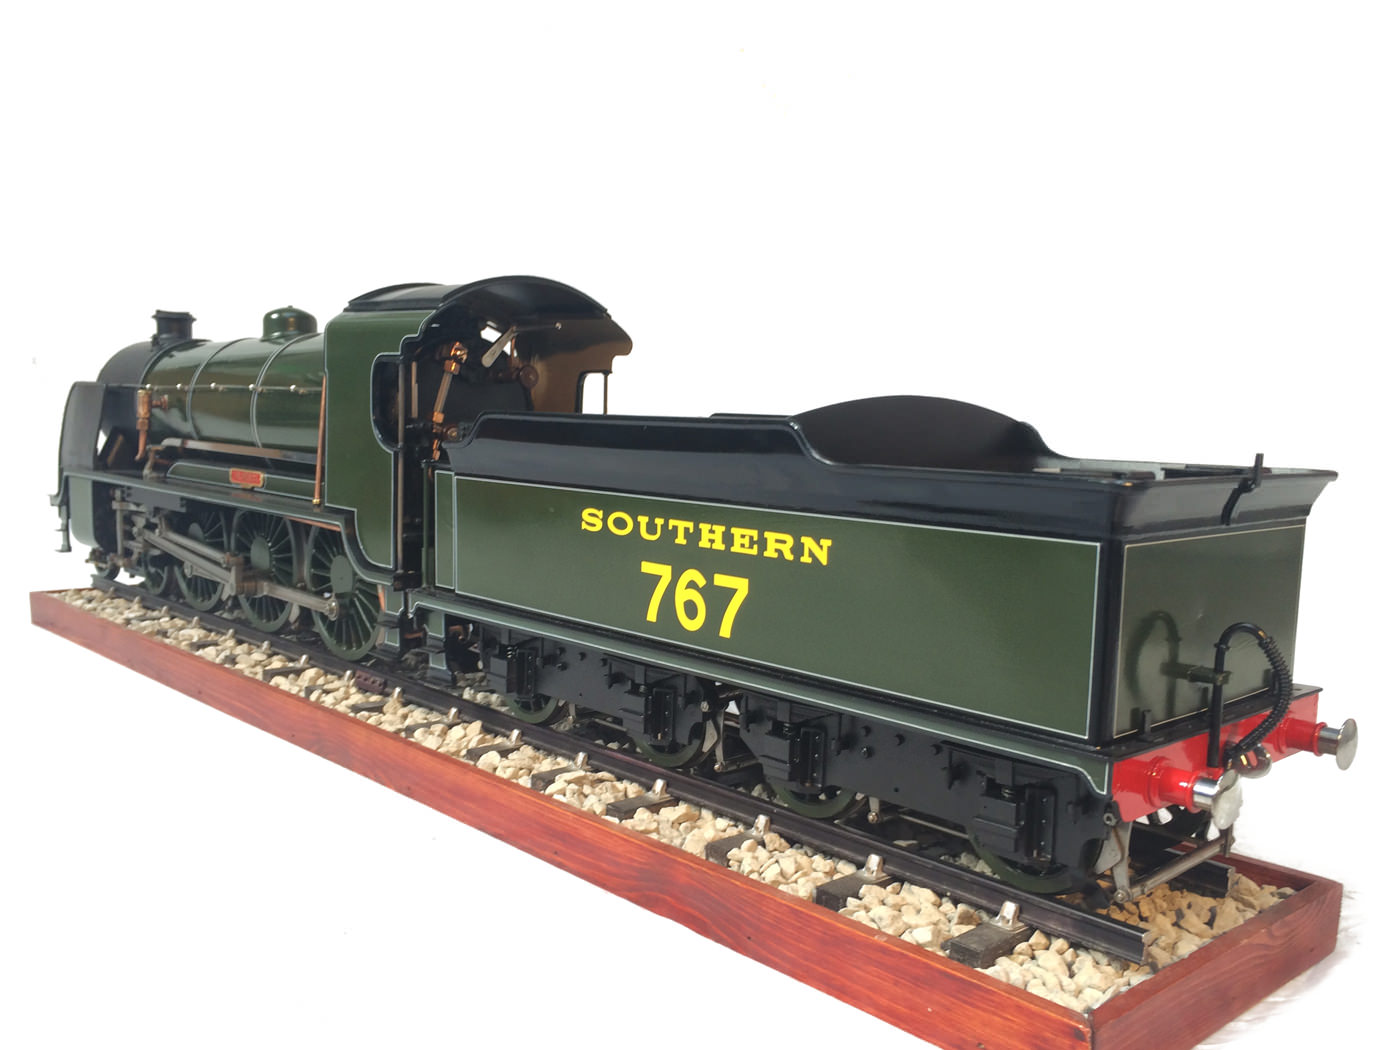
Then last but not least the transfers go onto the tender and the buffers, and are sealed in carefully with some clear lacquer.
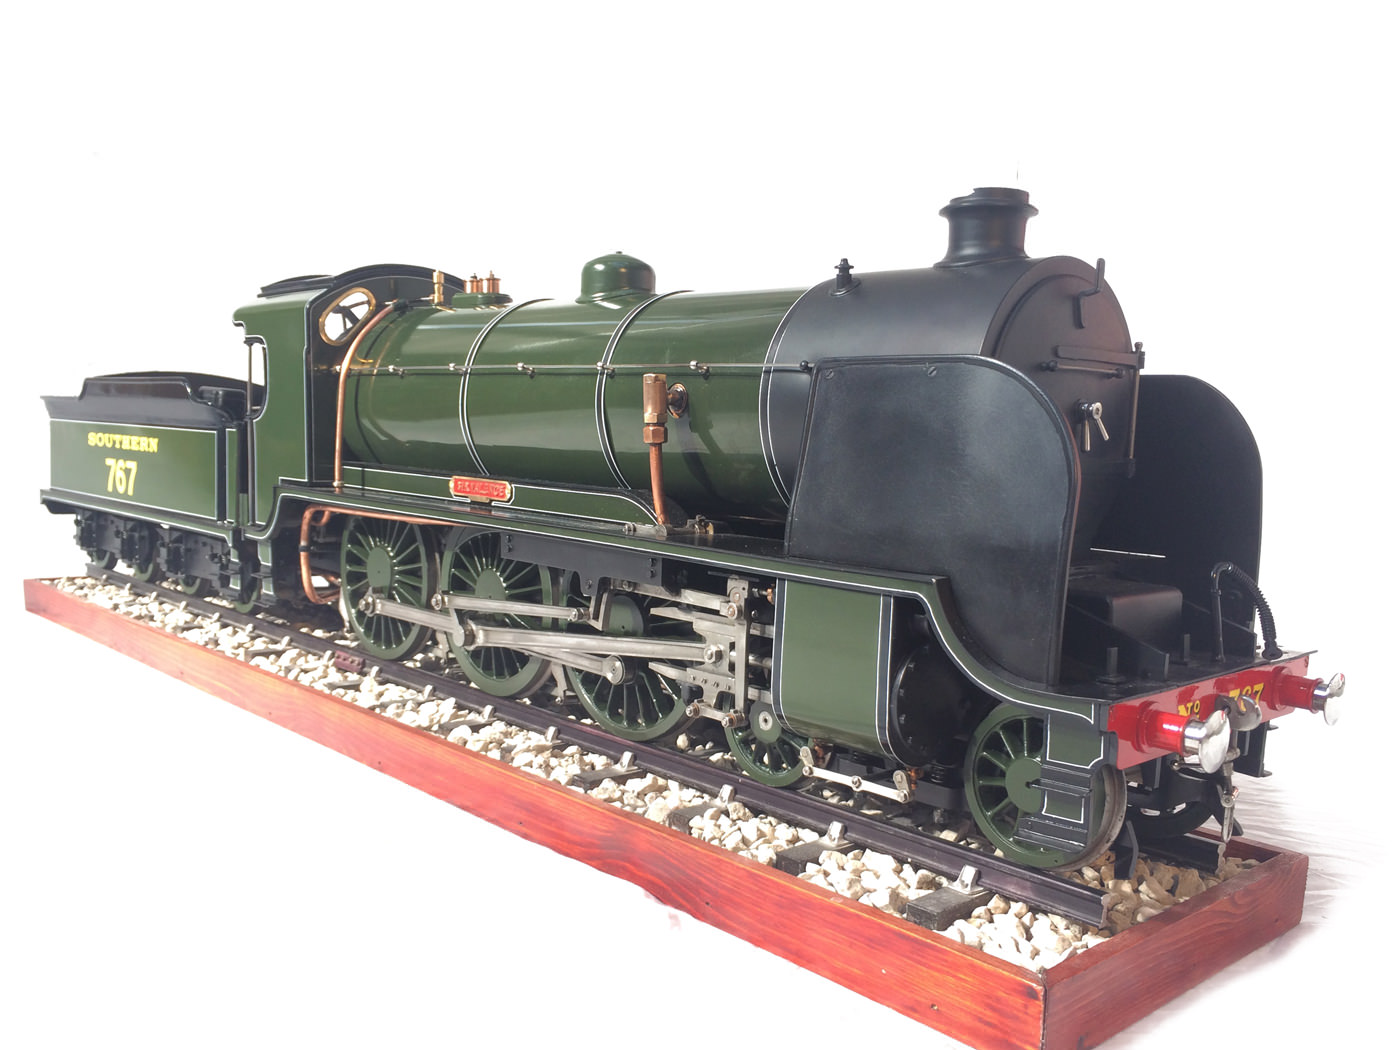
So there we are, all over except for the steaming! Video to be uploaded shortly!