
5" LMS Stanier Class 4 tank
Steam Workshop Re-Build Number 3 is now sold and being enjoyed by her new owner.
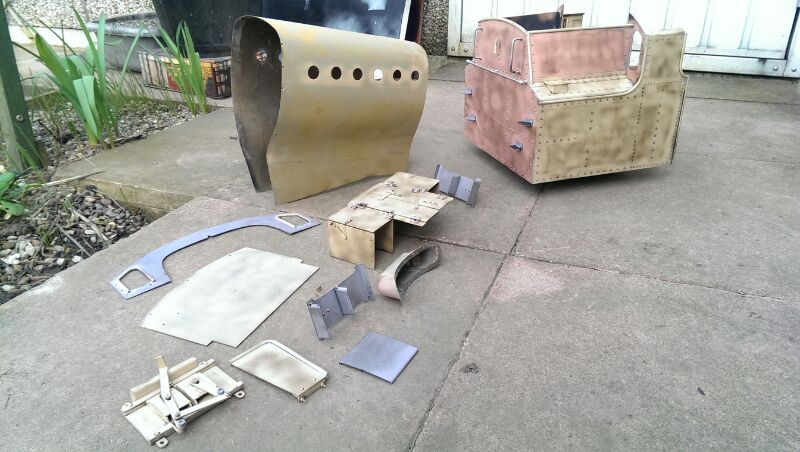
This is a little gallery of photos to show the progress on our Stanier class 4 tank rebuild. It's already a very nice loco, but there were a few areas where the model engineer had finished her to run, without the level of detail attention that we felt the model deserved. It came to us also as a borderline 'needs a repaint' job, and because it's quite a rare model,.... and one of our particular personal favourite prototypes we decided to take the plunge and pull it apart to do a thorough job and turn it into the model that it ought to be. What follows therefore is a little collection of the jobs that we are doing this month in order to see her done for the first GL5 main line rally at Gilling this year,..... in just a months time! Watch this space!
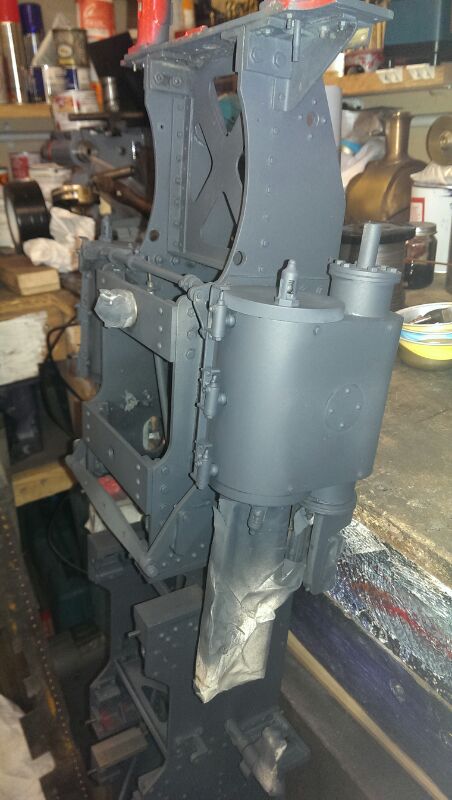
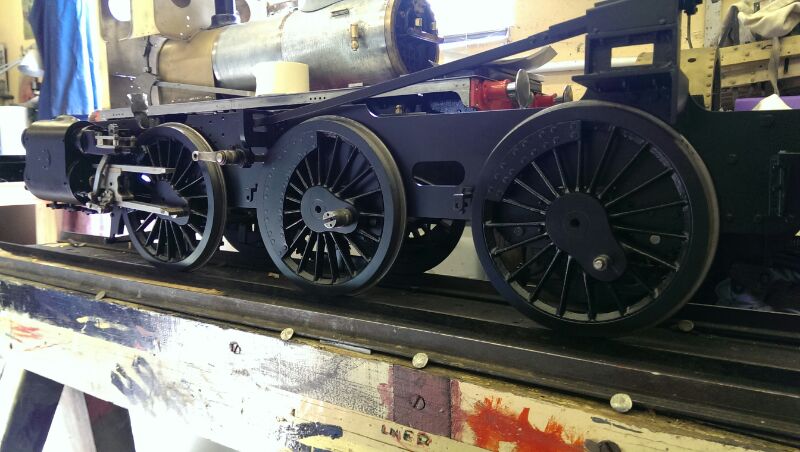
This is how it arrived. Generally nice, but tired model, in need of a detail re-work an overhaul and a decent paint job.
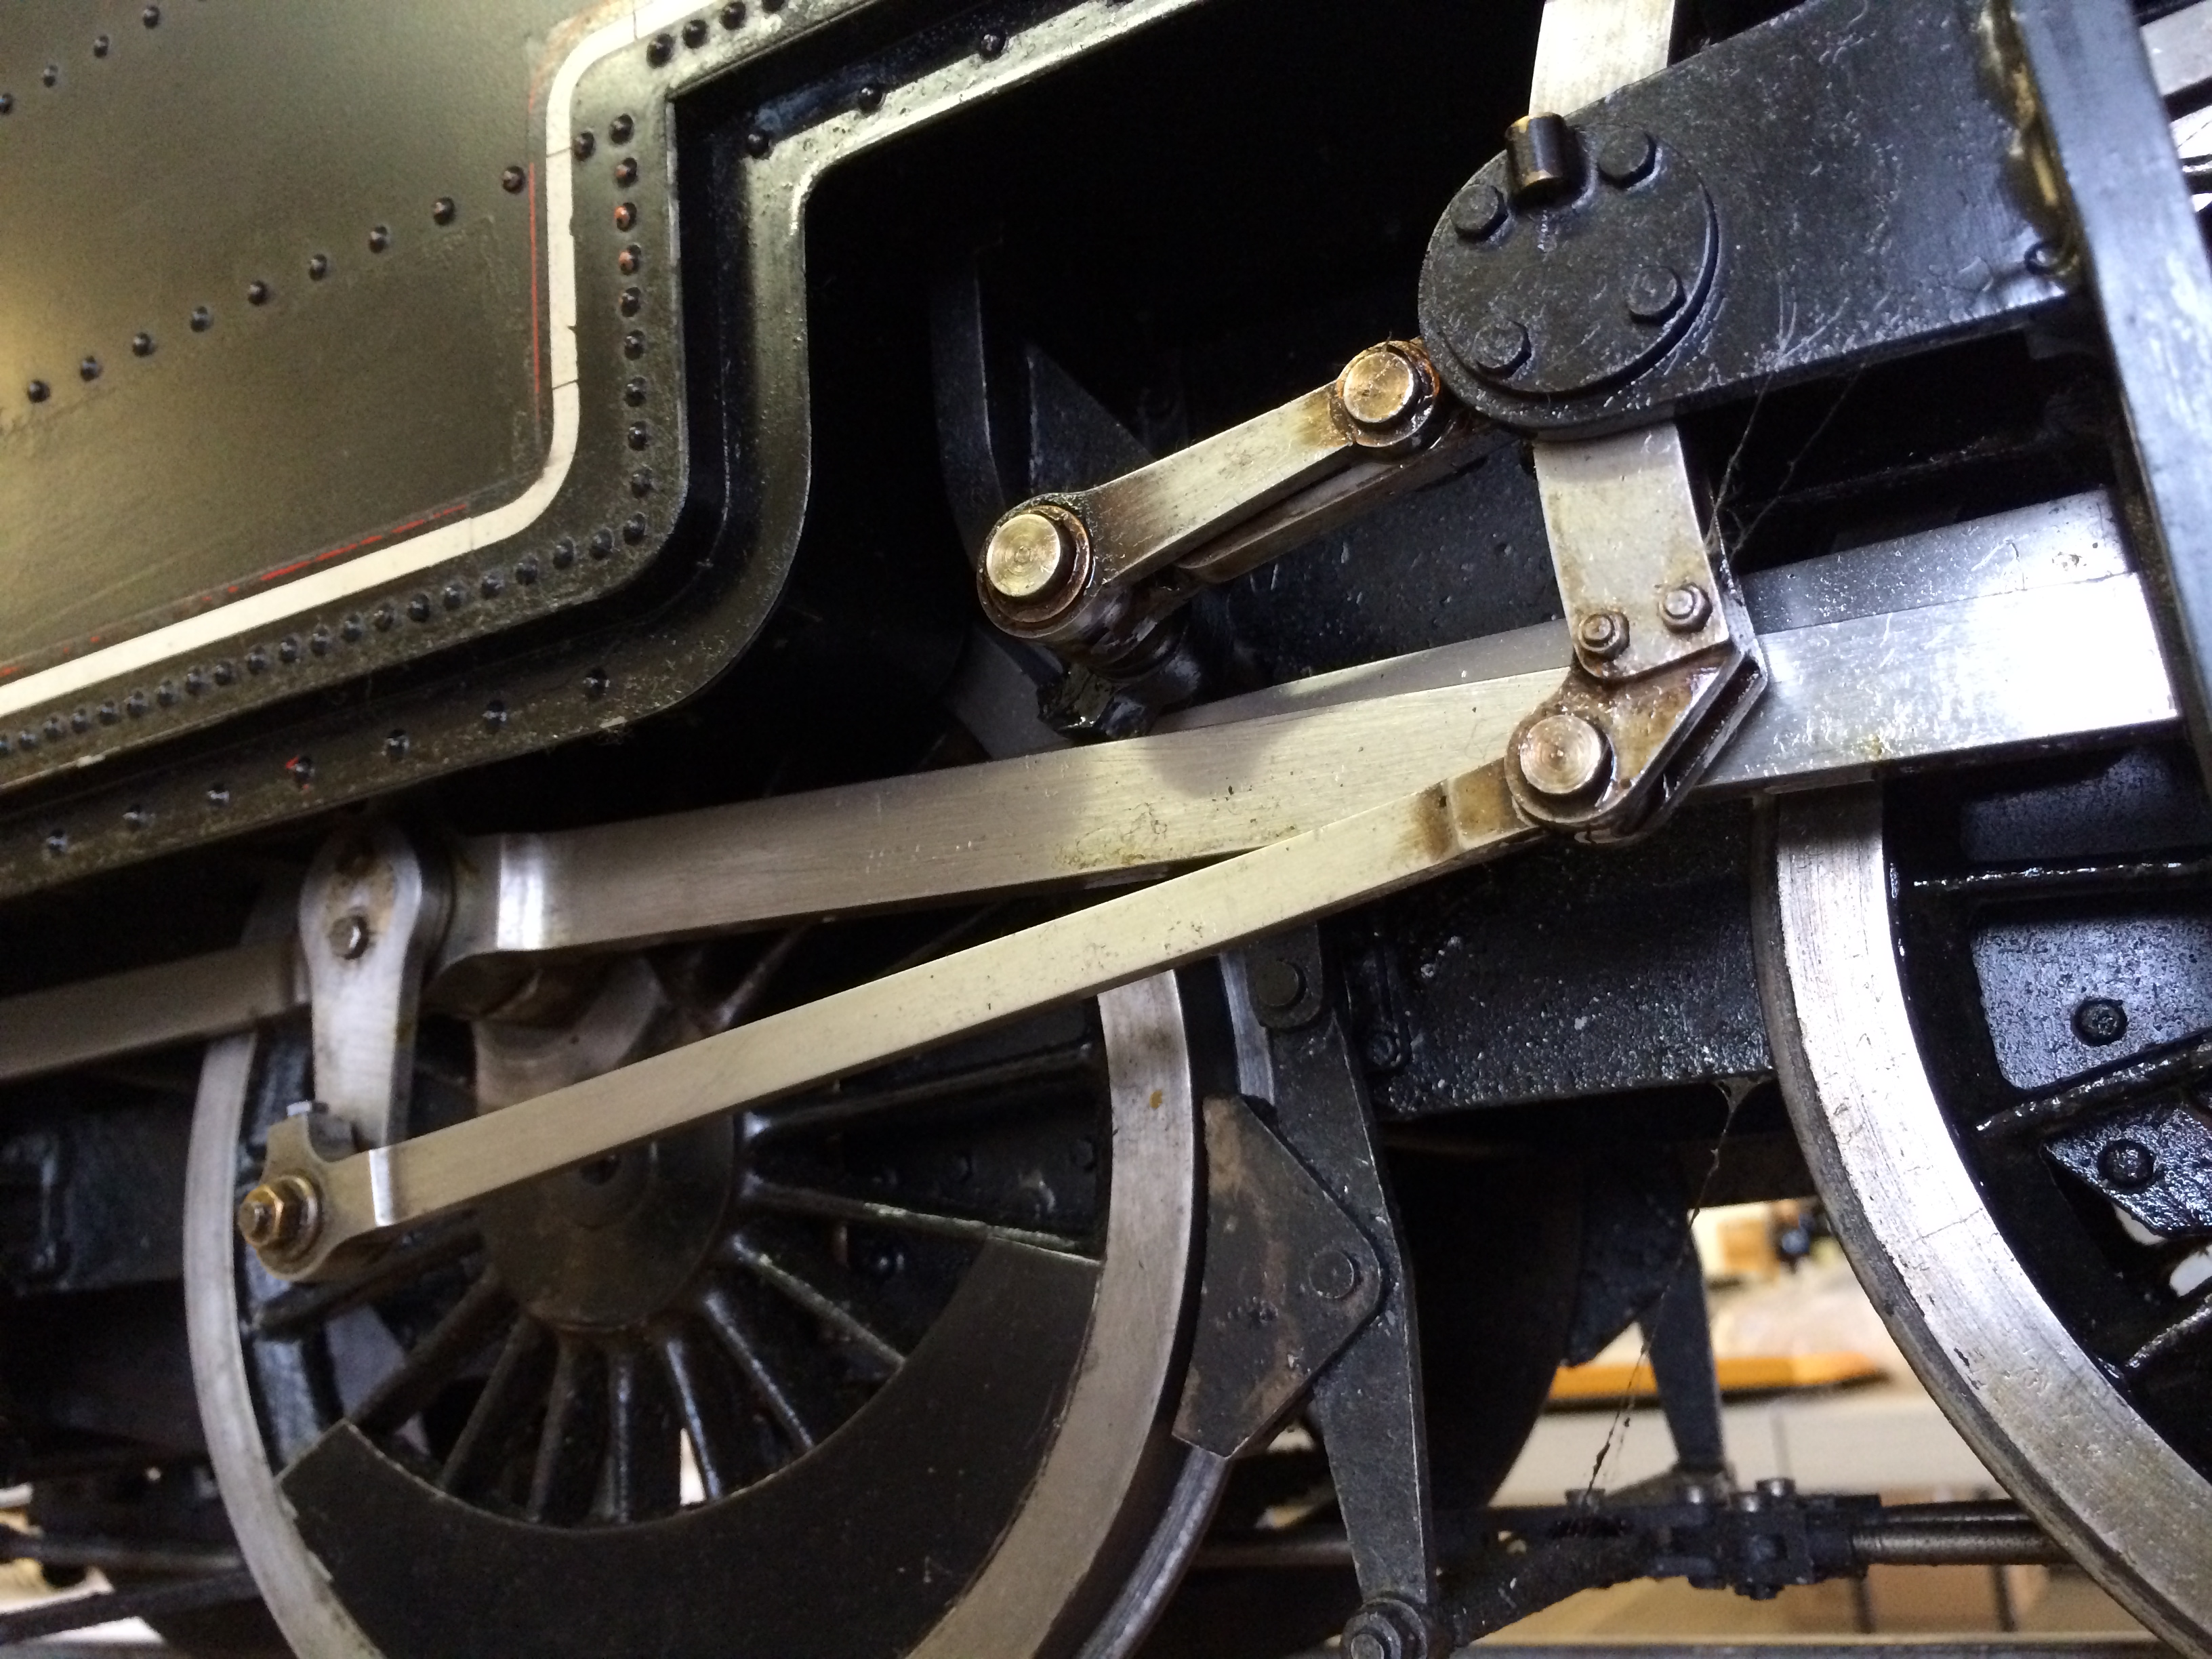
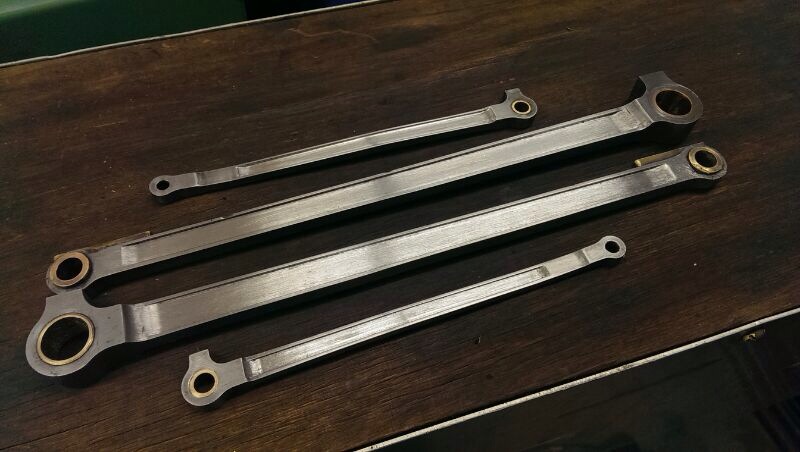
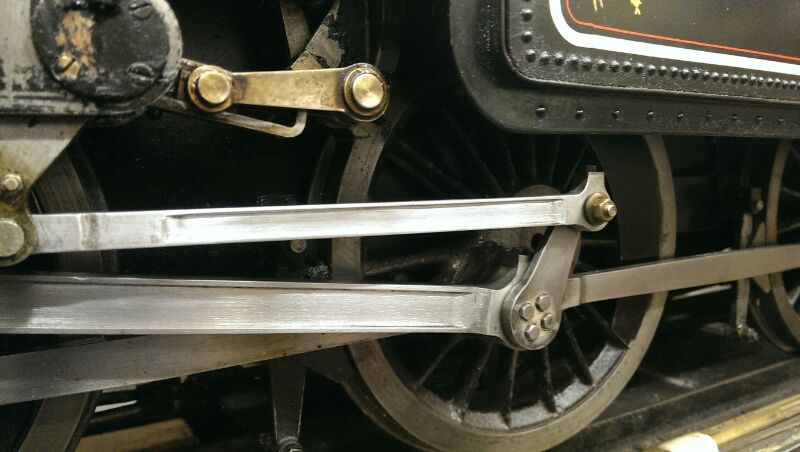
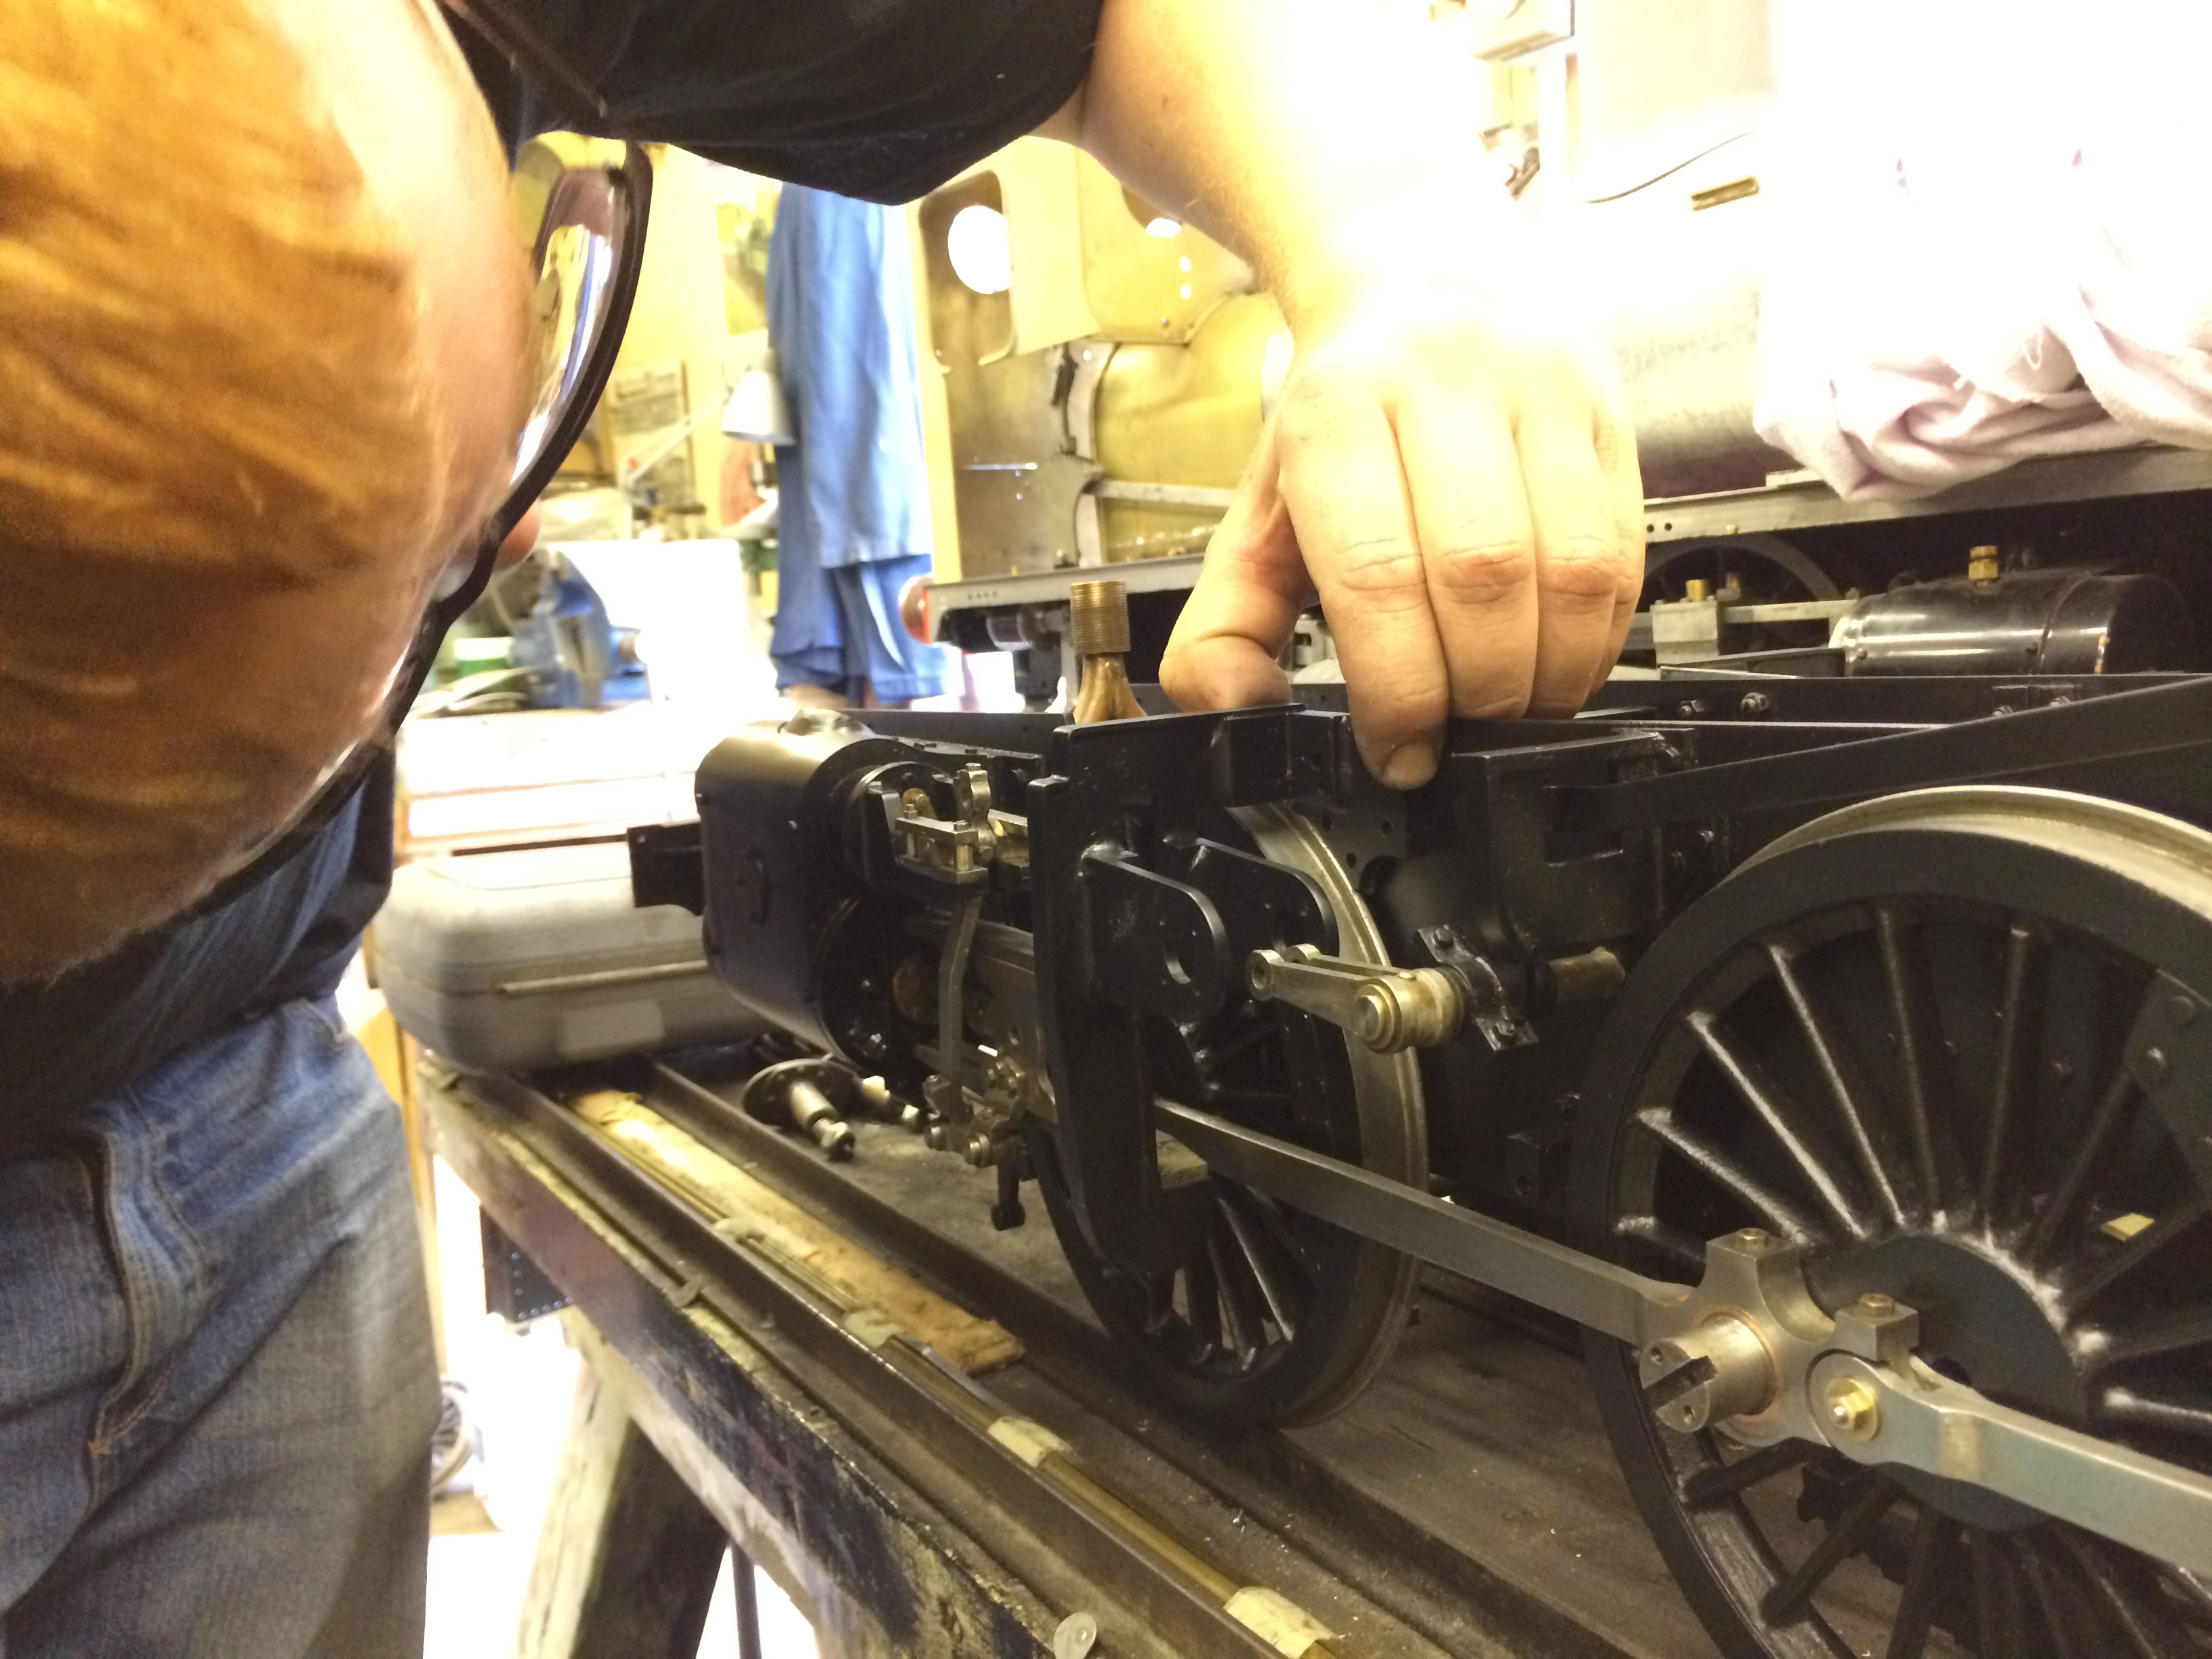
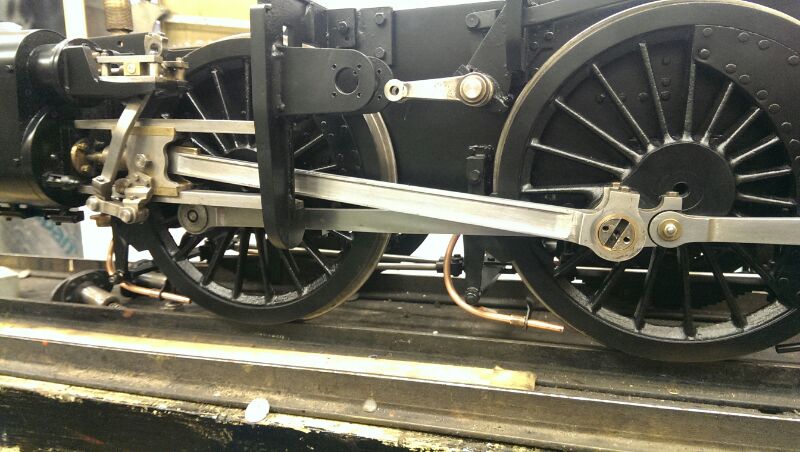
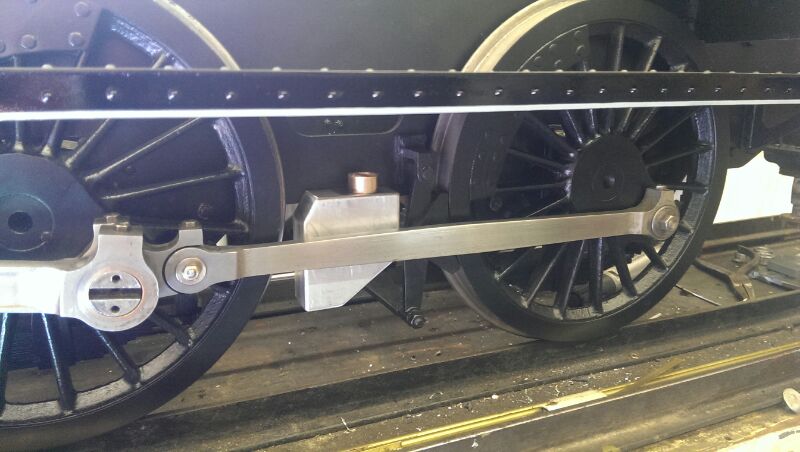
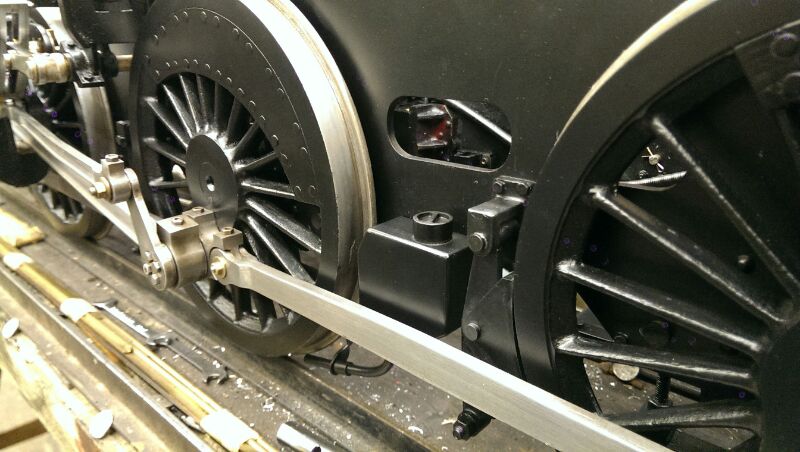
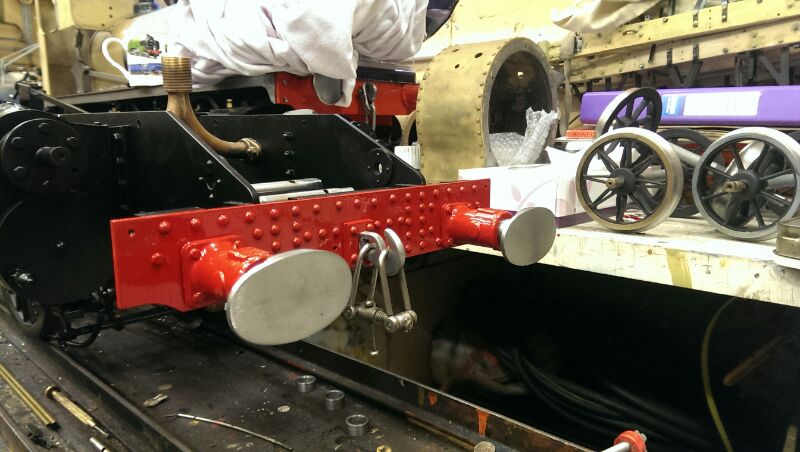
The first thing we did here was whip off the connecting rod and radius rod. They were just plainly machined, and the prototypes were obviously fluted. Also there were only 2 bolts through the return crank, where as the full size Stanier practice was for 4. They are not absolutely perfect scale, as we were working with what was already there, but they do a pretty good job of approximating the reality, and certainly look much better than the original 2.
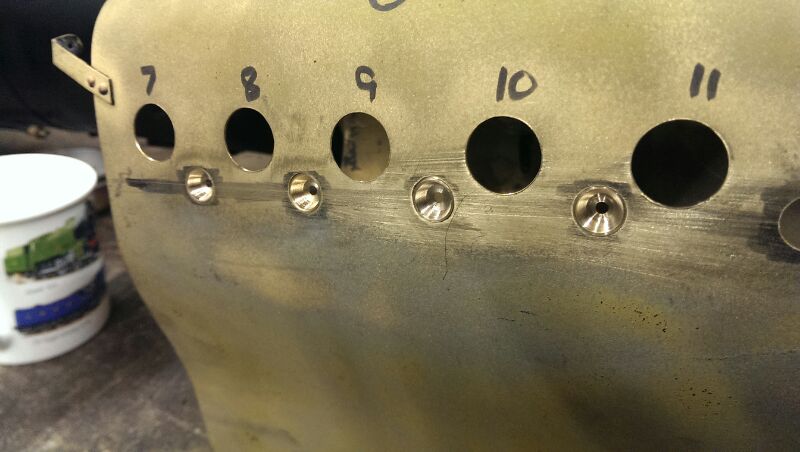
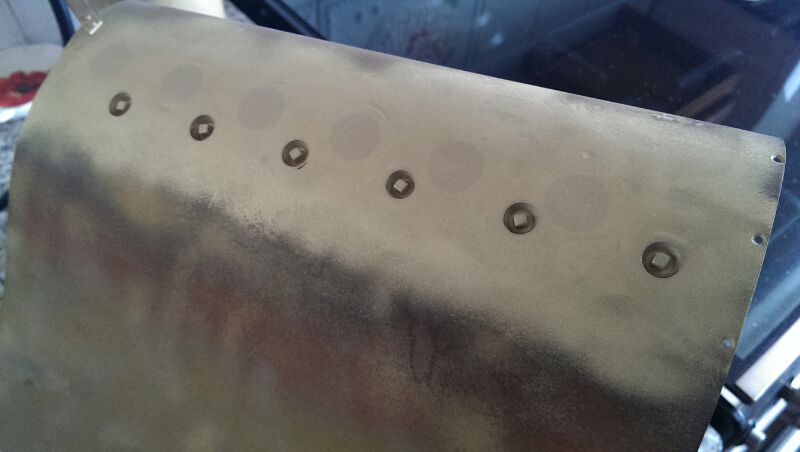
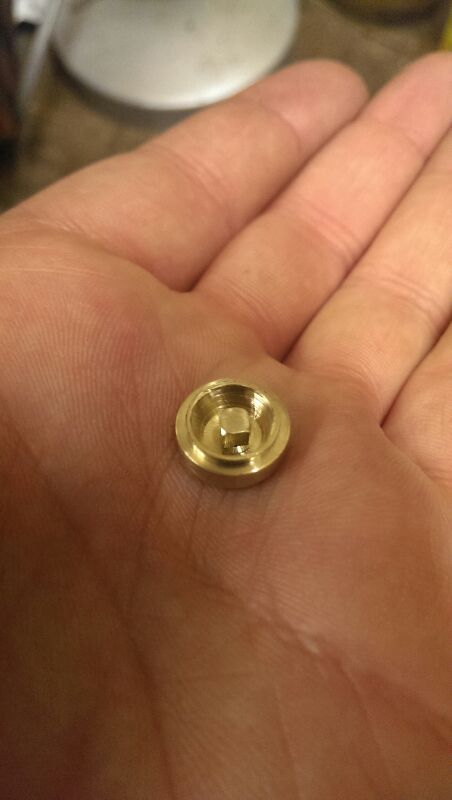
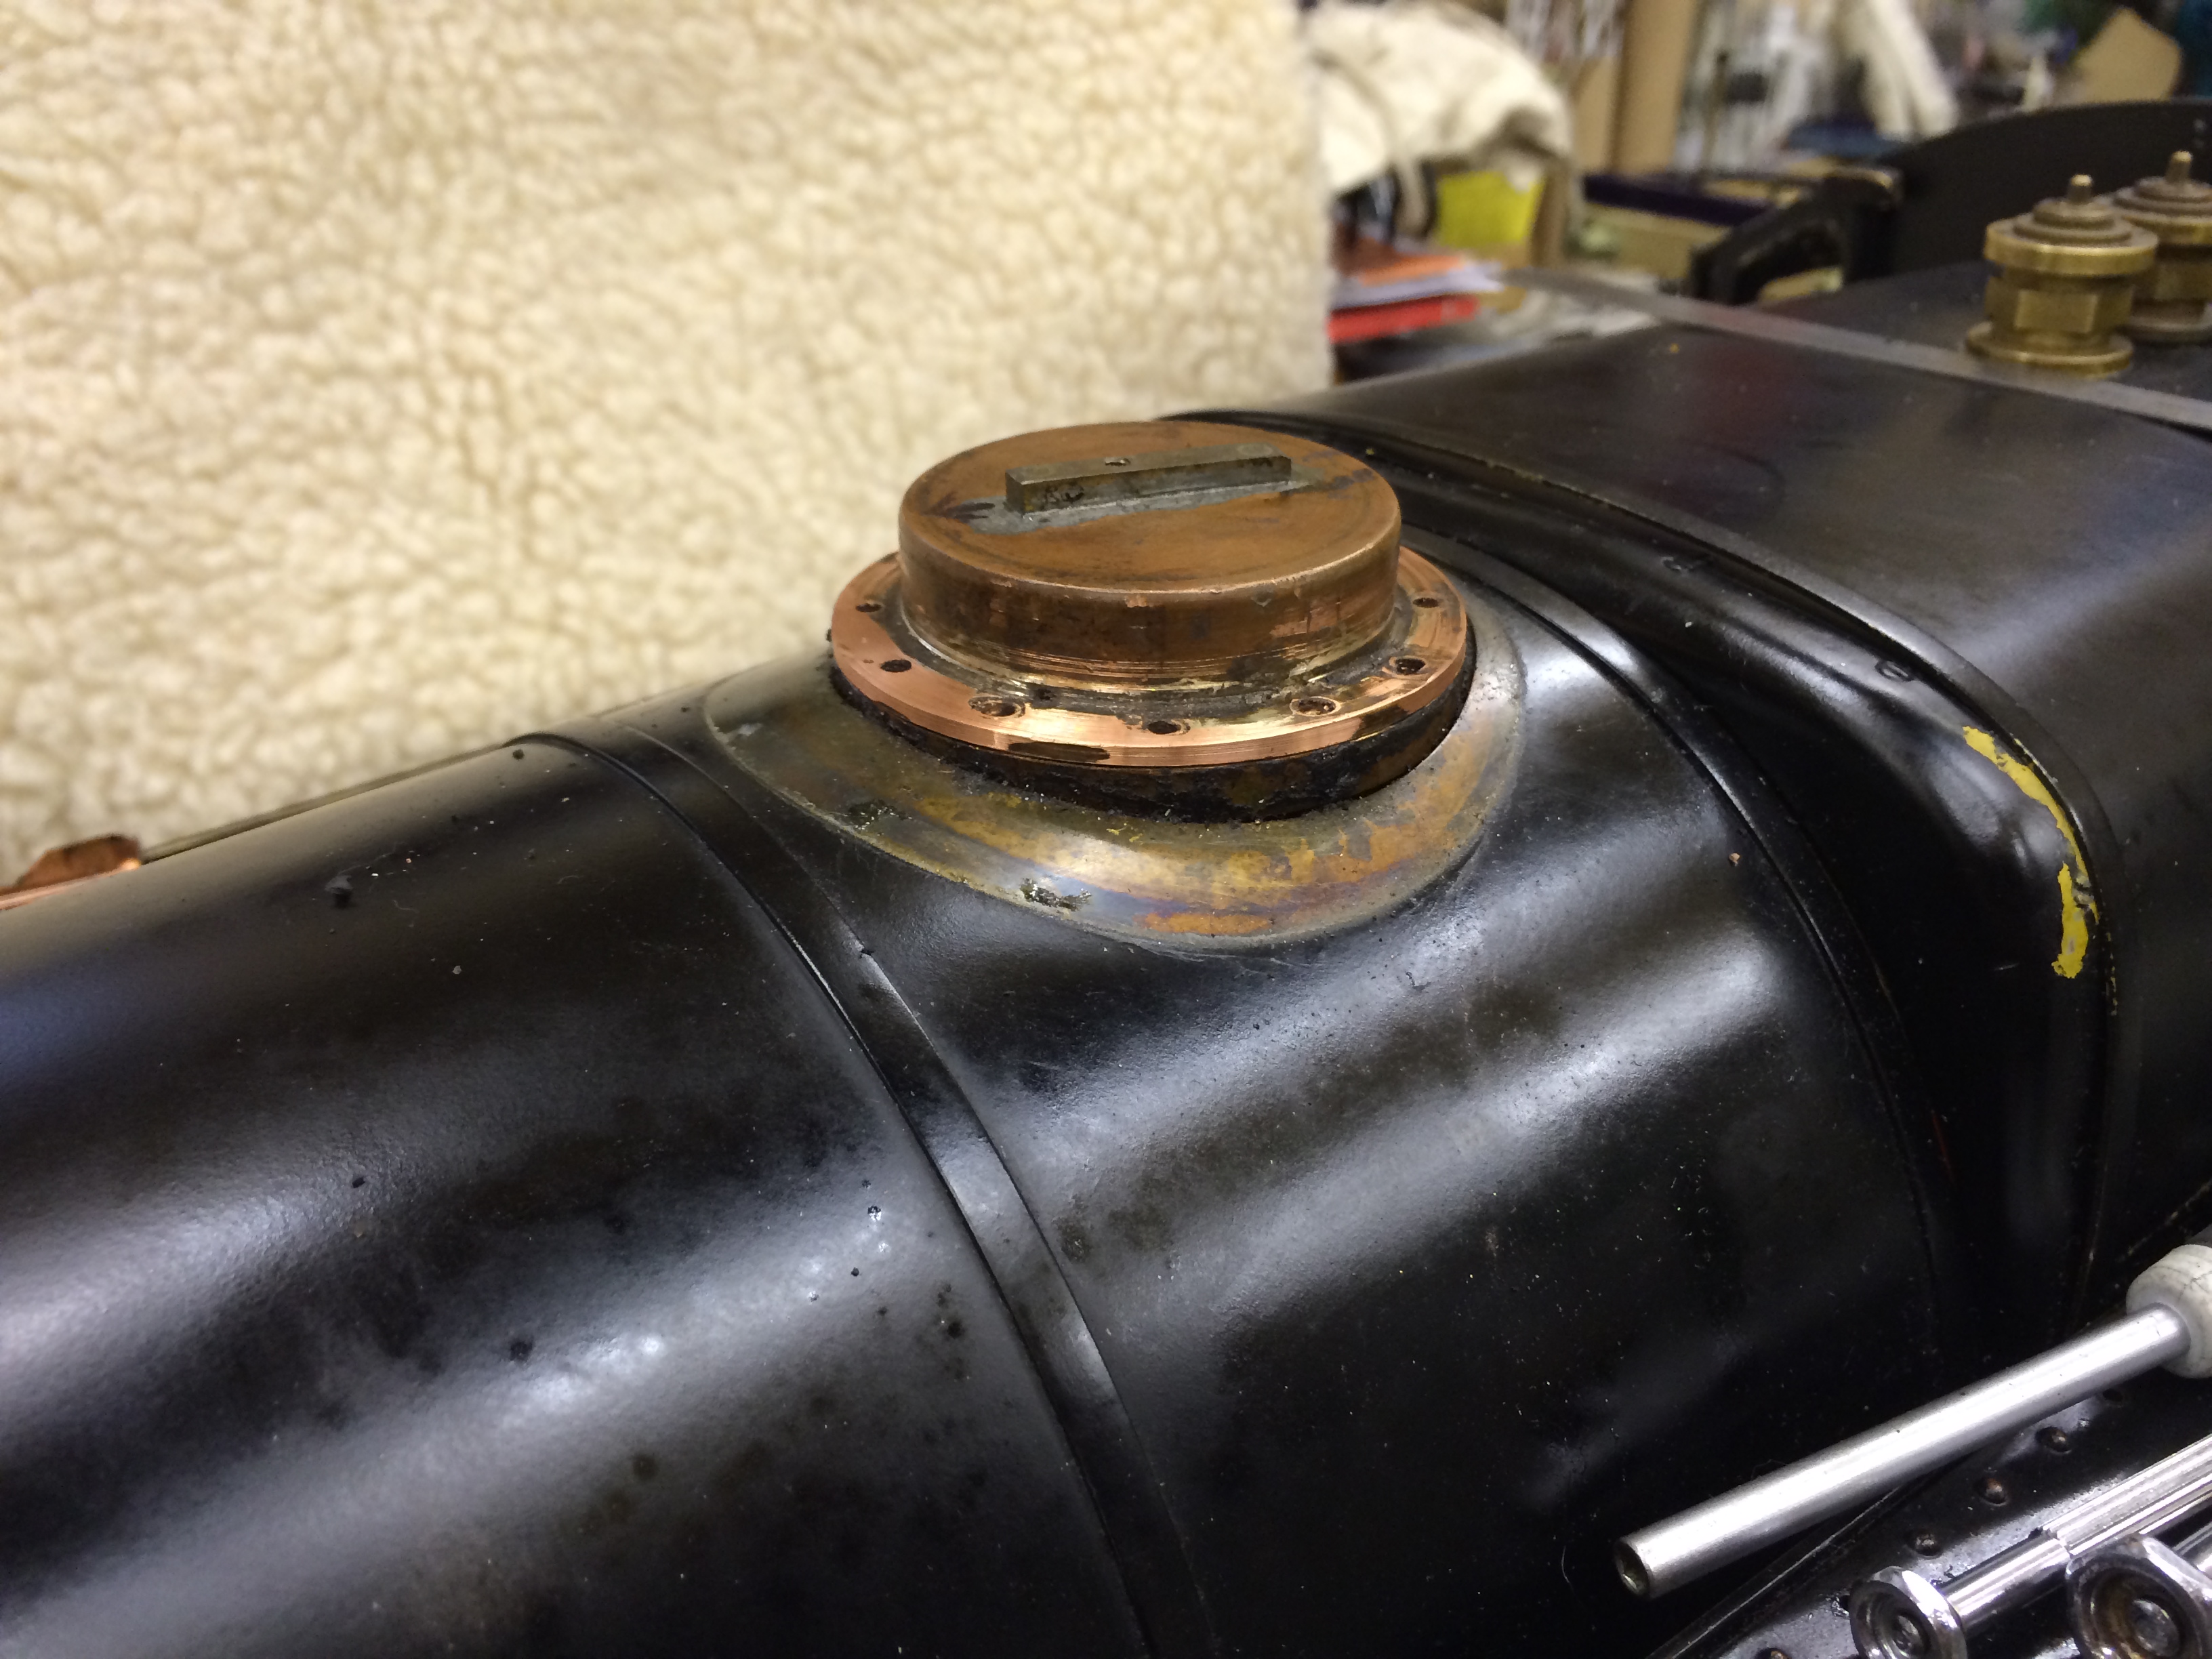
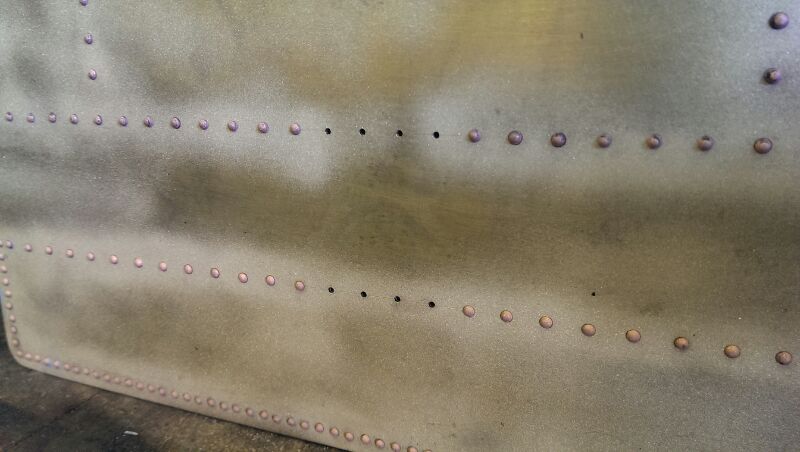
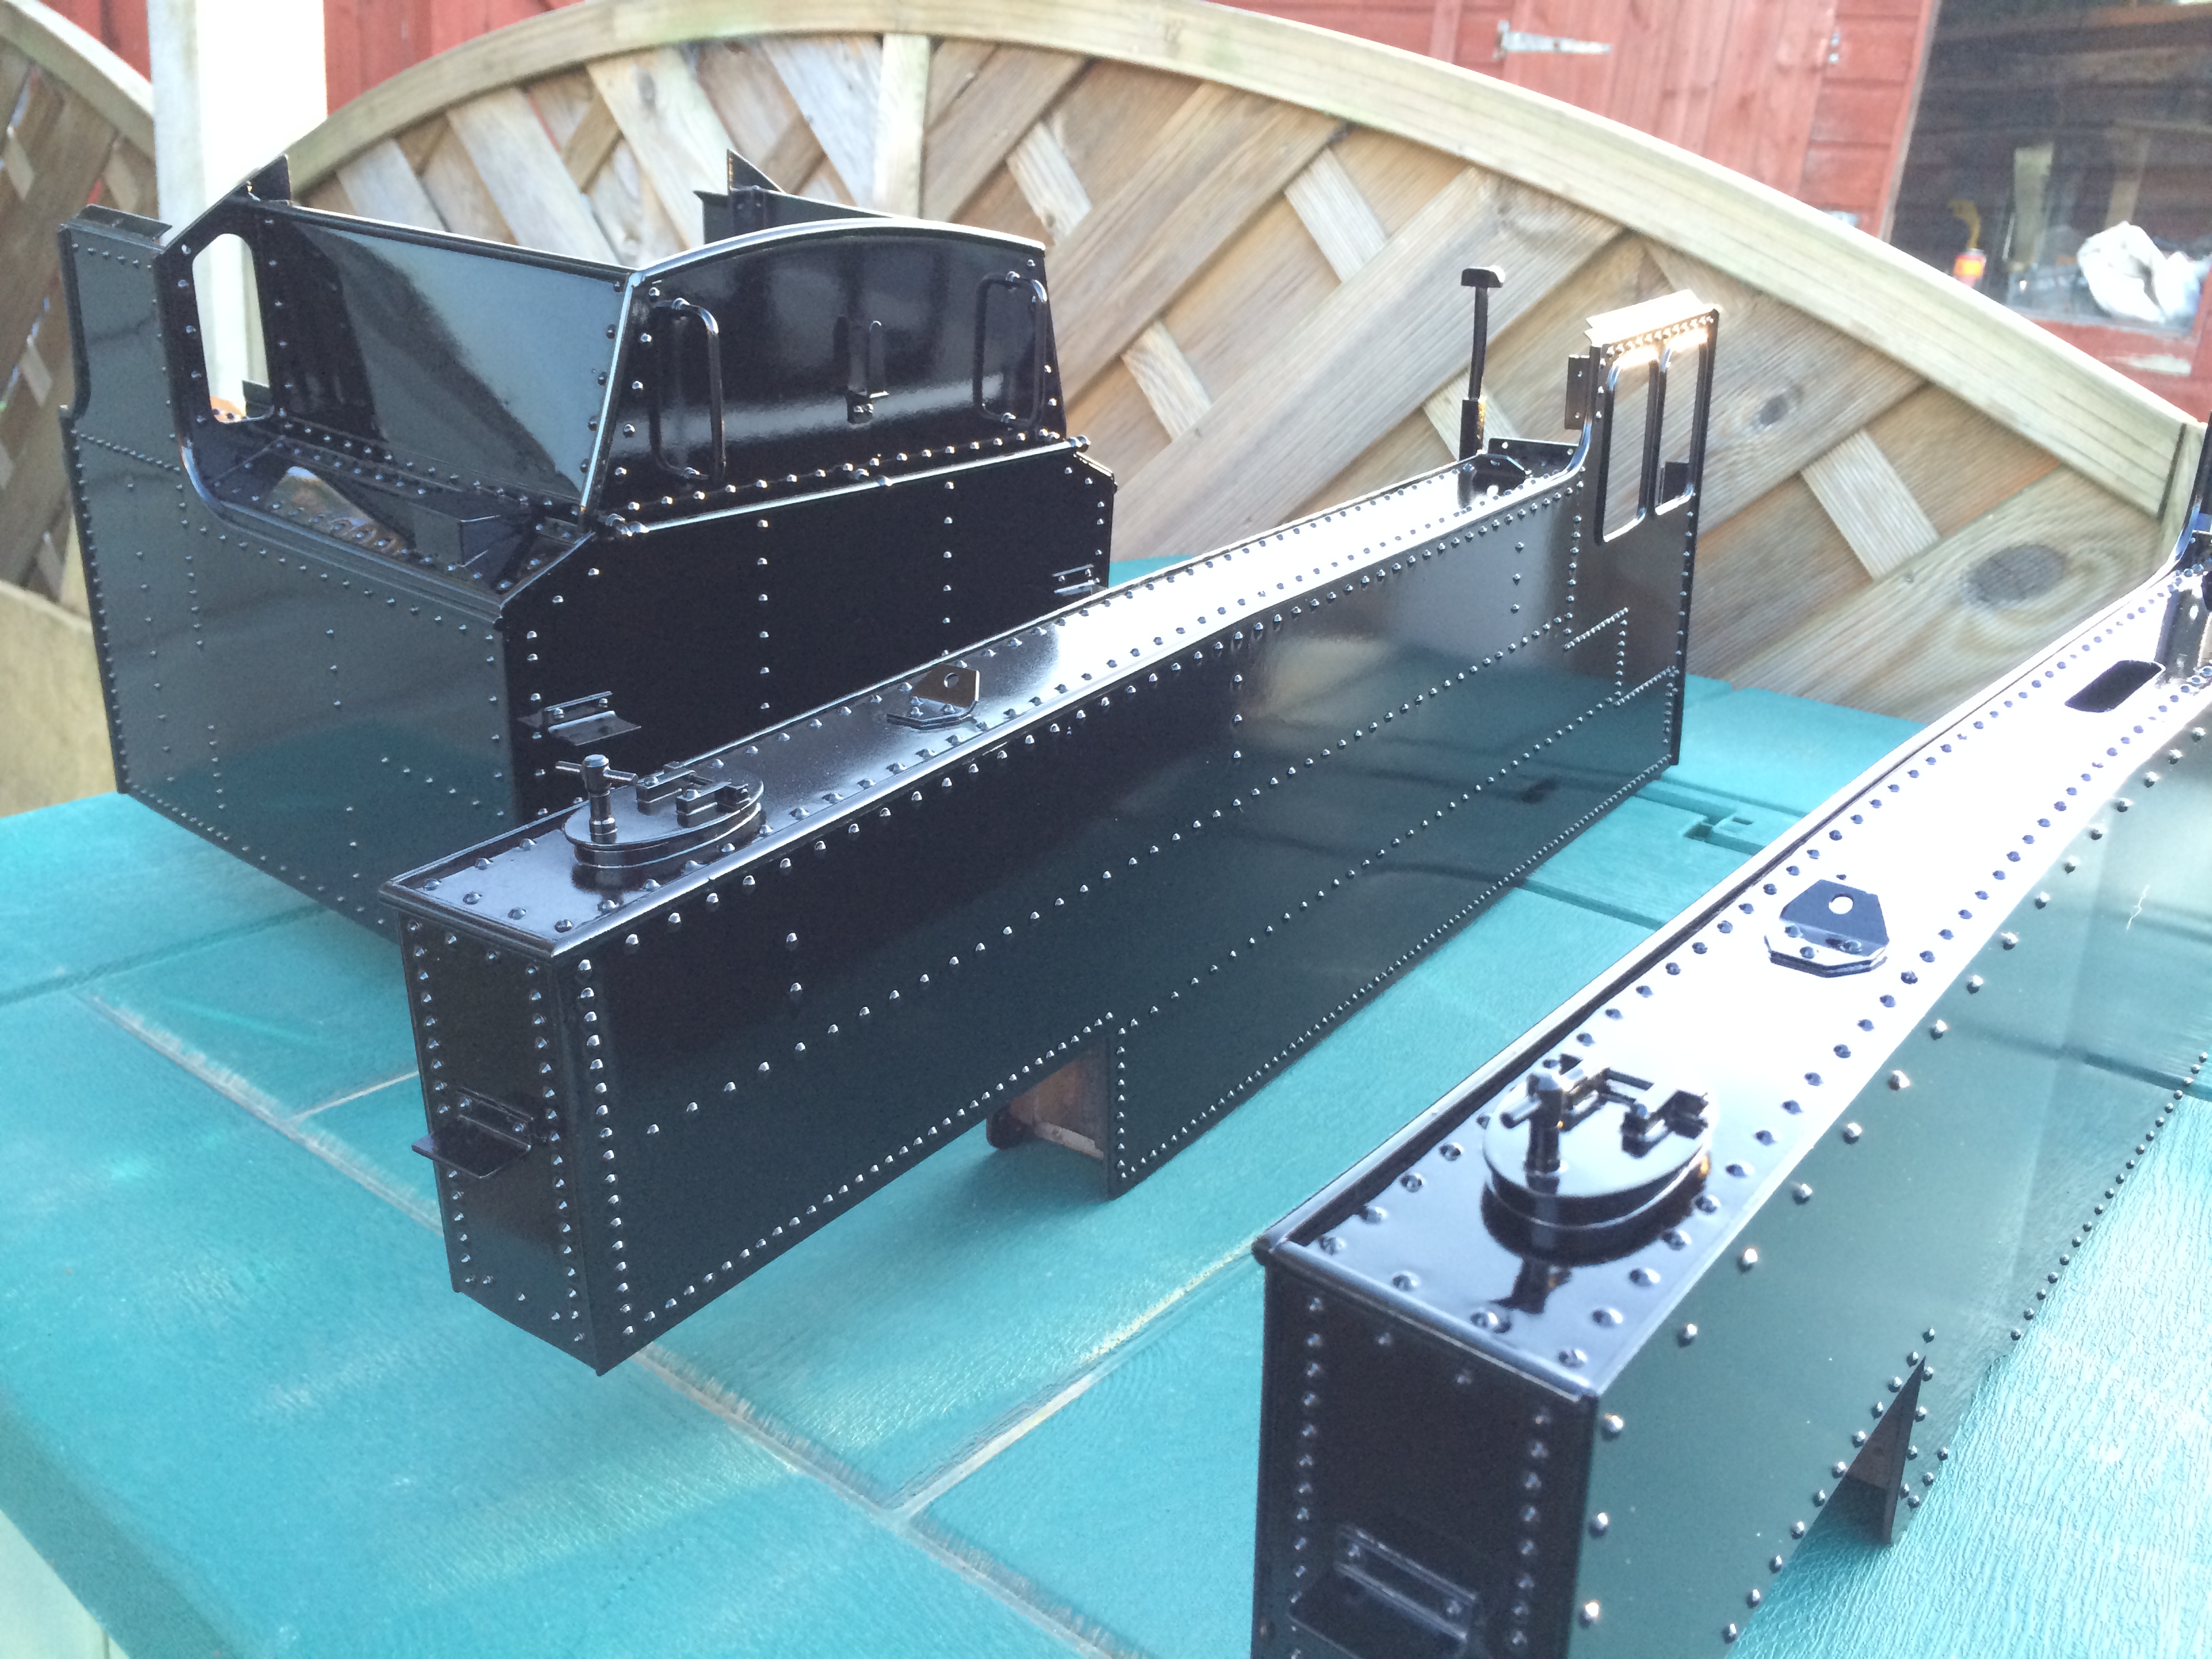
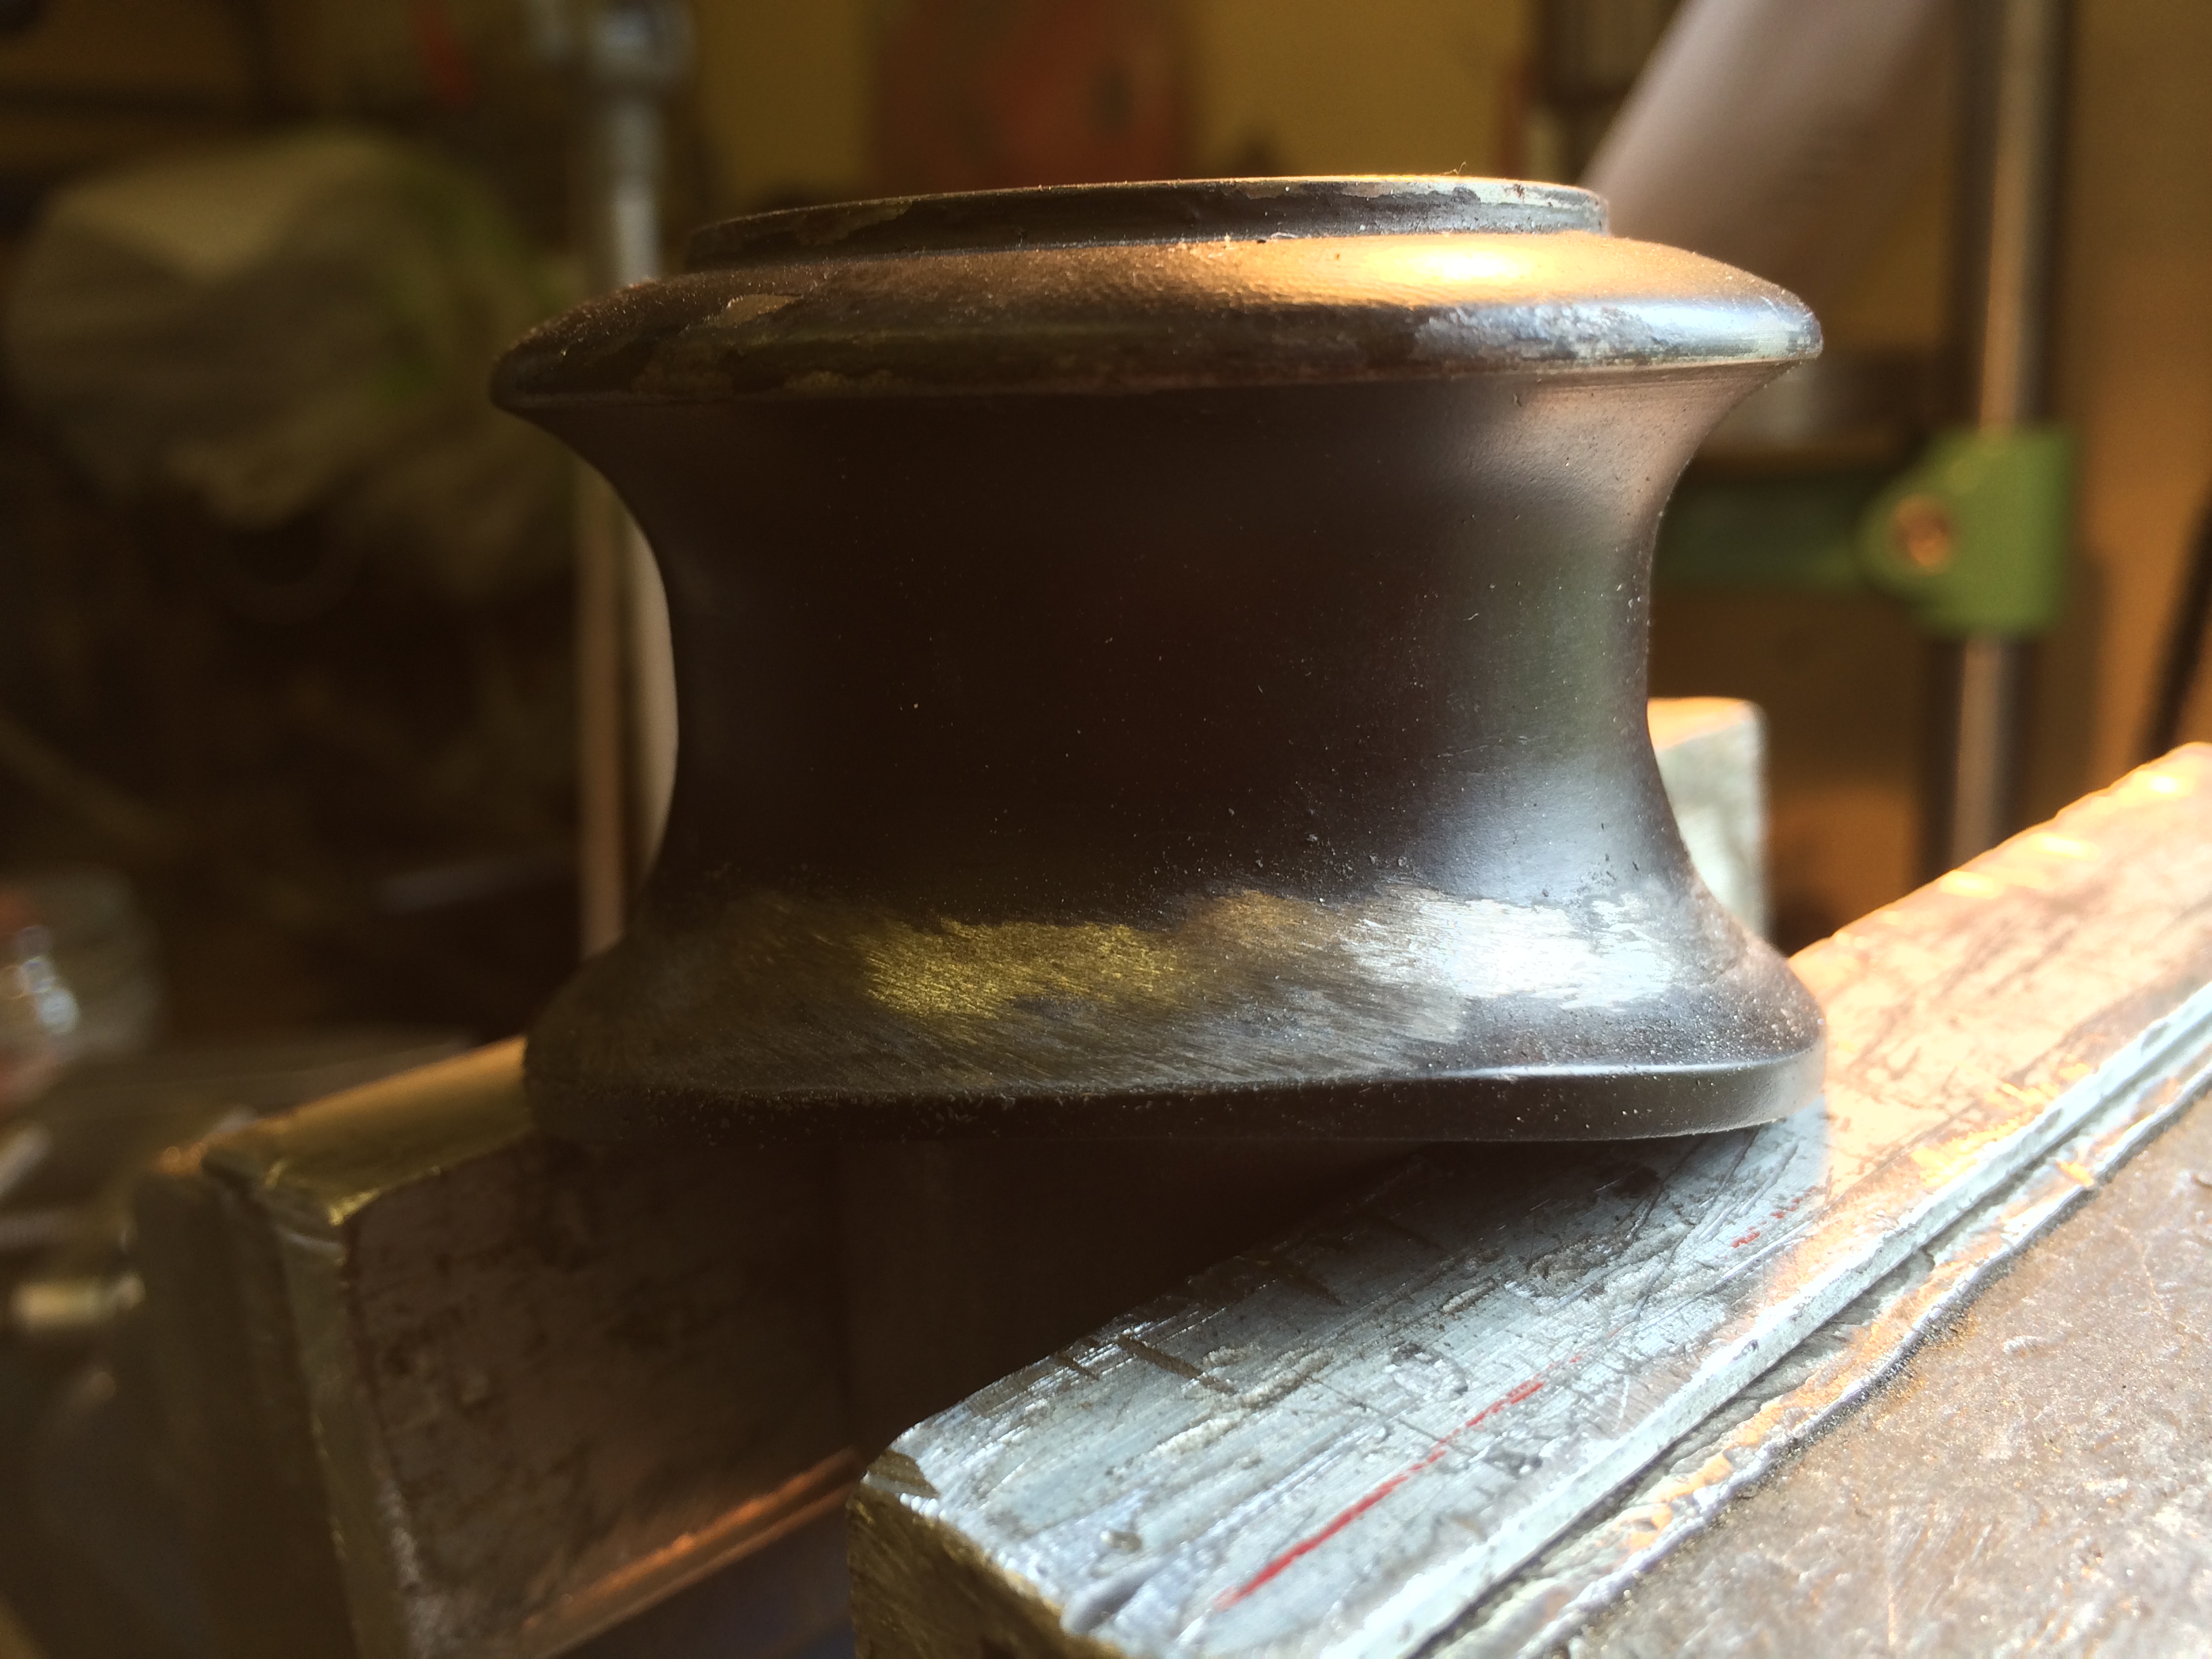
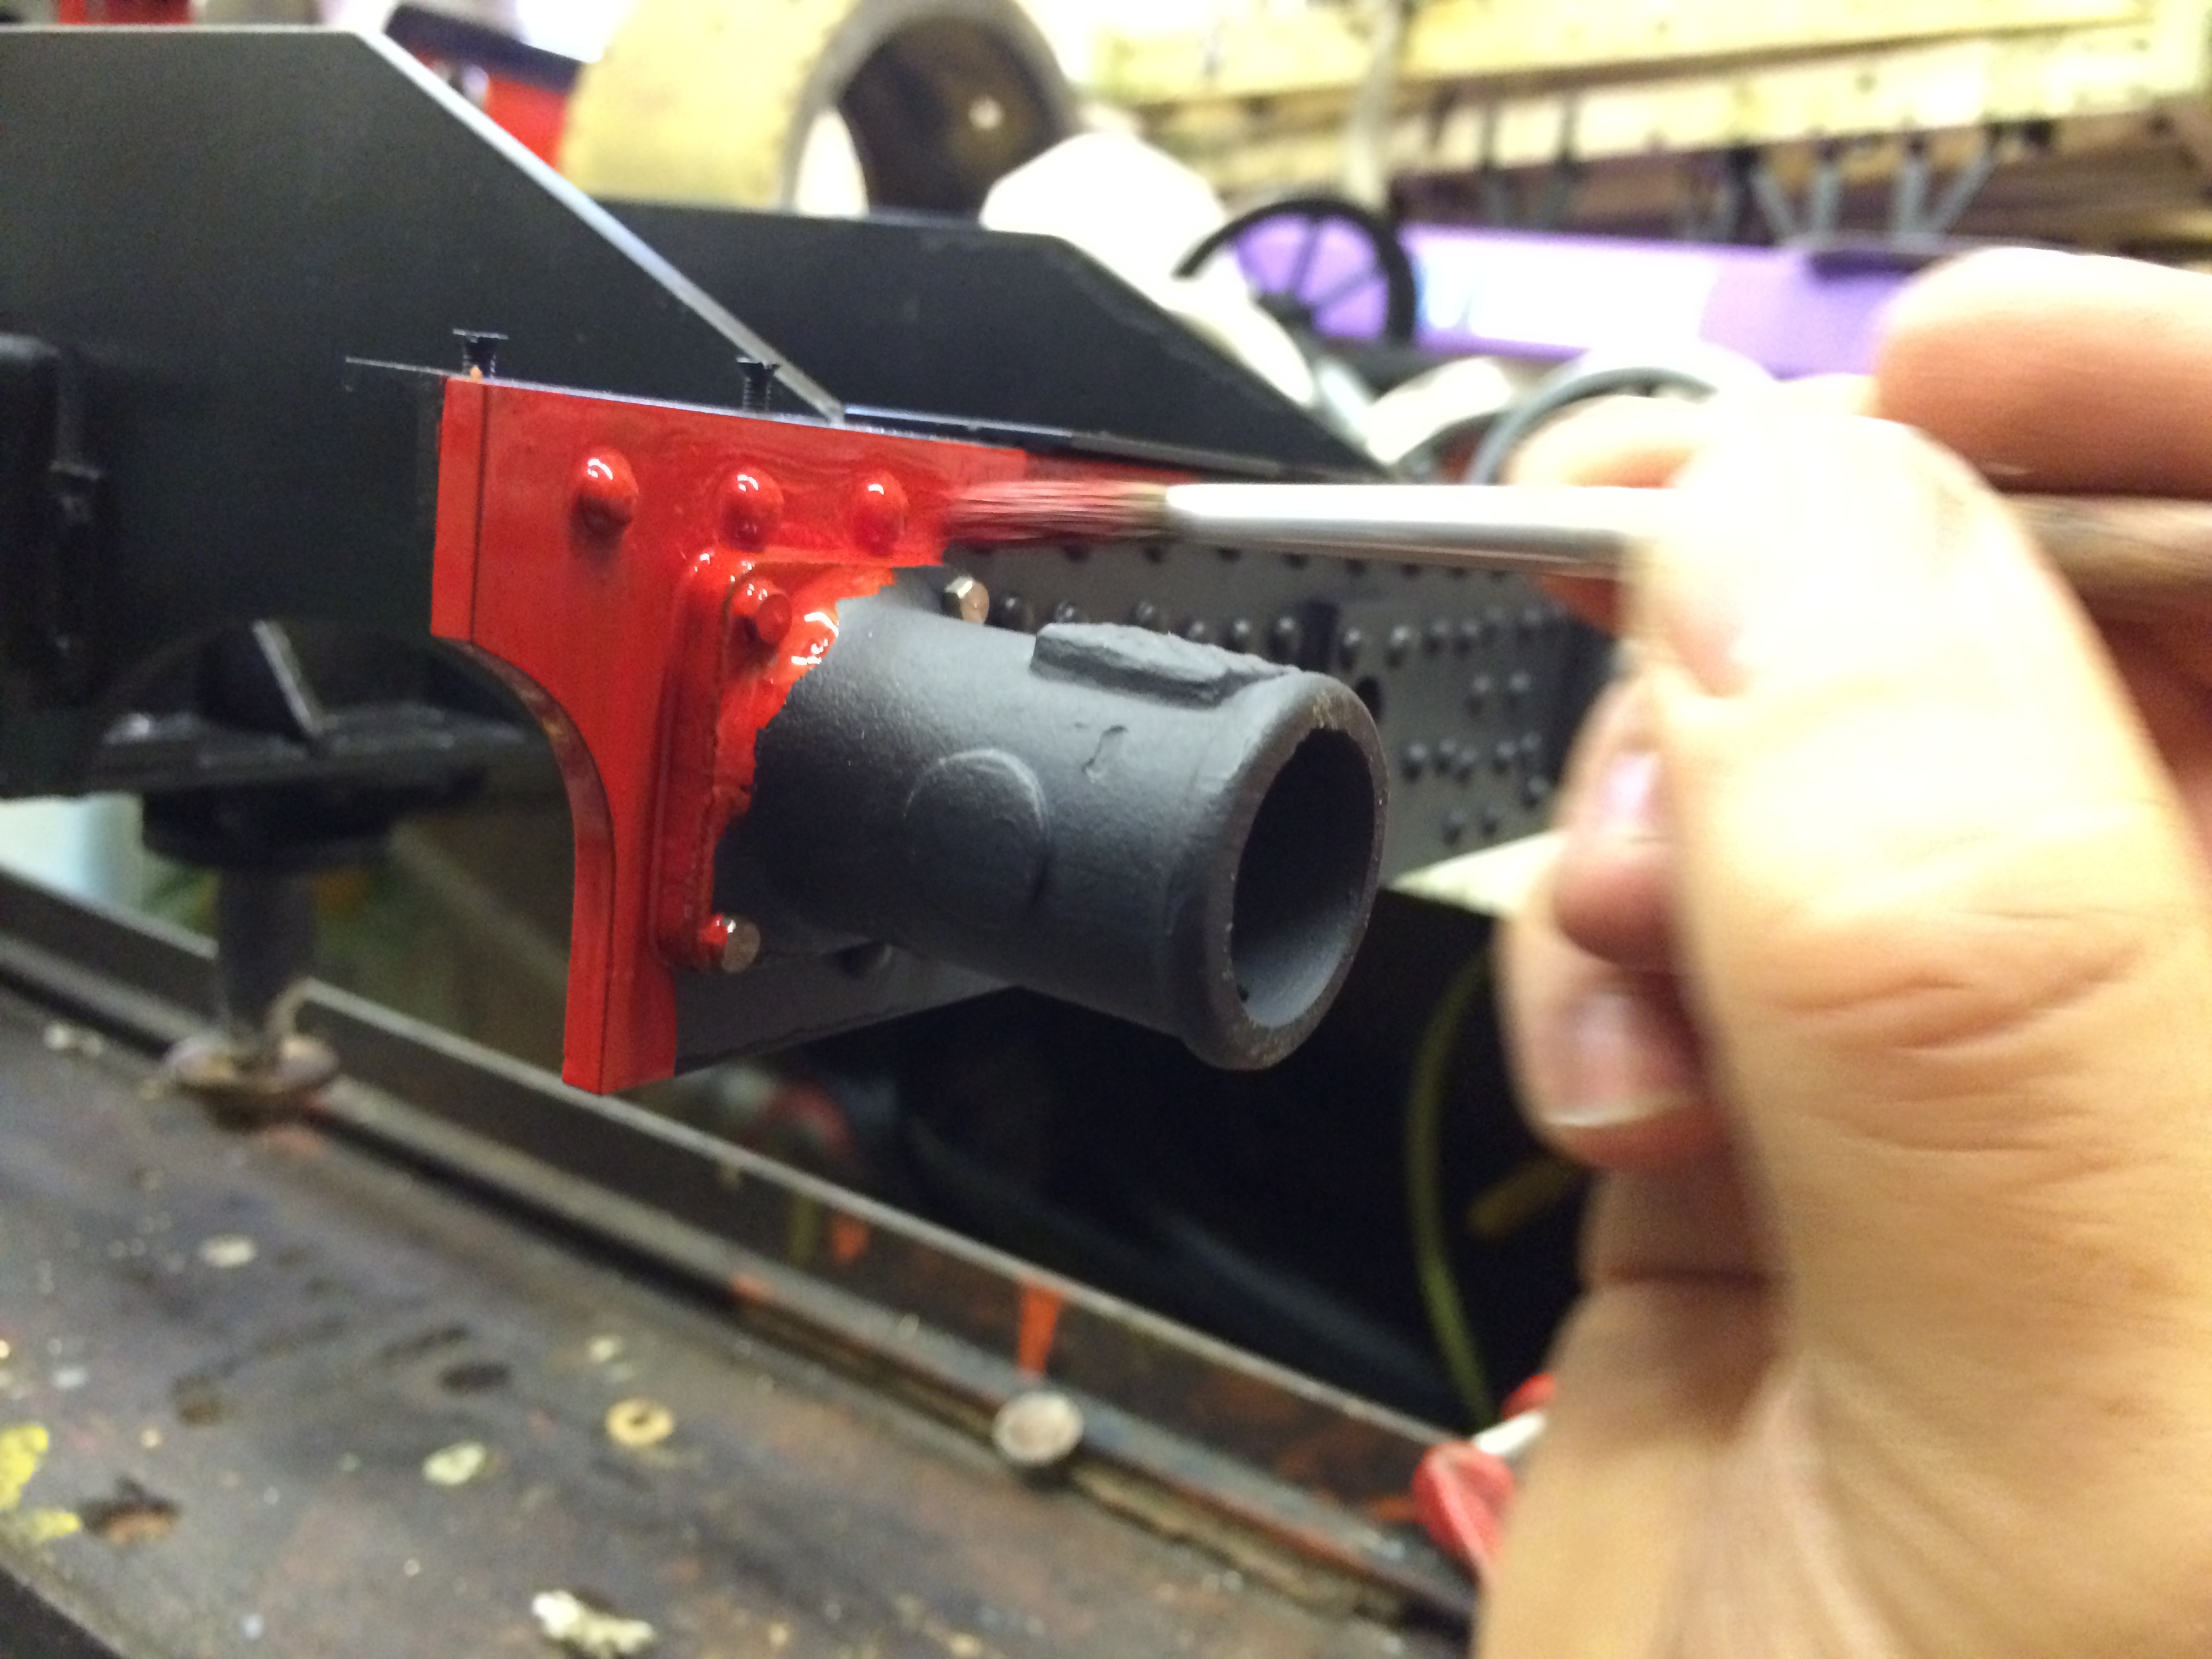
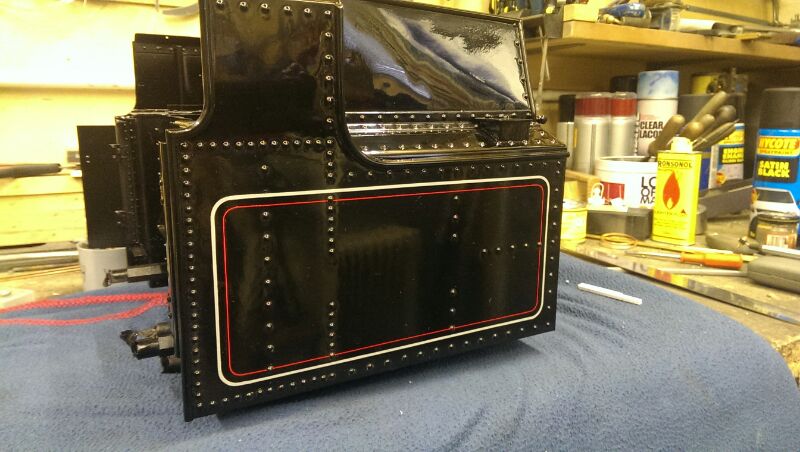
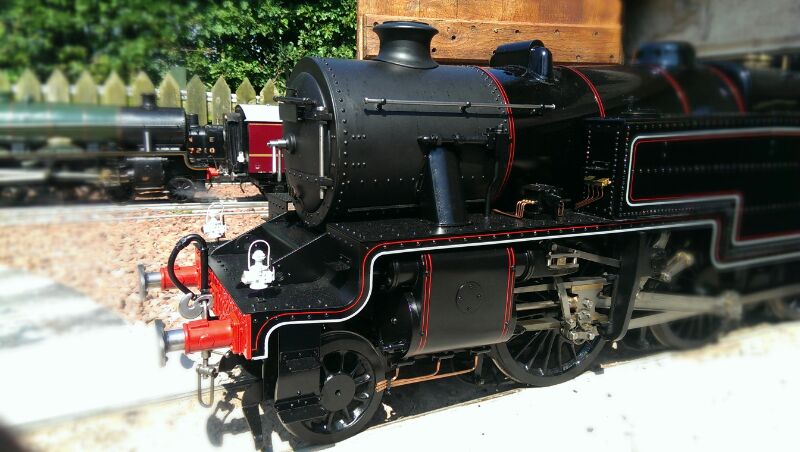
The most offensive visual aspect of the model as it arrived were the huge square stay nuts protruding through the firebox cladding. We've no idea why people do this, as they are structurally inert, and look hugely clumsy! So off they came. The stays were then taken back to clear the cladding, the clearance holes filled with cut brass sheet silver soldered in, and new correct scale washout plug holes measured out and cut in. Dummy washout plugs were made to the works drawings and soldered in to solve what for us was the biggest visual scar on the model.


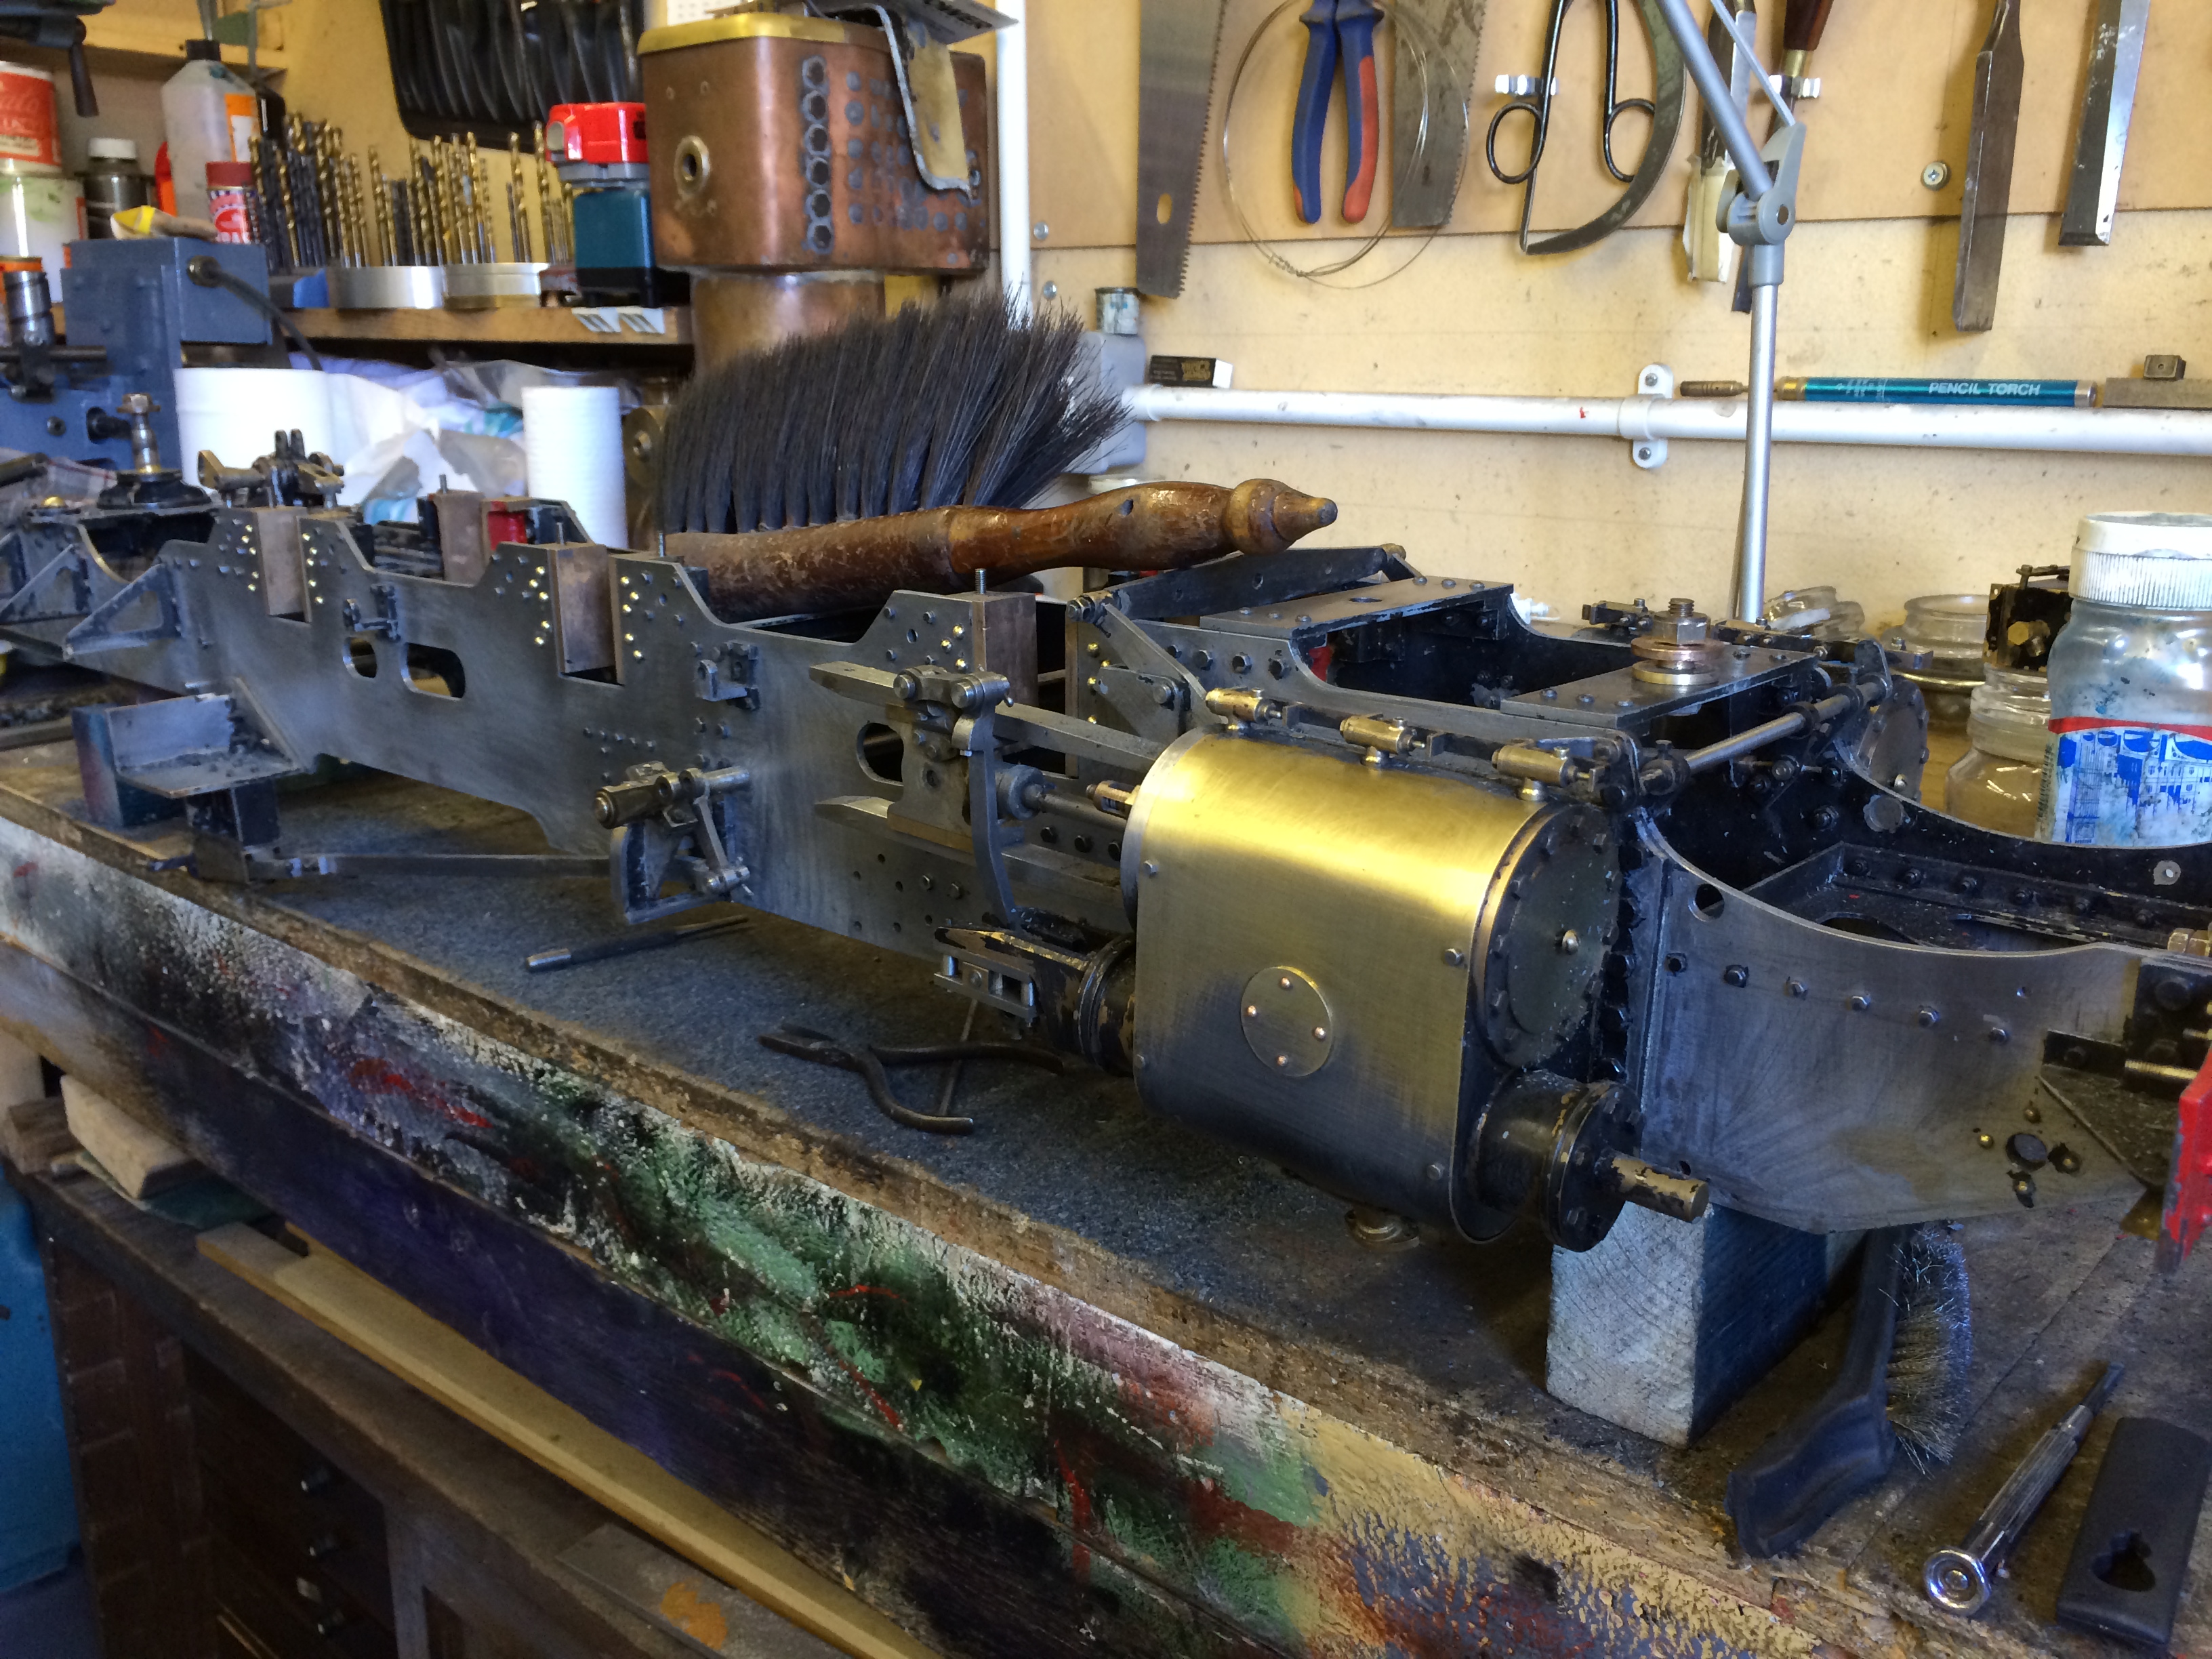
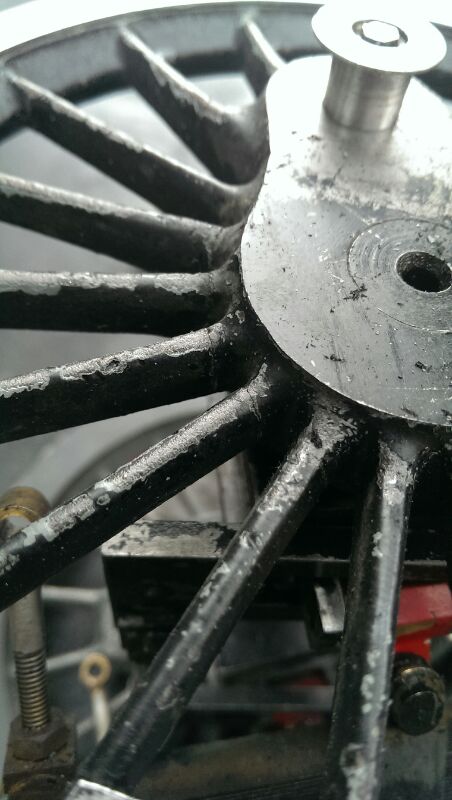
The Chassis has also been completely stripped back to bare metal for a fettle, re-bush and a repaint.
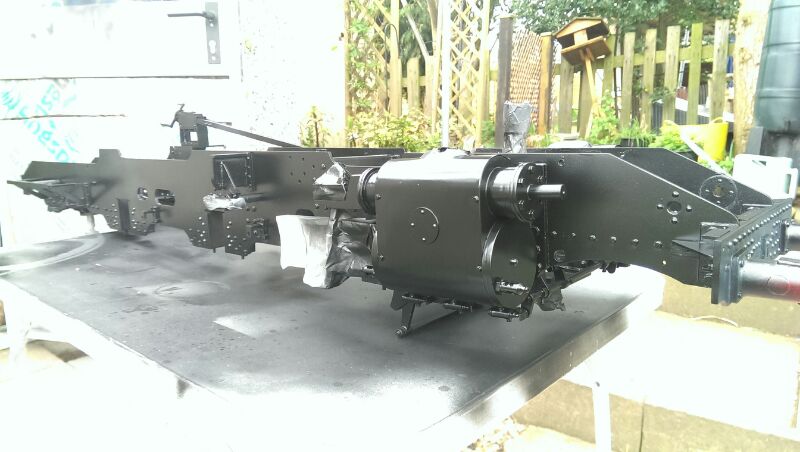
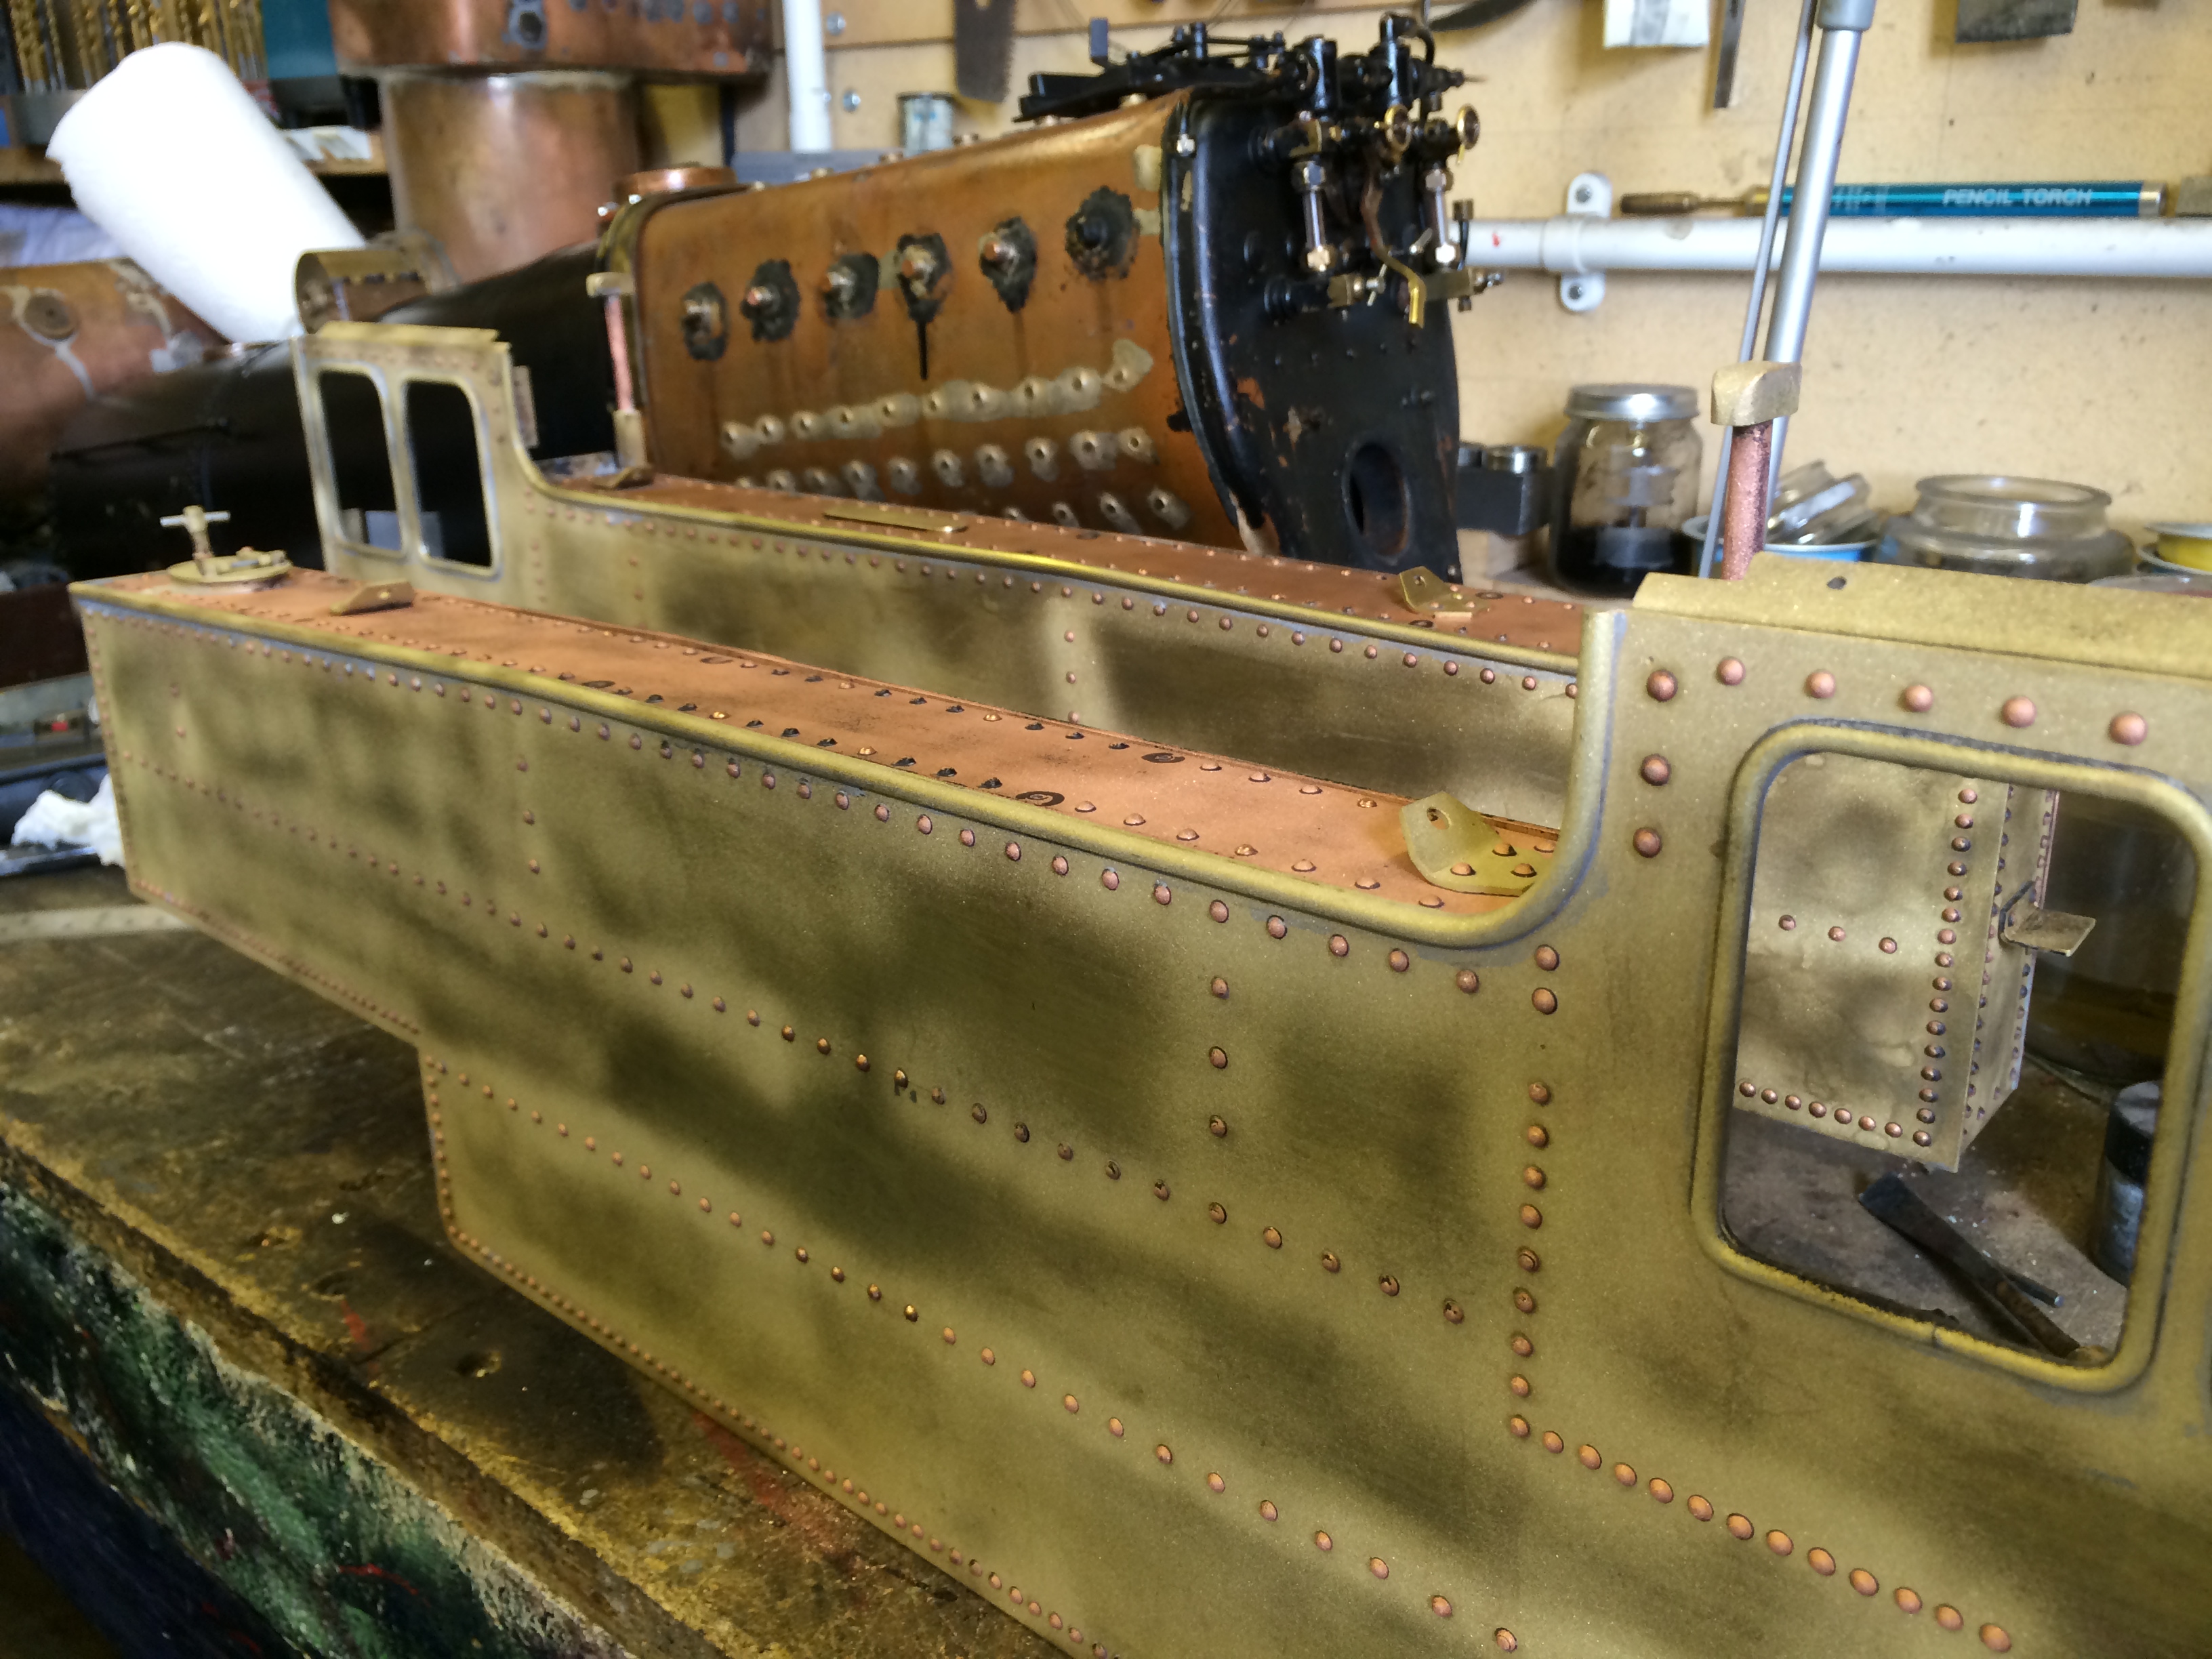
....and also now the body has had all it's additional detail sorted out, been etch primed and sprayed into it's top coat.

But then we found a little spanner in the works!!
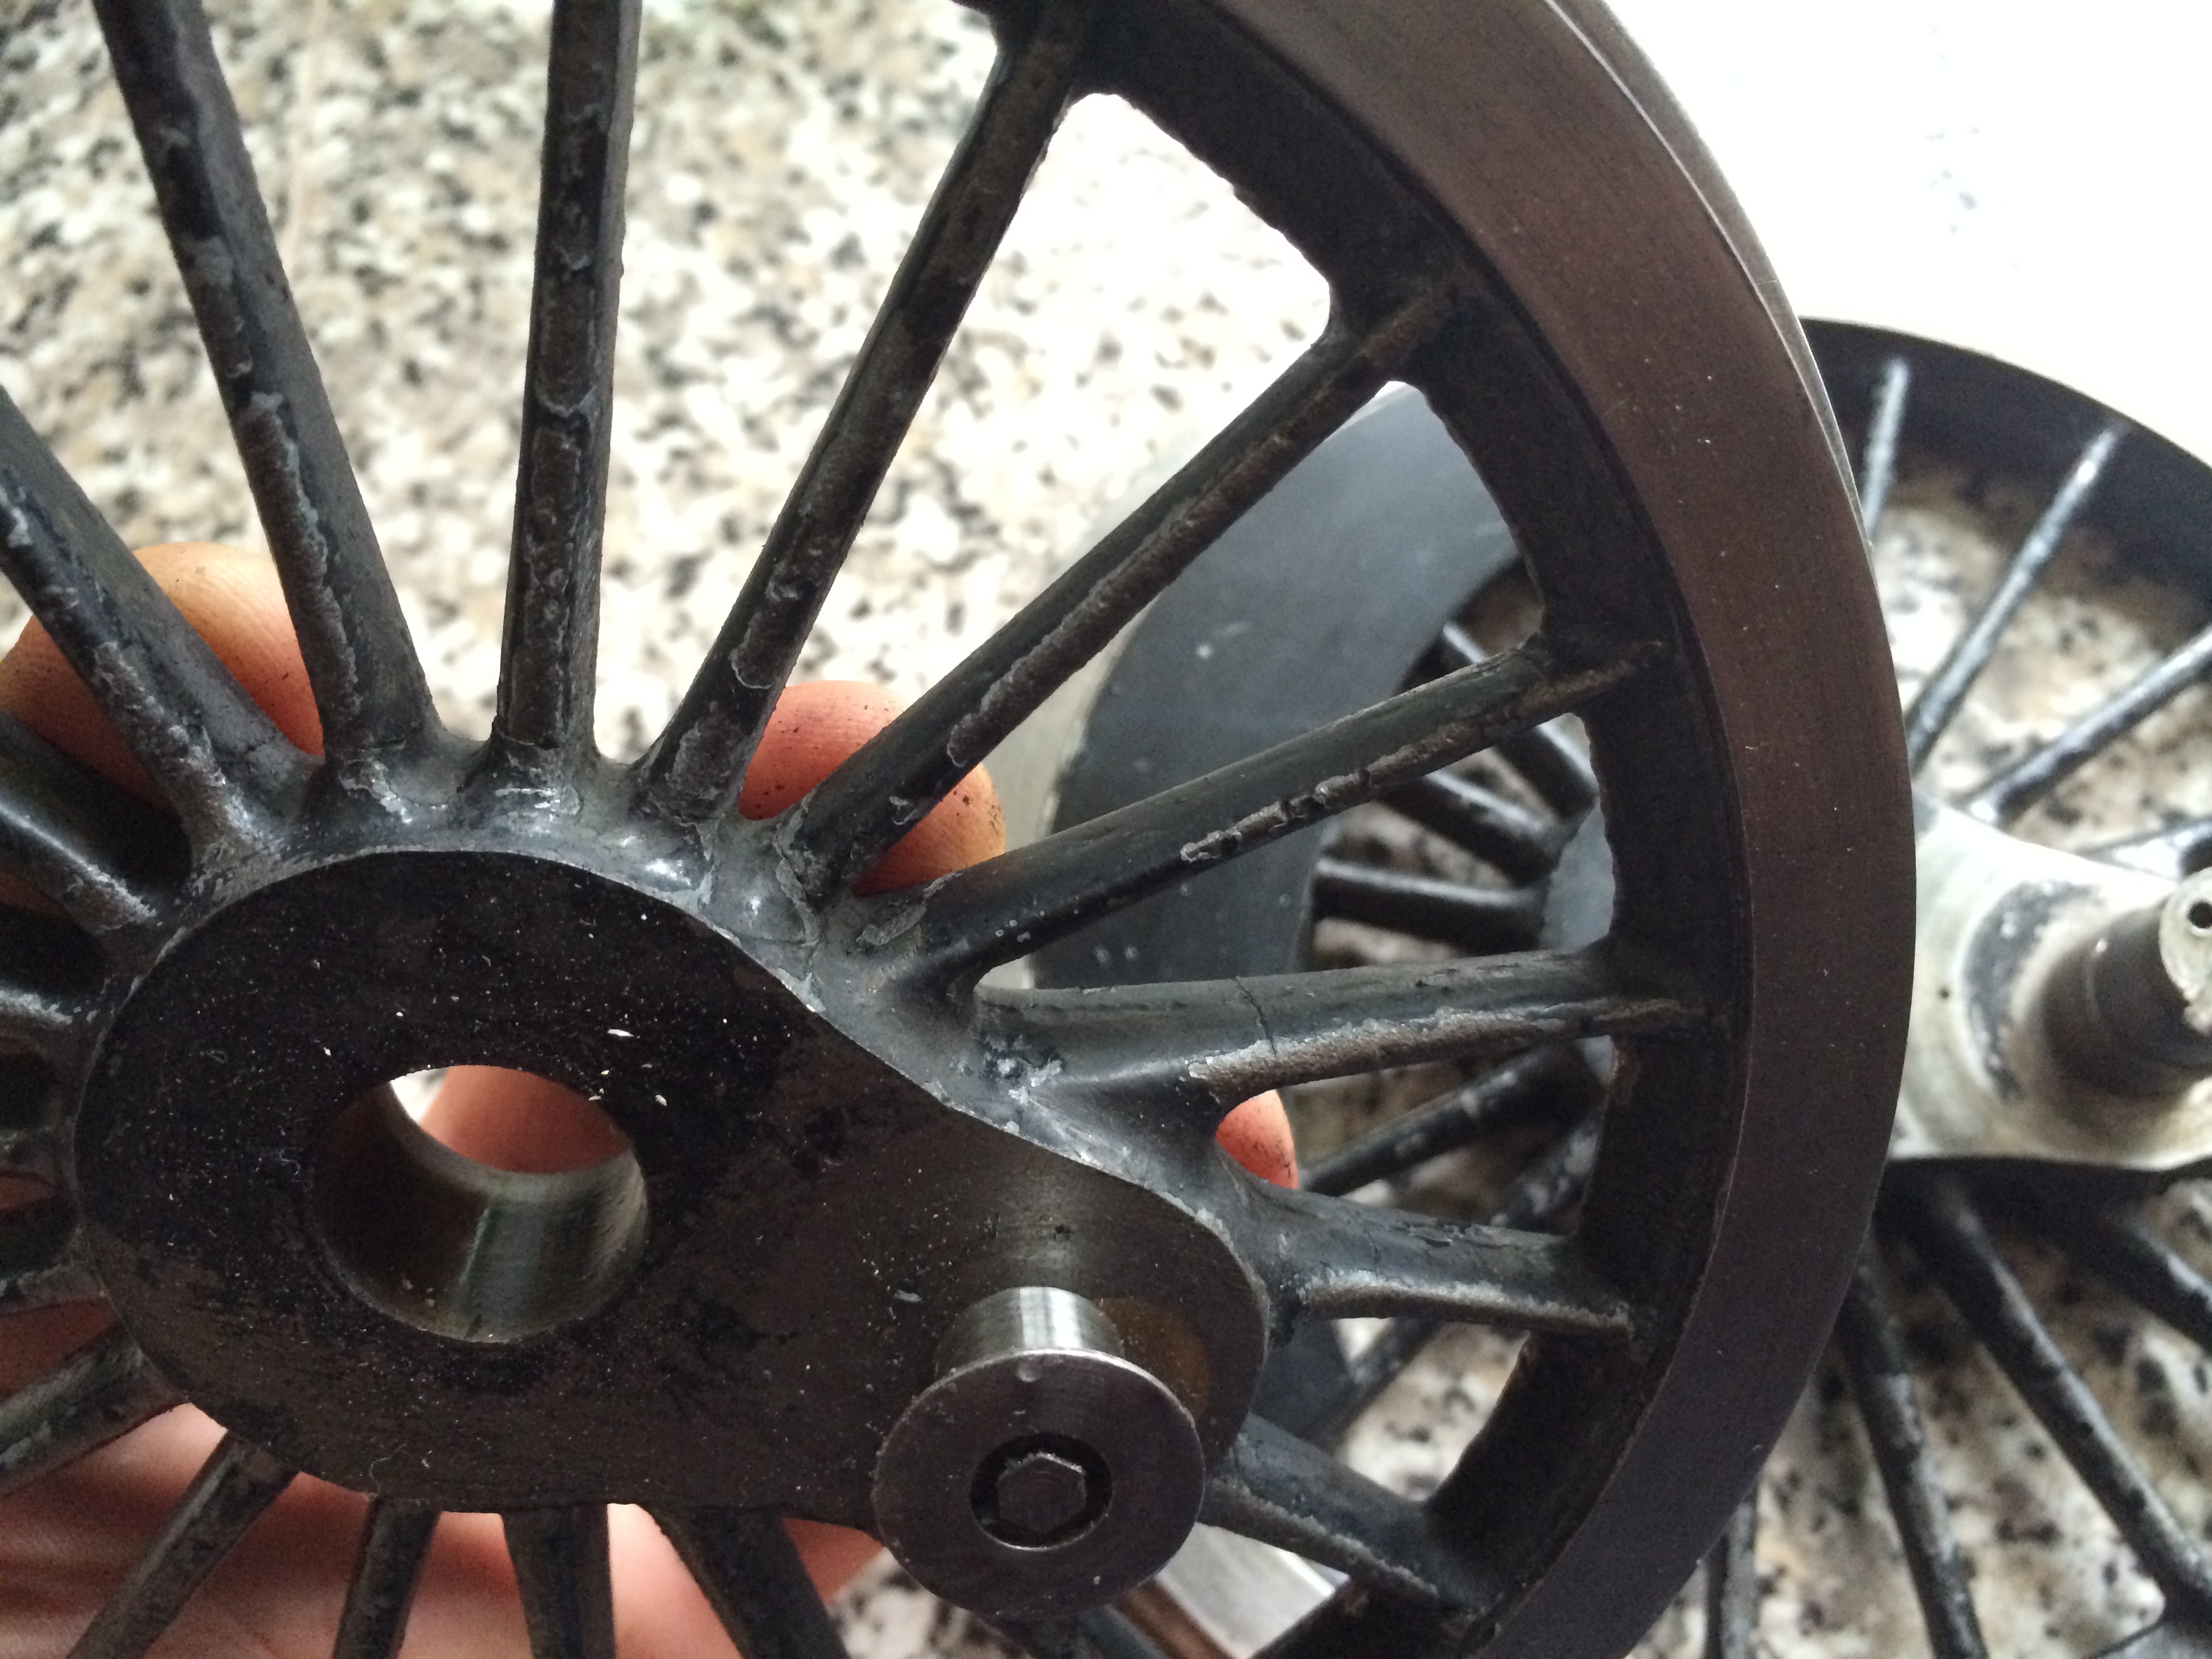
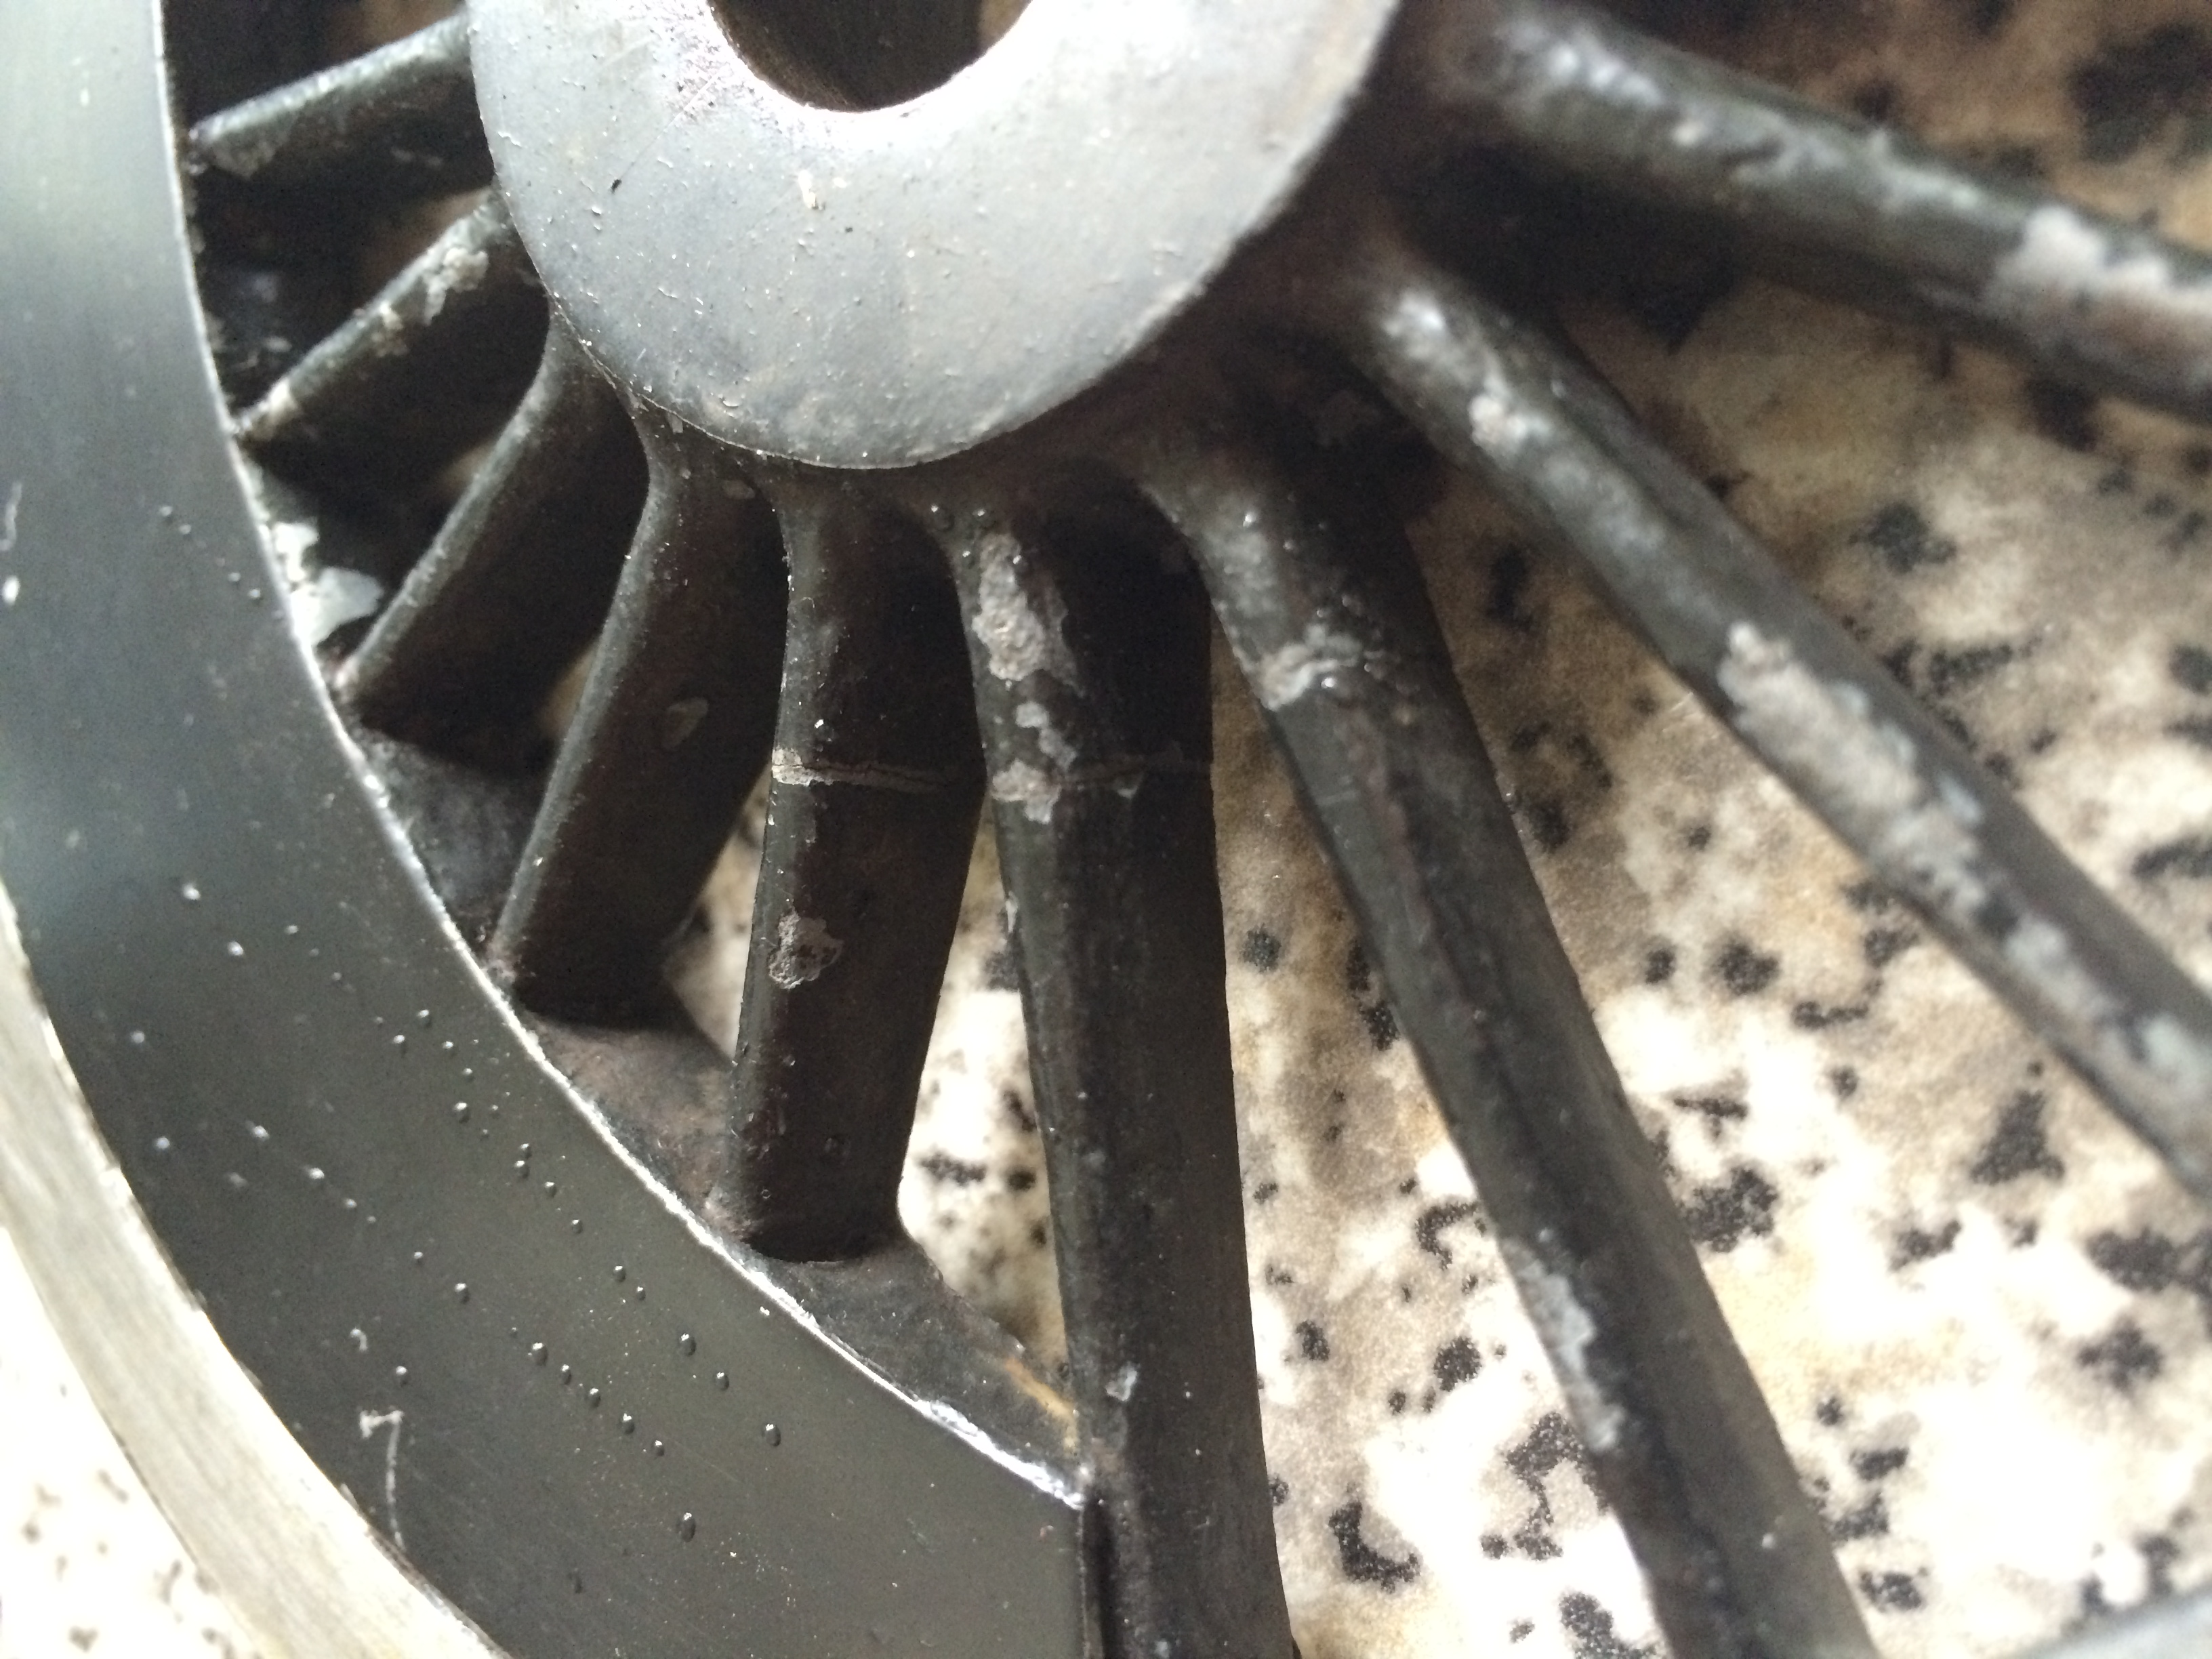
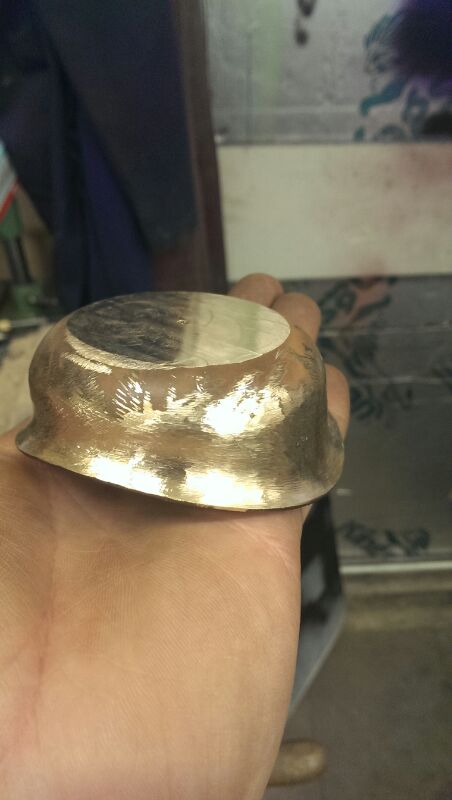
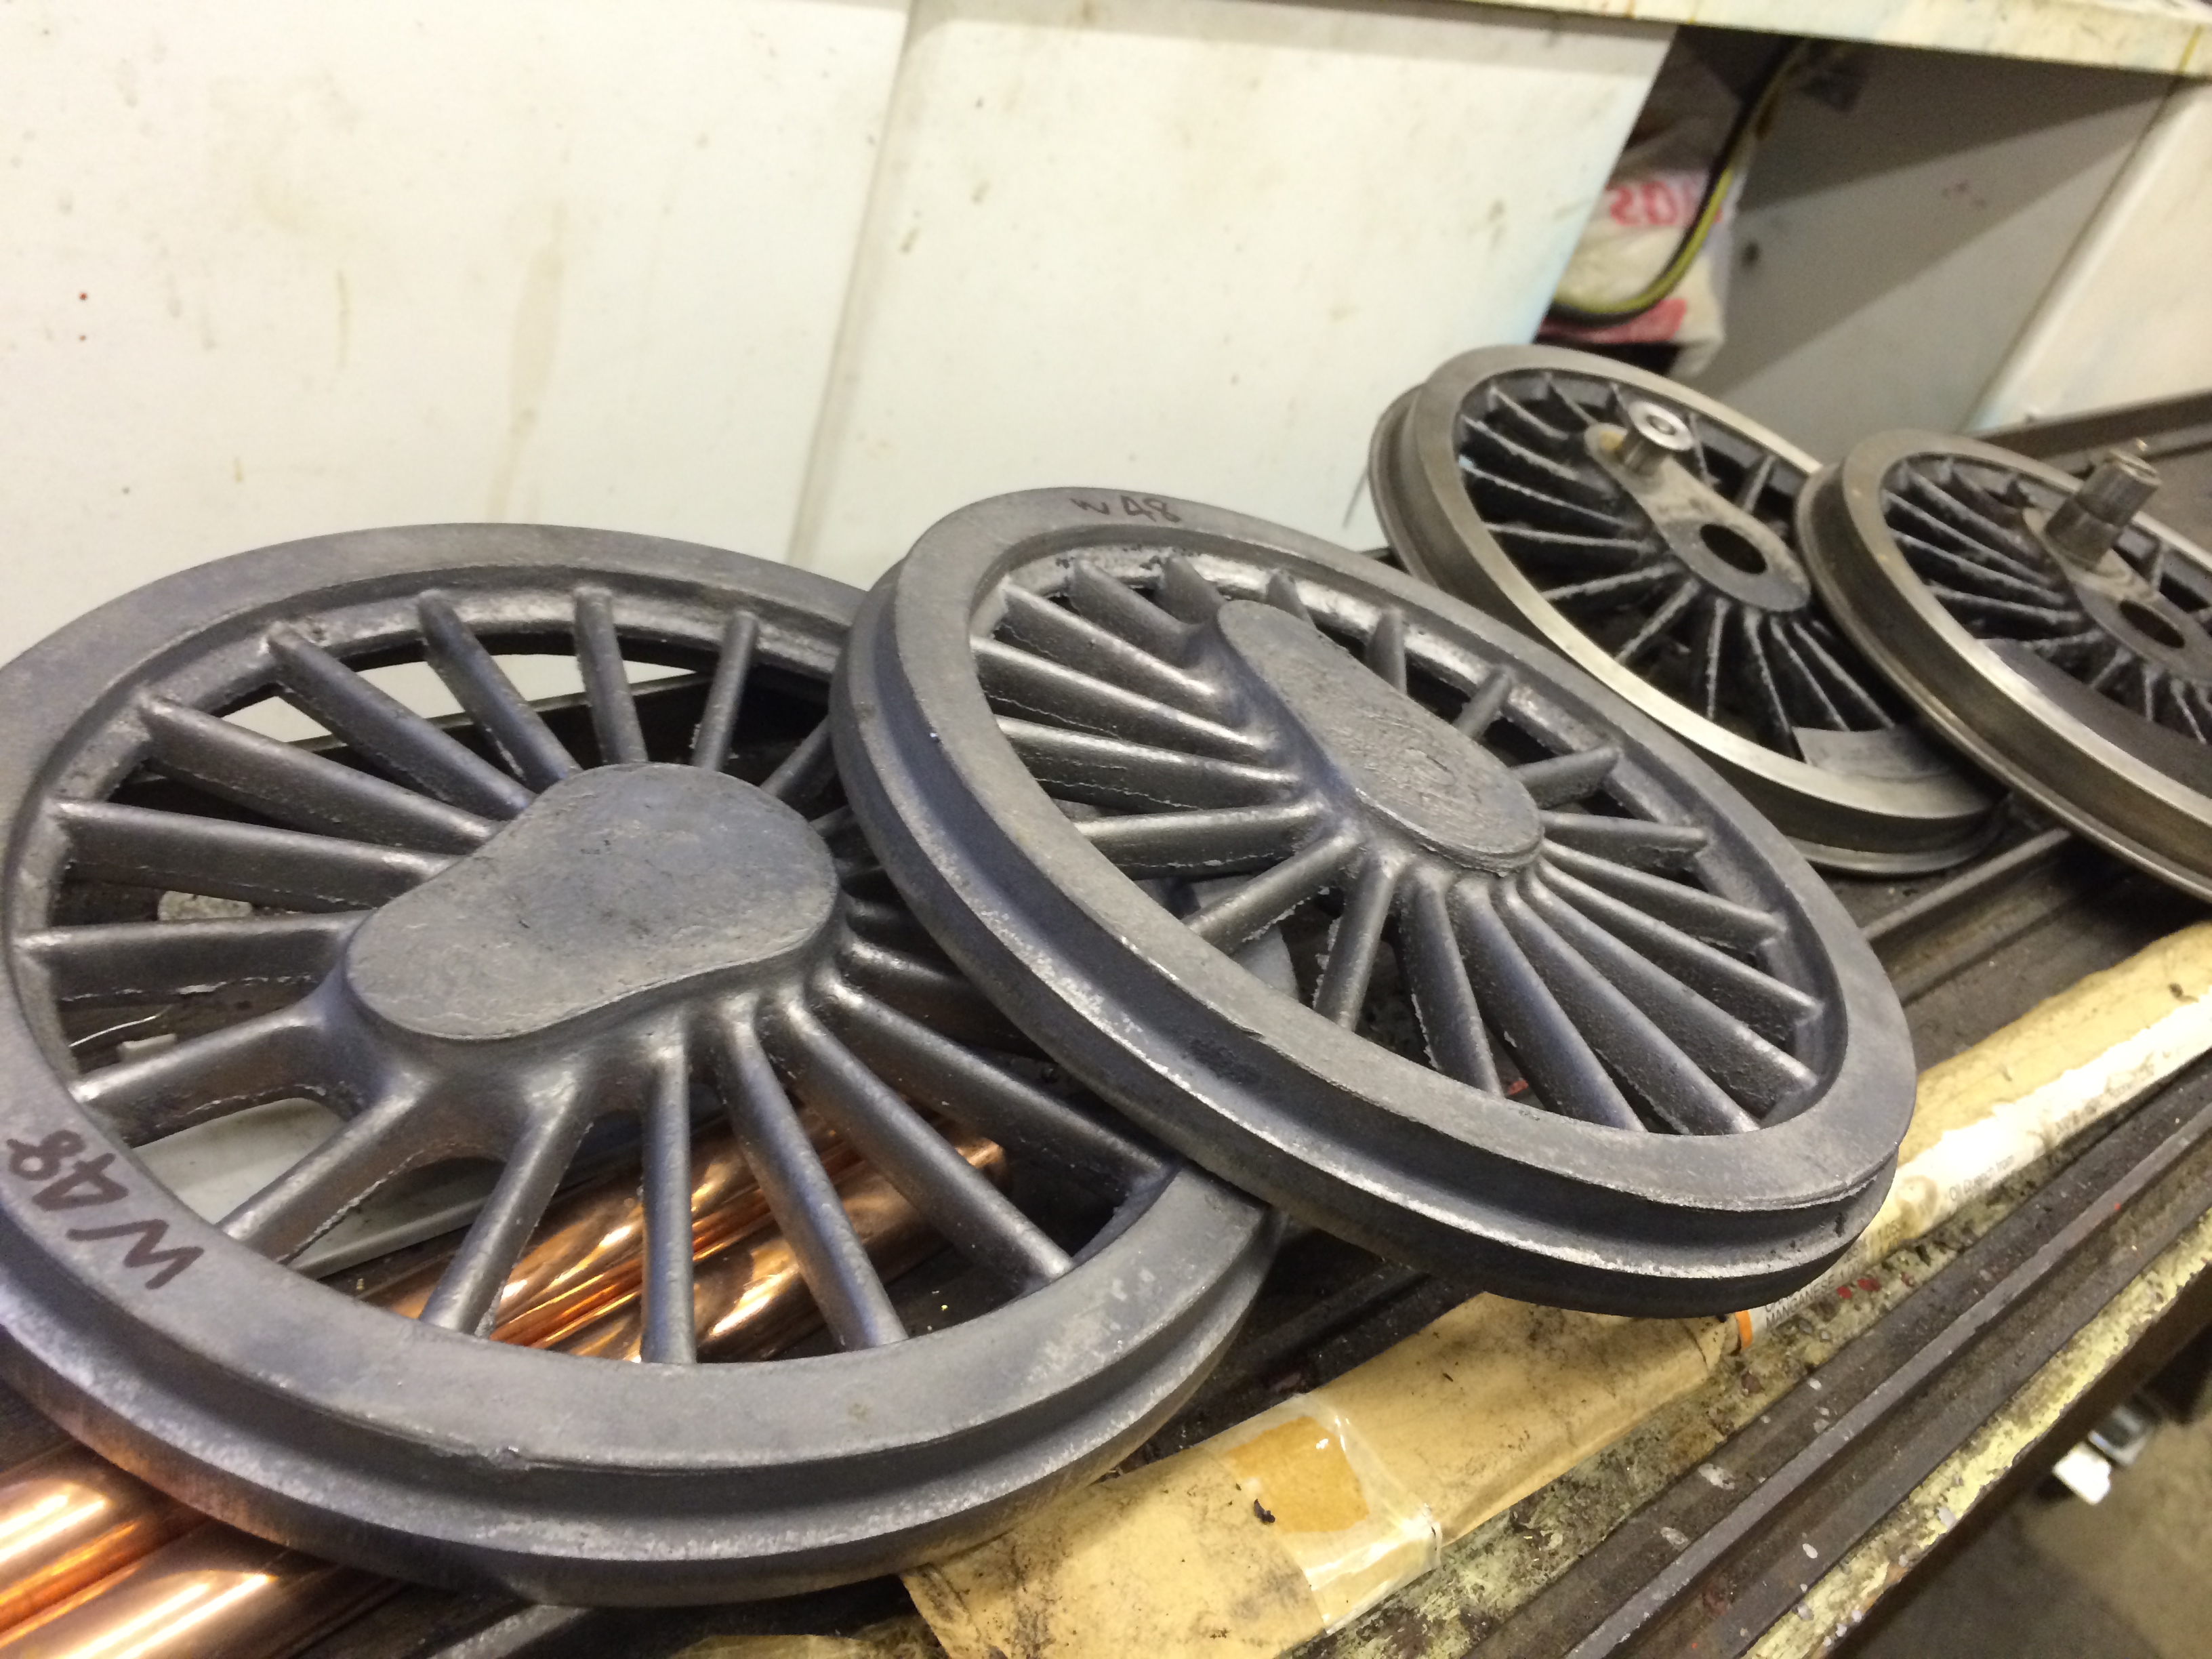
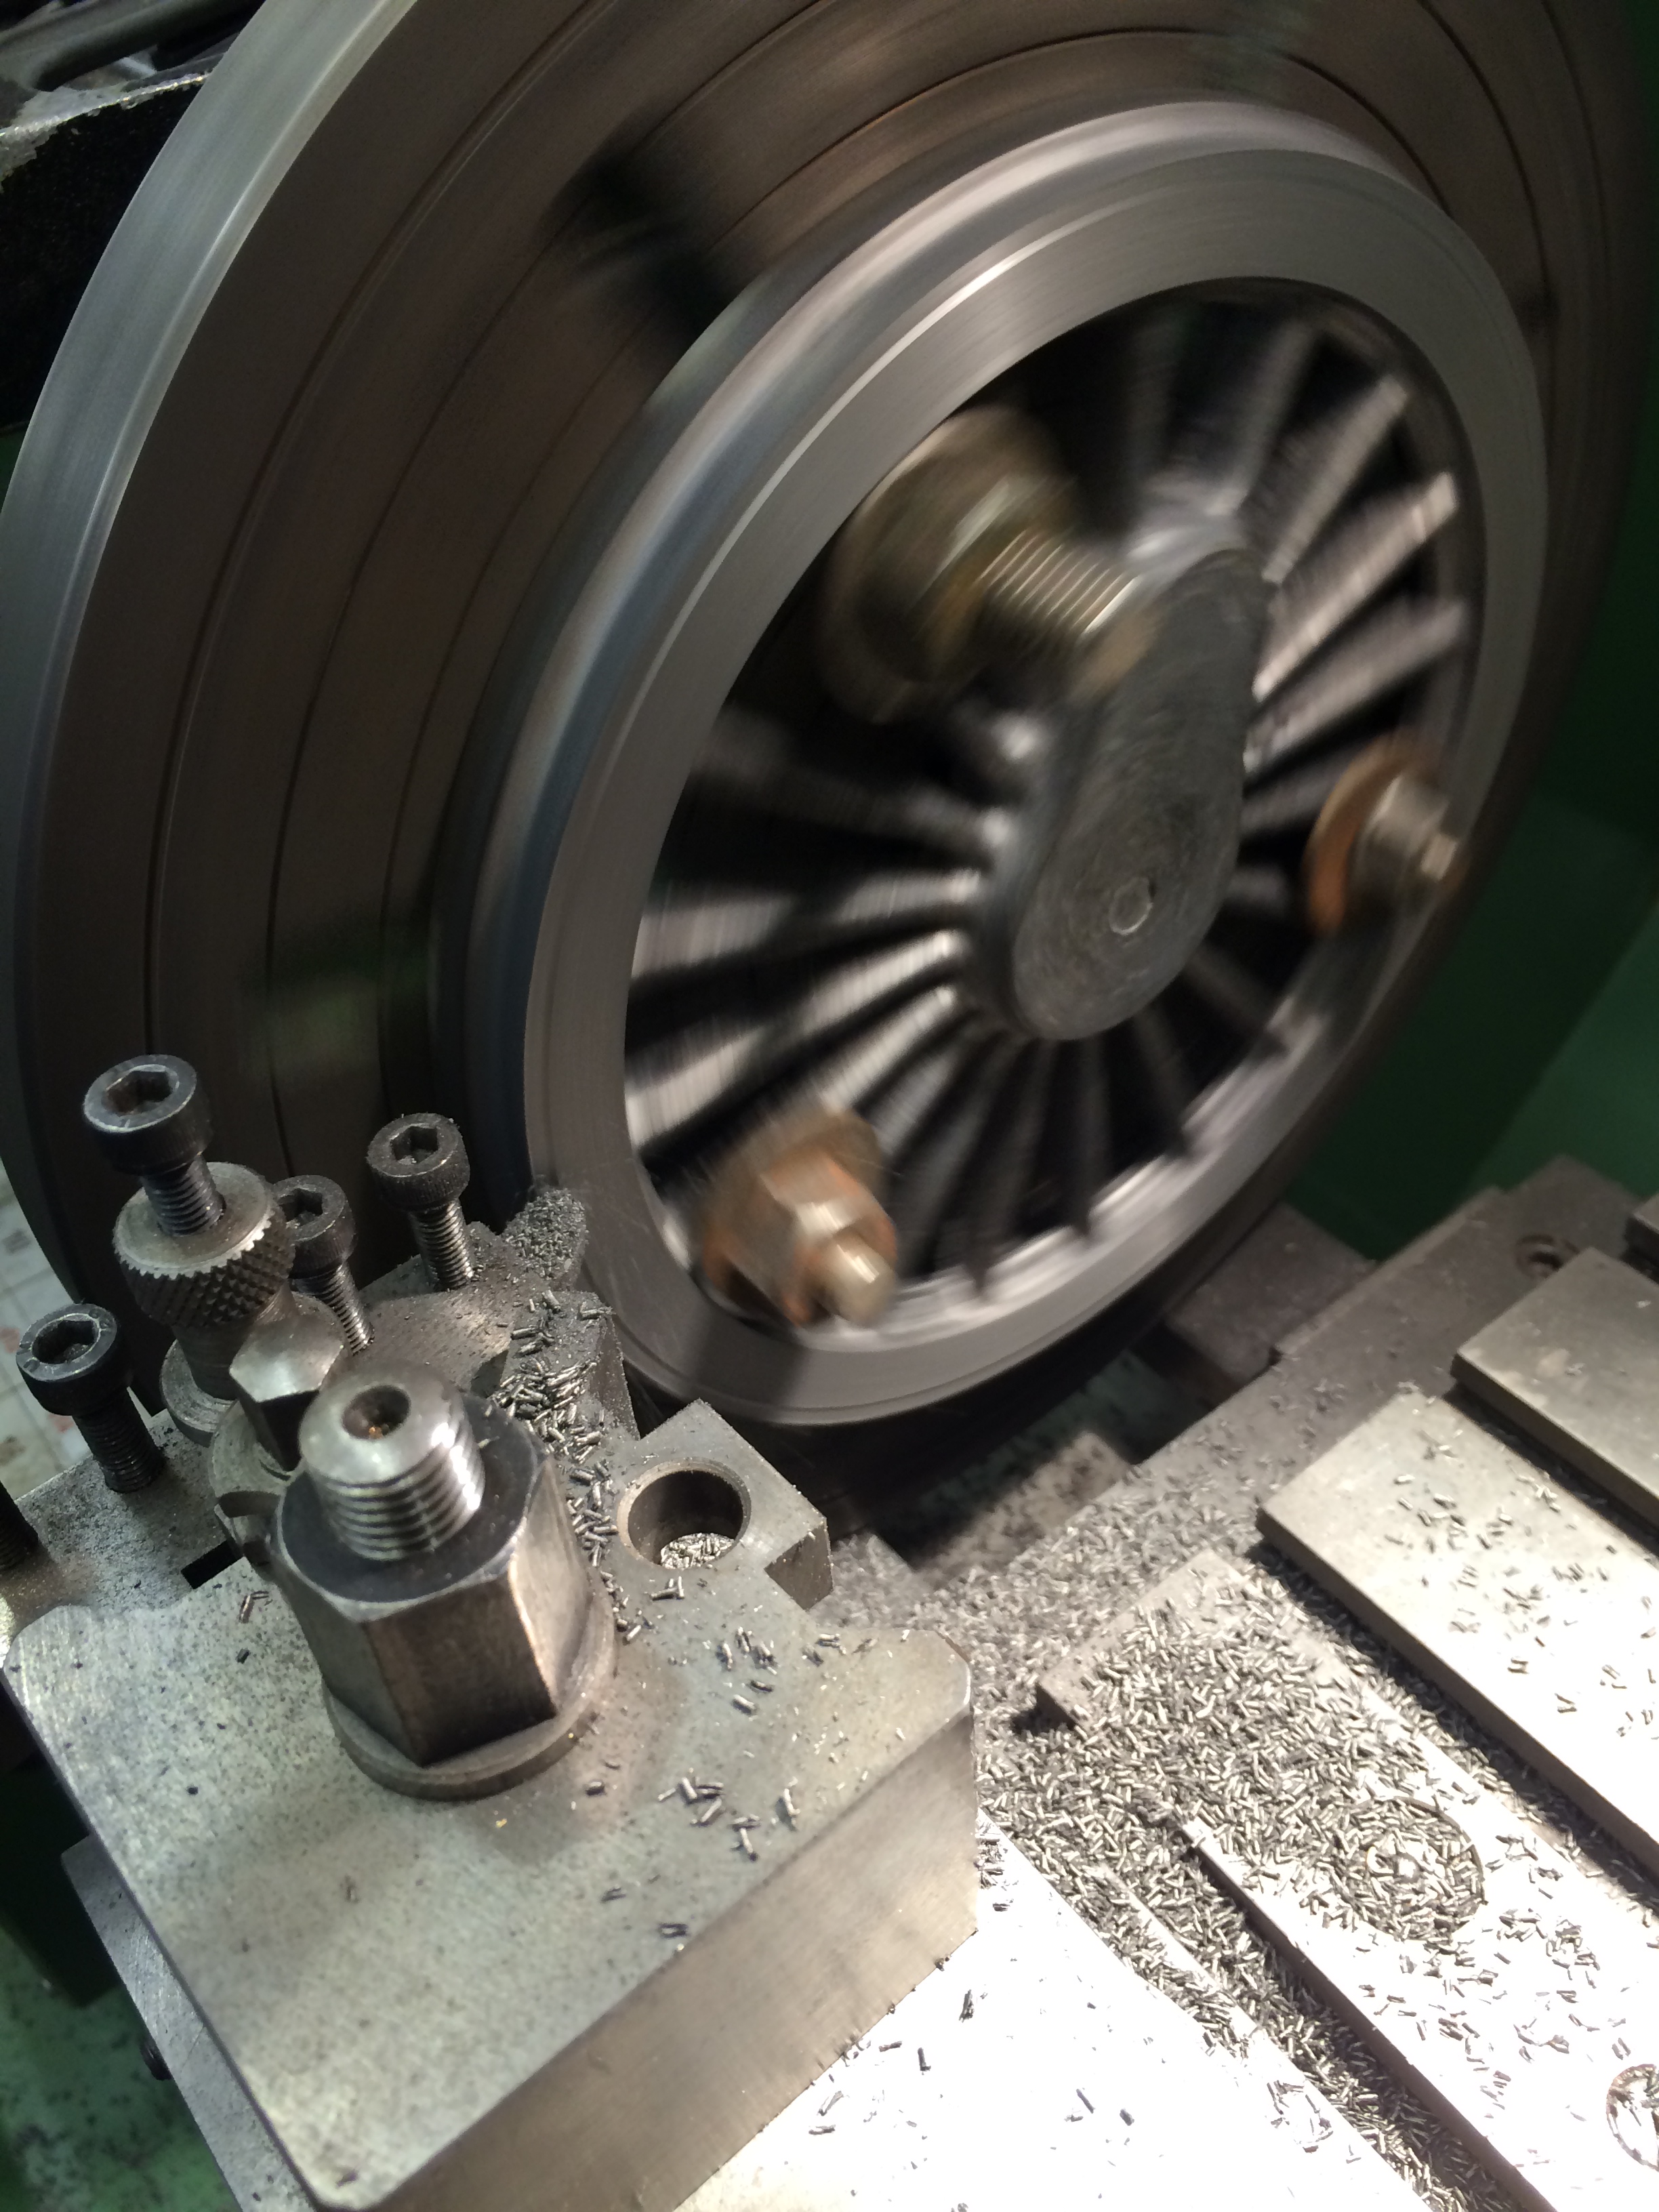
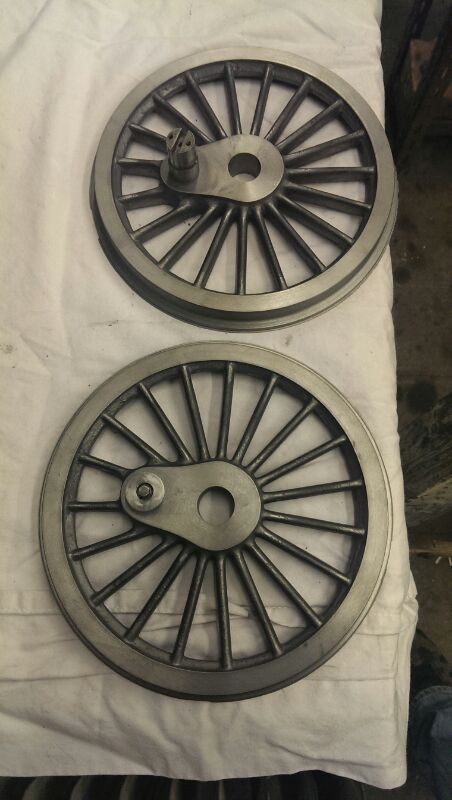
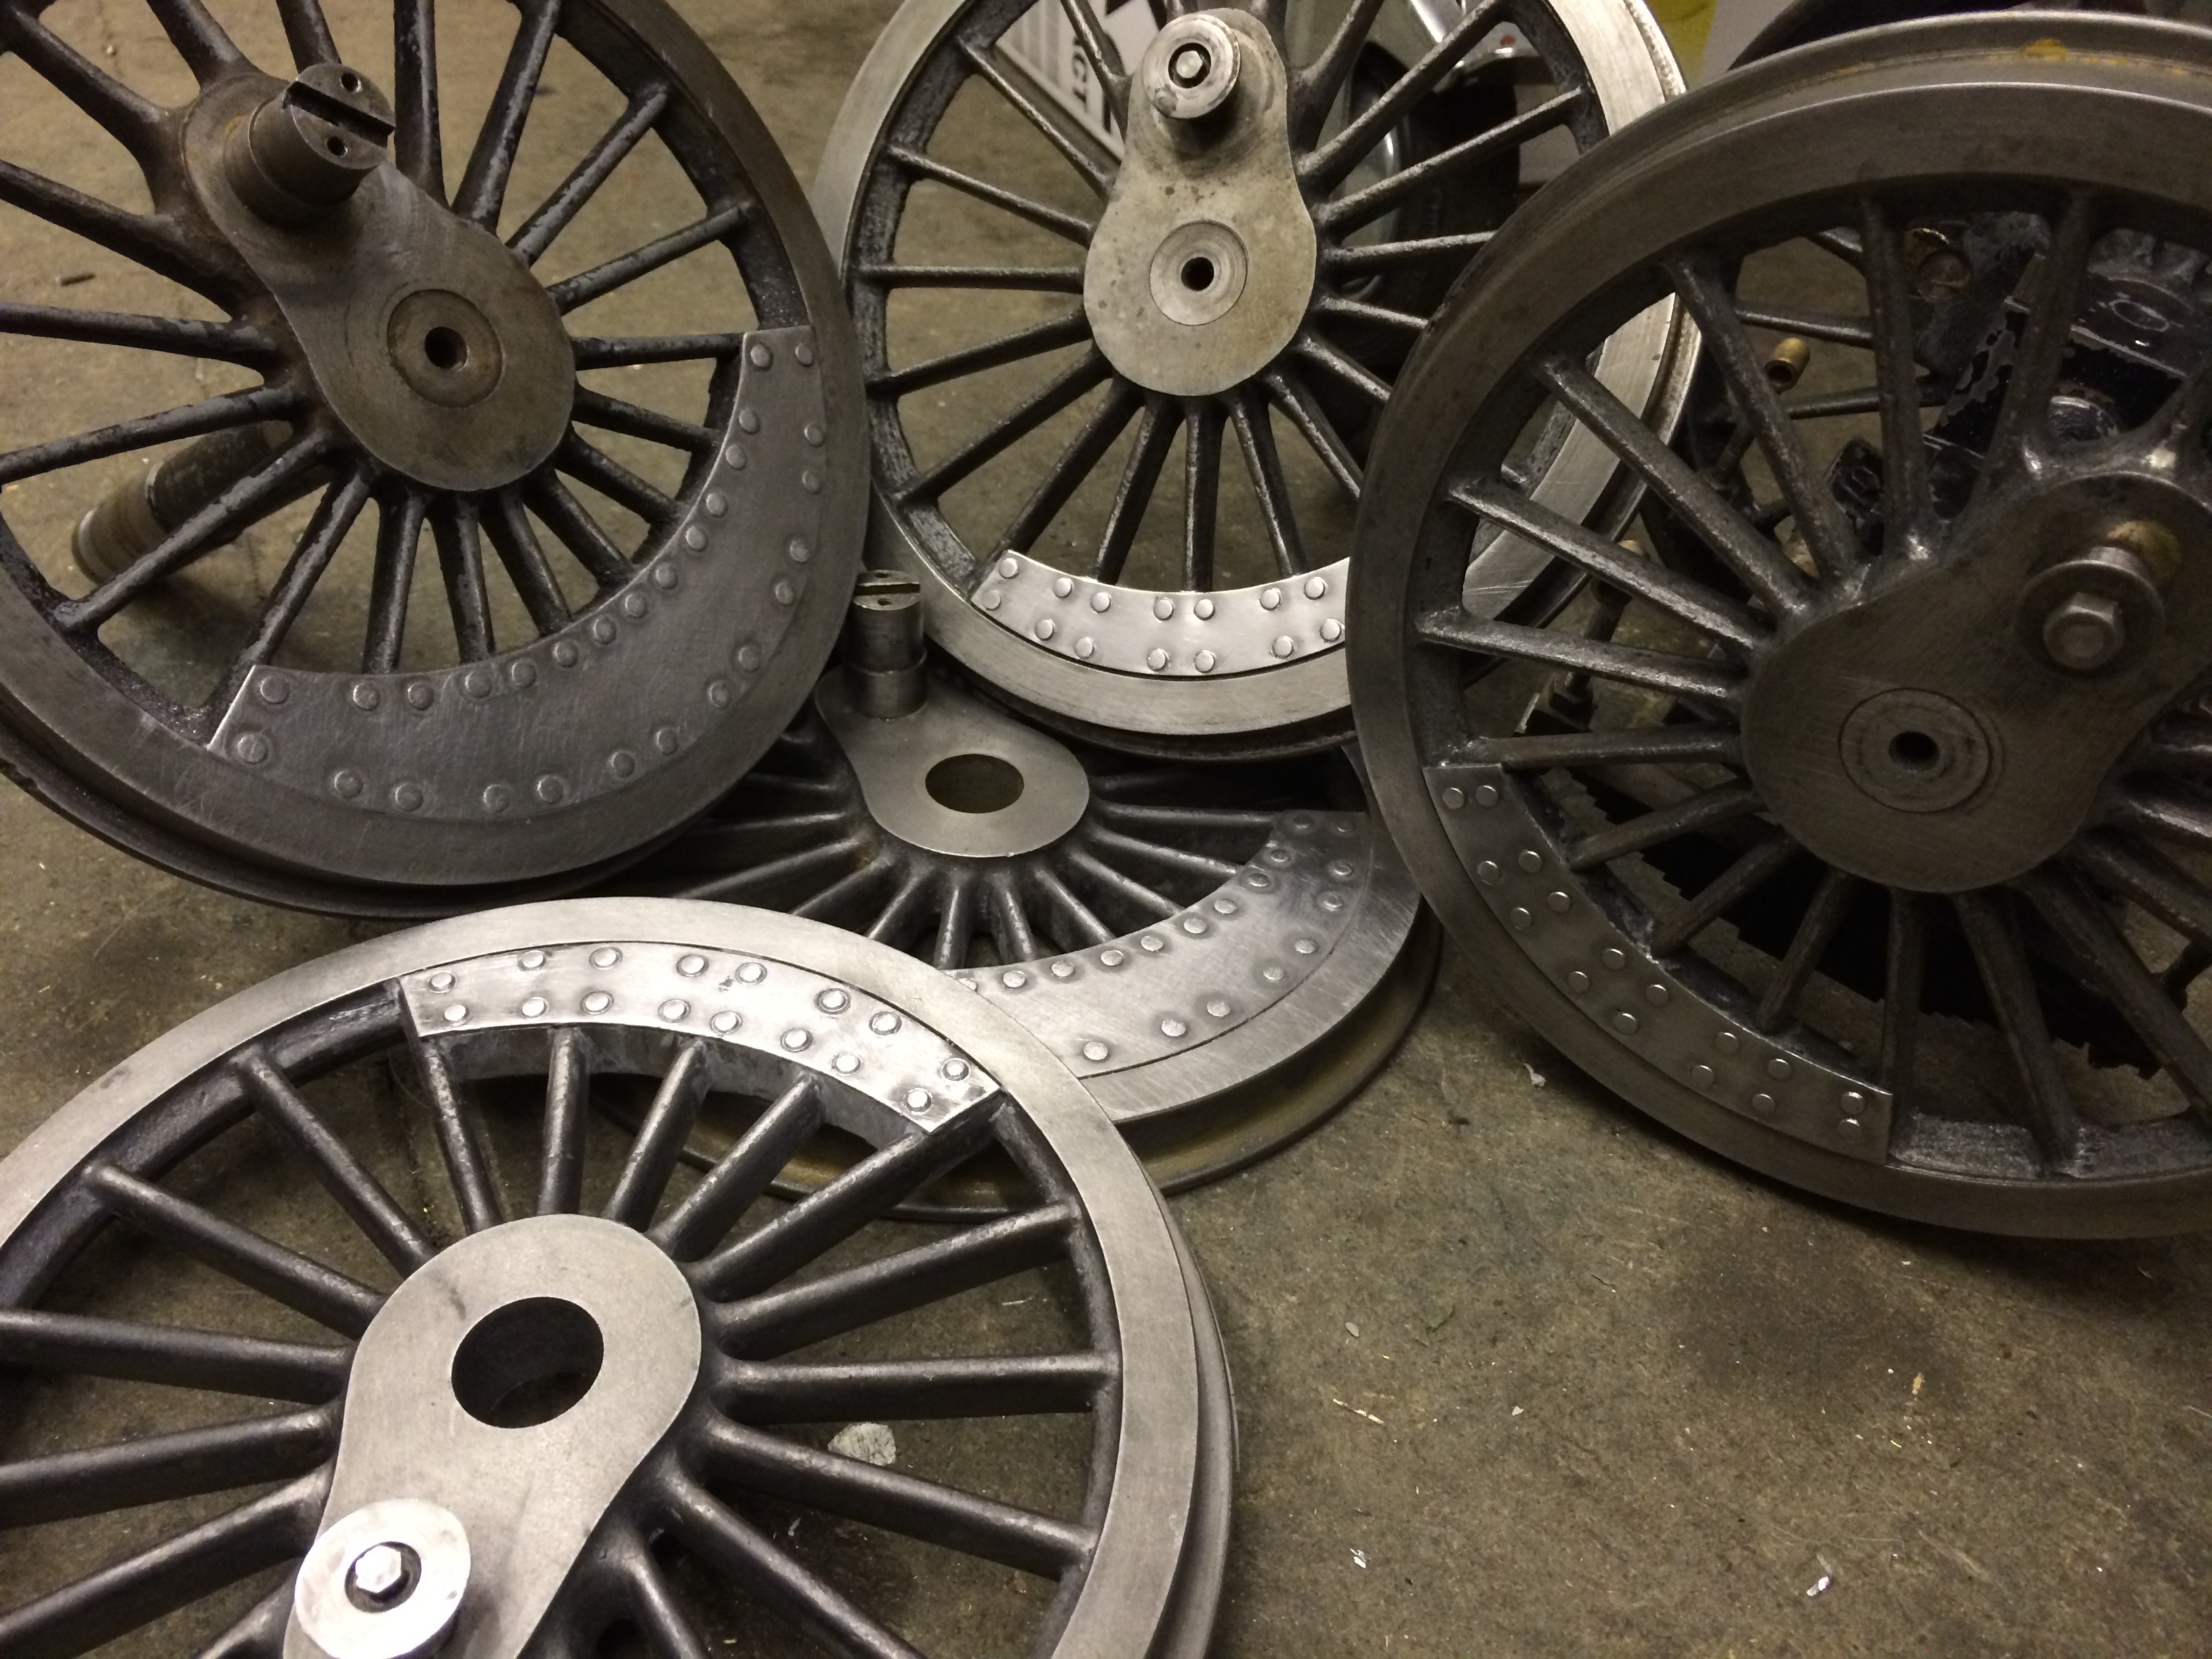
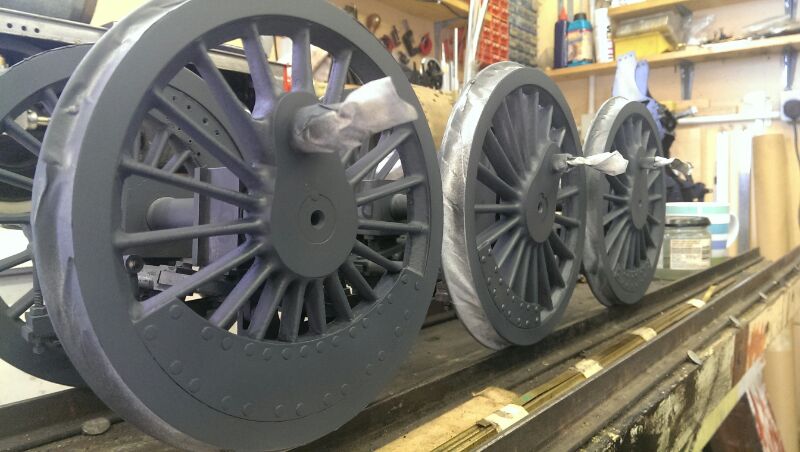
If you look closely you will see a nice selection of beautifully cracked spokes! Two of the driving wheels were cracked through. Not desperately badly, and not to the point where they were unstable, but it wouldn't have been acceptable to just stitch them up and carry on, so we bought a couple more castings and machined up a new pair. Waiting for castings has delayed the project by a week or two, but we are back on track now and it should be back together fairly quickly now that little obstacle is sorted.
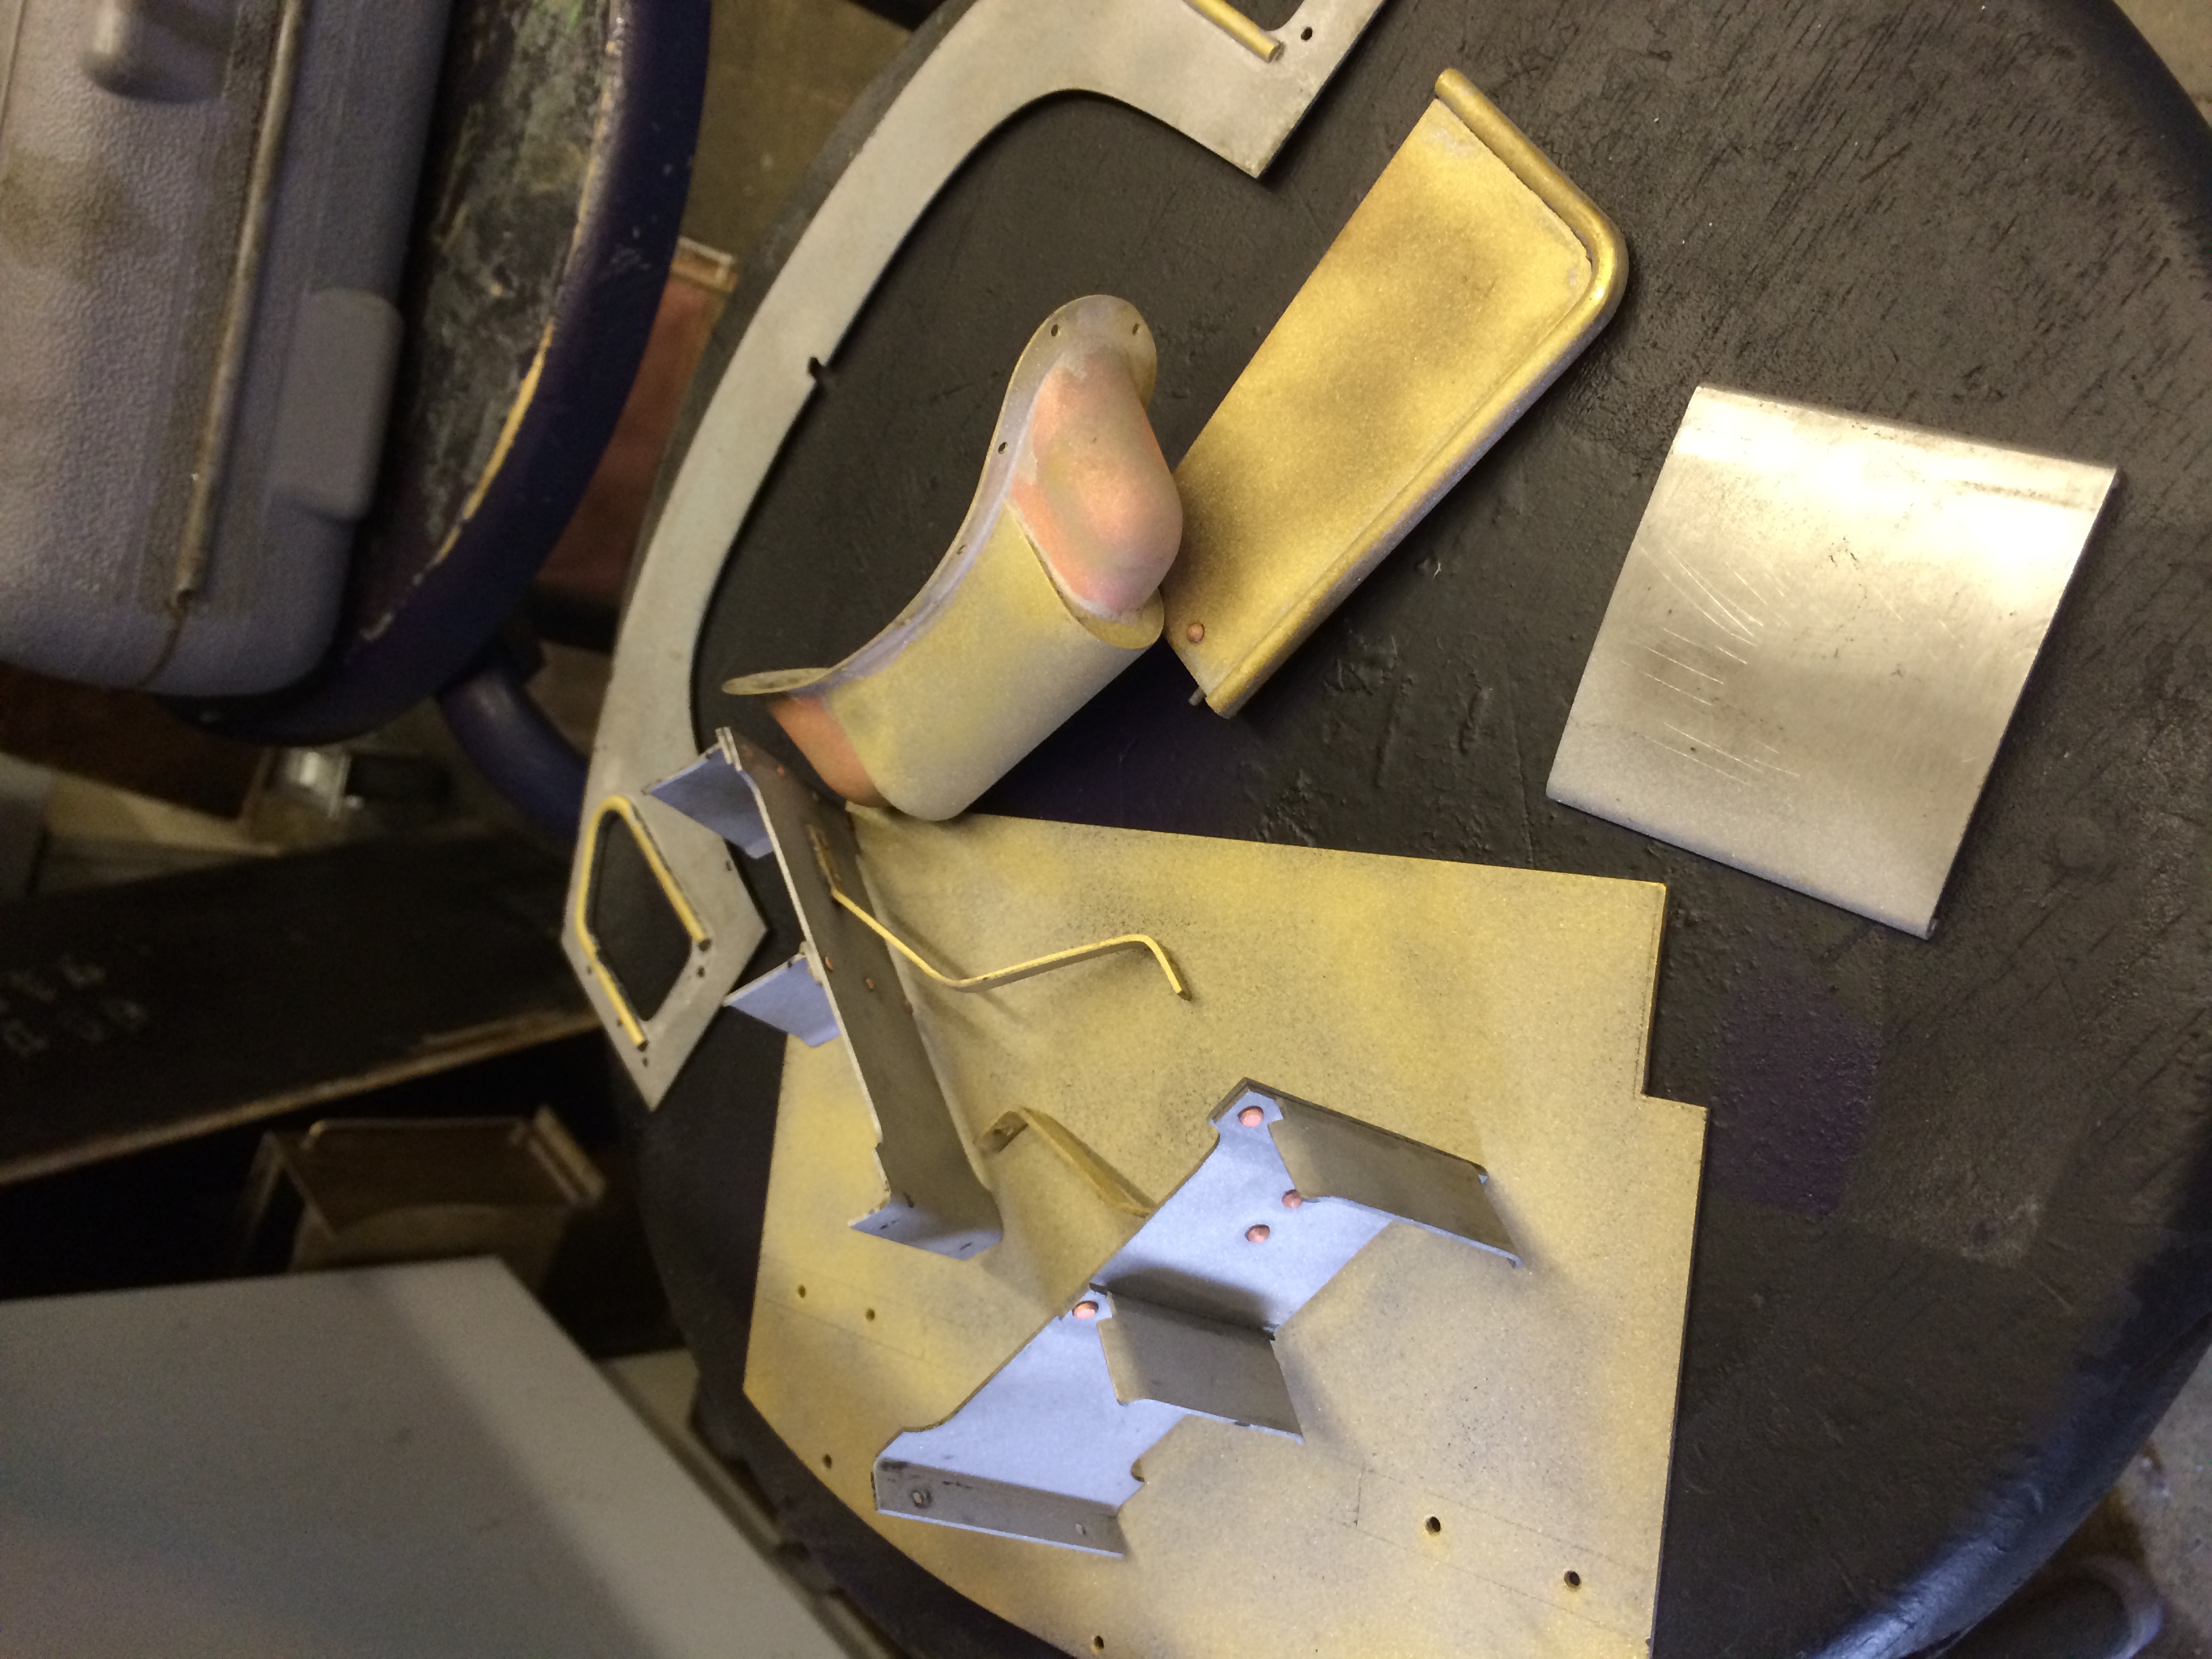
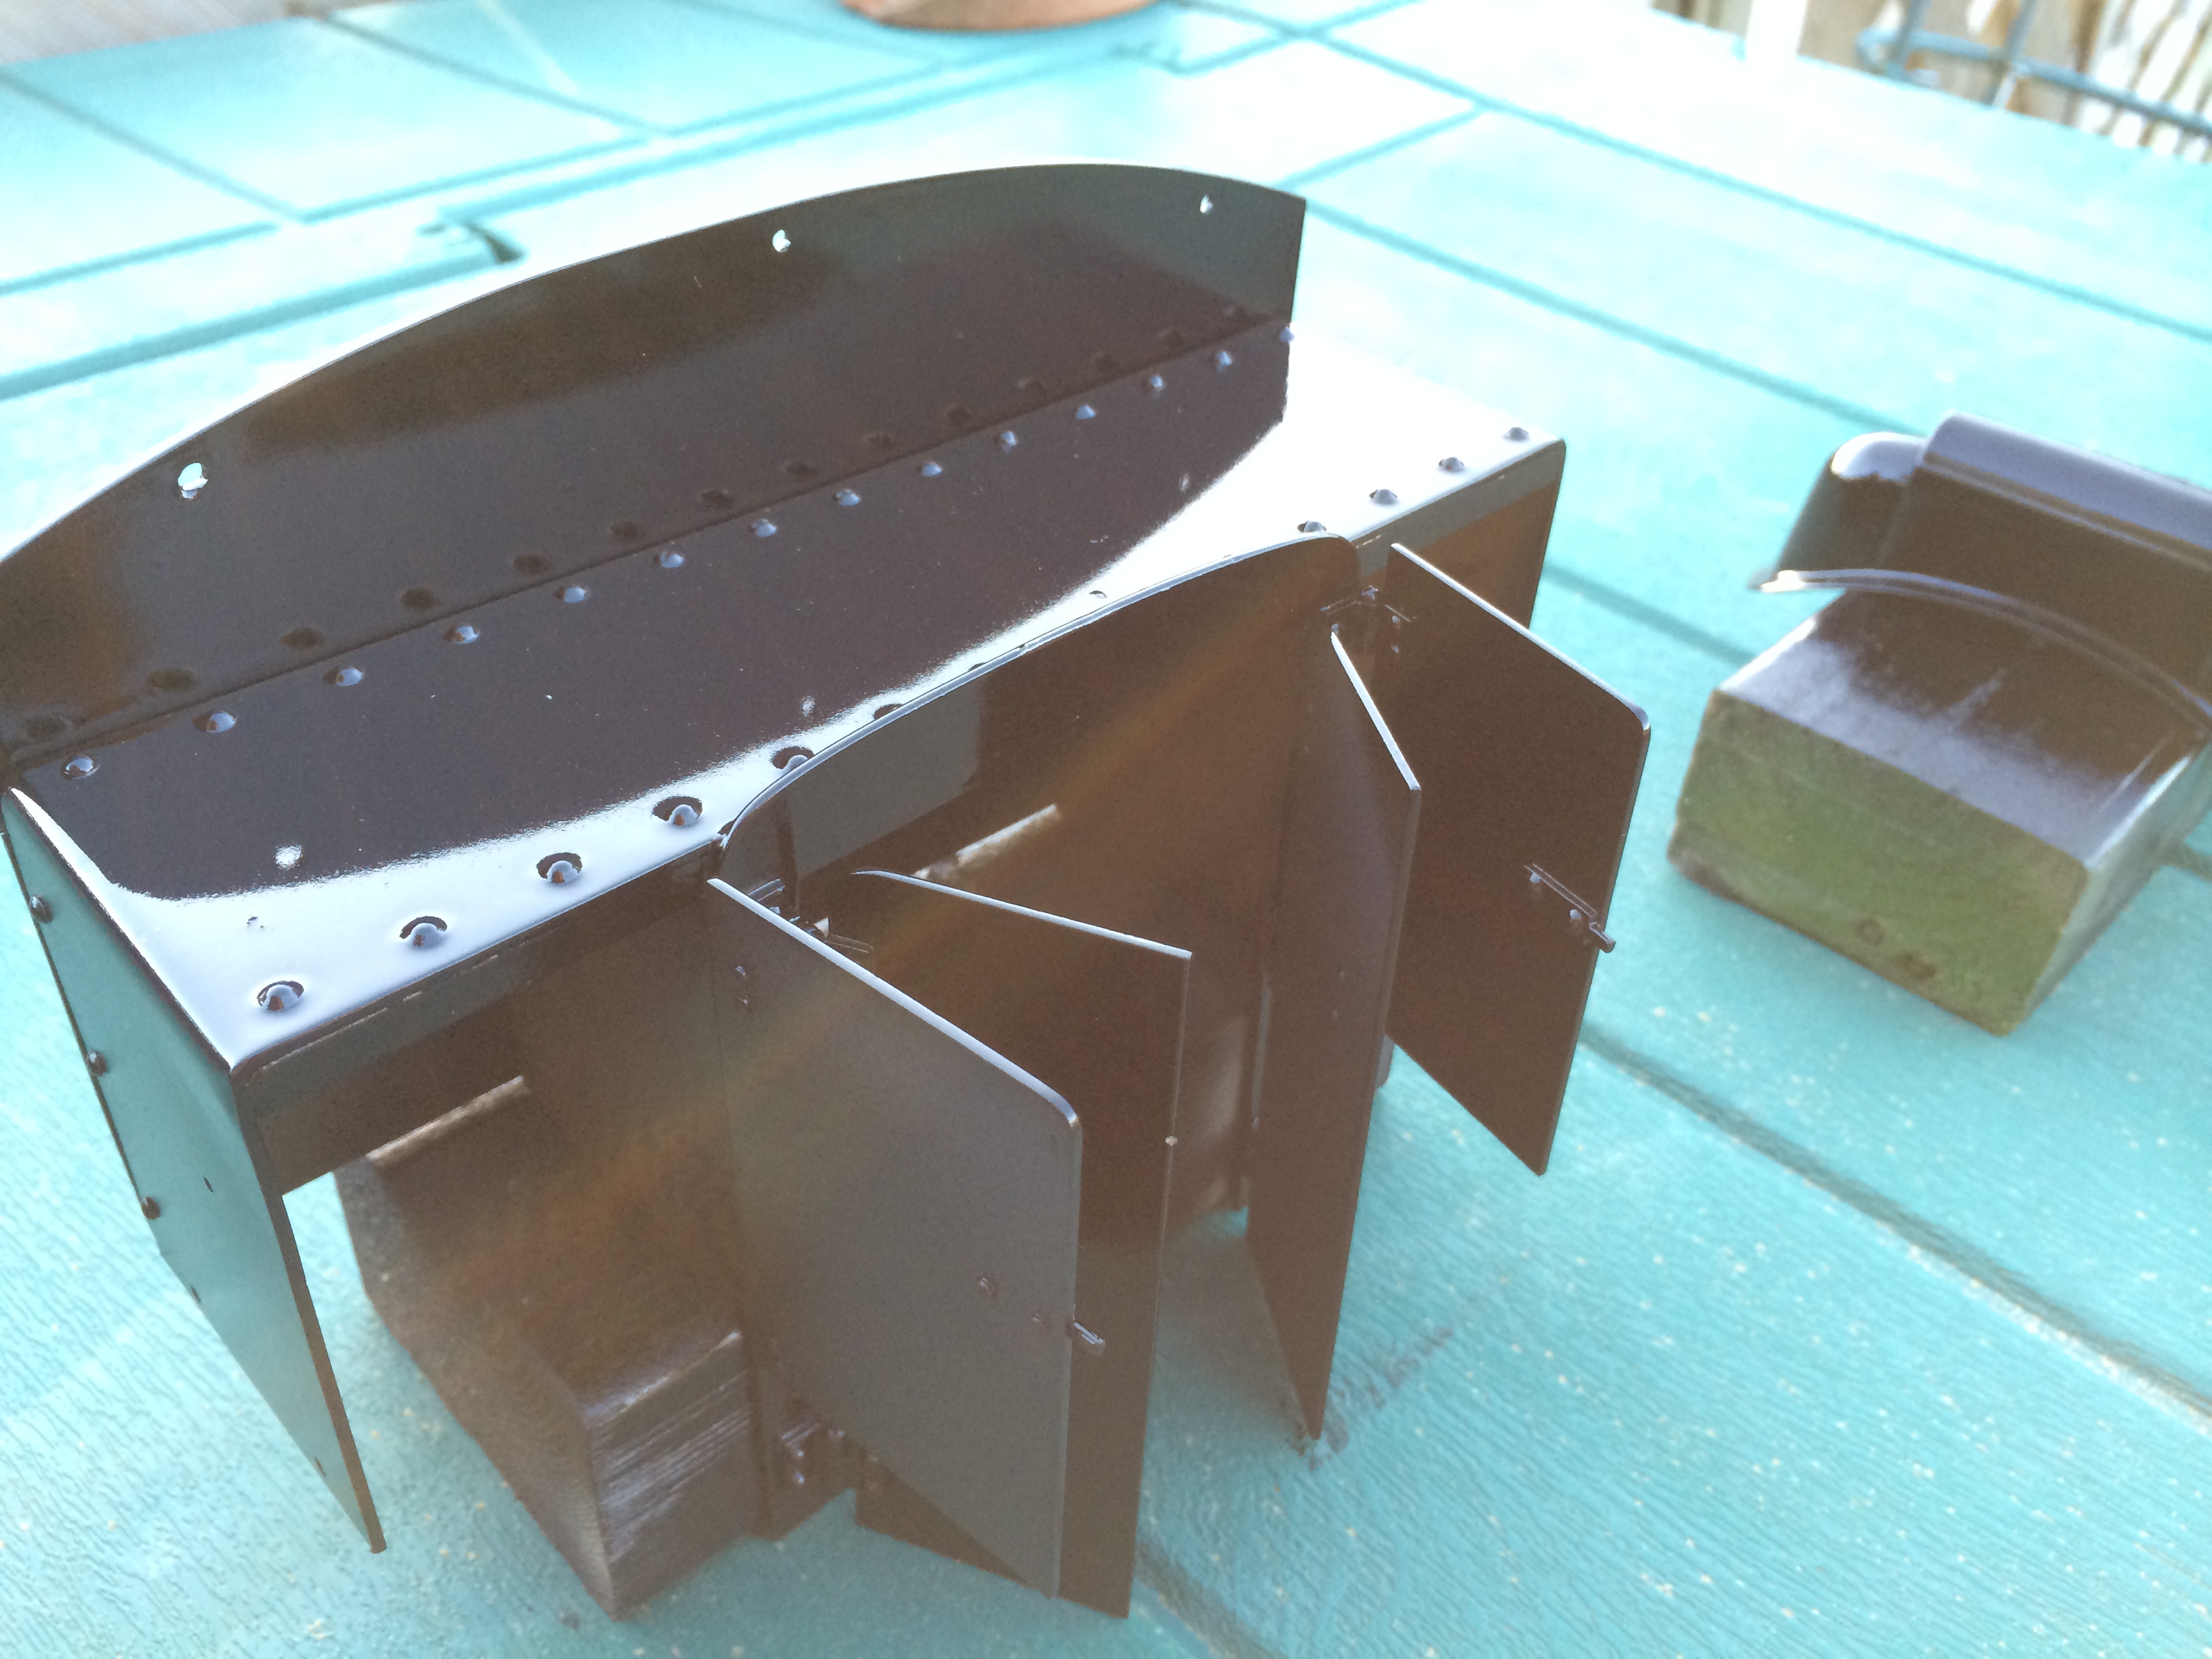
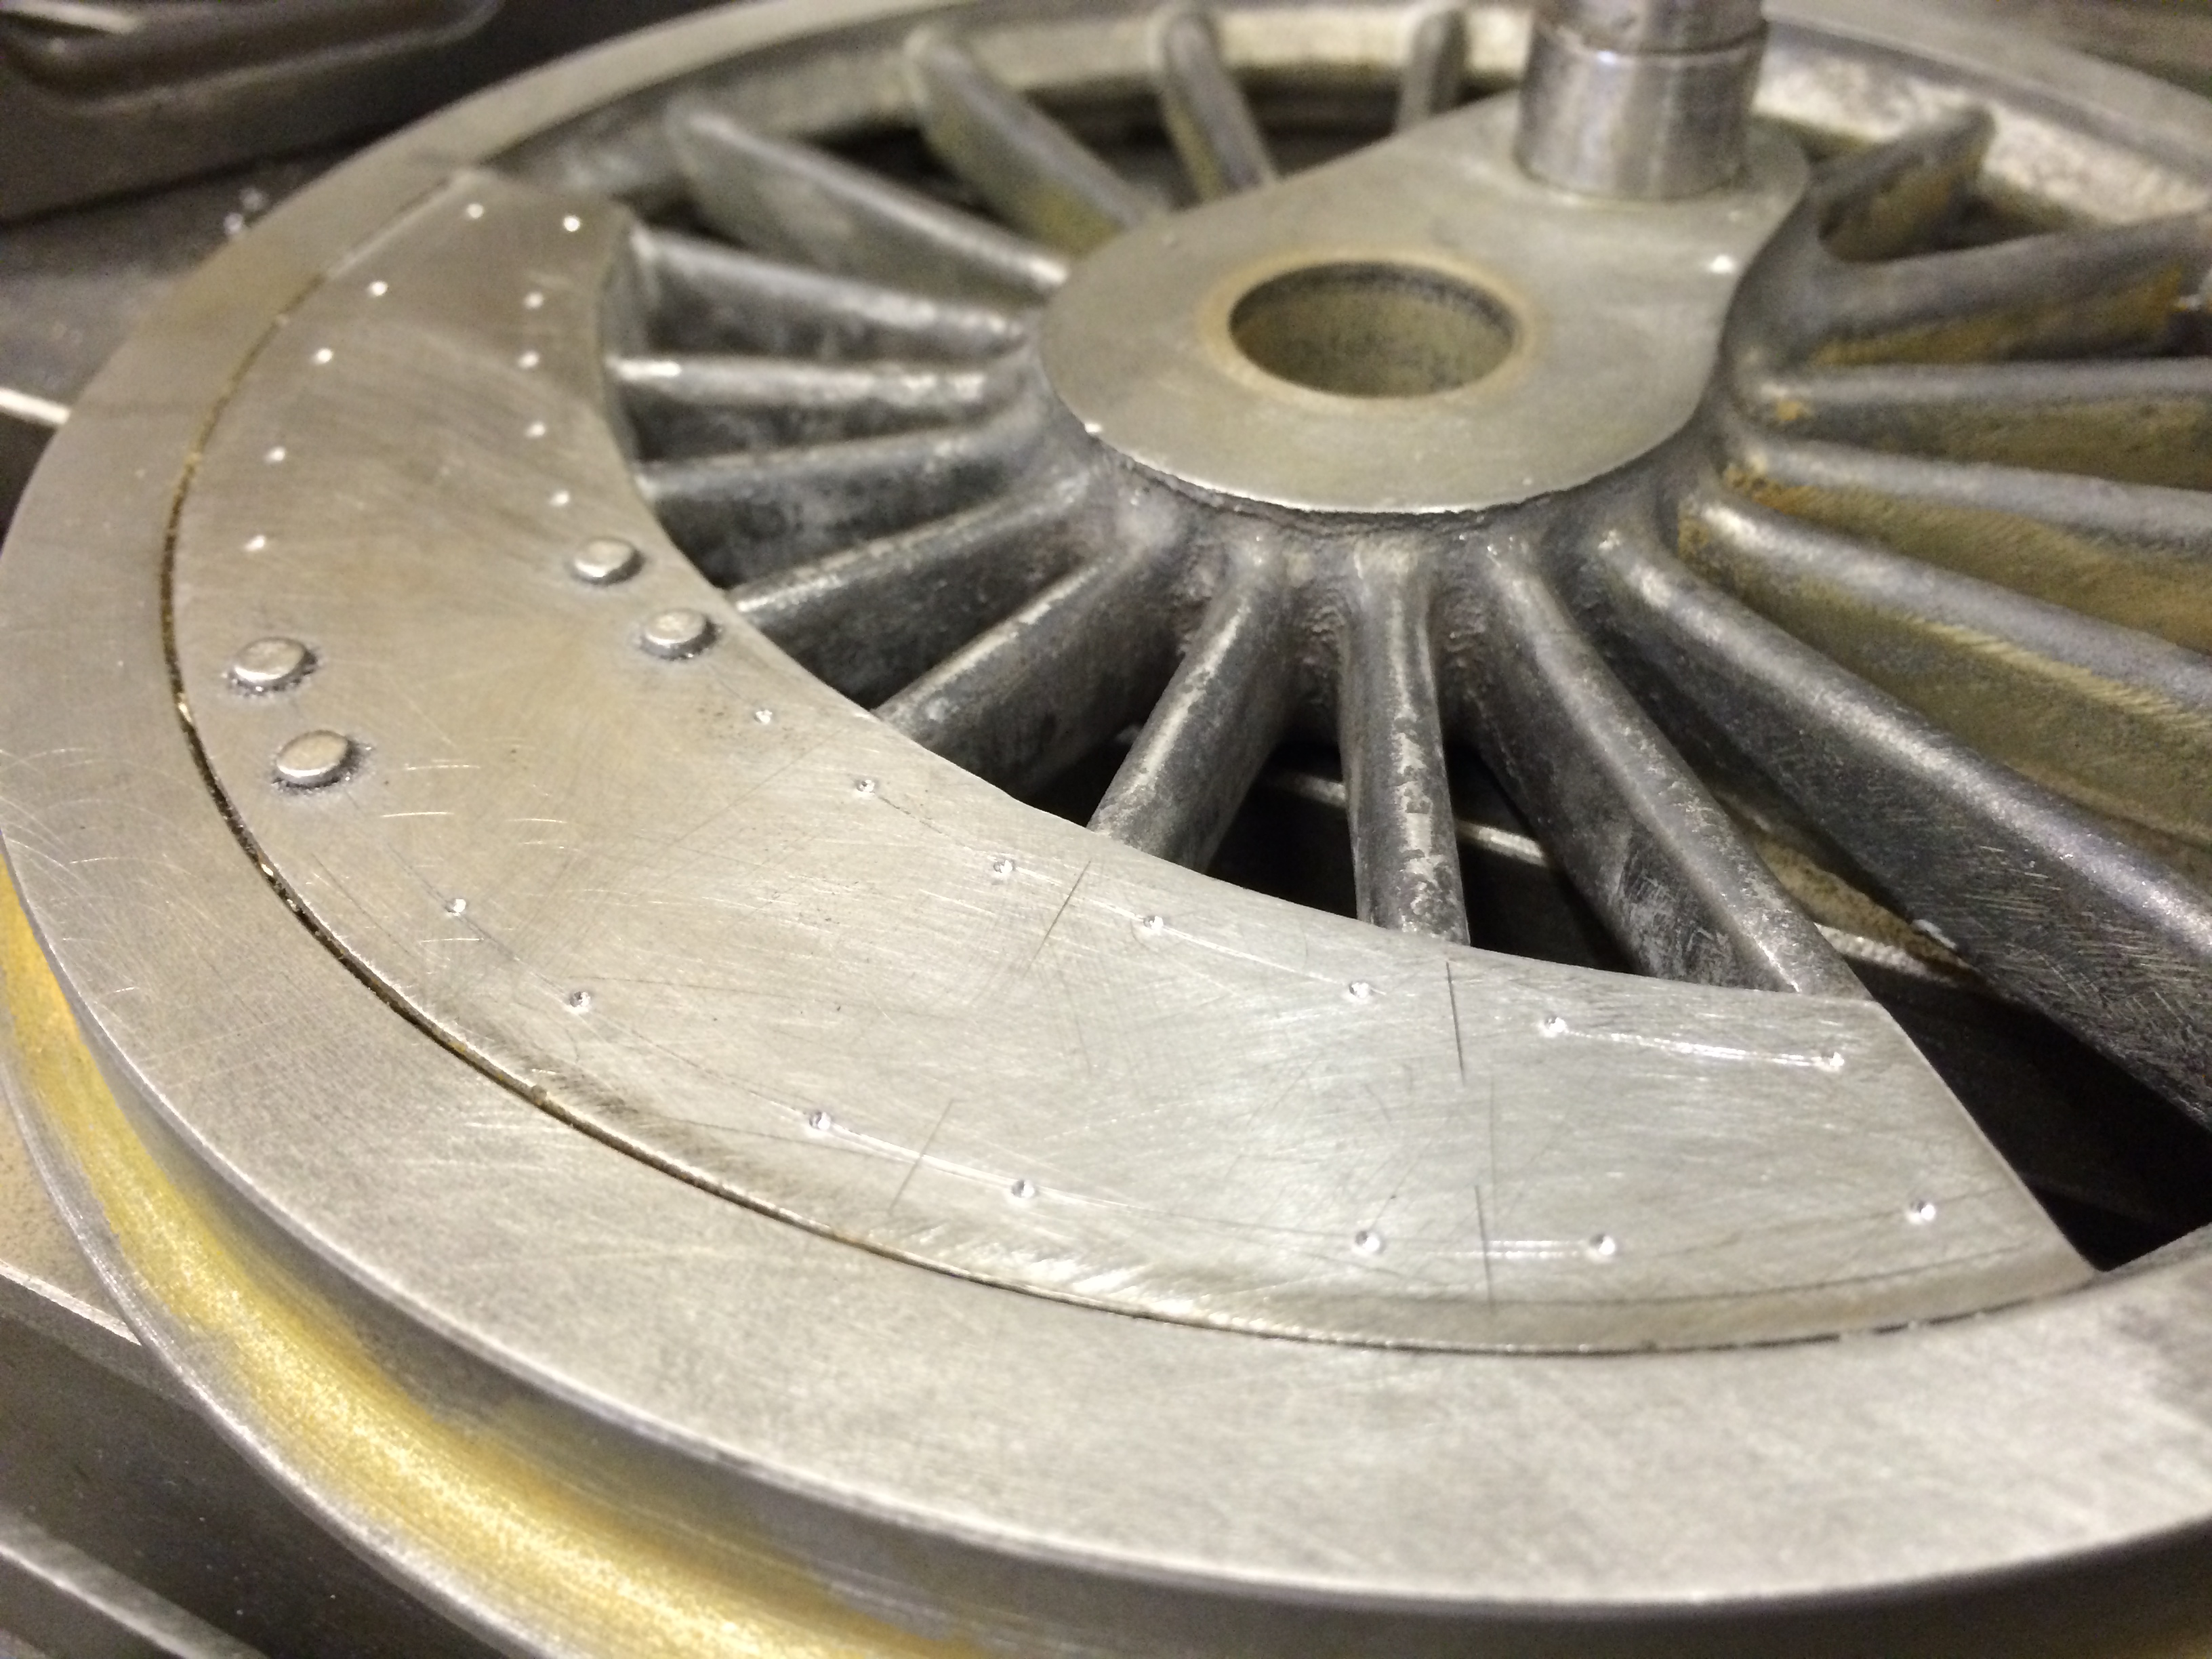
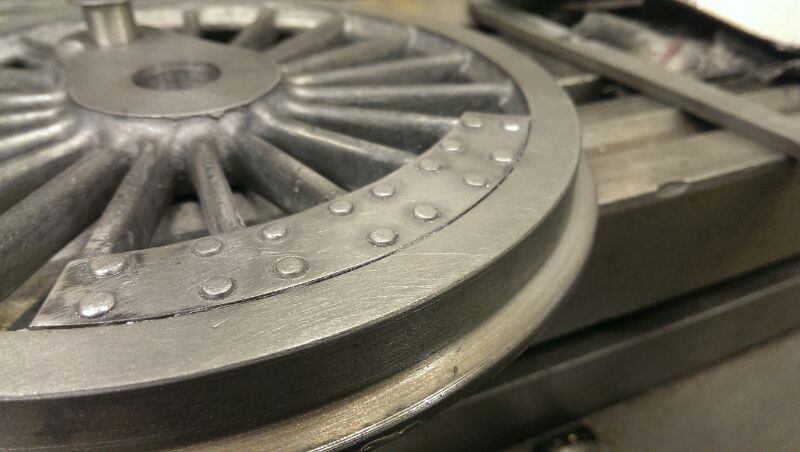
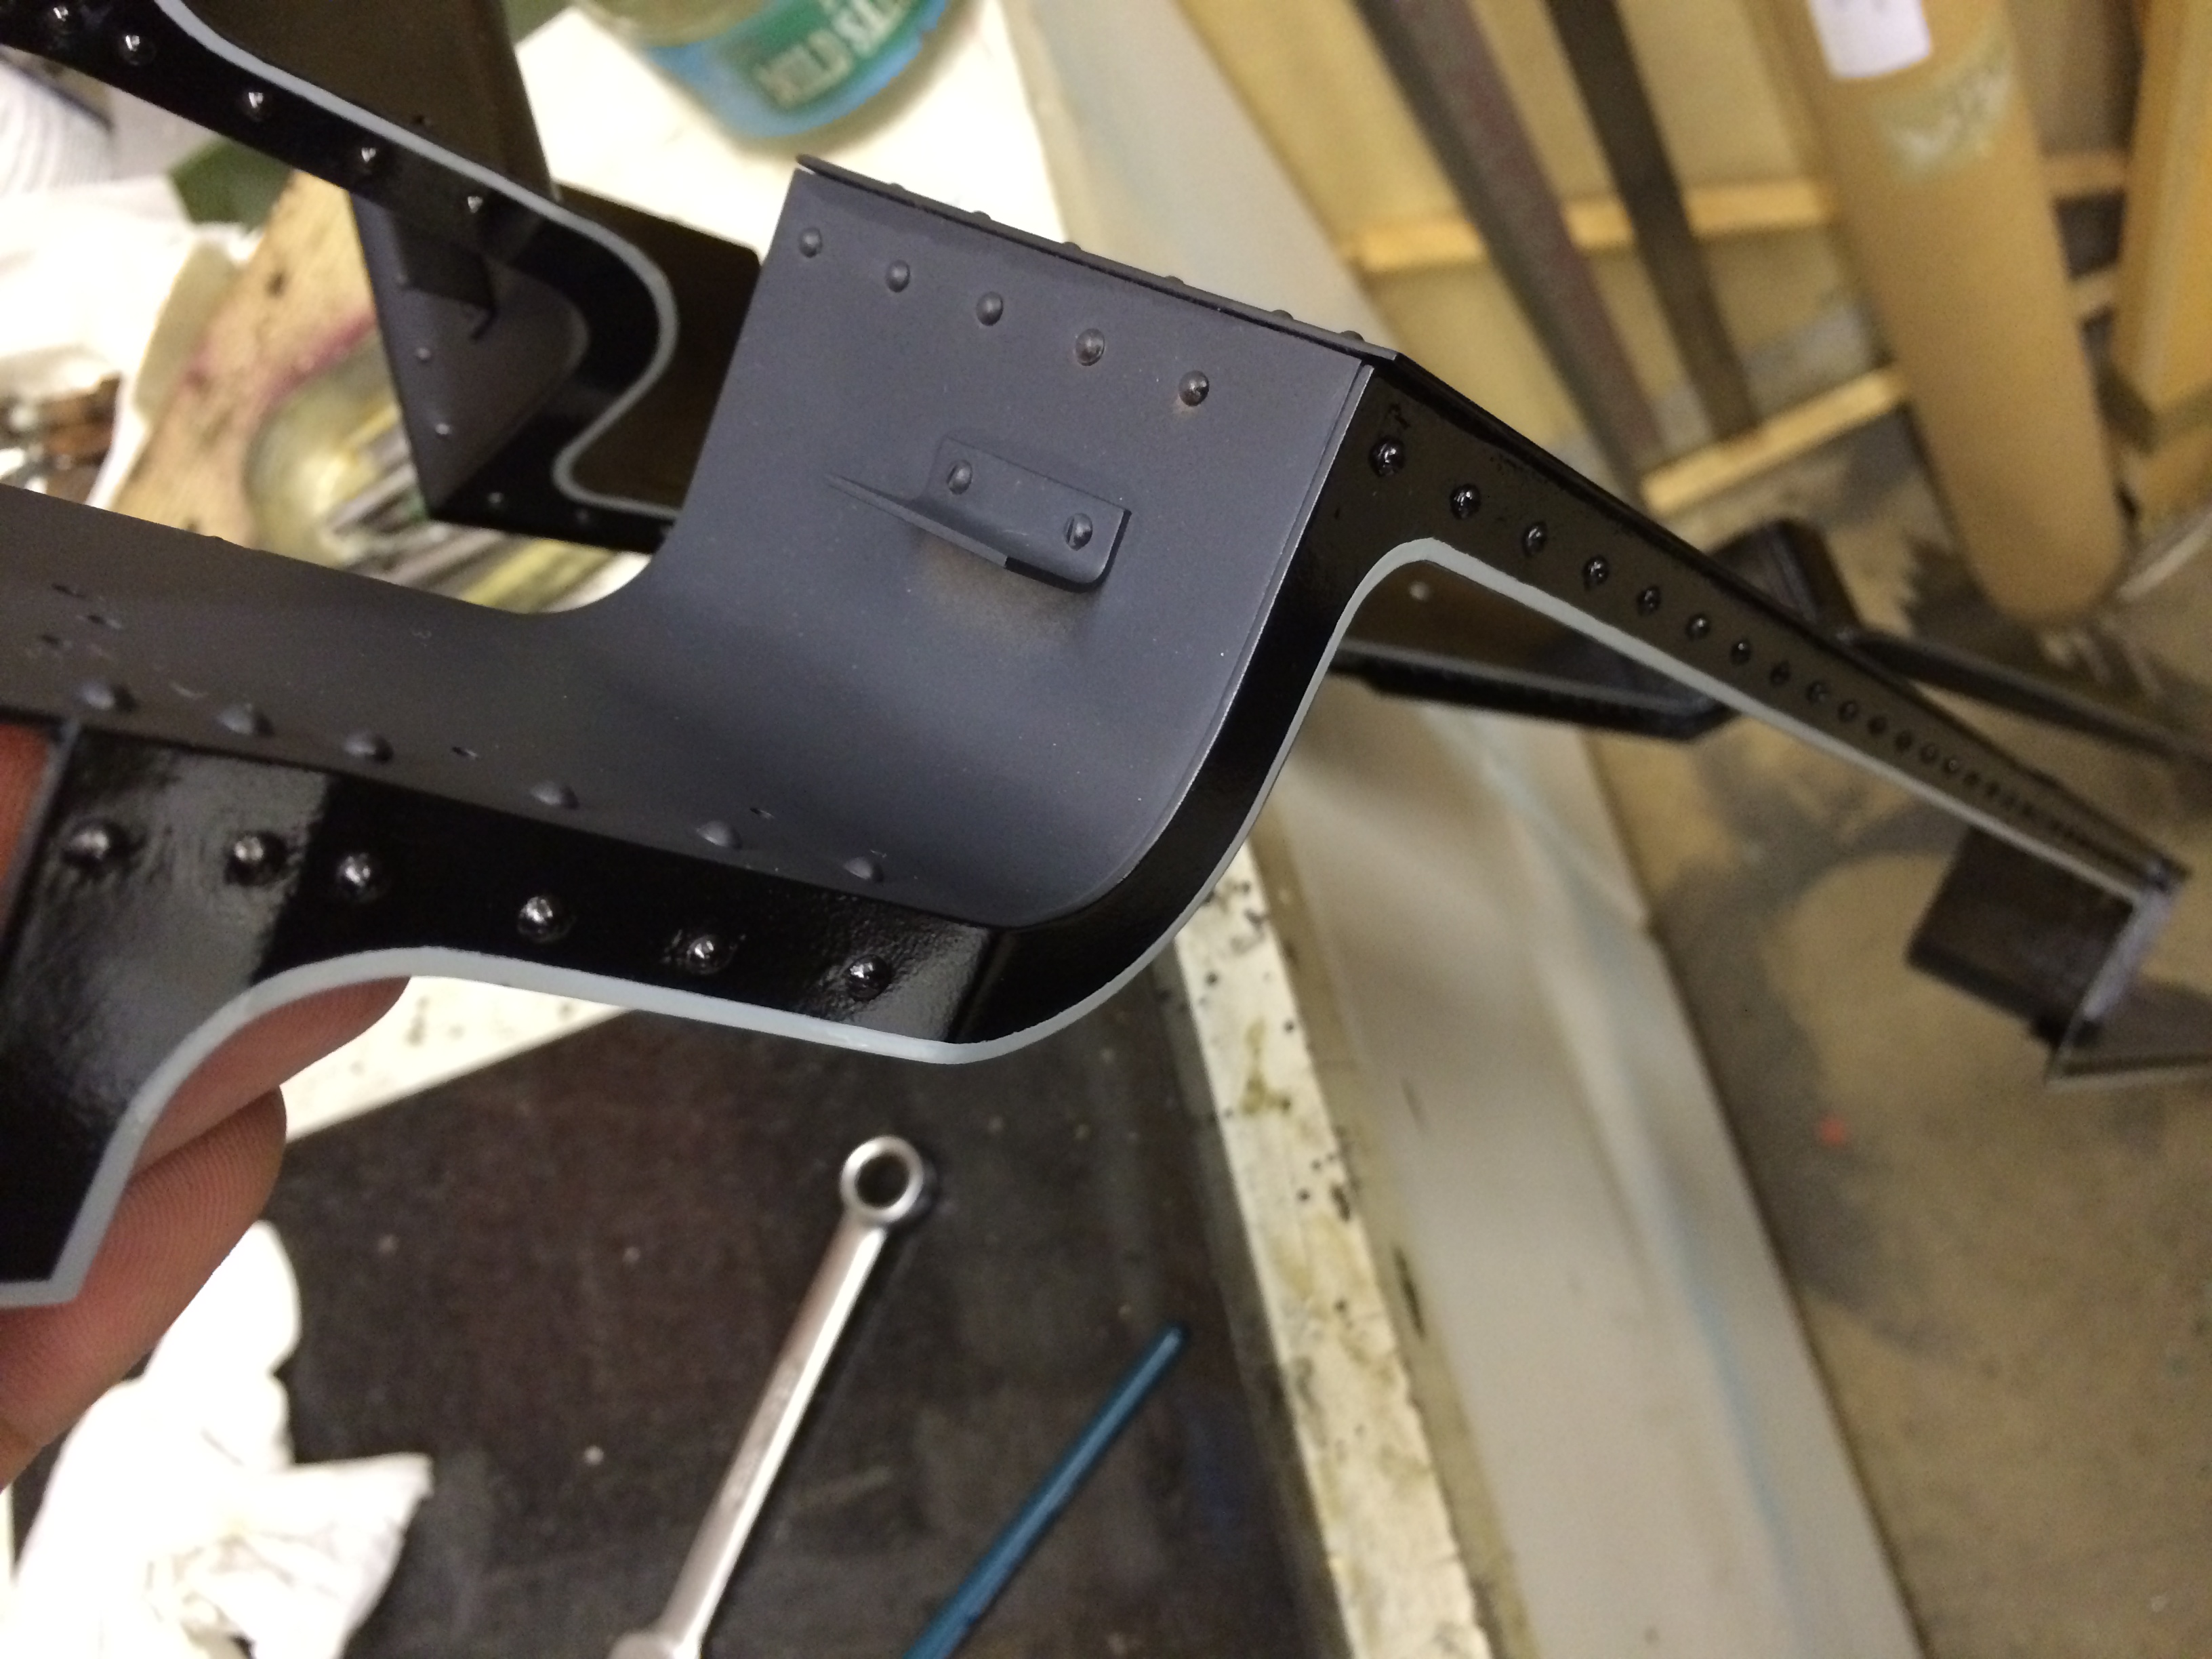
Then we added a little more detail. The rivets on a Stanier class 4 are quite a notable detail. The catch the light in photos and stand out. They had to go on.
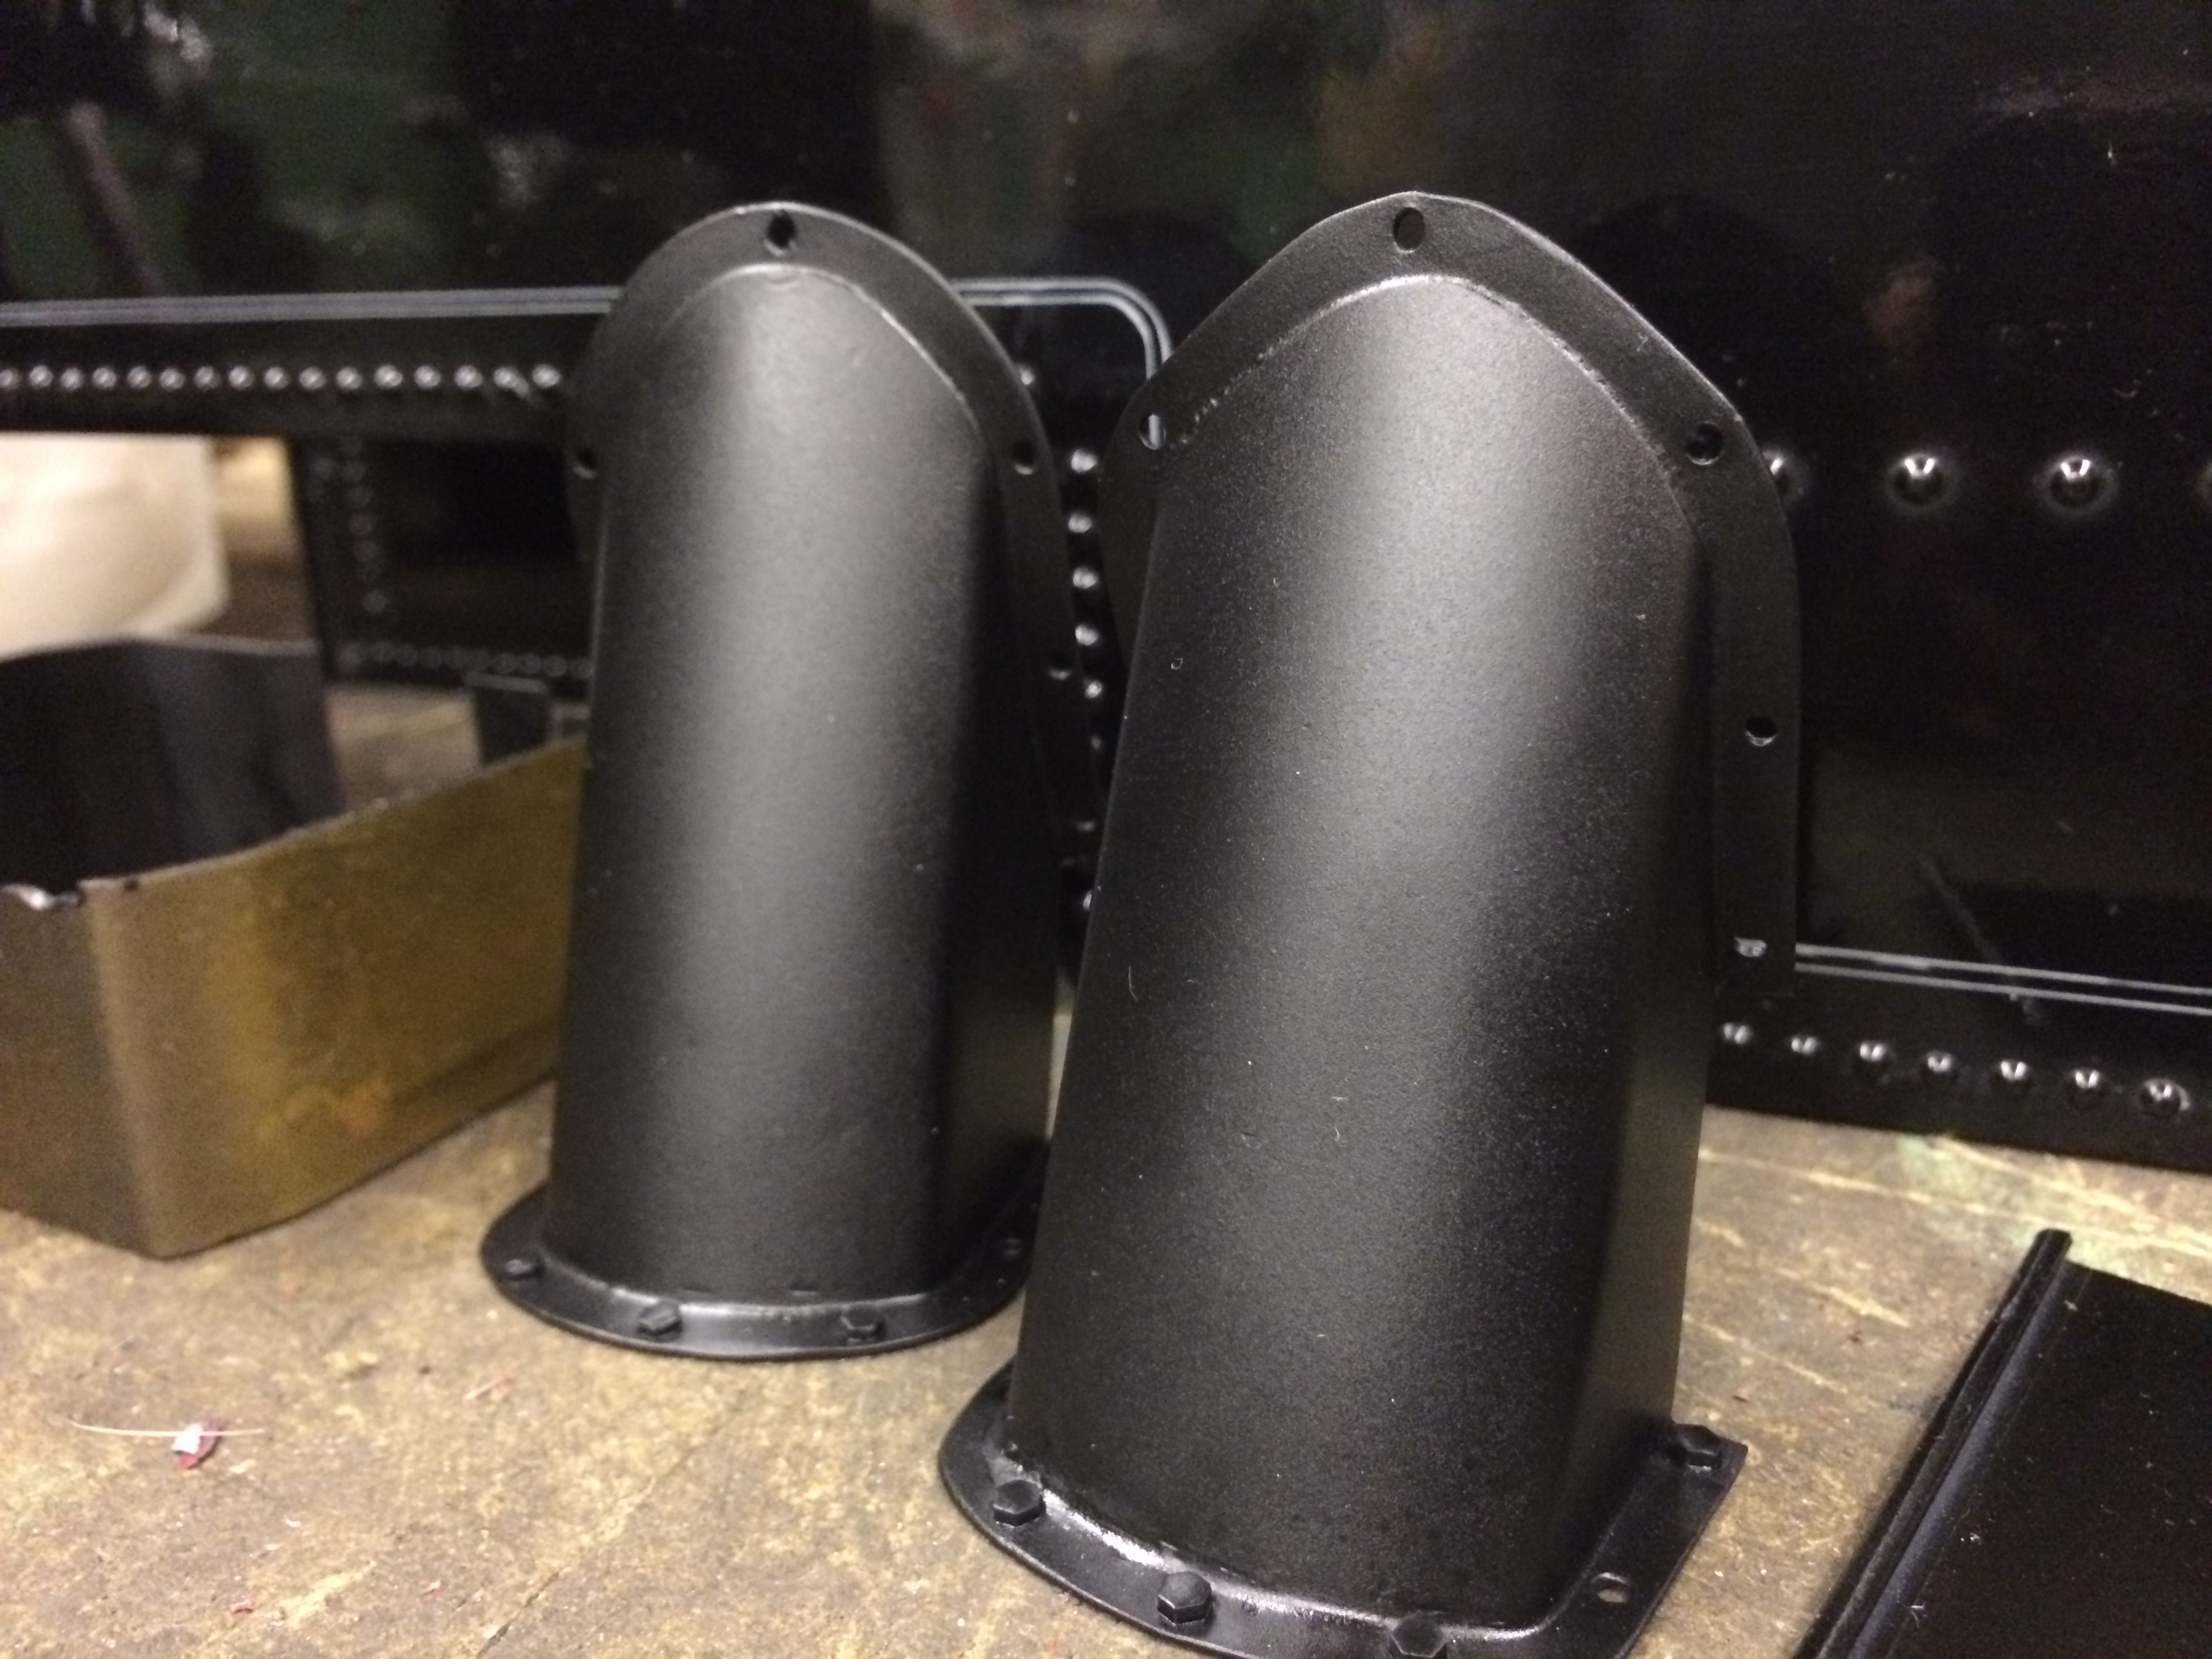
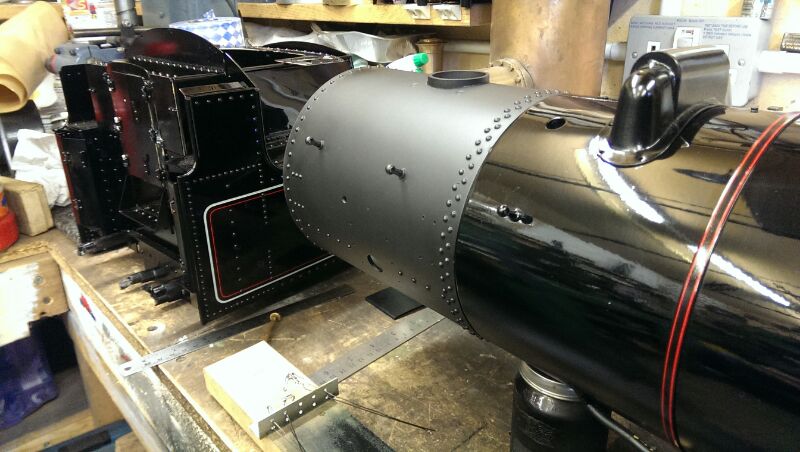
Then the chimney was also re-profiled,.... a hand filing job by eye that makes even the best arms ache. Worth it though.

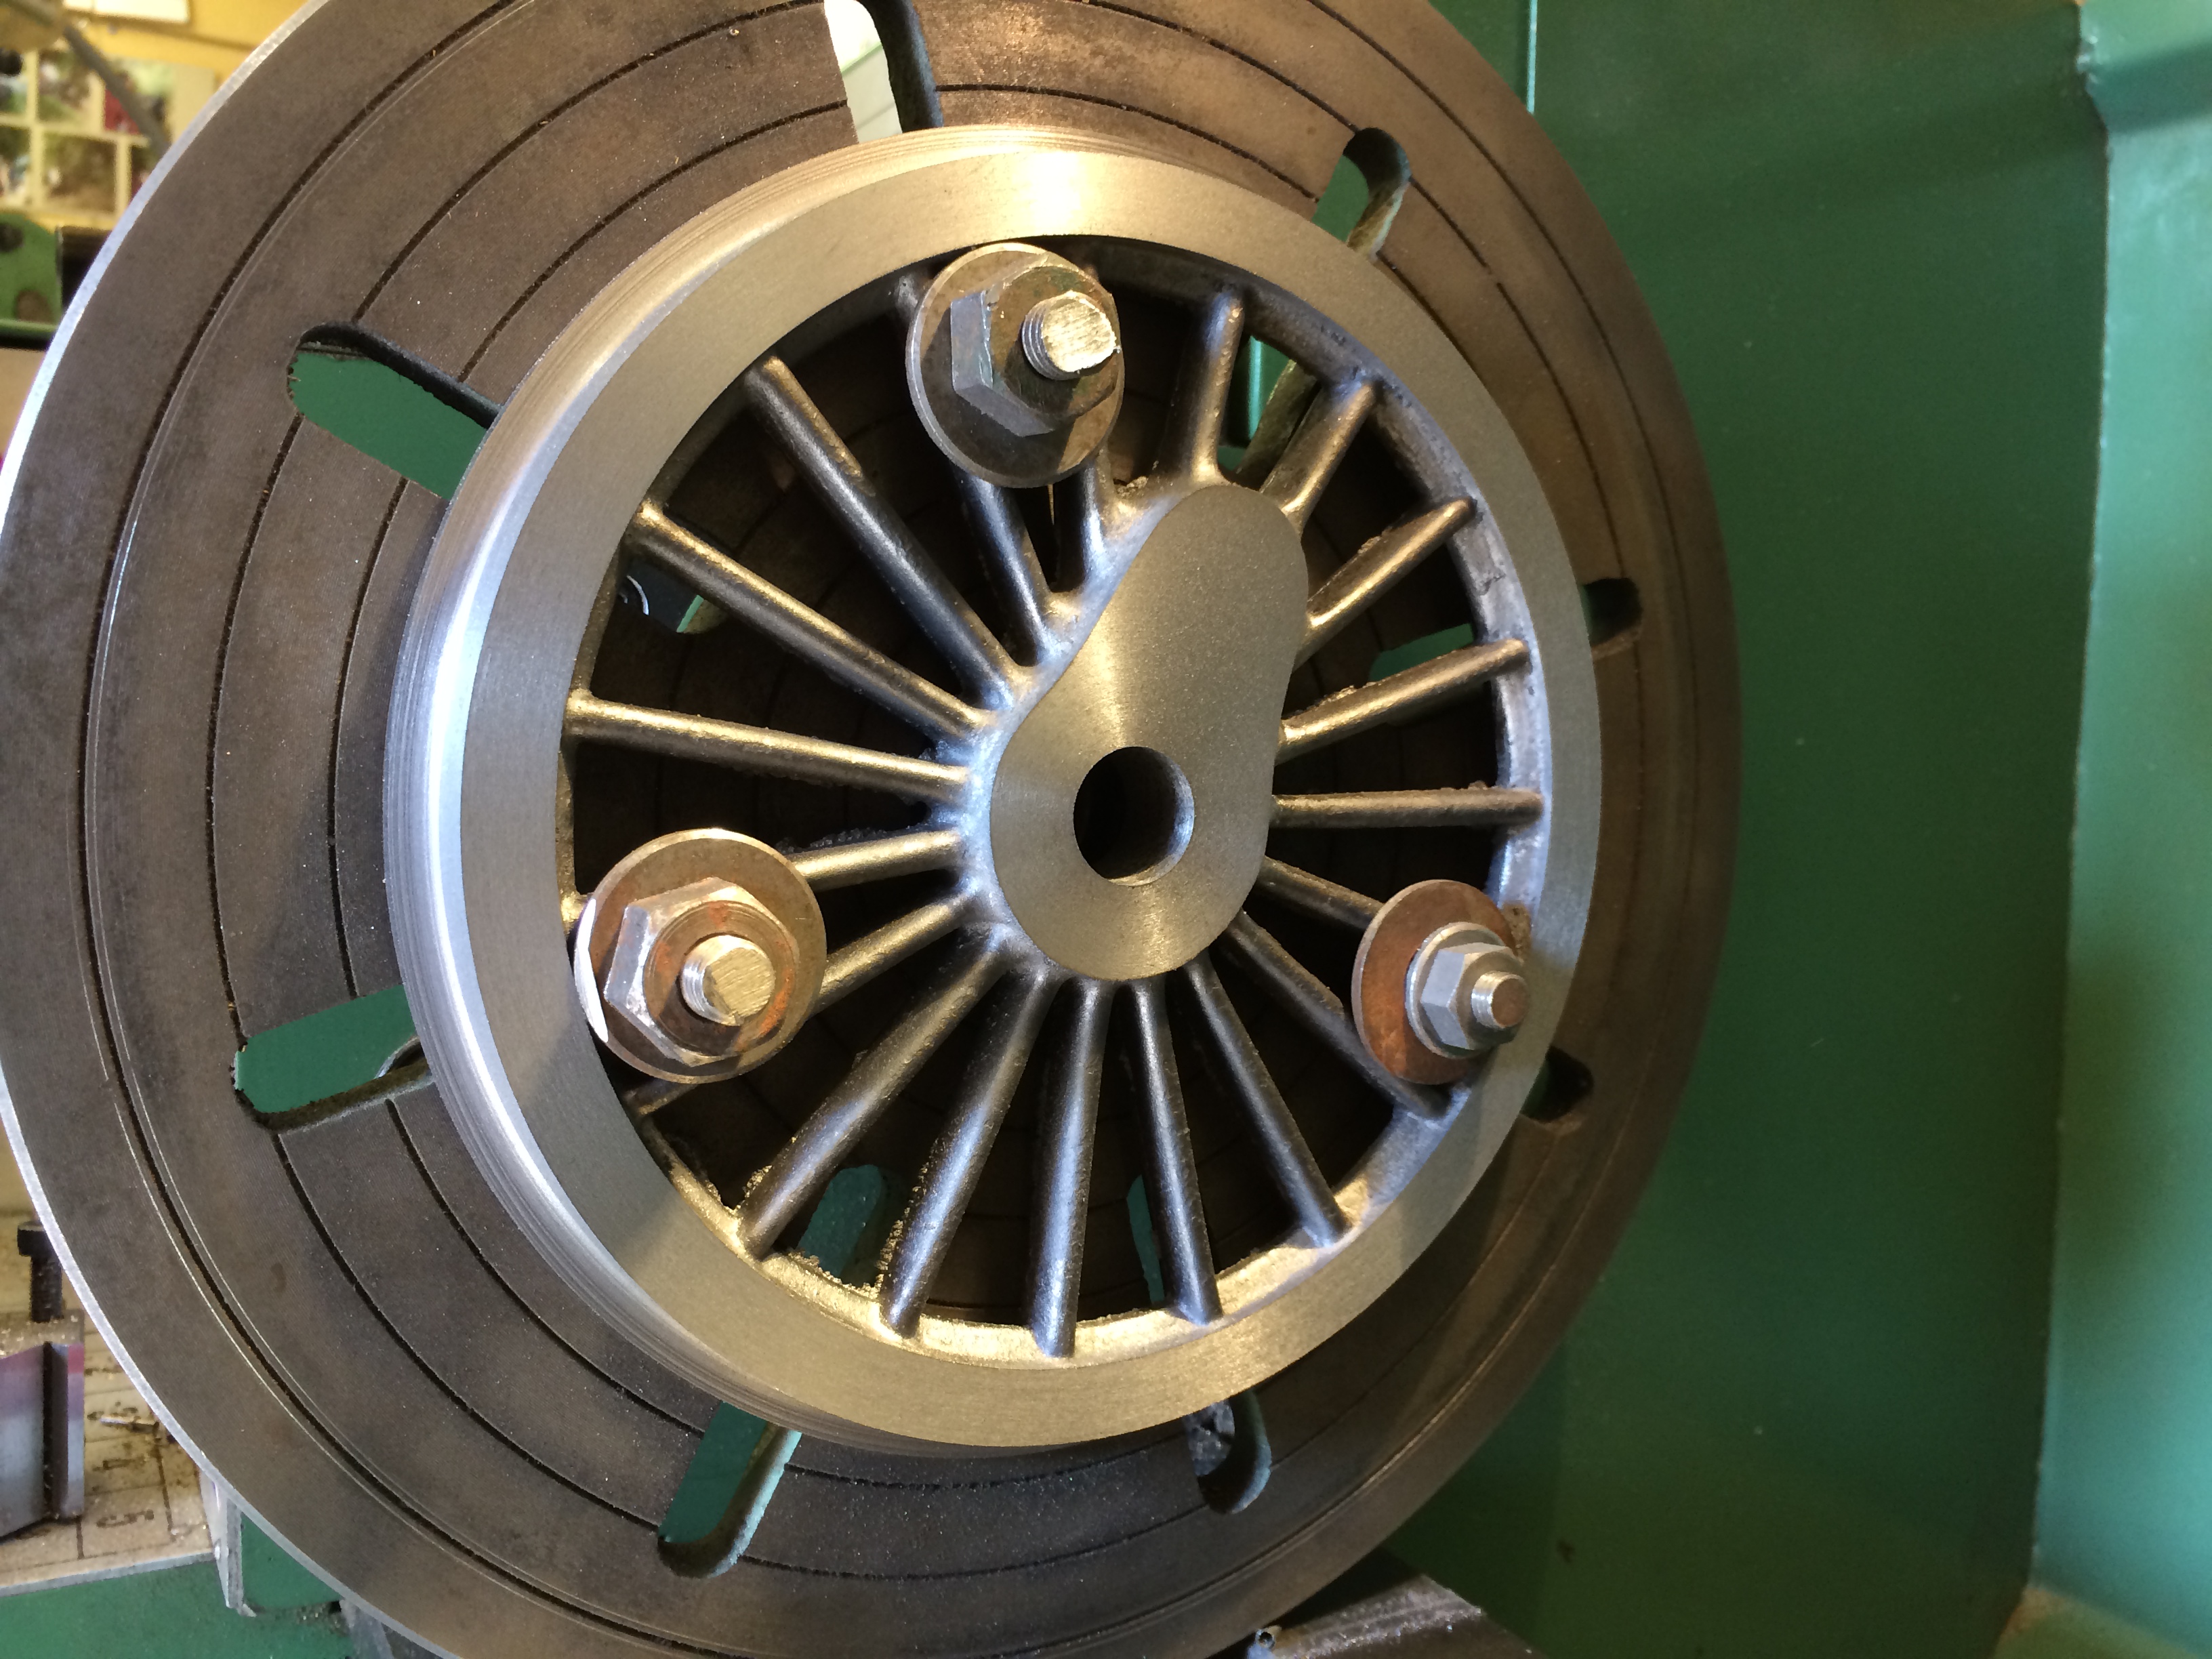
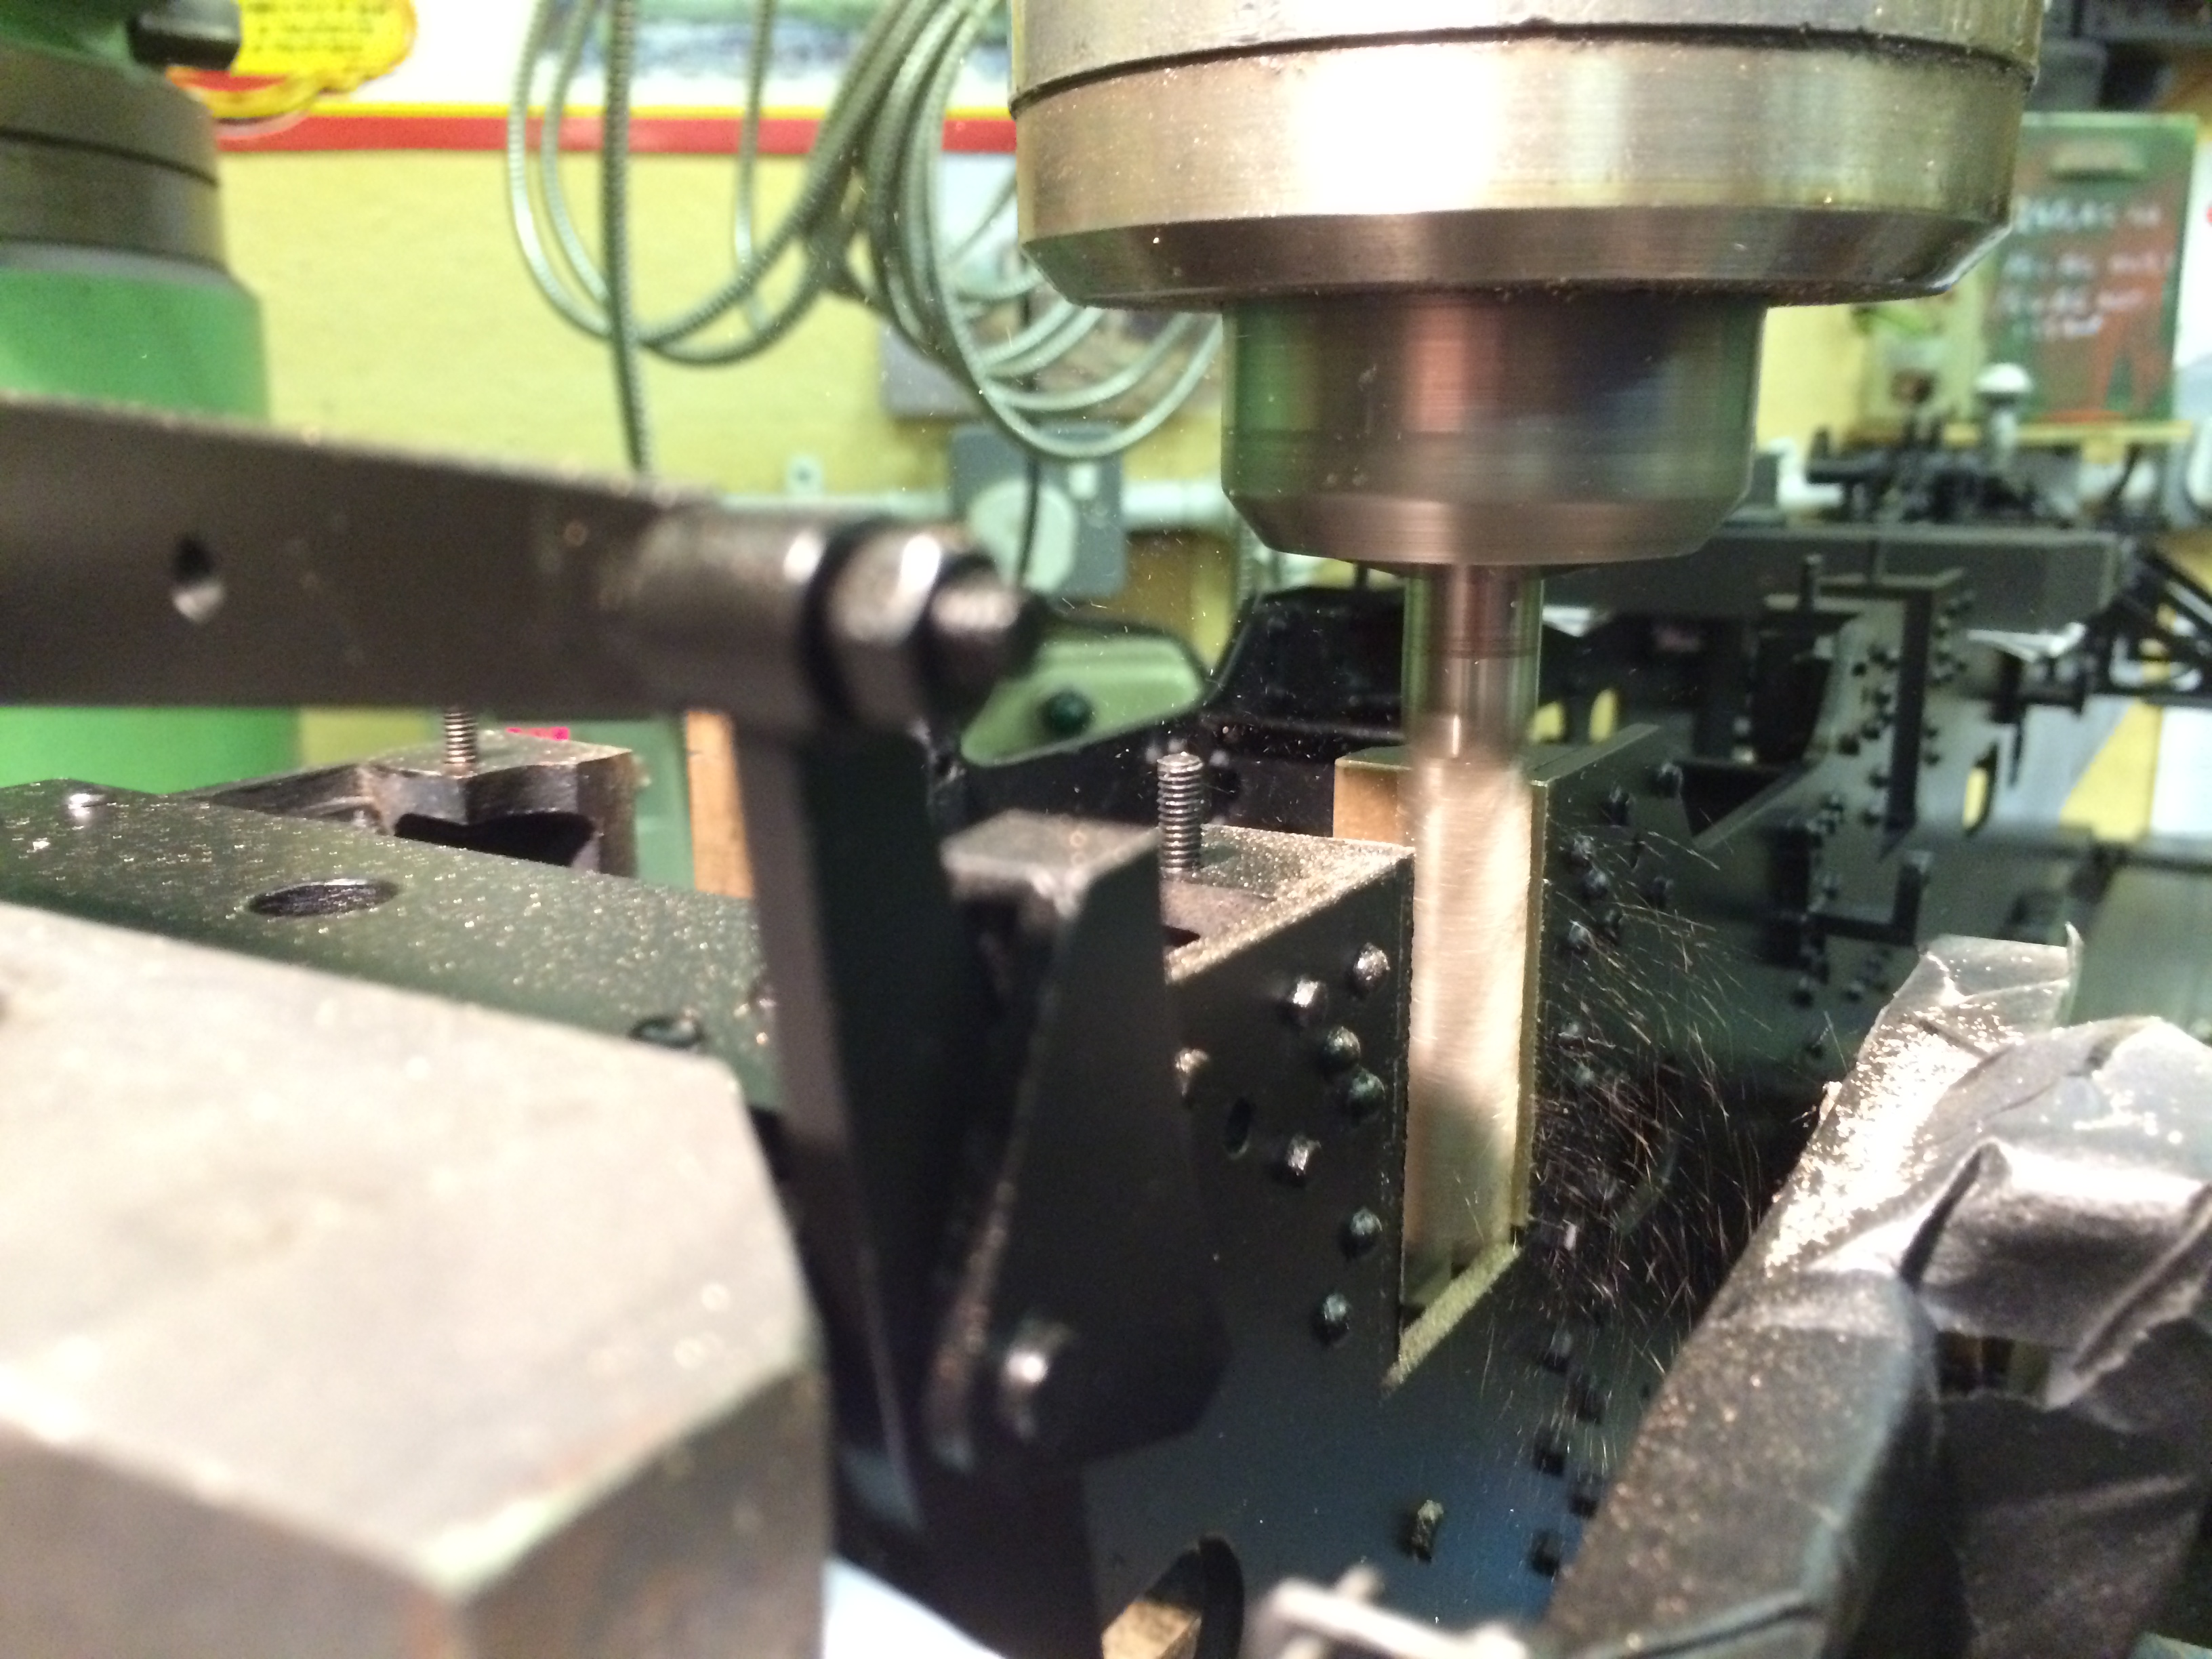
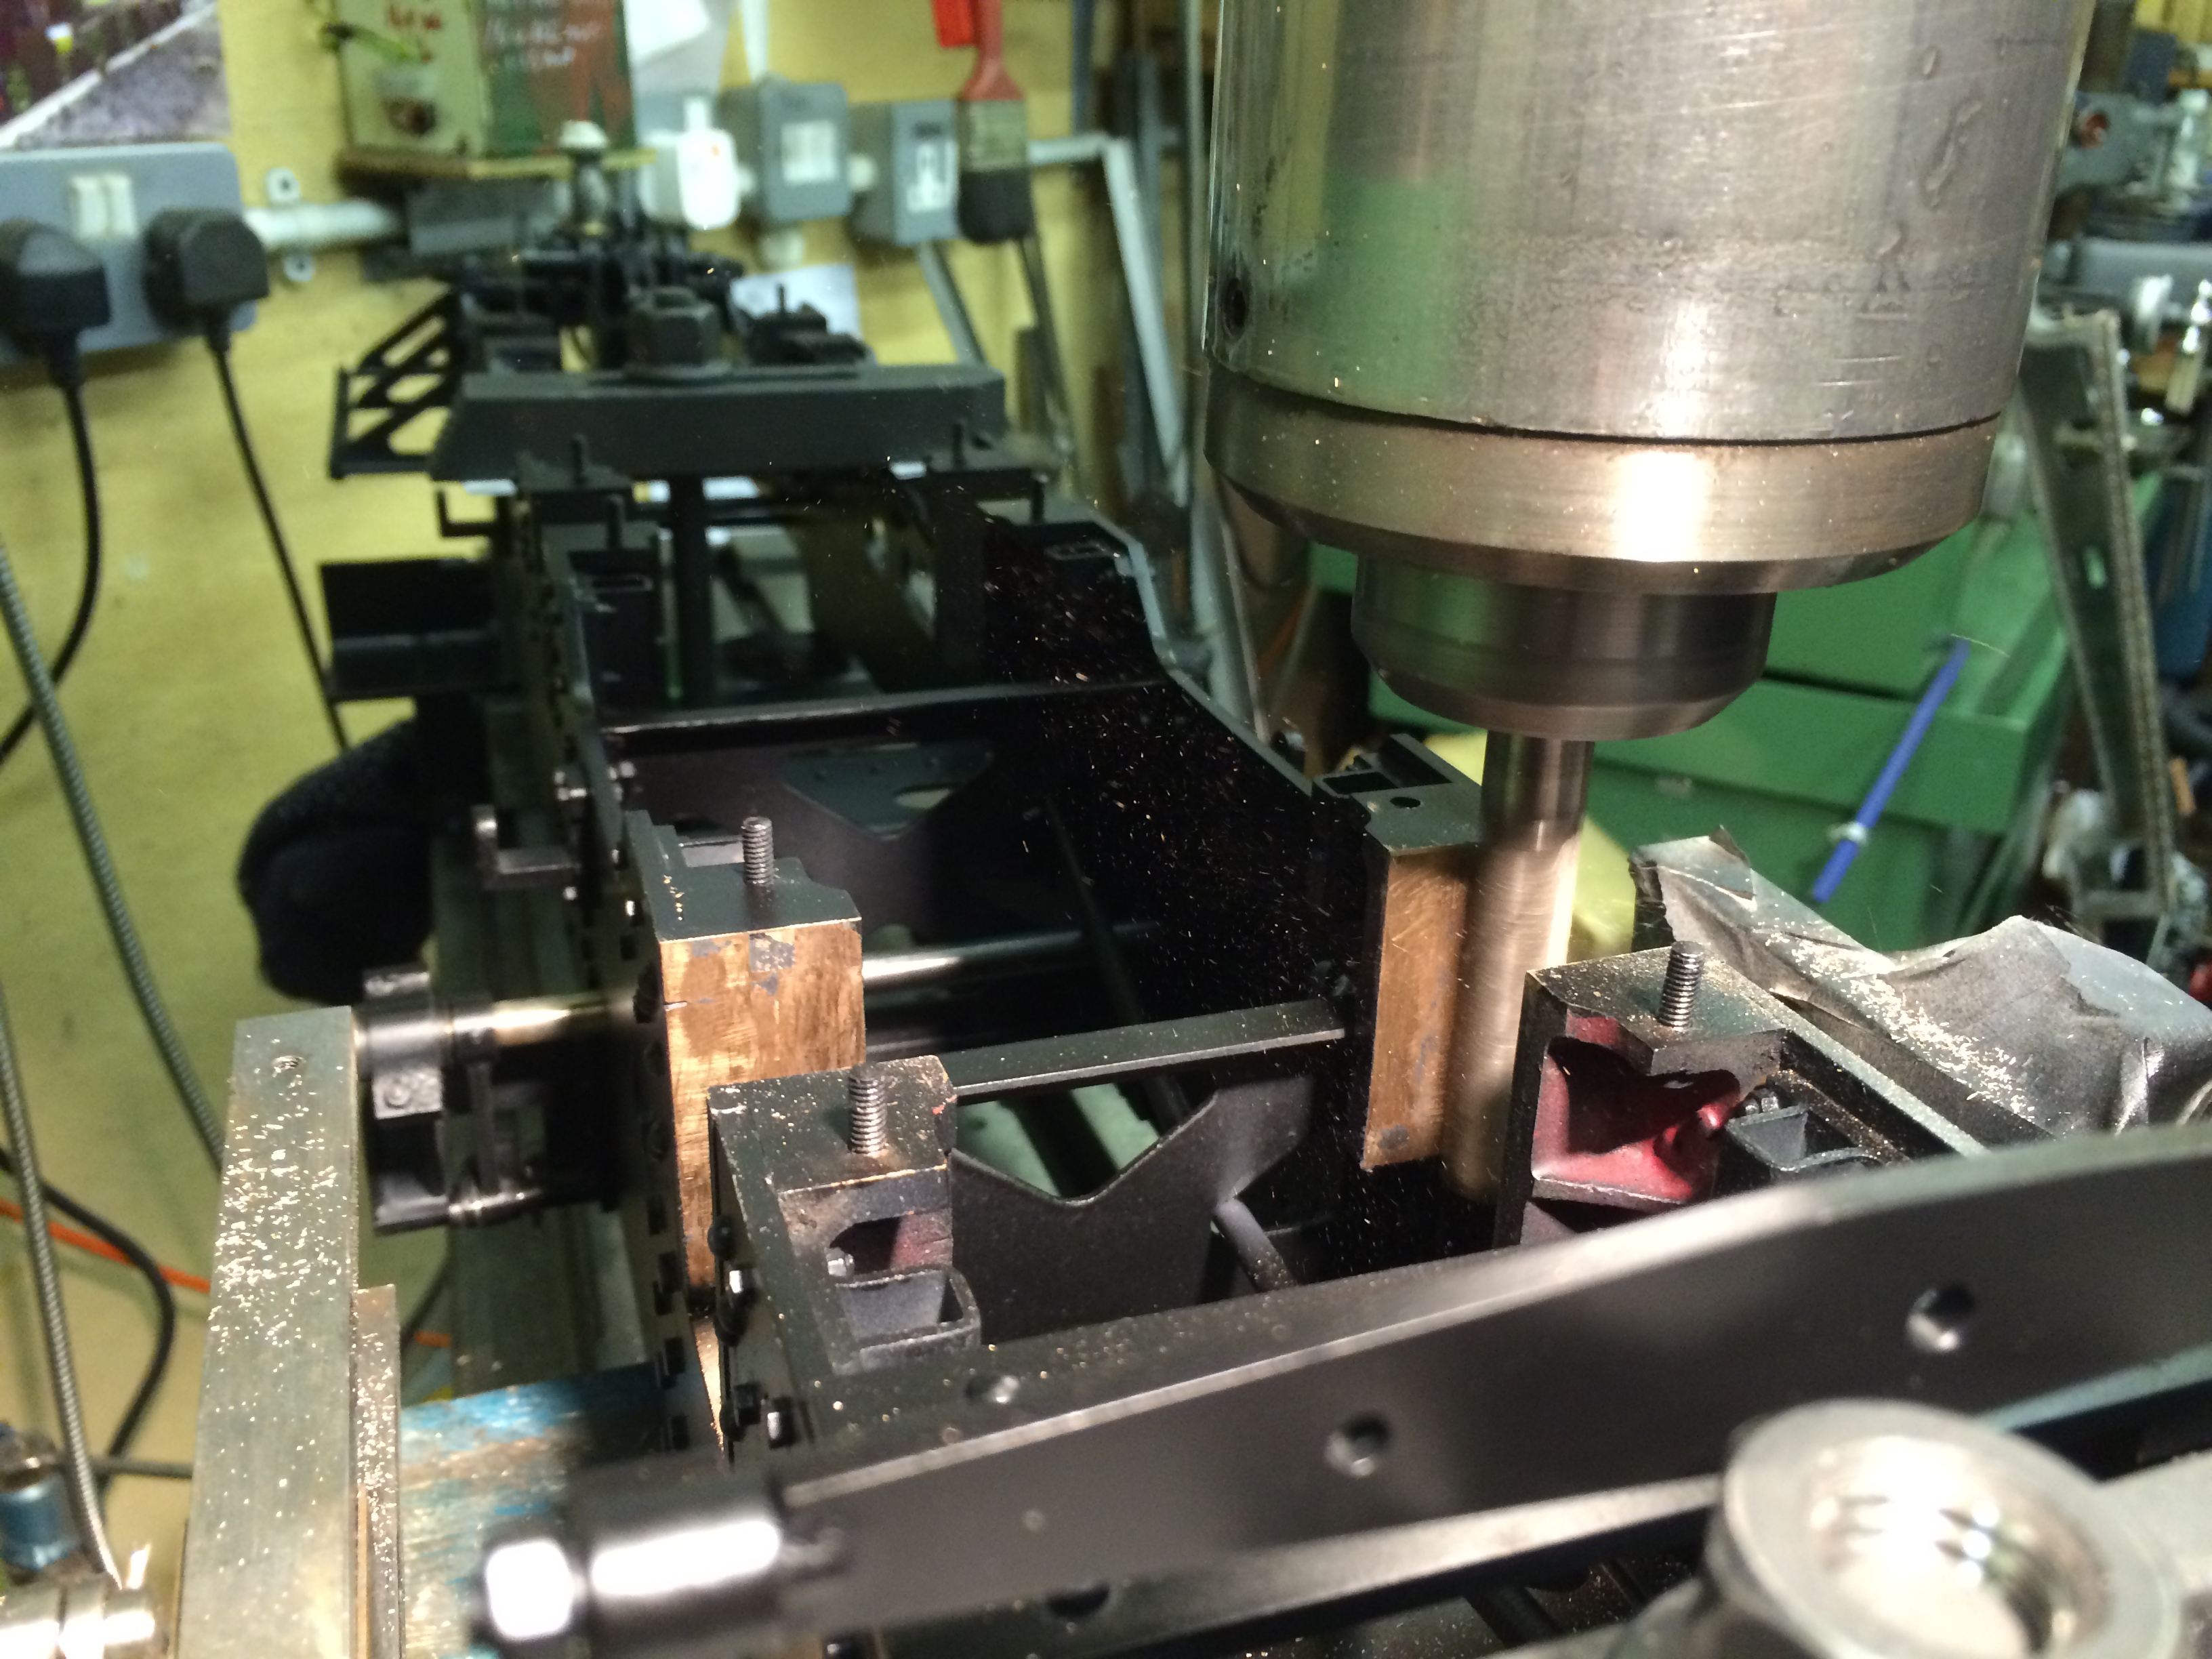
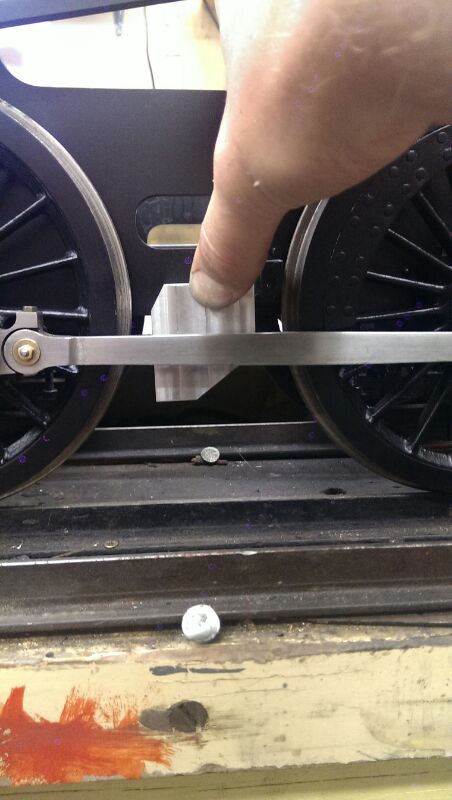
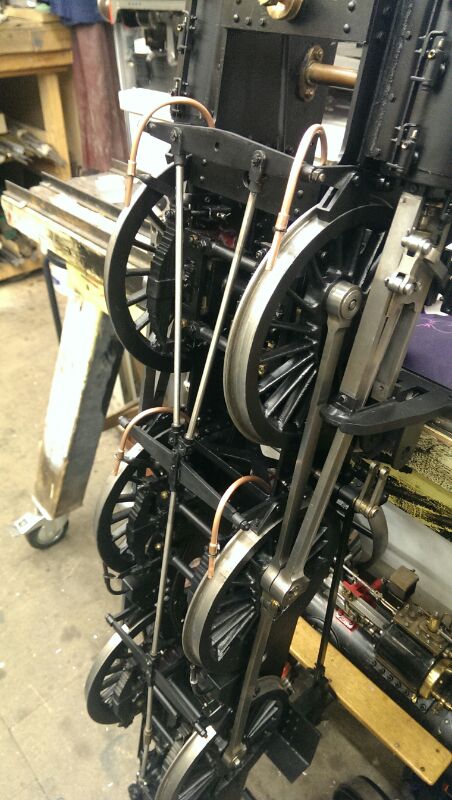
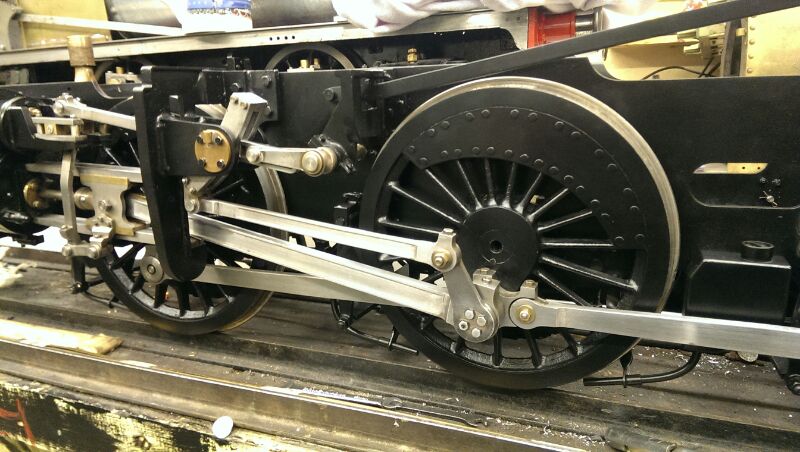
We also found that the horn guides were ever so slightly out of true in places, so we took the opportunity to skim everything up square and true on the miller whilst the frames were bare. We also made a fresh new set of matched shims to ensure each axle runs true and smooth.
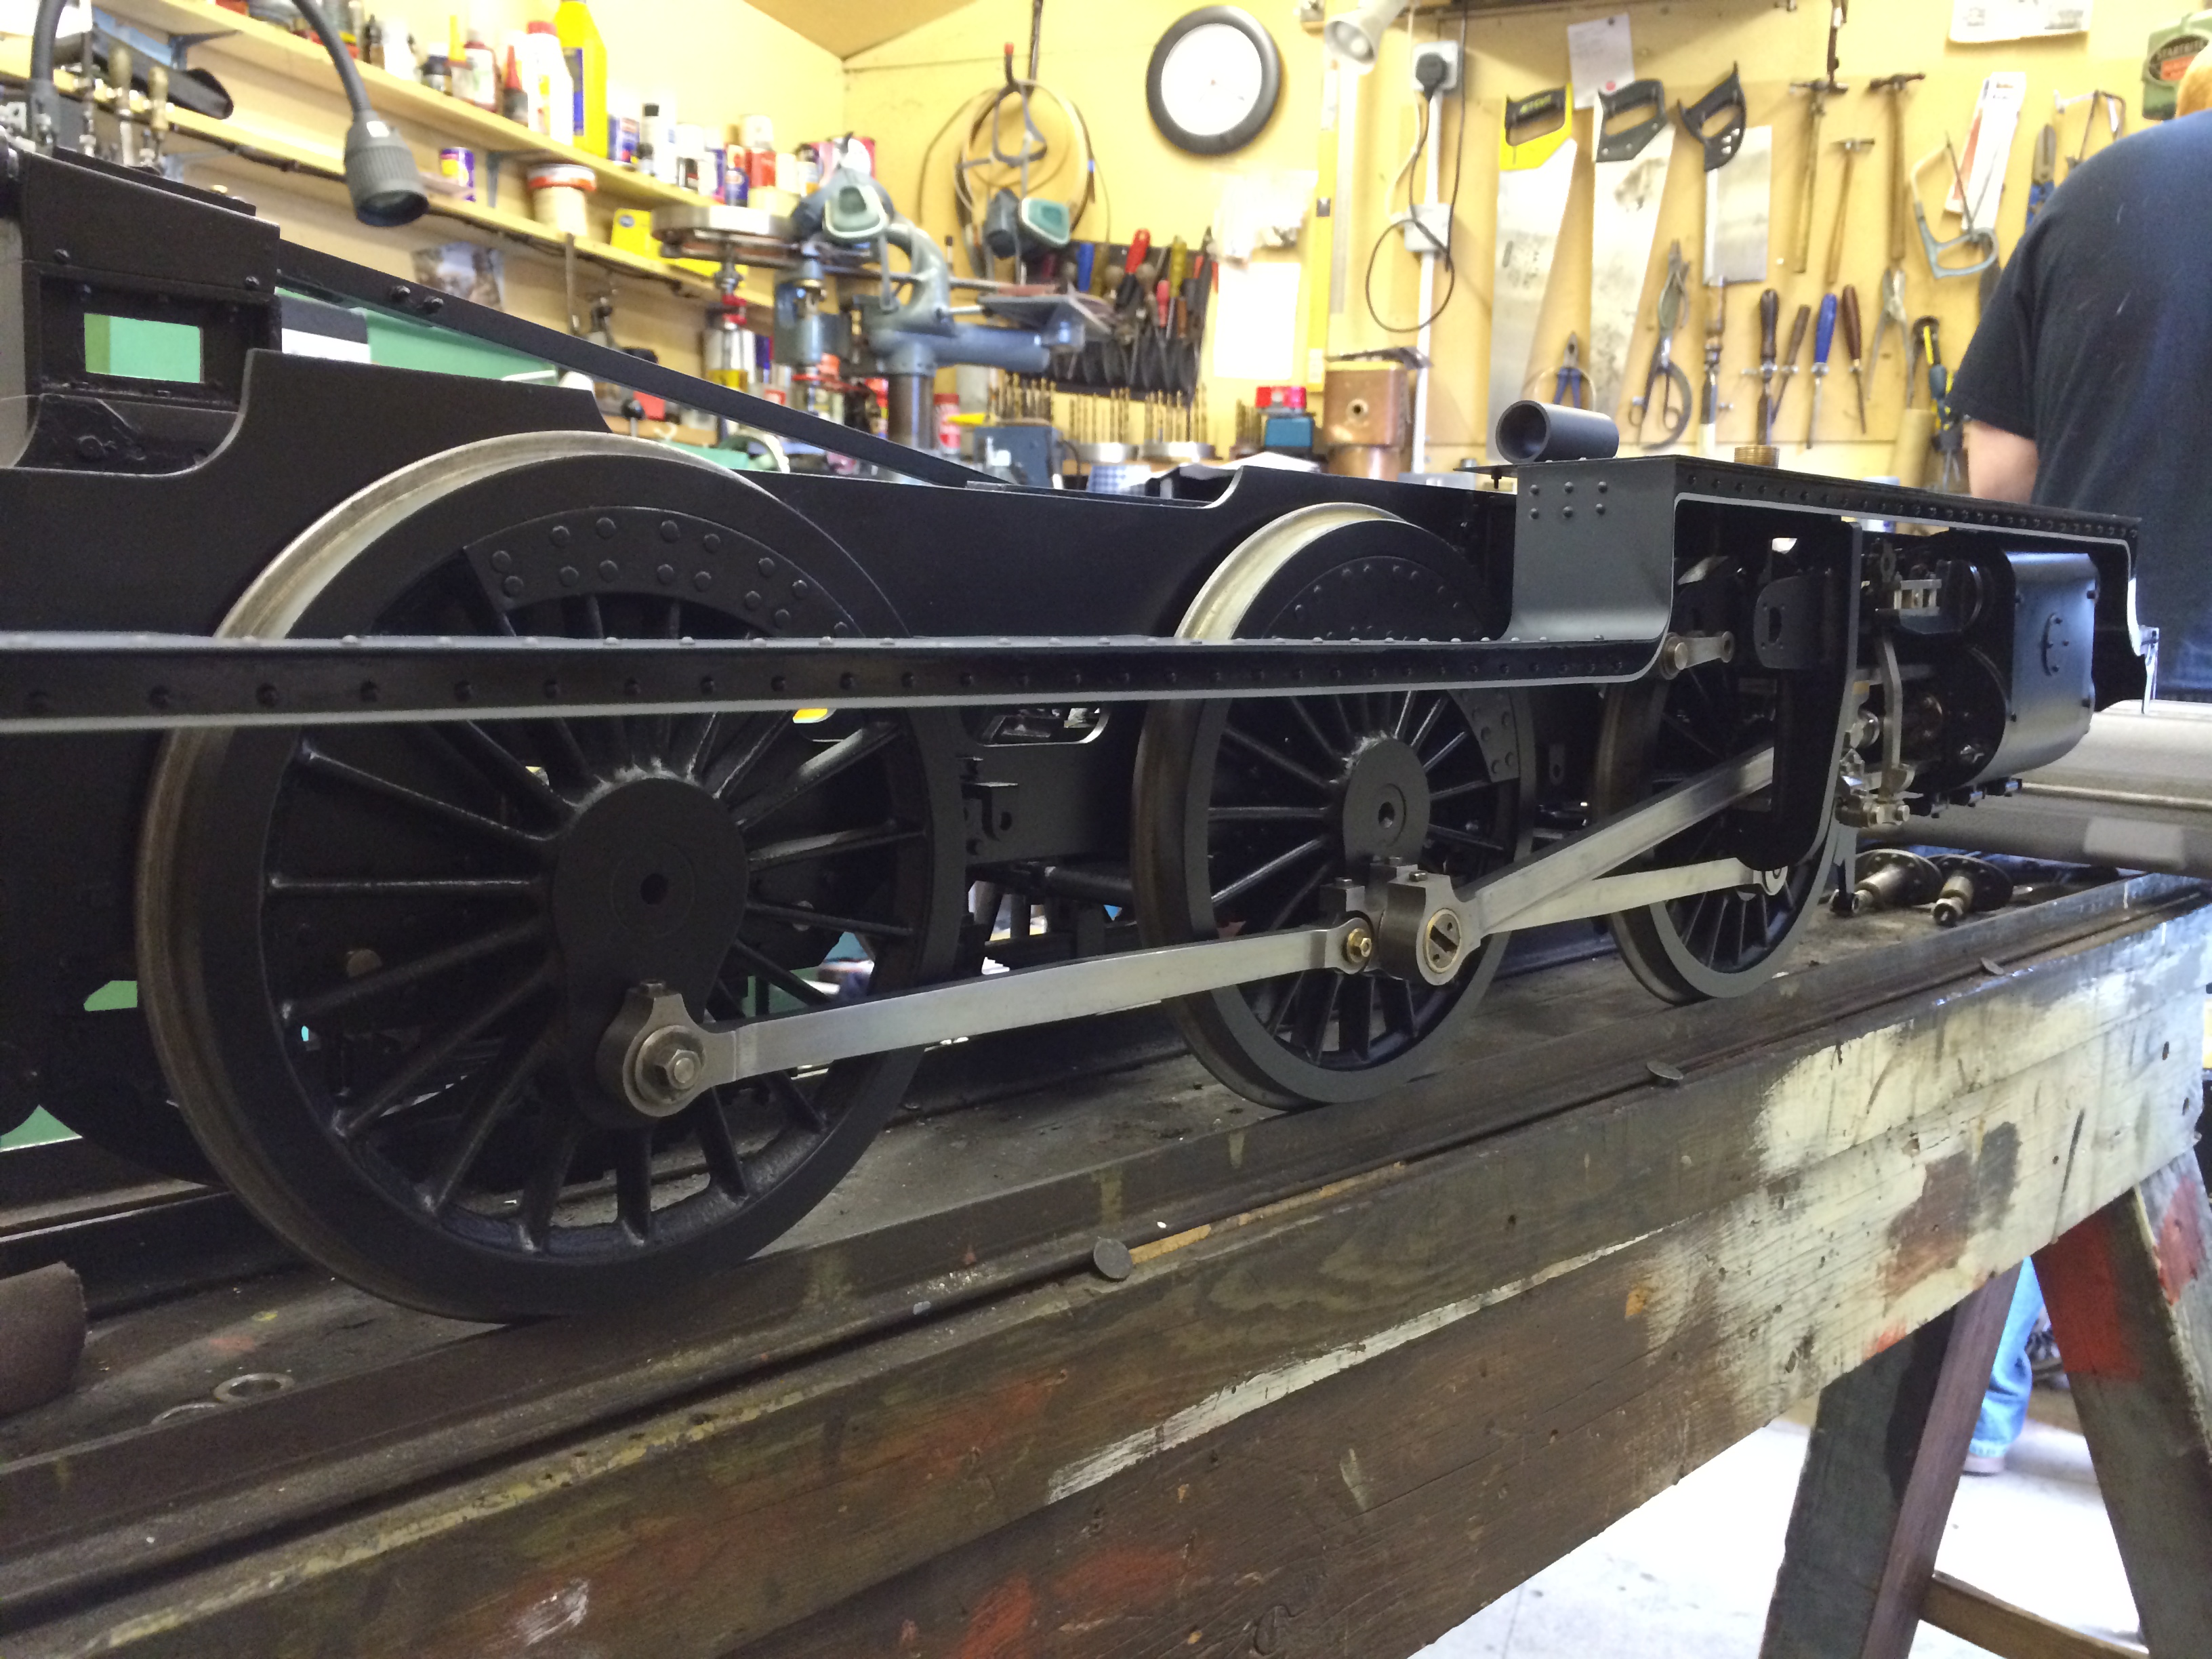
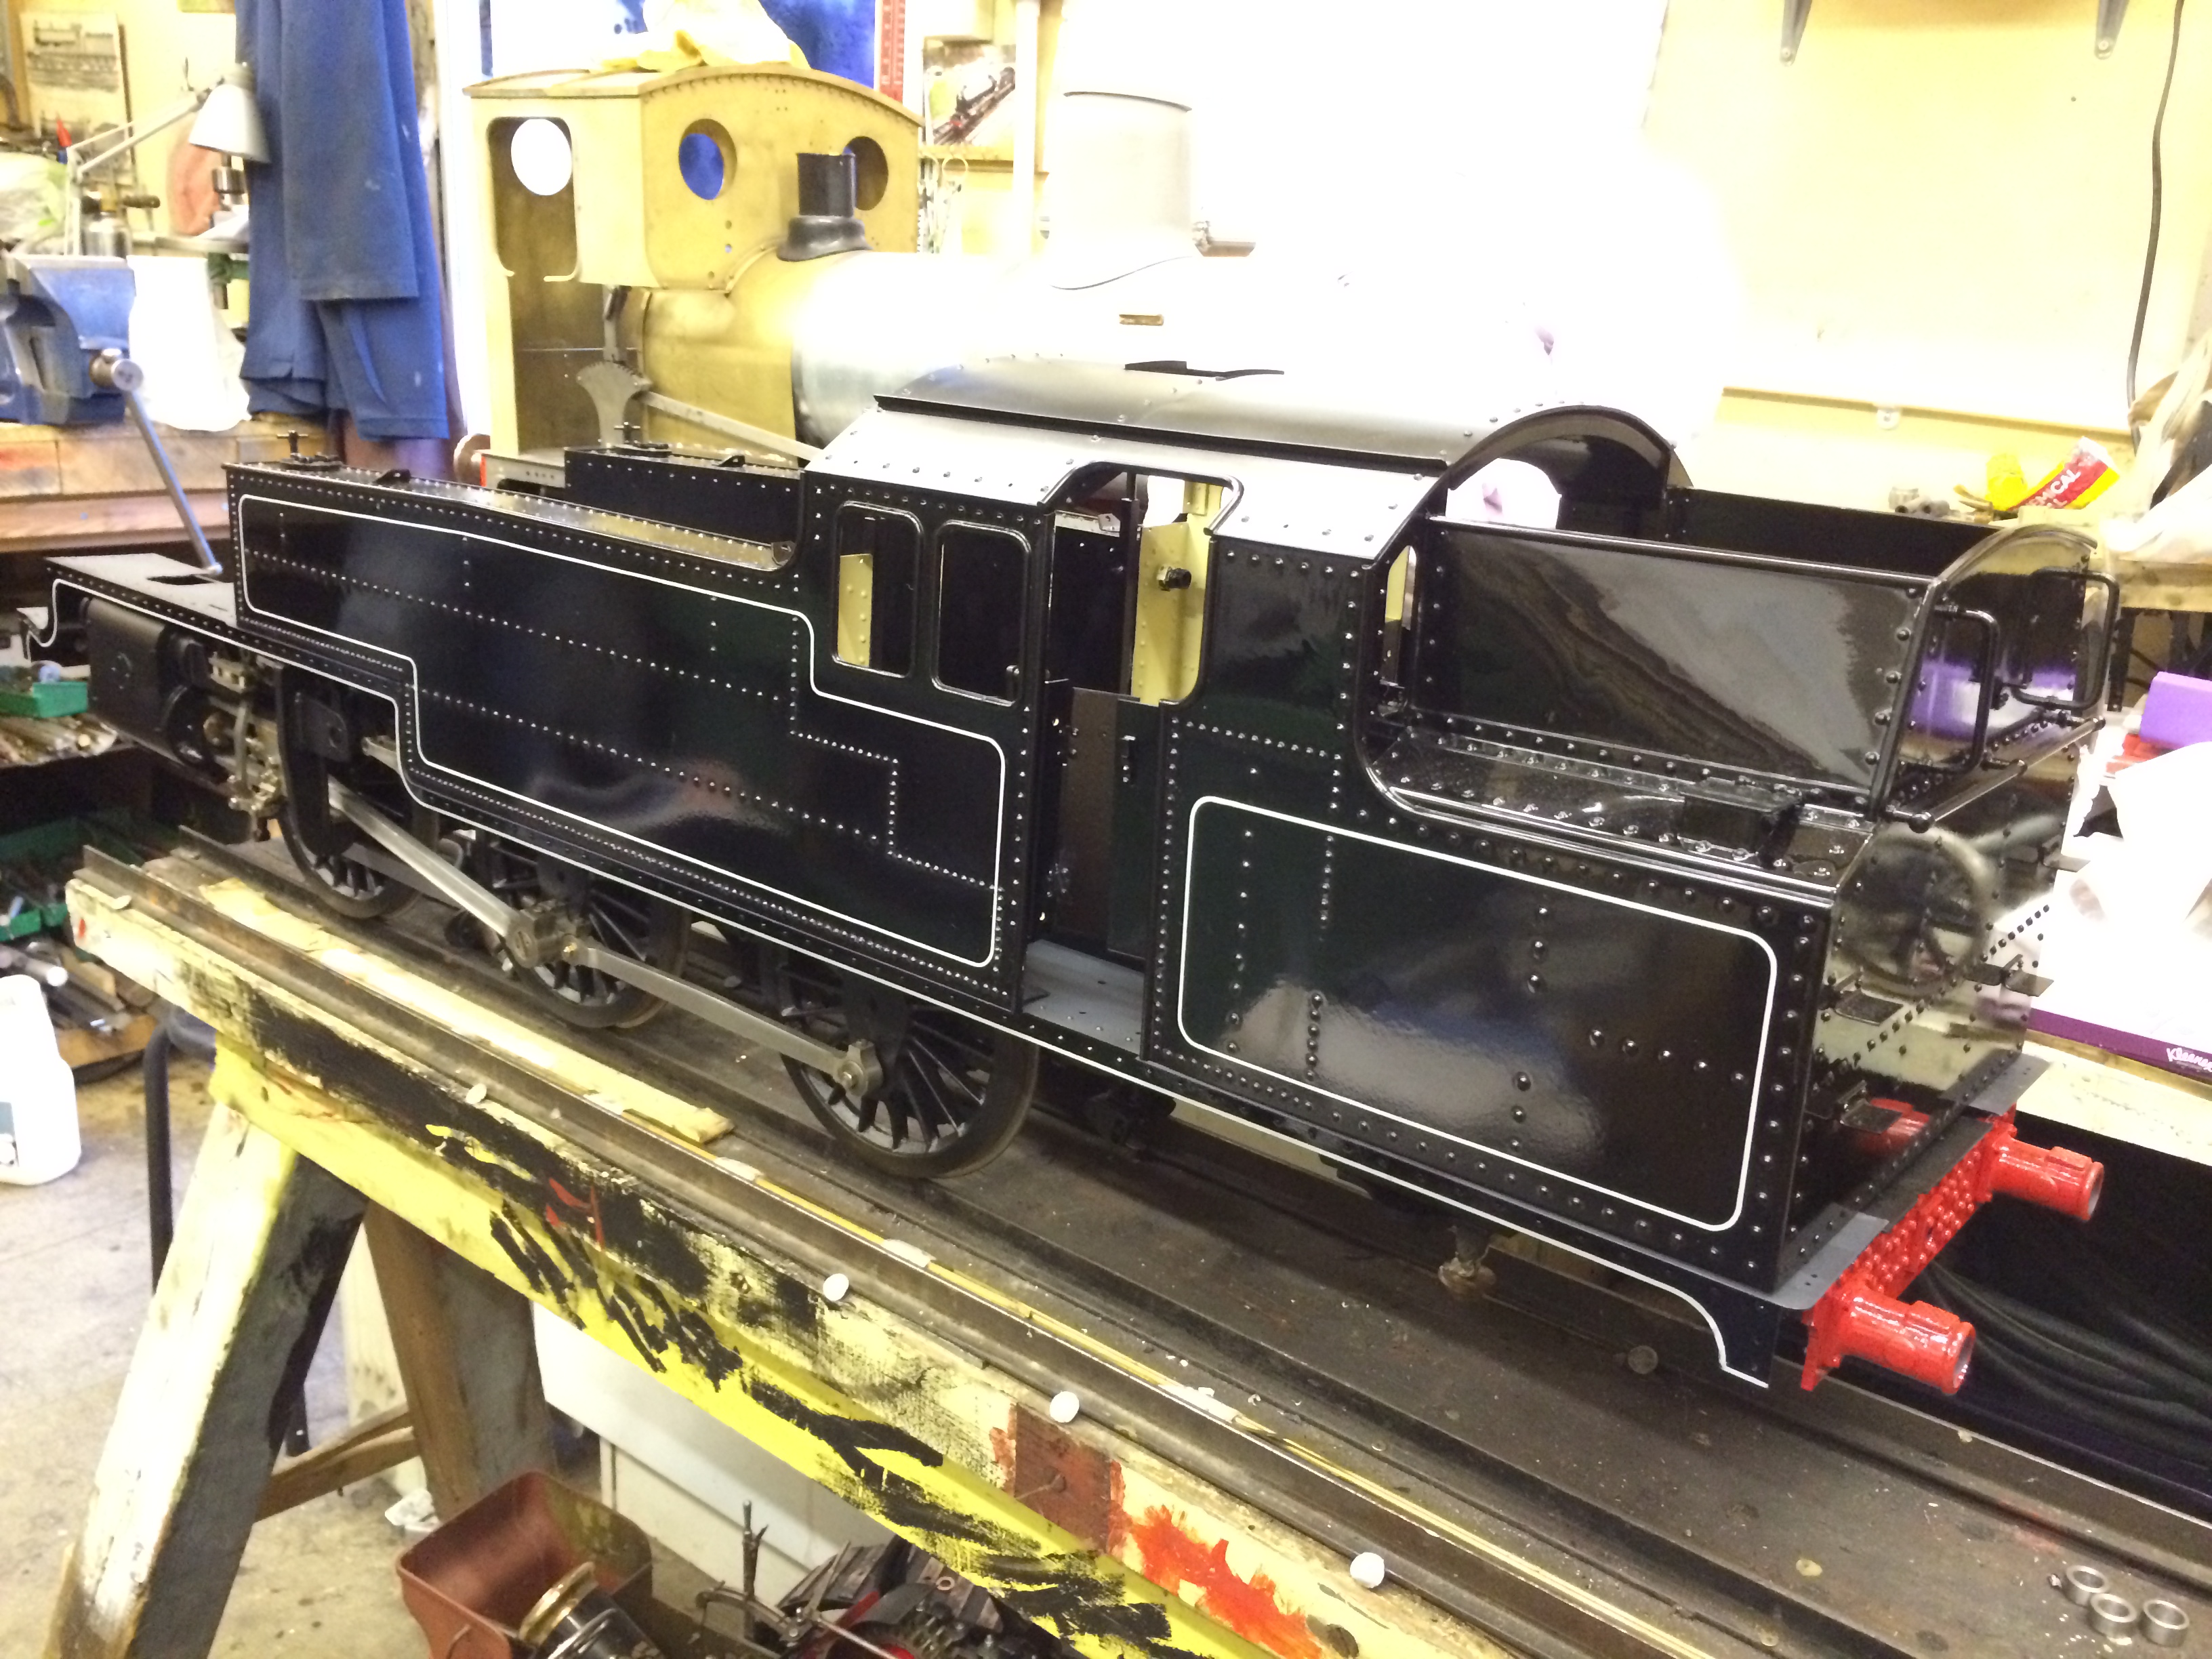
The wheels were then masked, etch primed, painted in the top coat of satin black and the final reassembly of the chassis could begin.
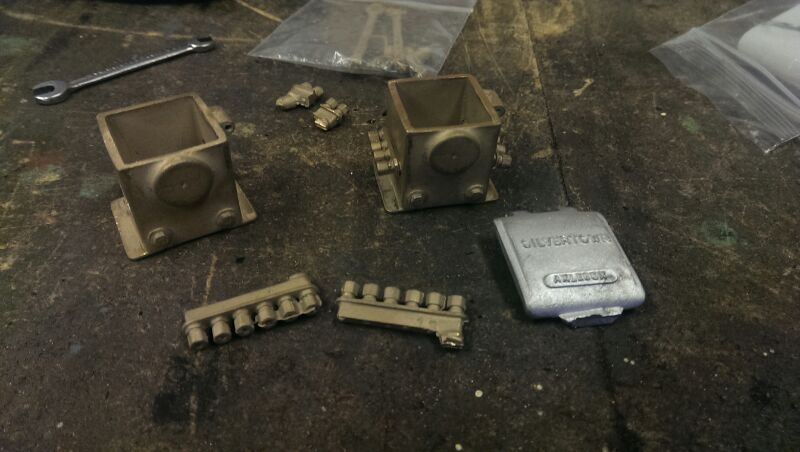
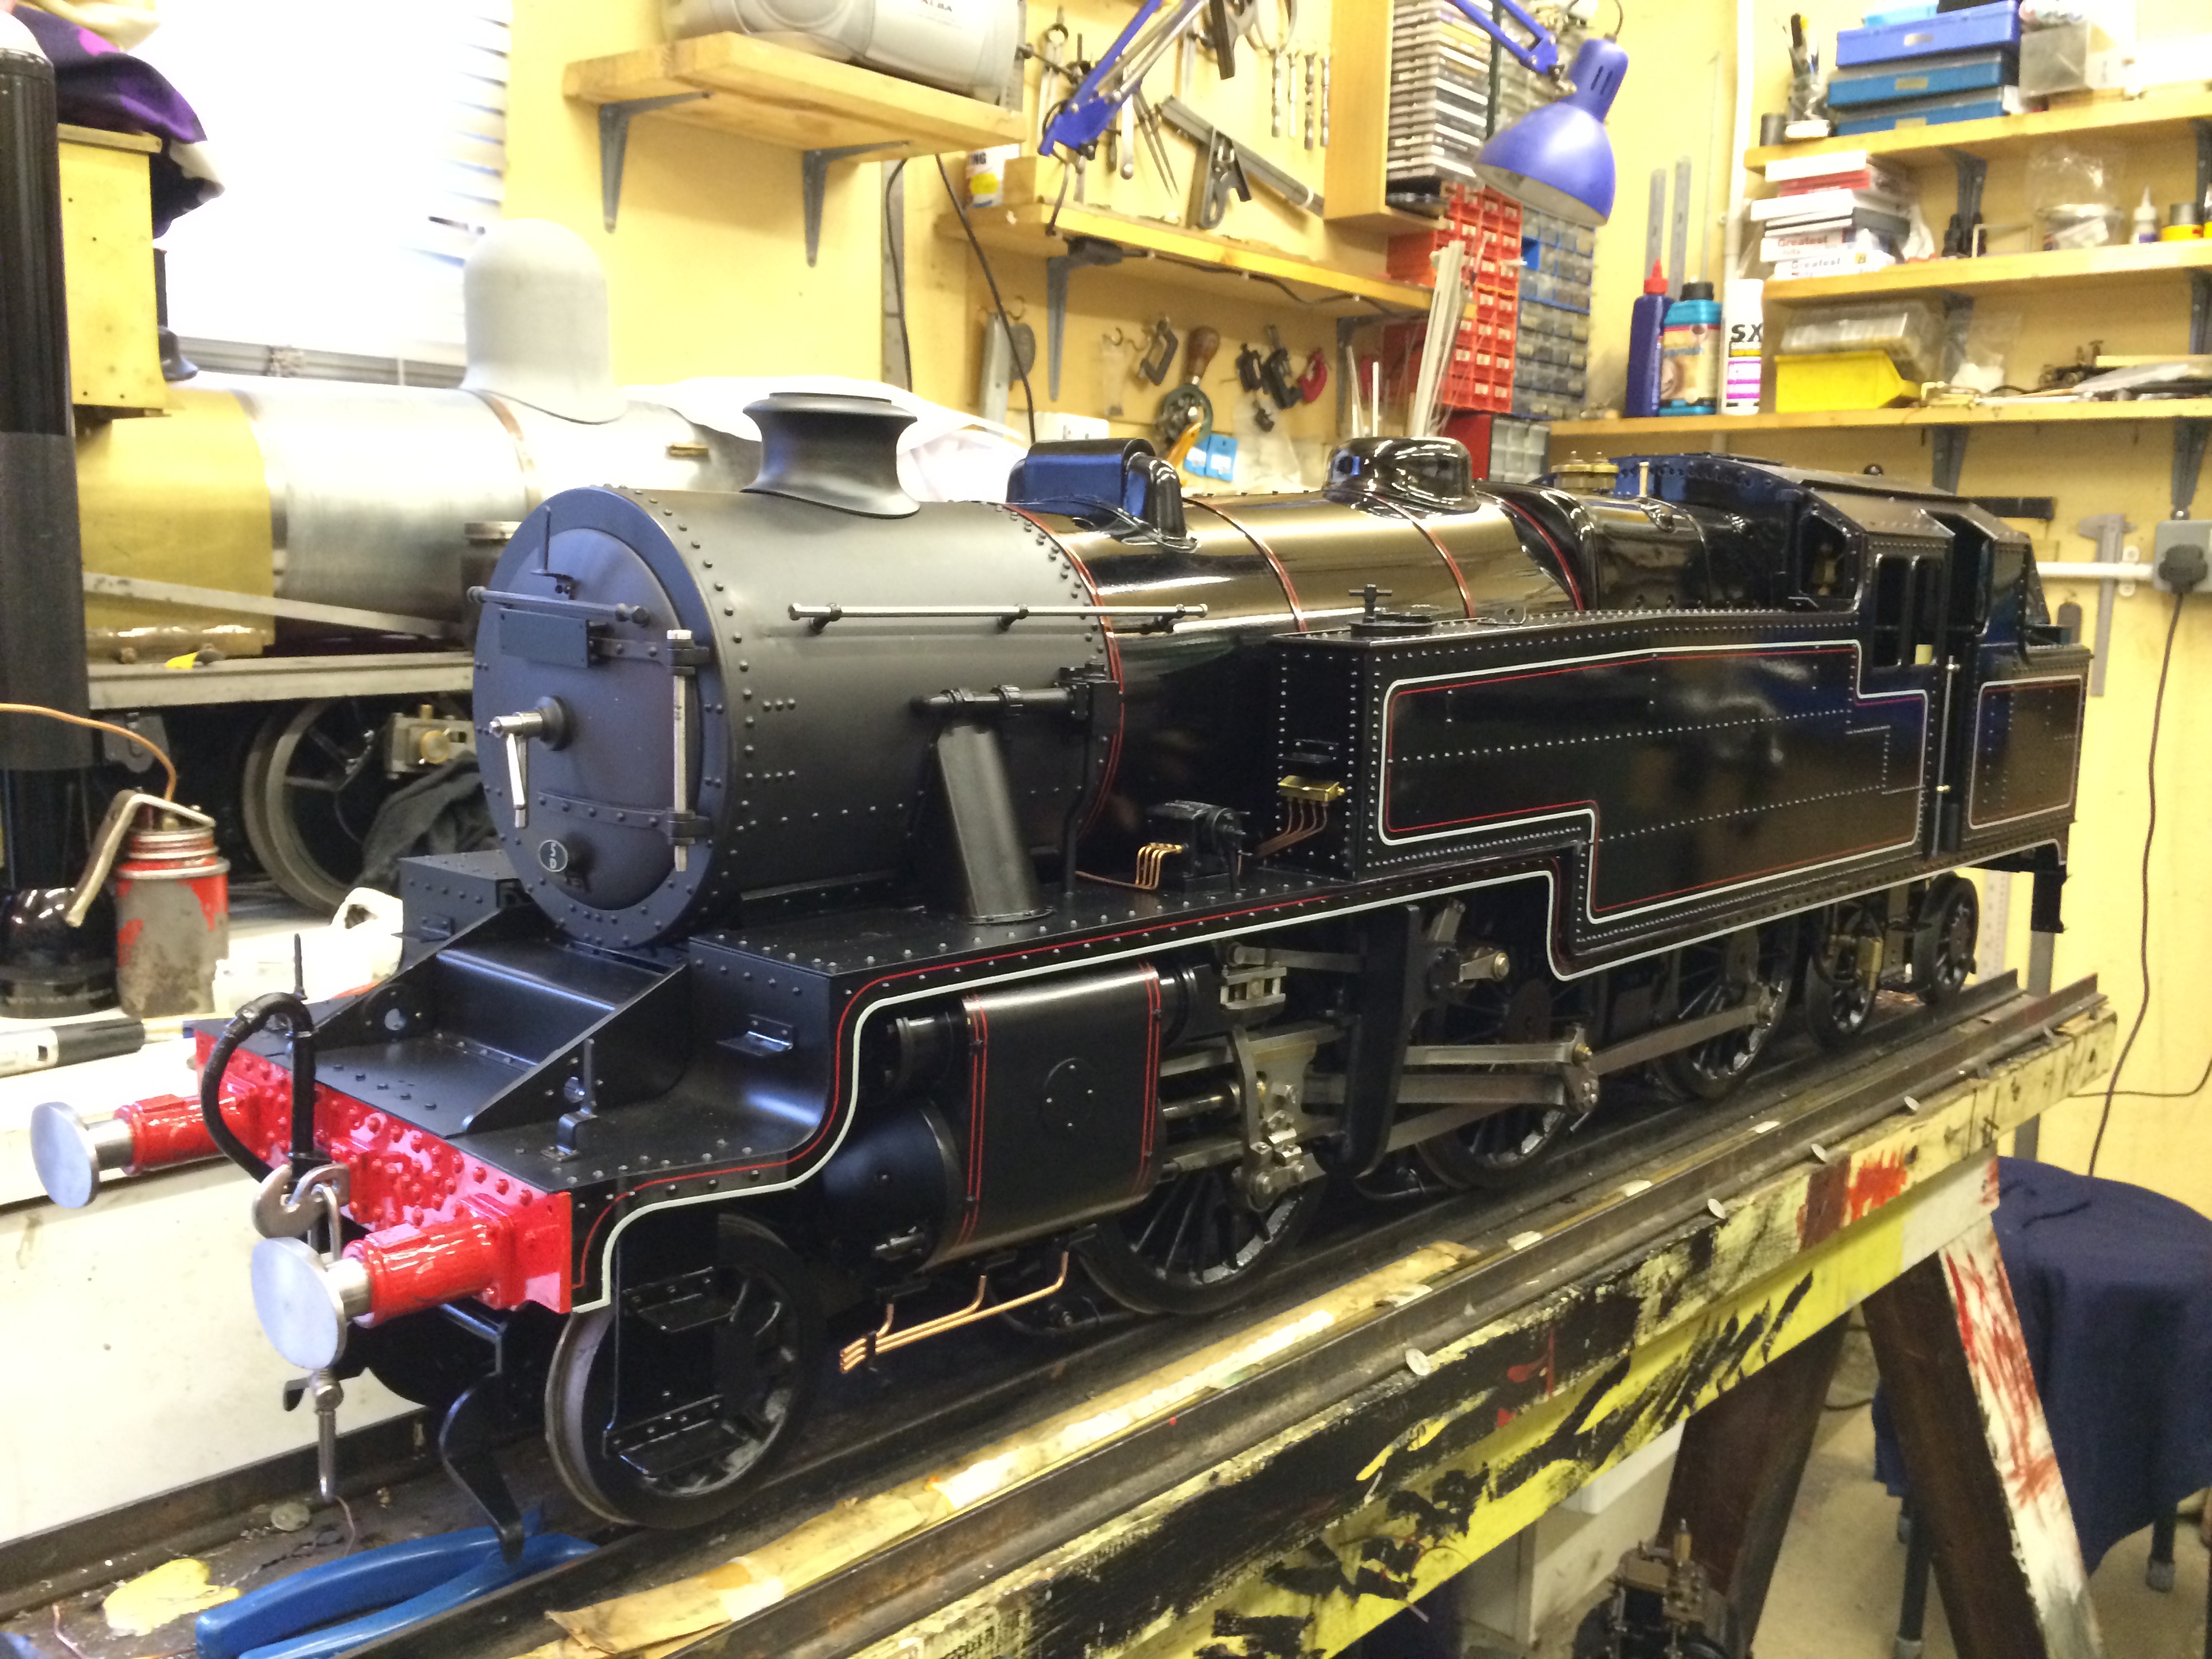
The first lines are going onto the bodywork at the same time, and most of the detail parts are now sprayed up and ready to refit. The Brake gear has gone back on, and we've also been making a few more detailed components like the sand boxes, just so the whole thing looks the part!


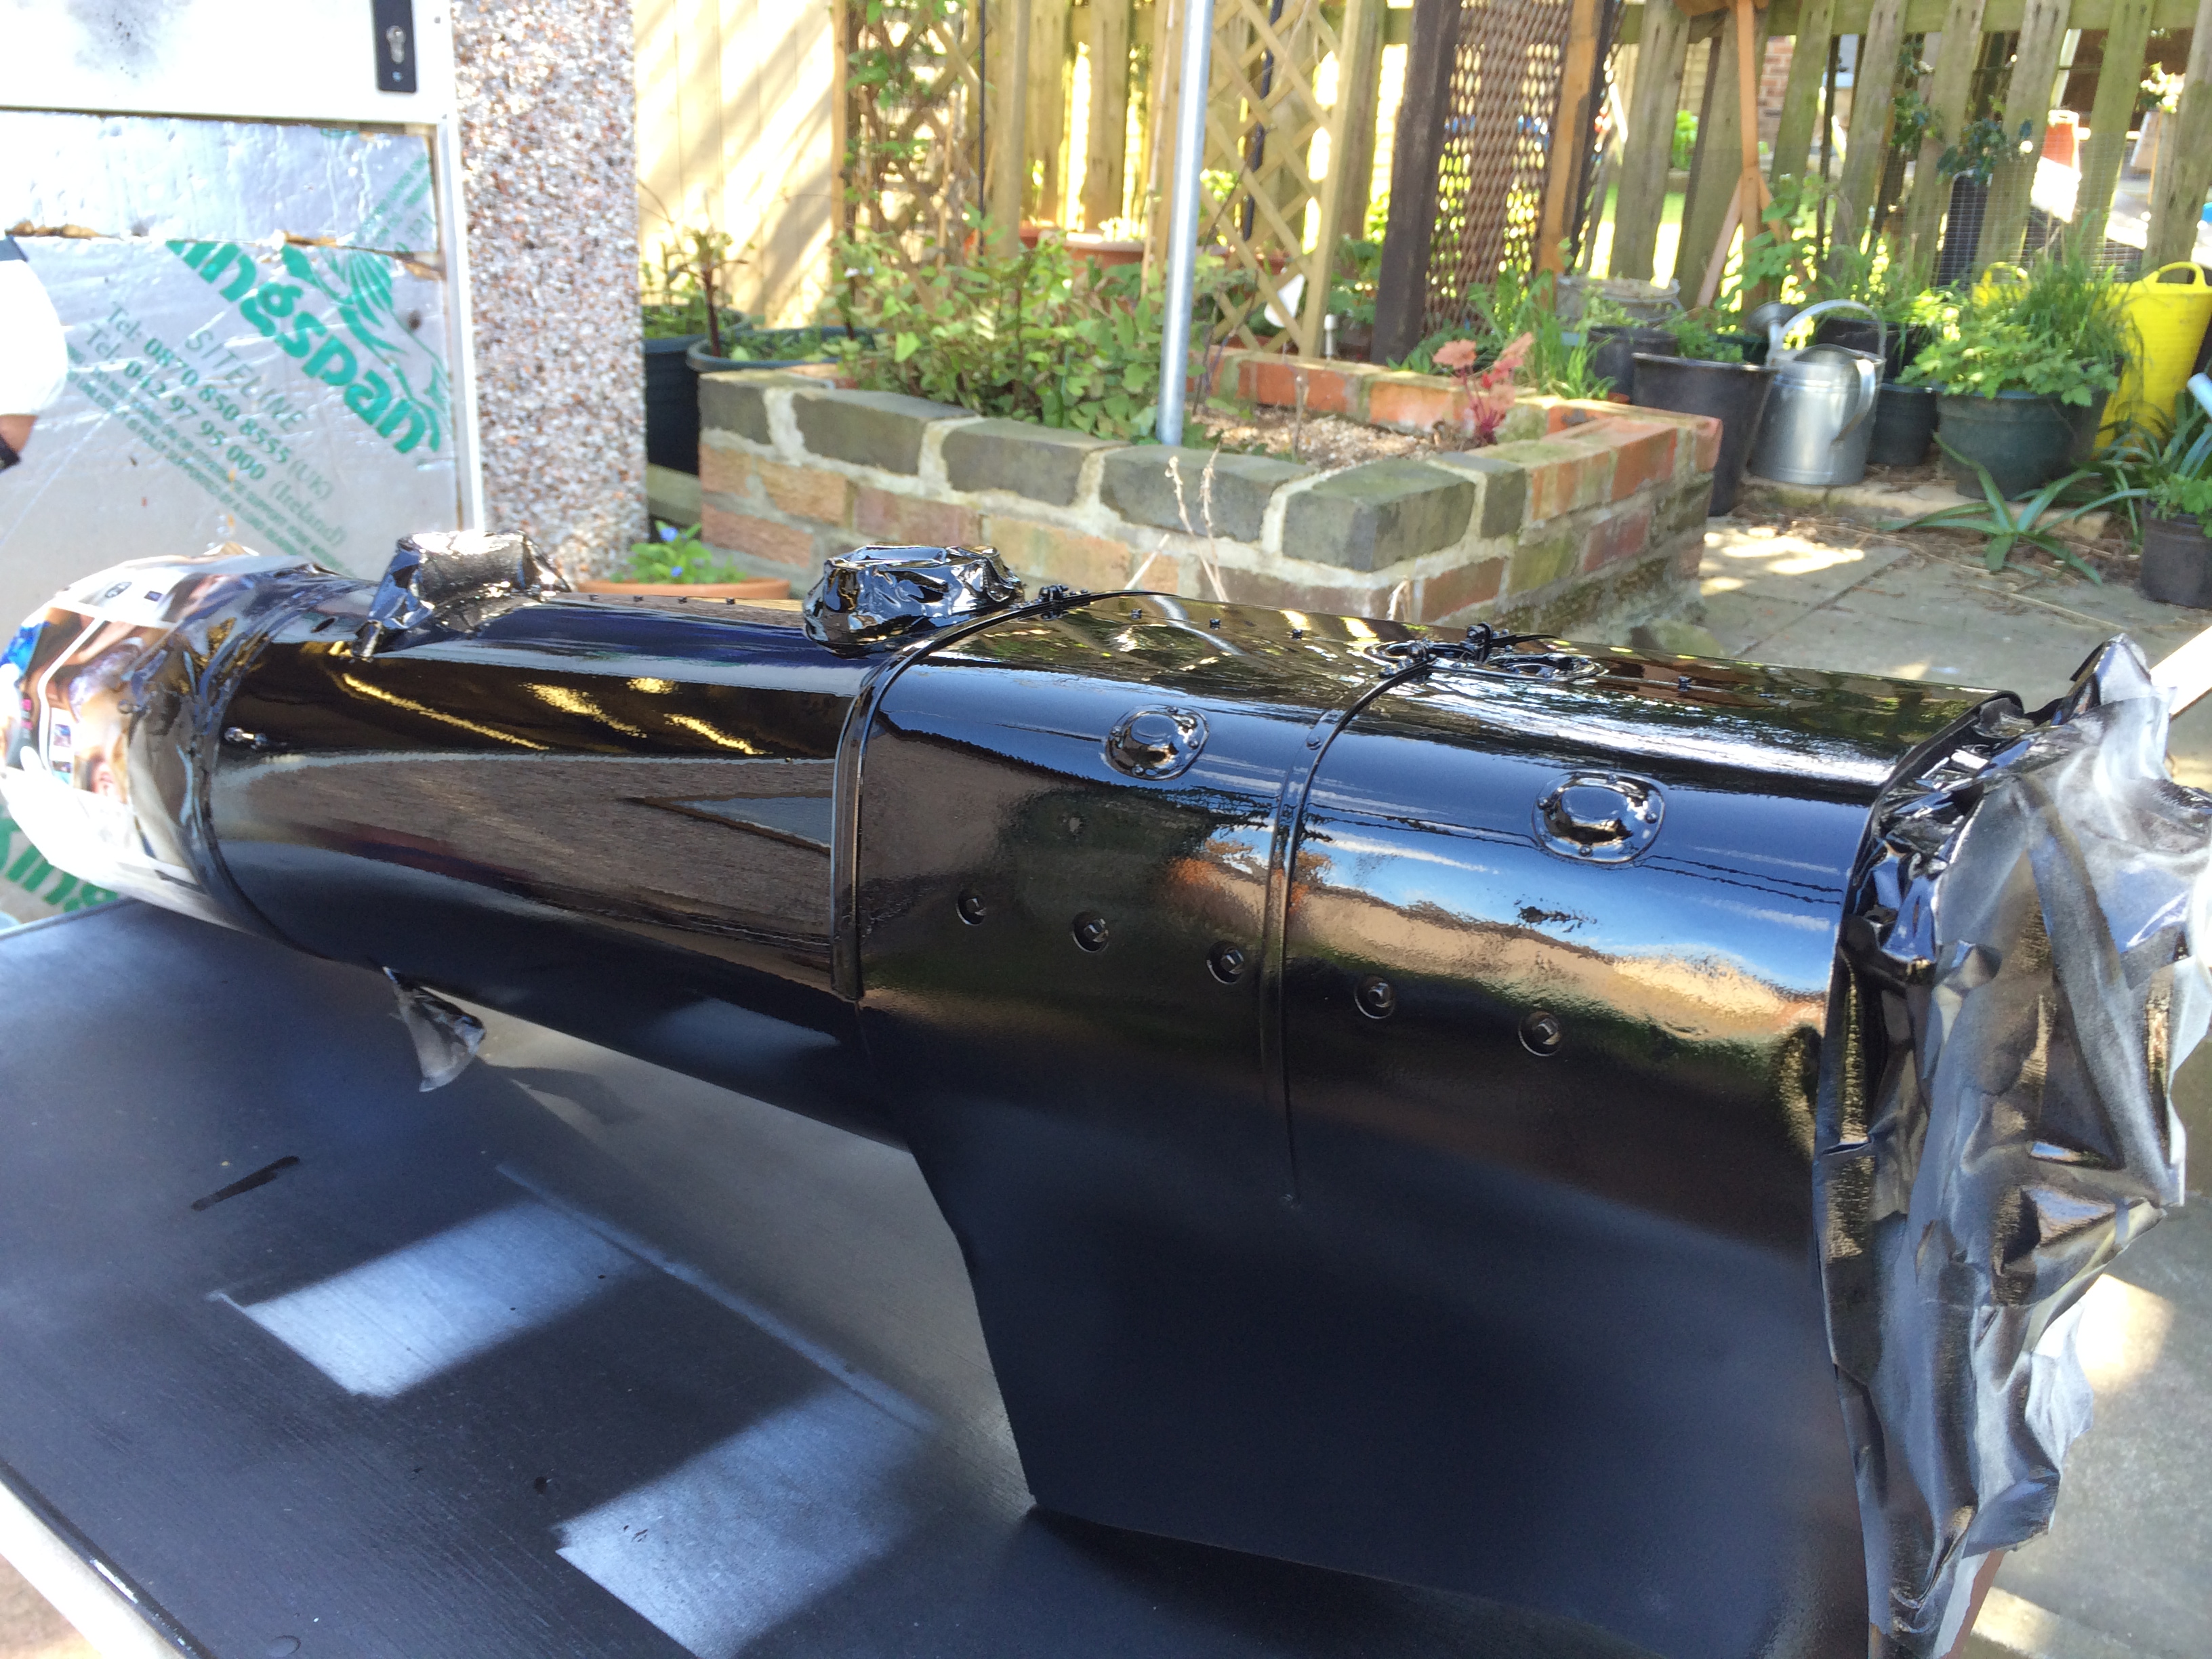
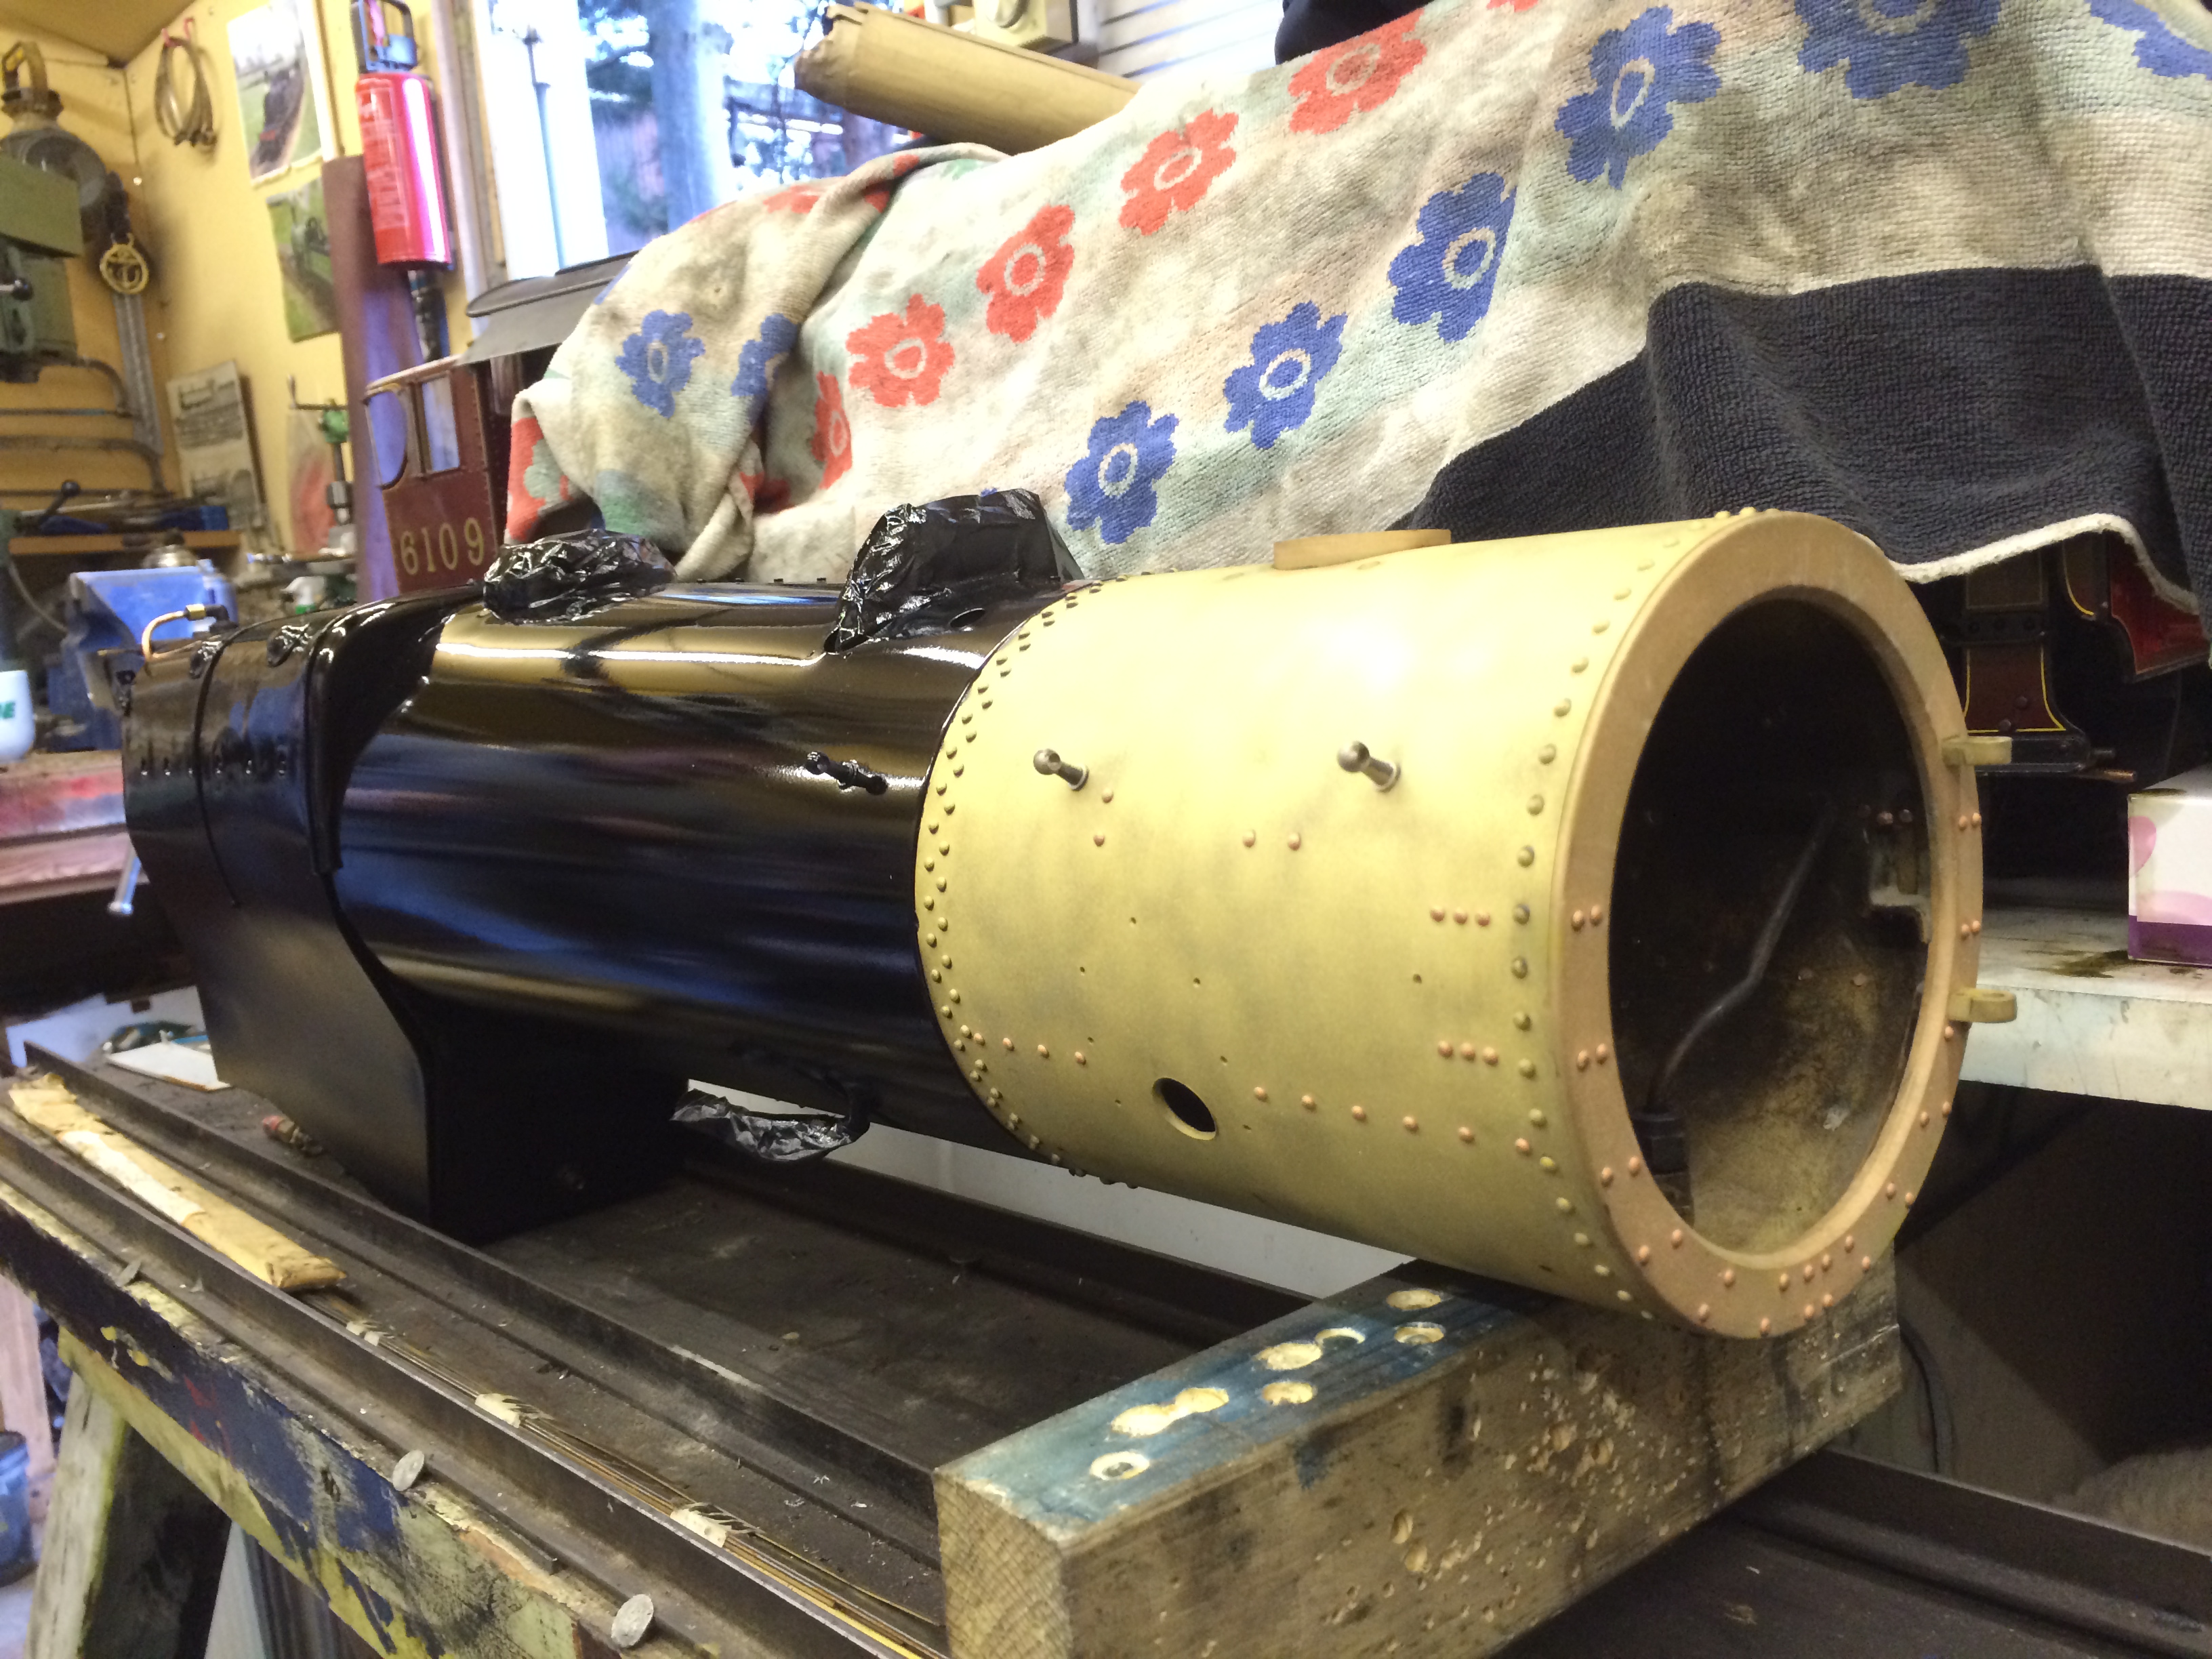
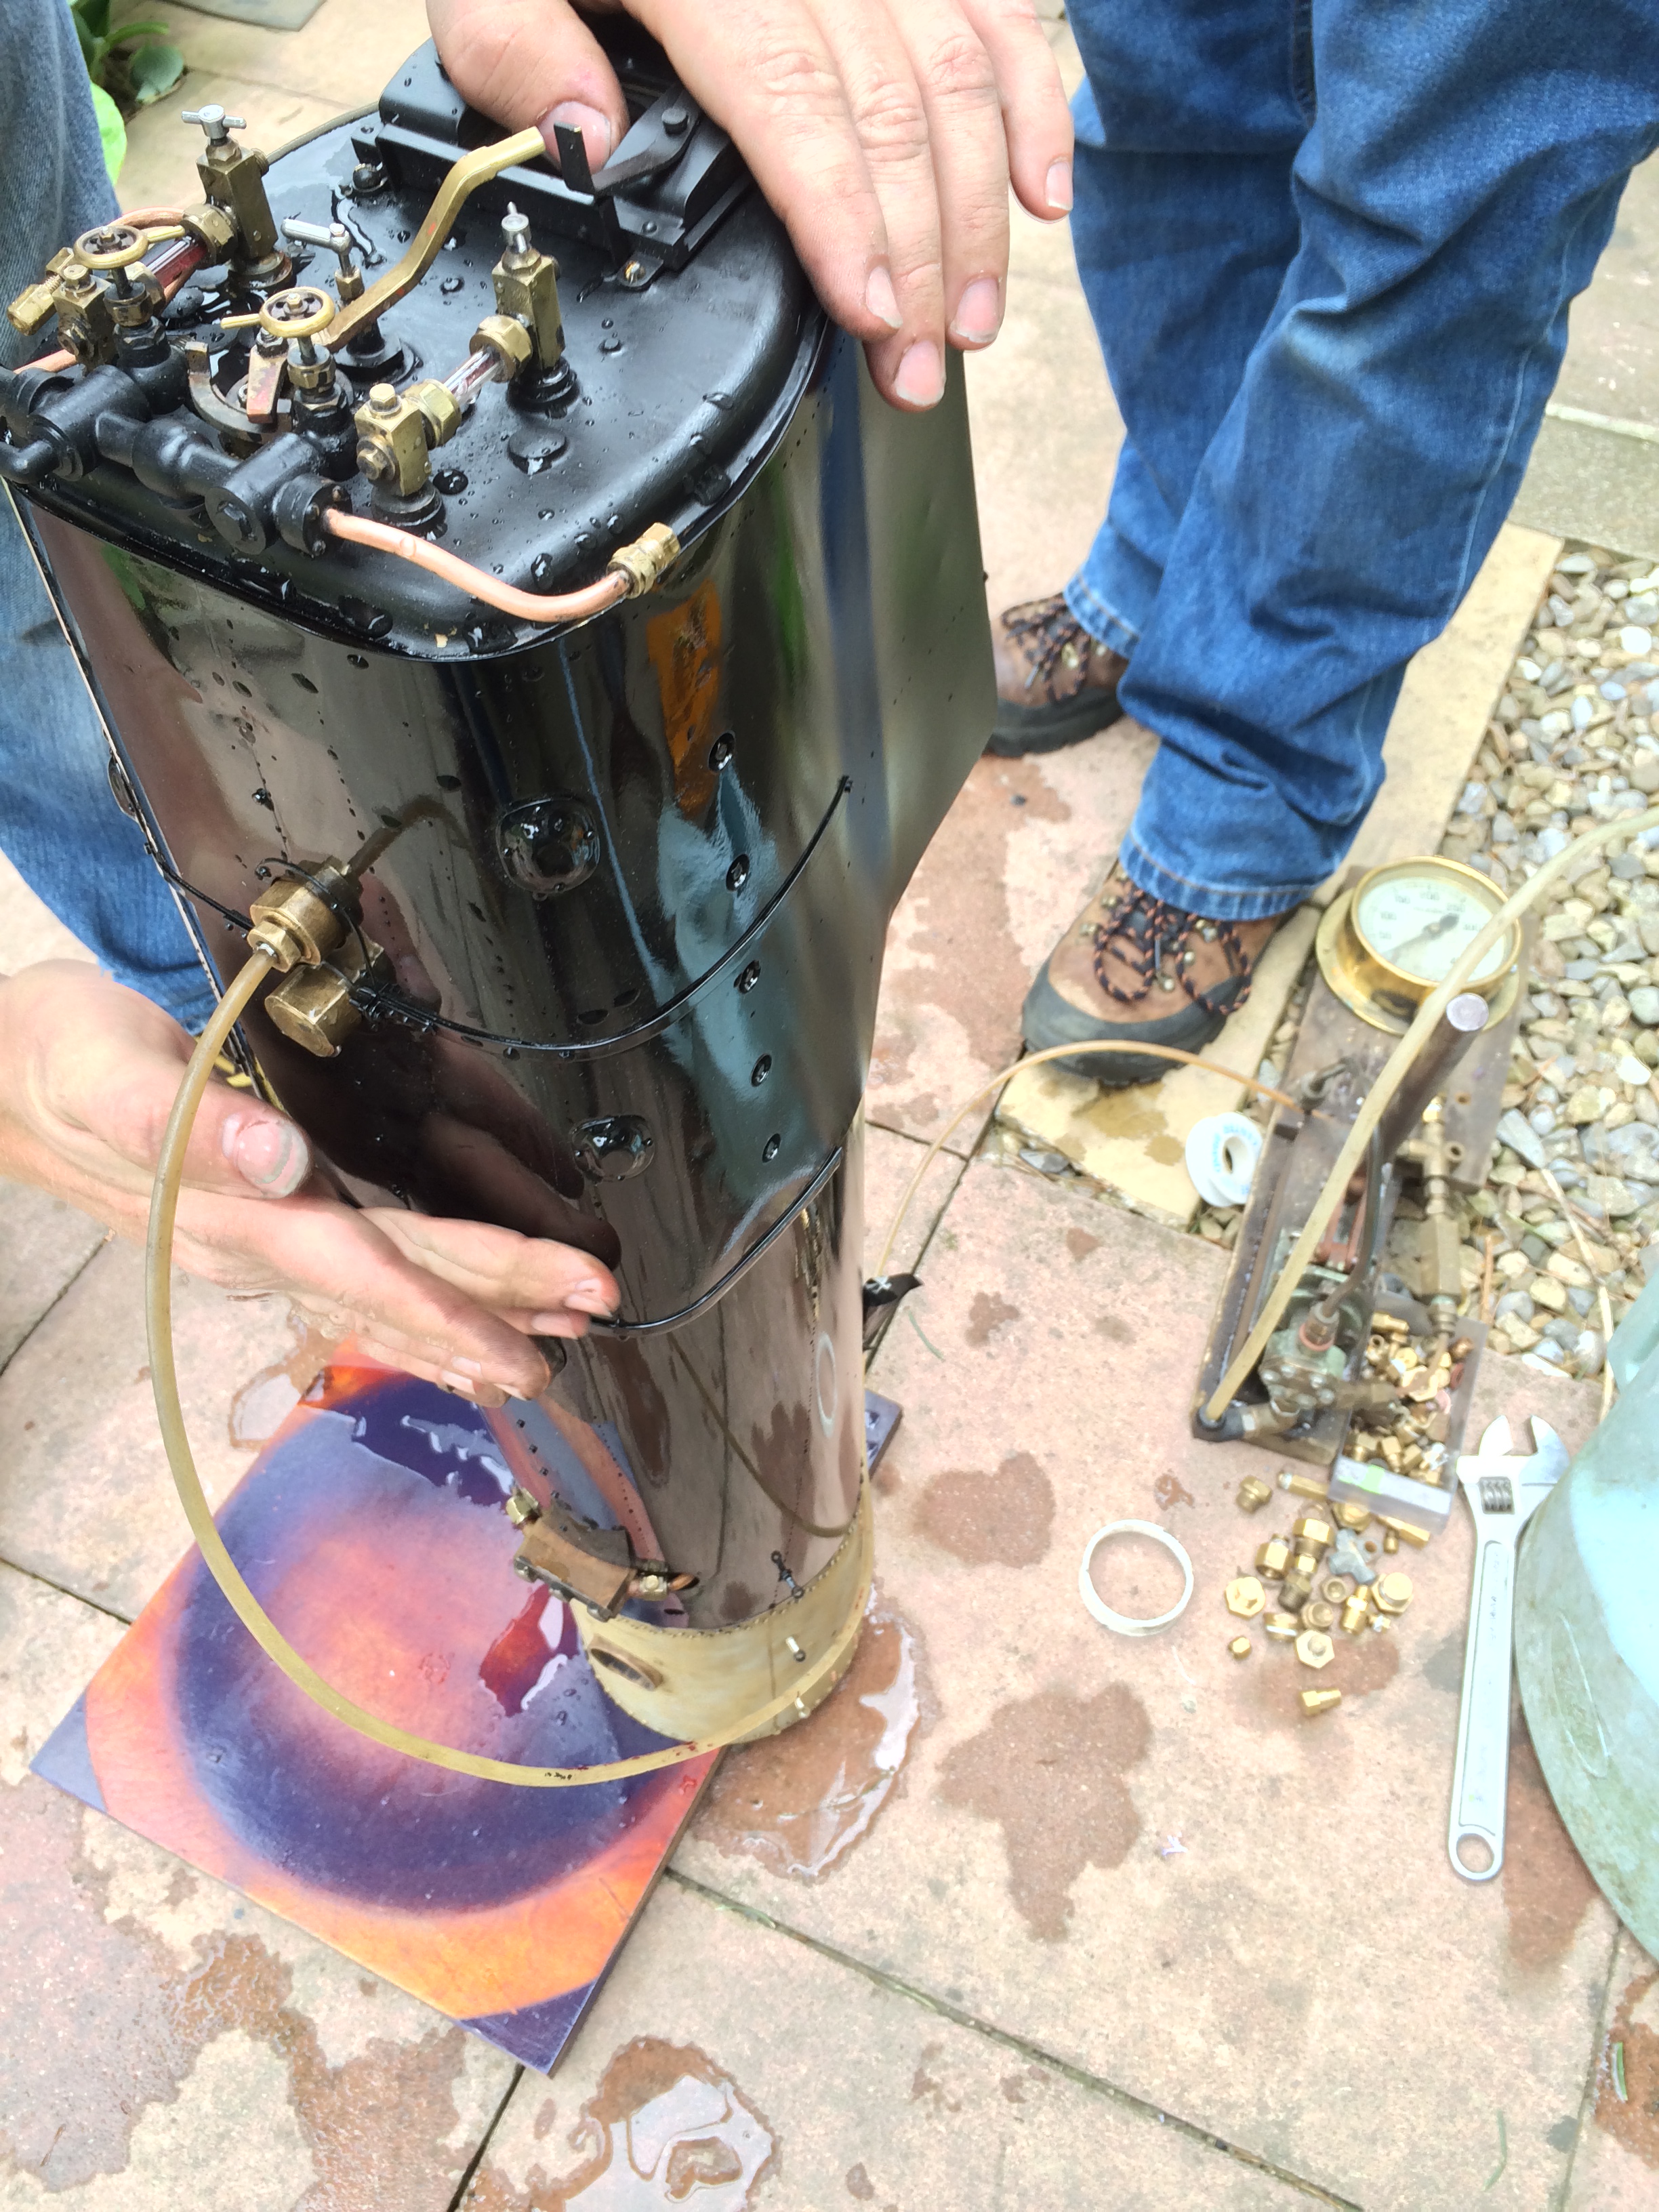
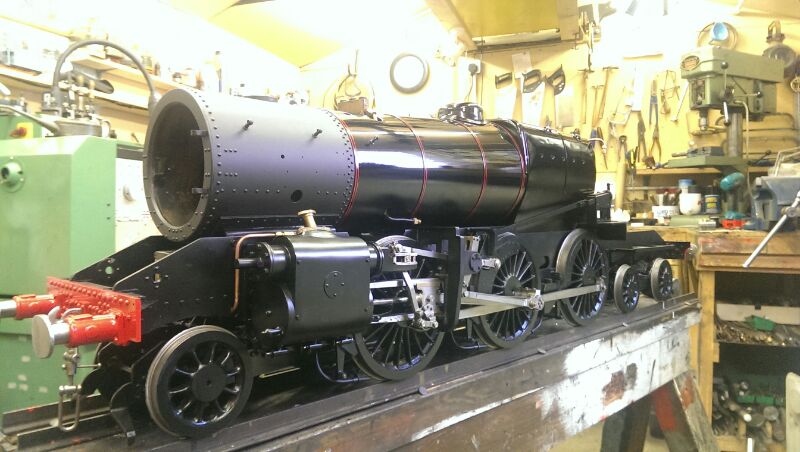
.....Plus the boiler passes it's hydraulic twice working pressure shell test. Looking something like with the tanks test fitted! Also now the boiler has been lined out in the red, and the smoke box has finally gone into the lovely satin black to contrast nicely with the barrel lagging gloss.

The valve gear is now also fully re-fitted and it's just the final reassembly now of all the big bits. We should be done and ready to throw a fire in her by the middle of next week.
Well, we steam tested yesterday, and thankfully everything went unbelievably well. It's full steam ahead with the final couple of days of detail finishing and refitting.

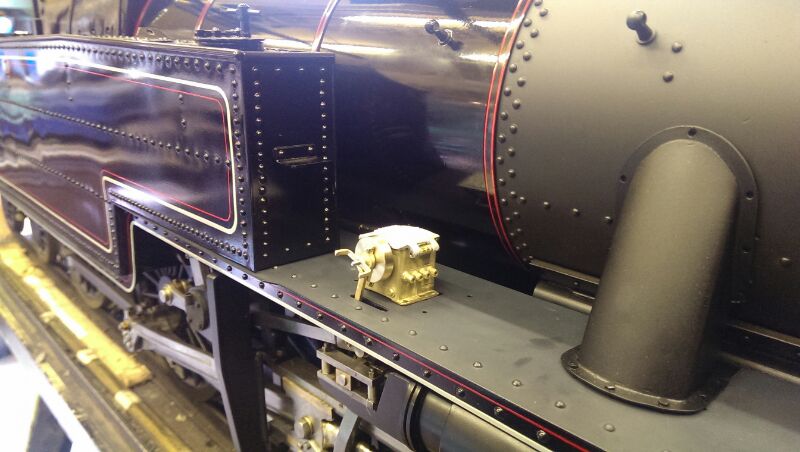
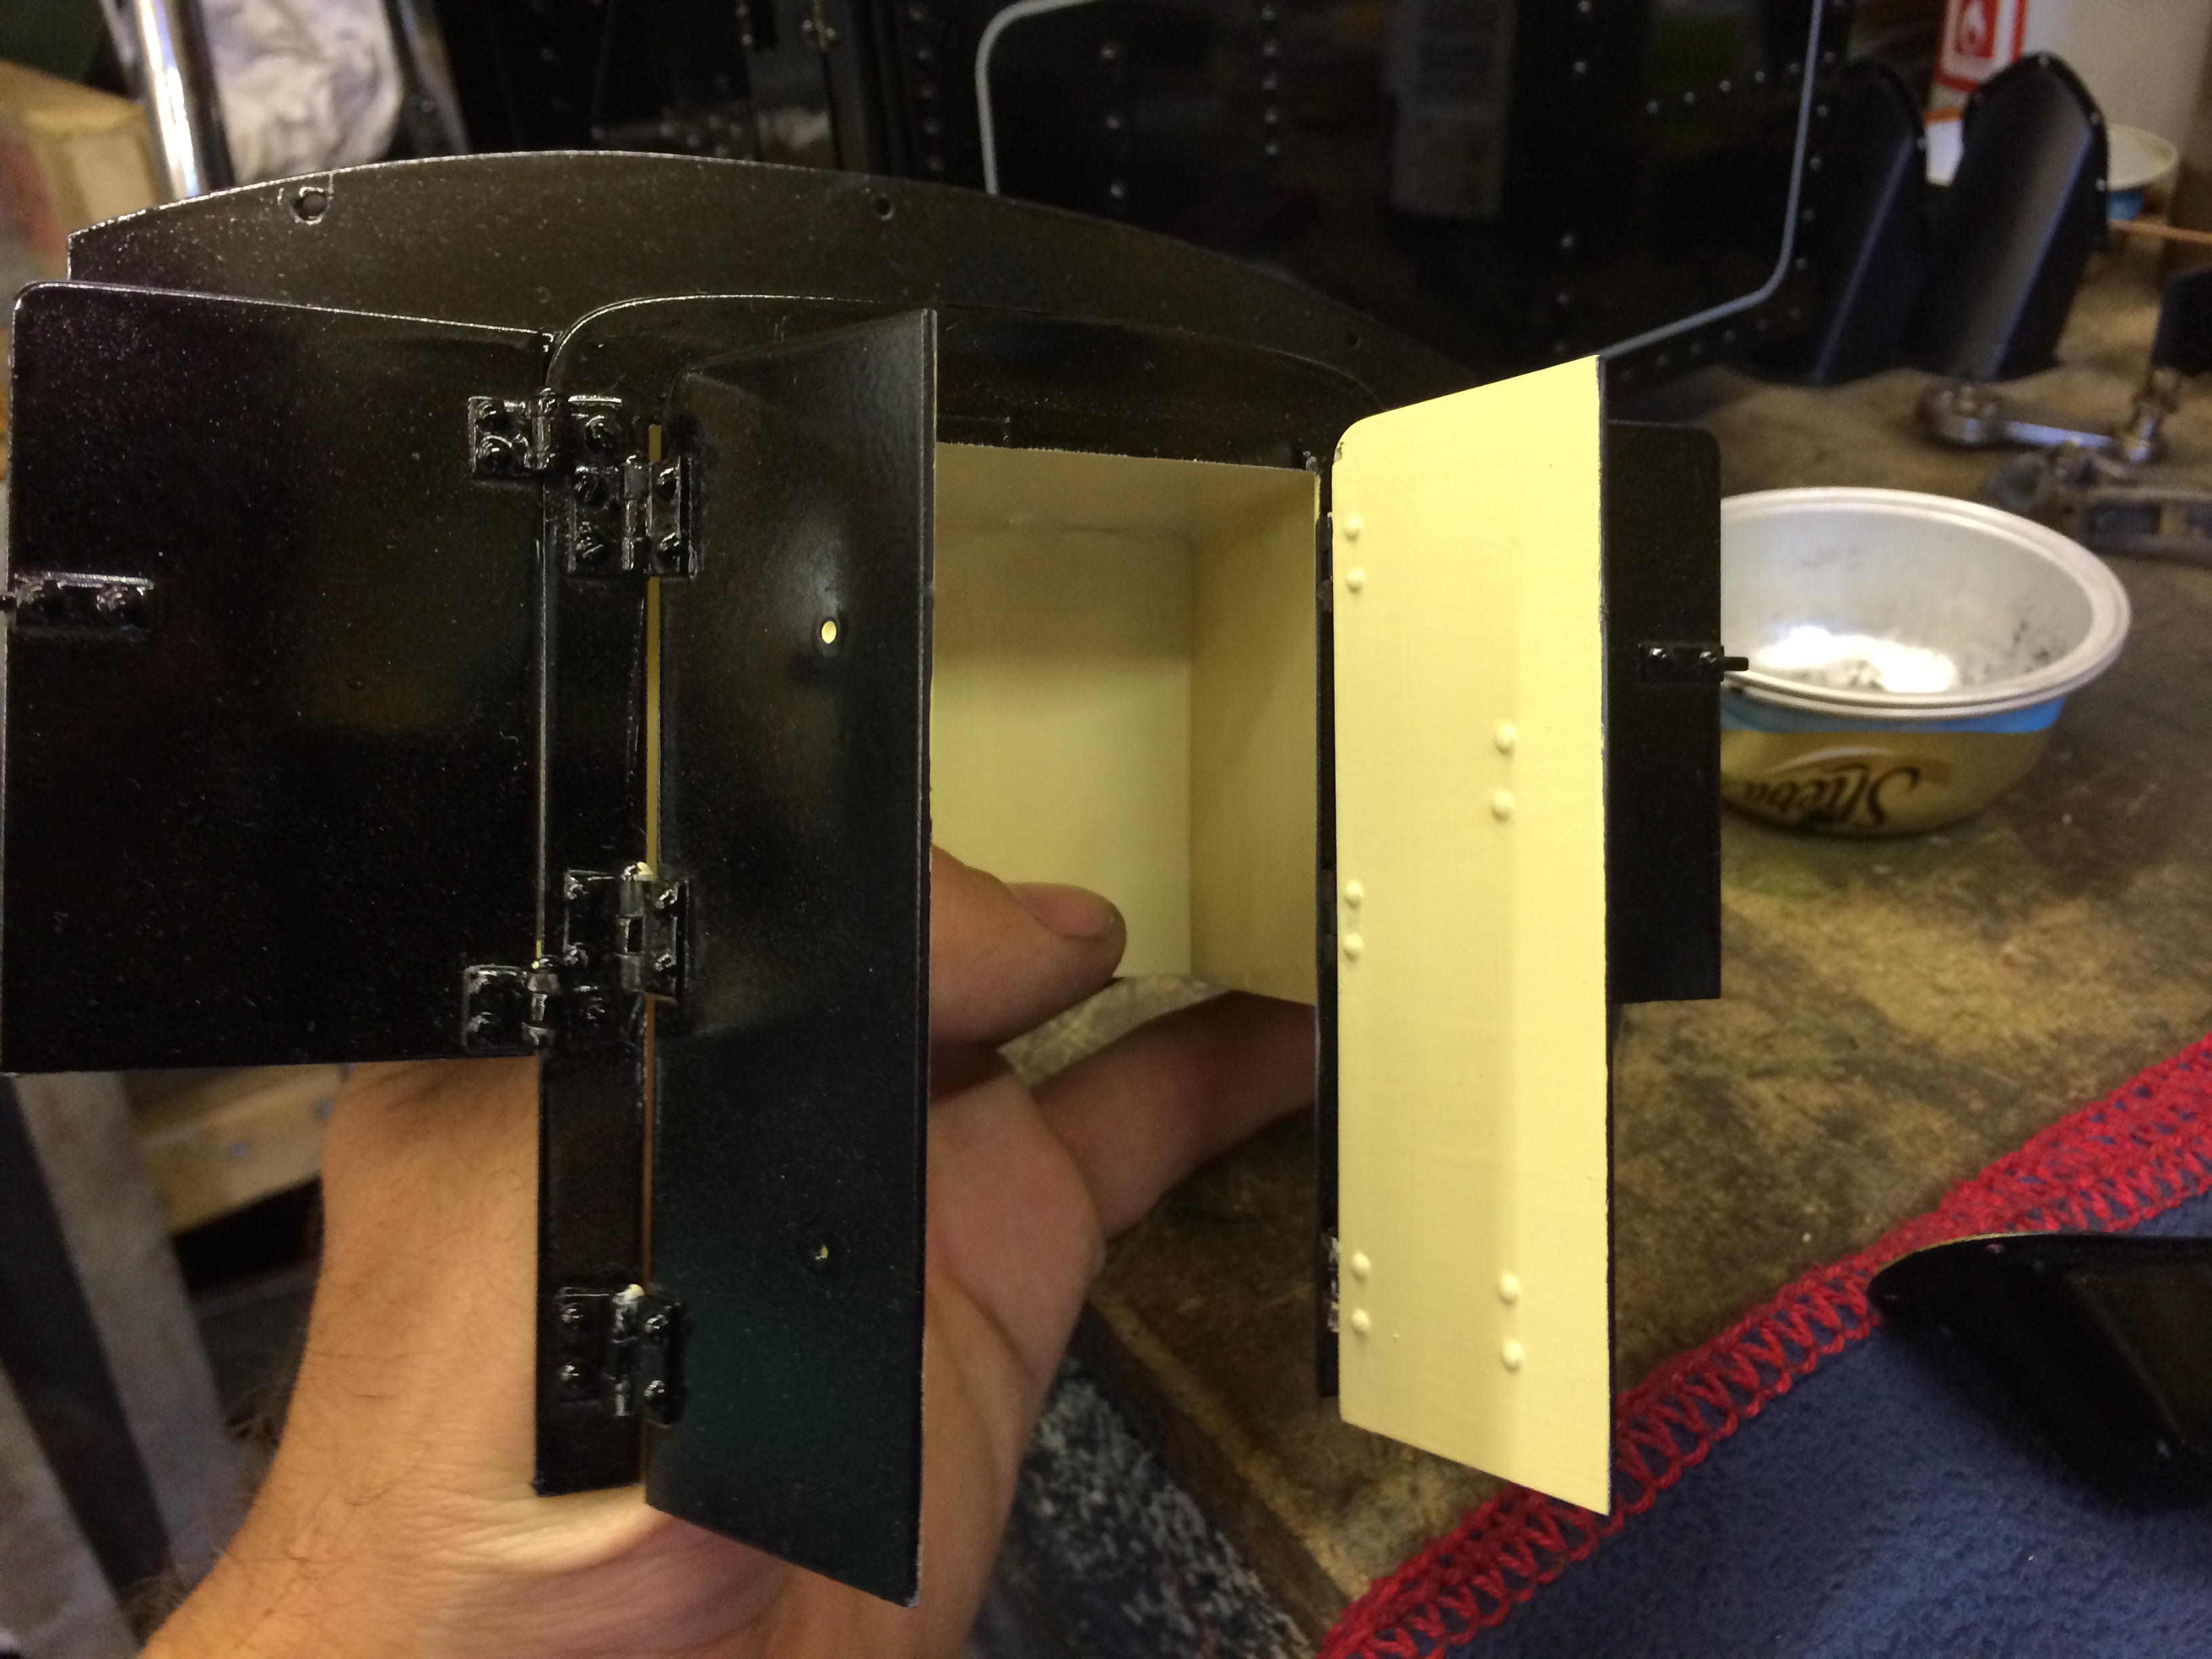
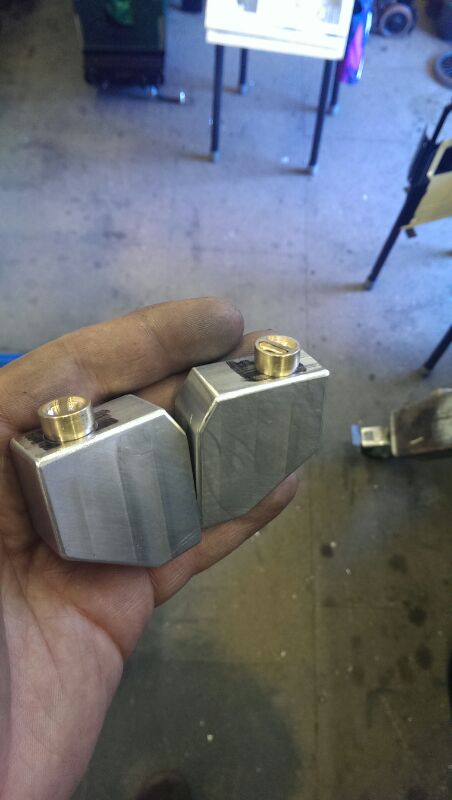
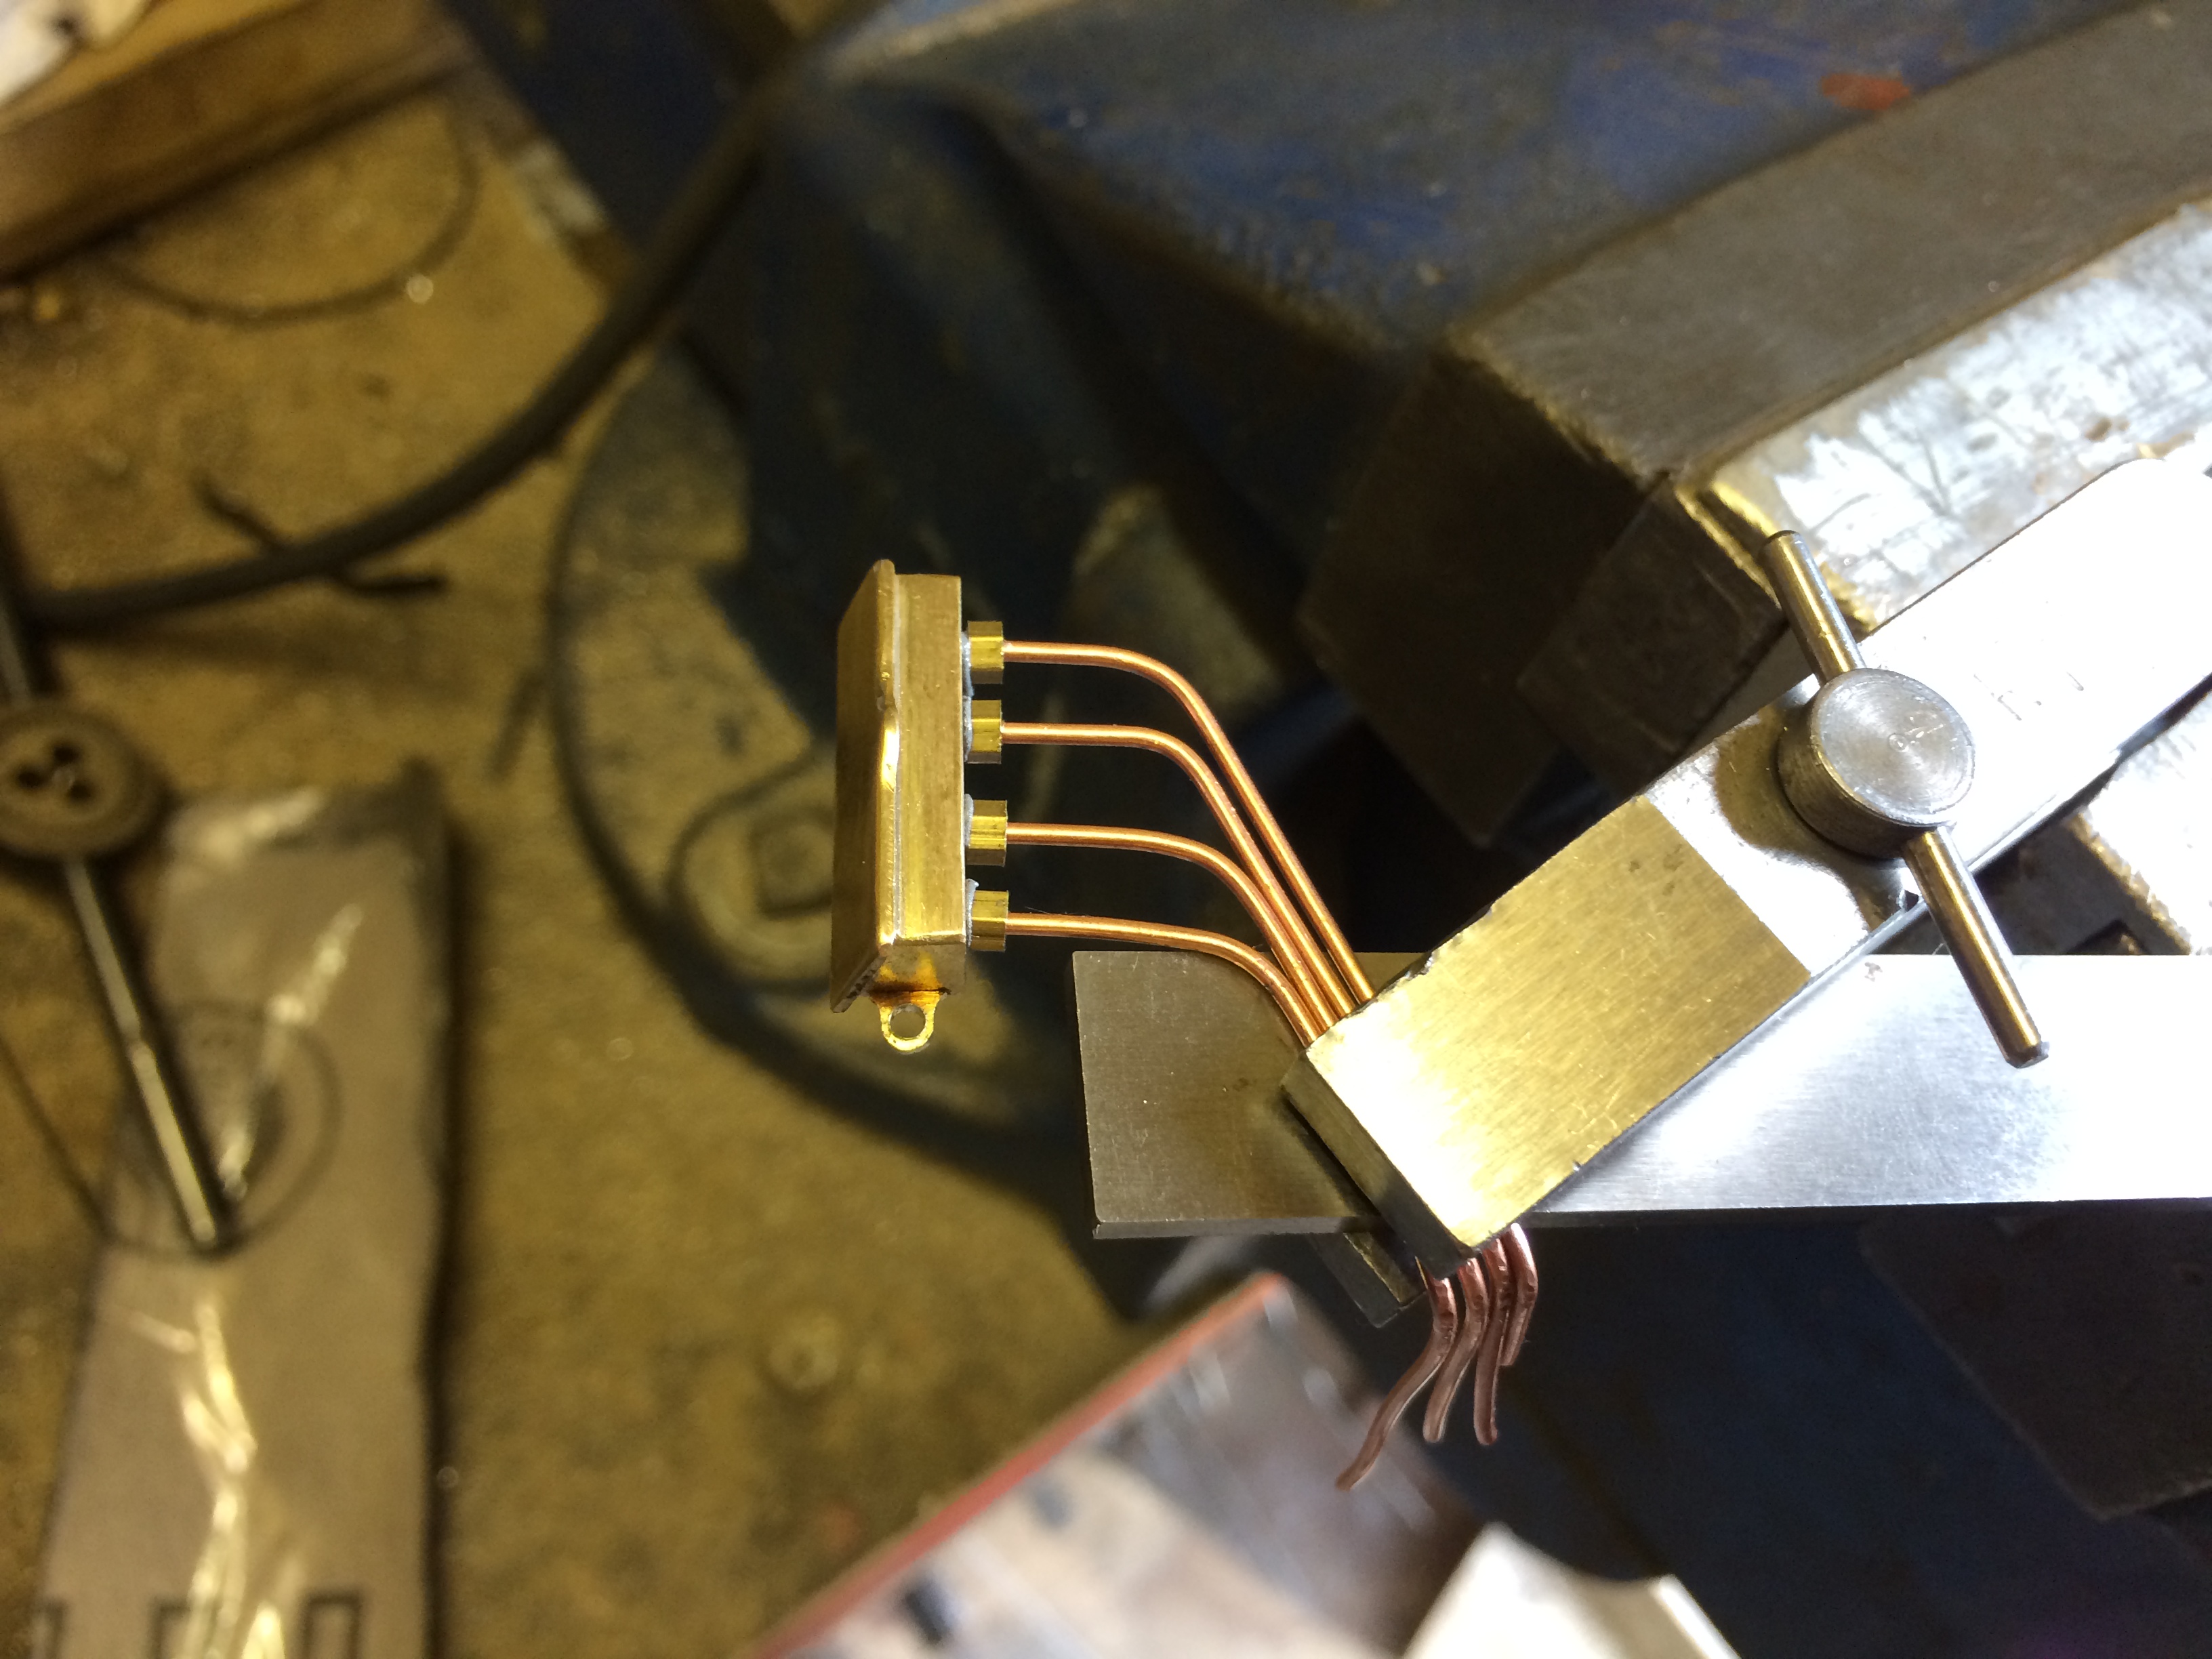
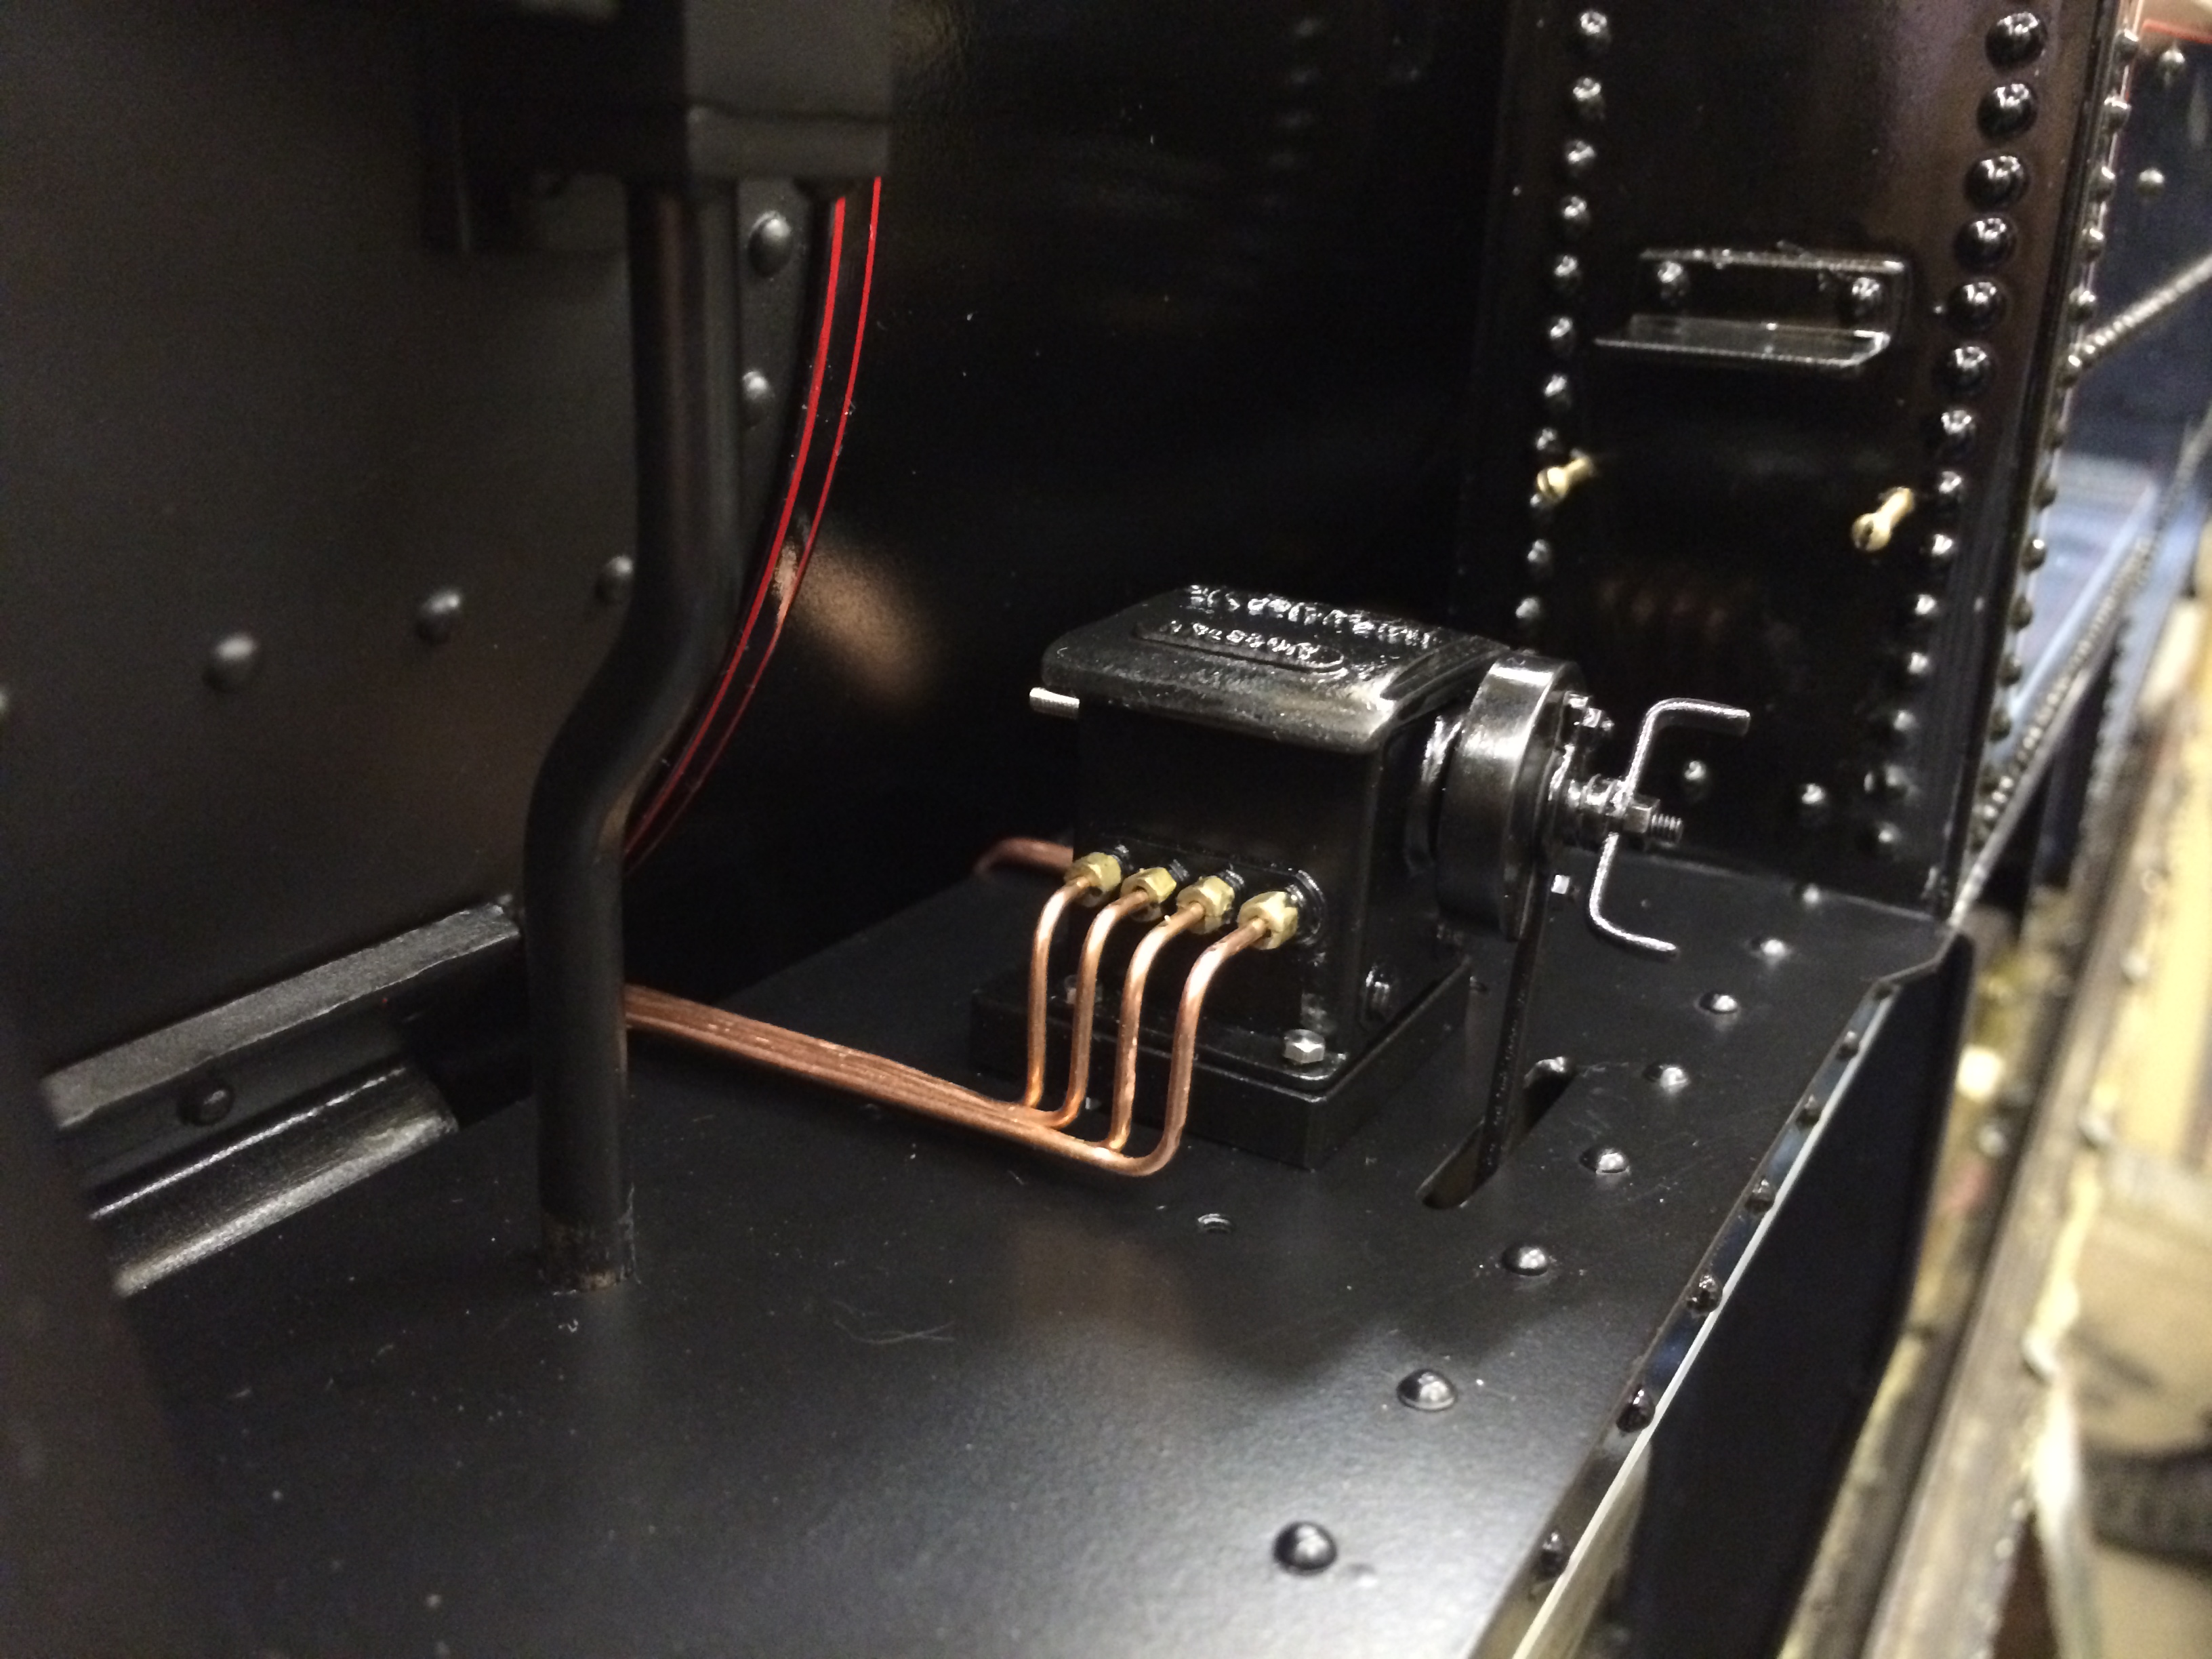
Our little solution to the fact that the vacuum pipes get in the way of the removable front footplate for access to the mechanical lubricator.
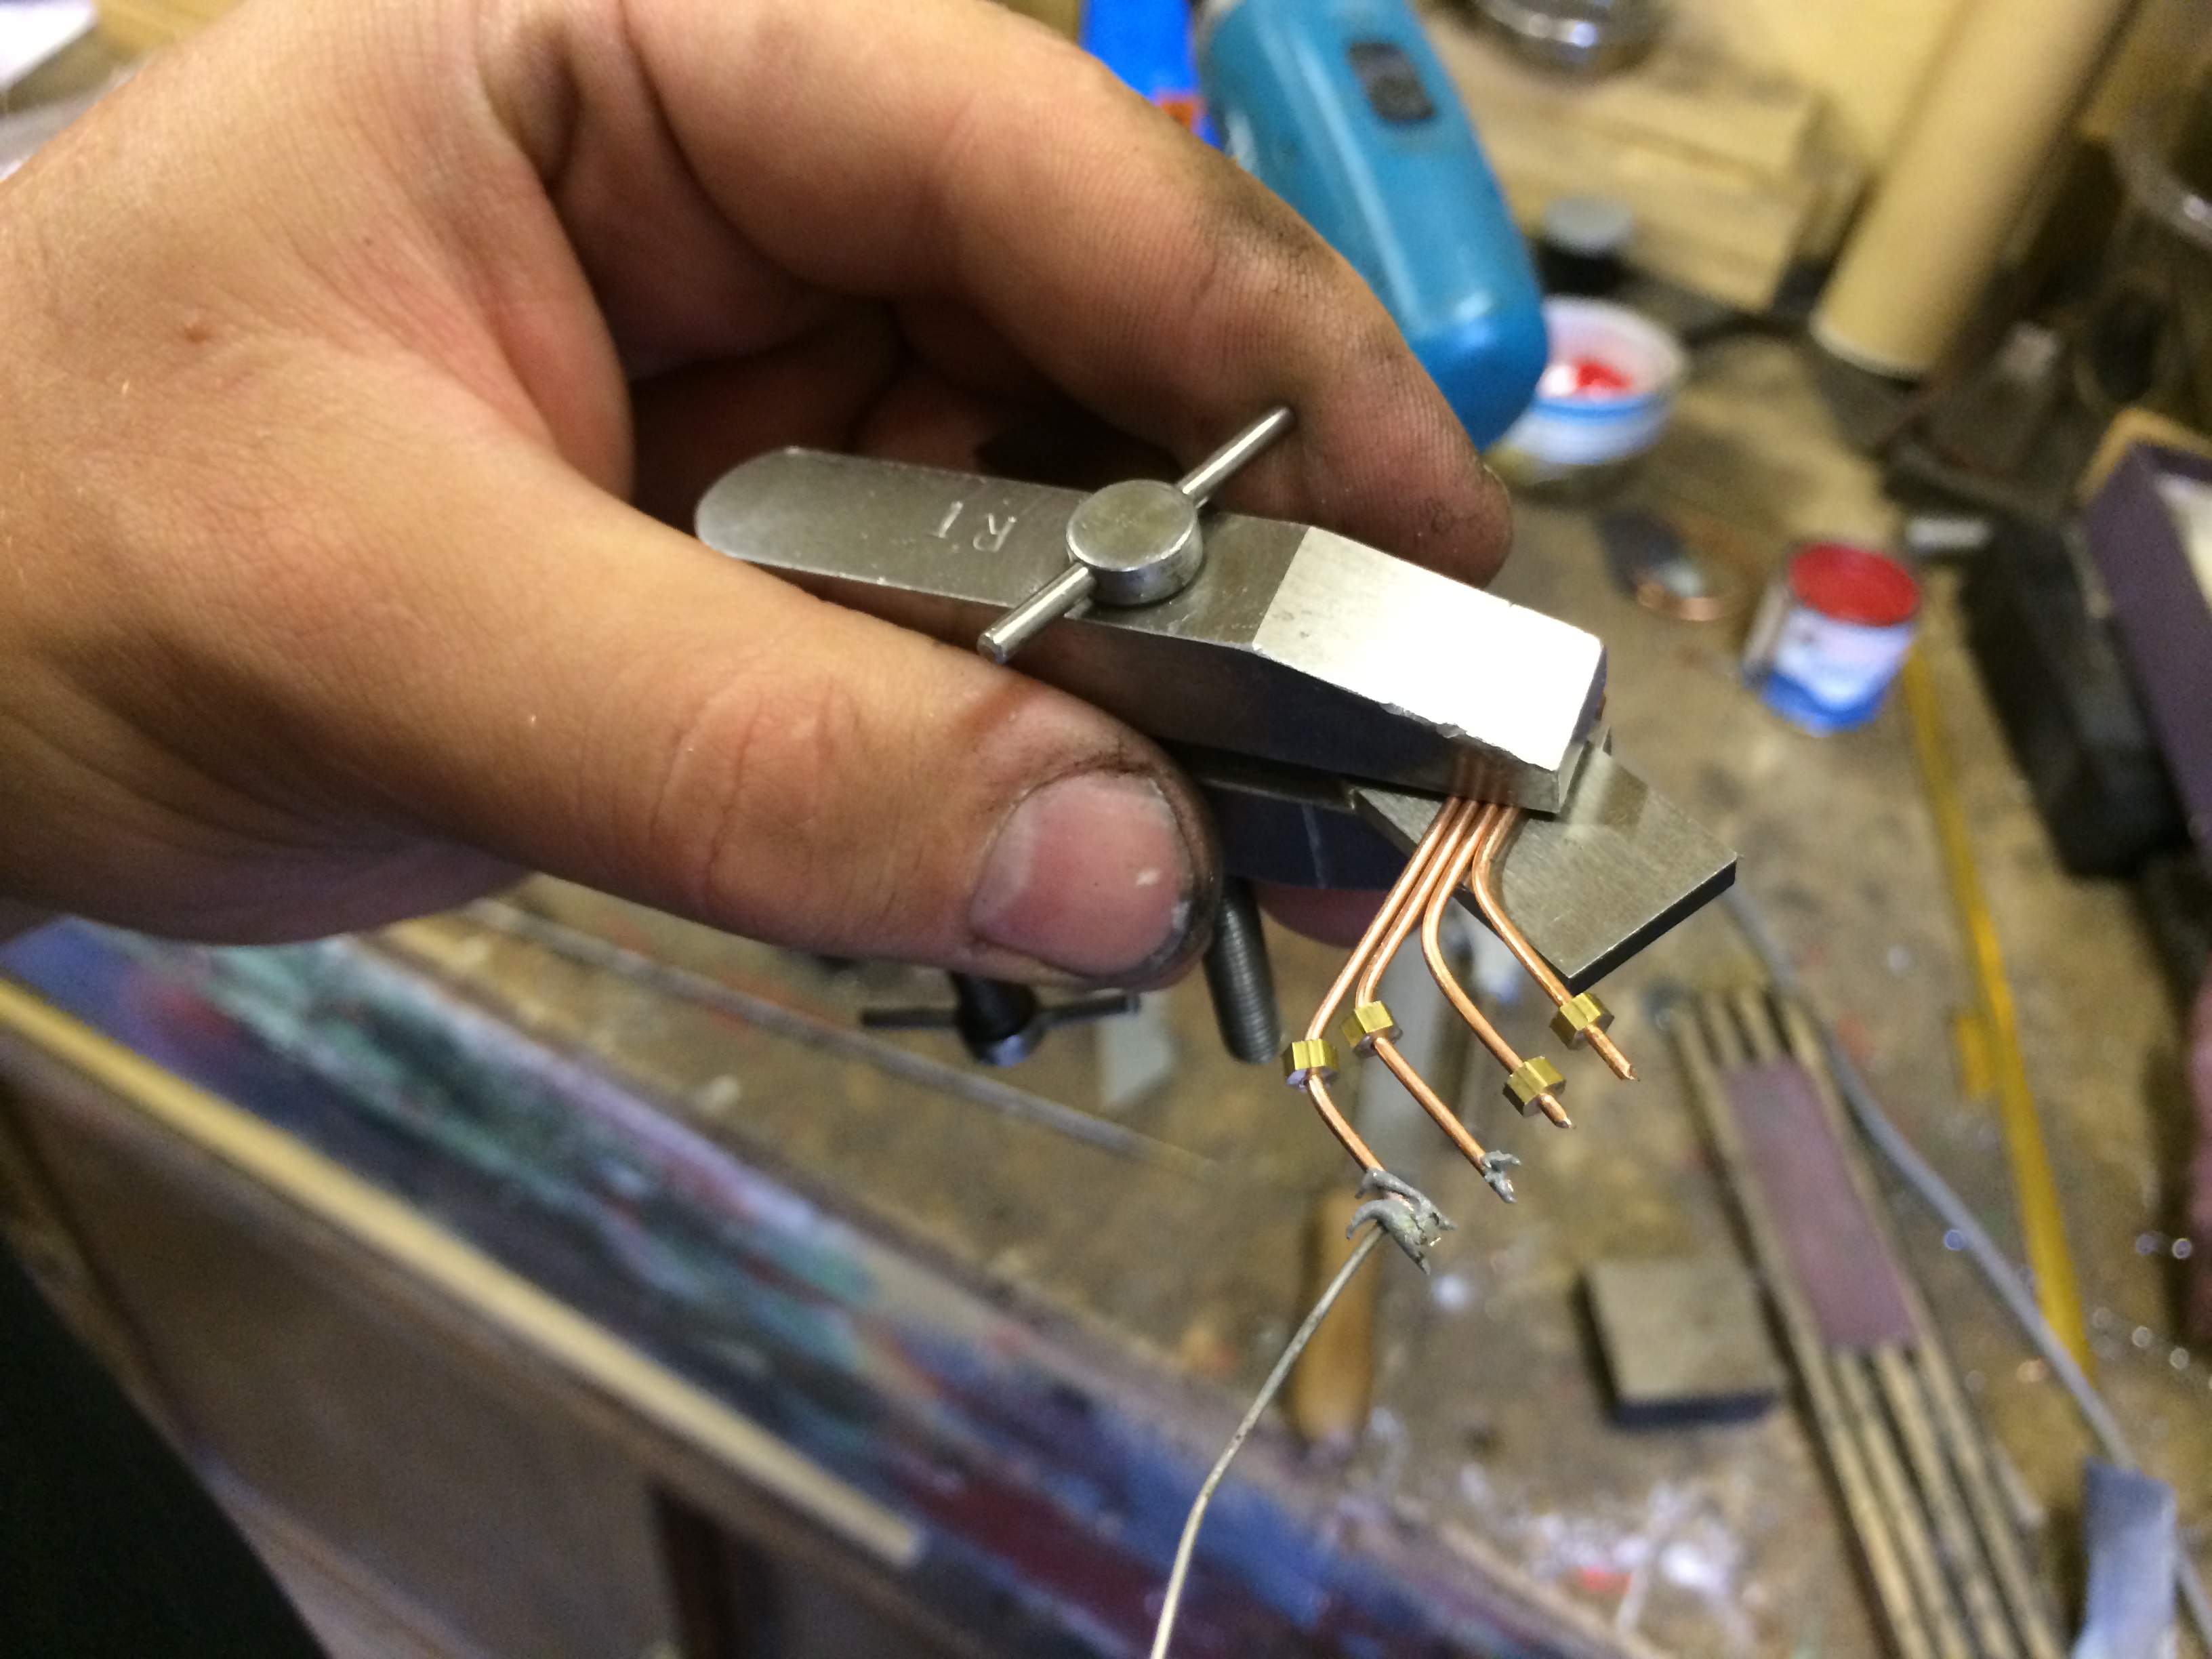
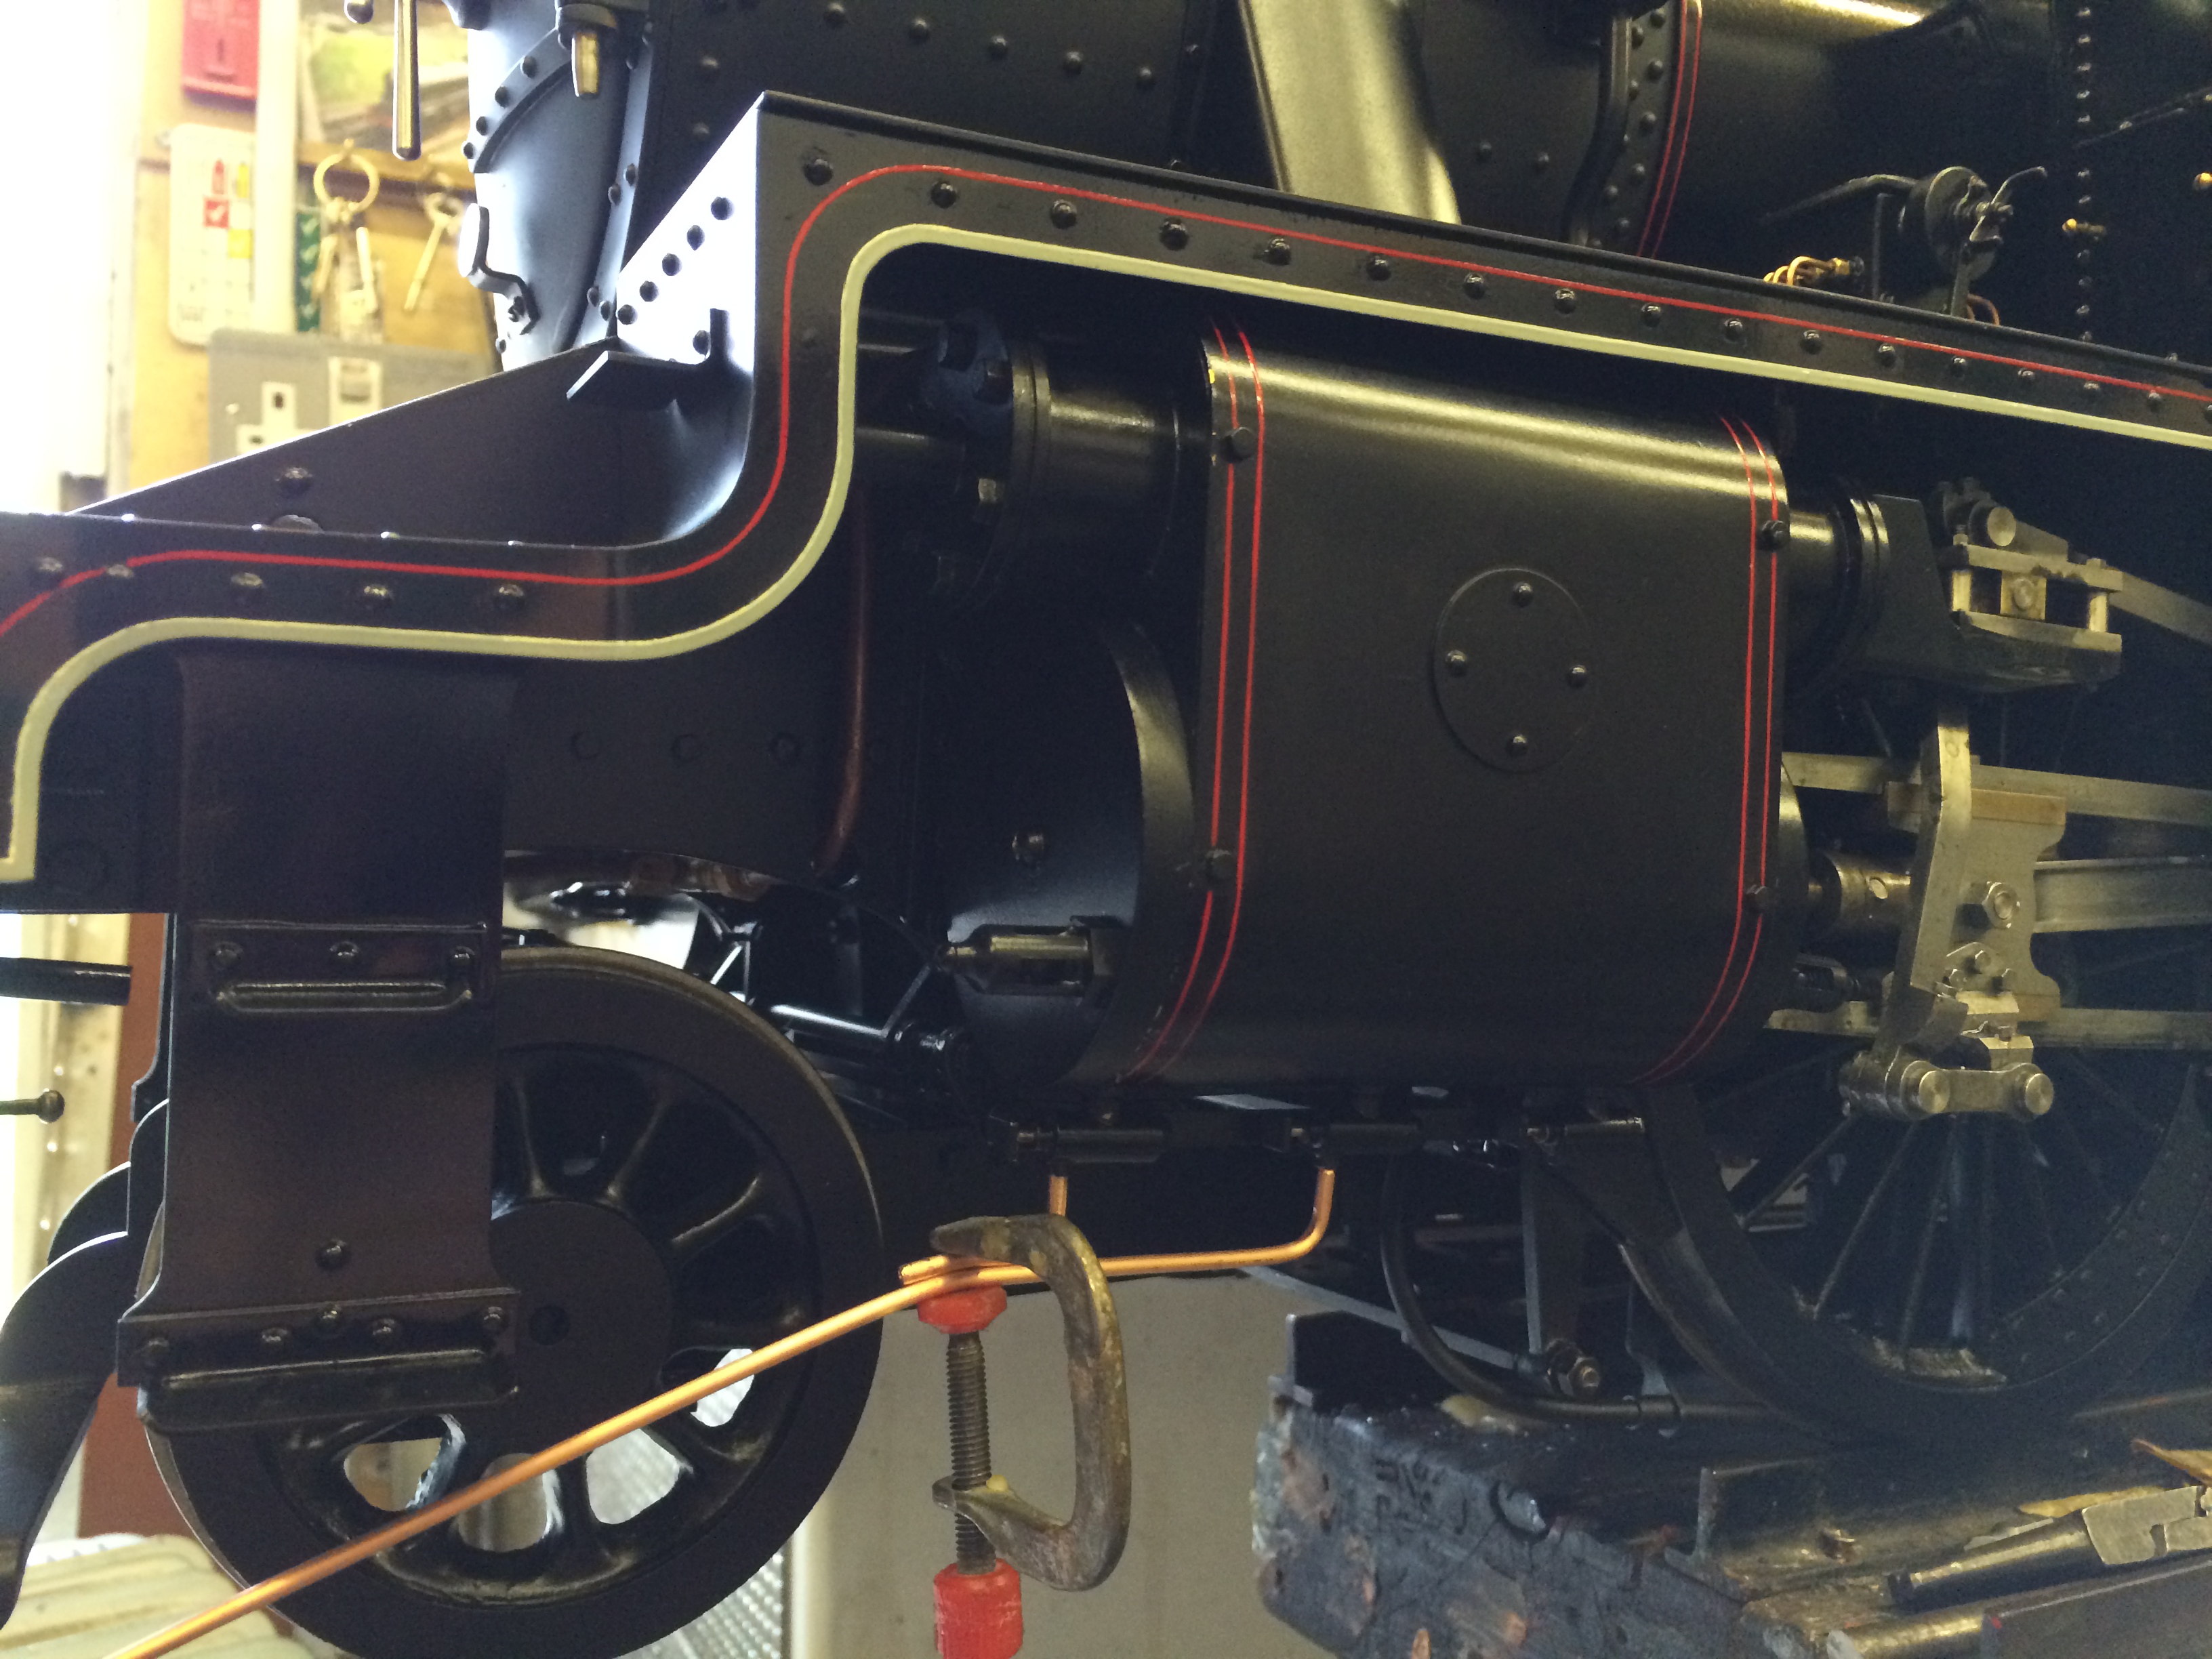
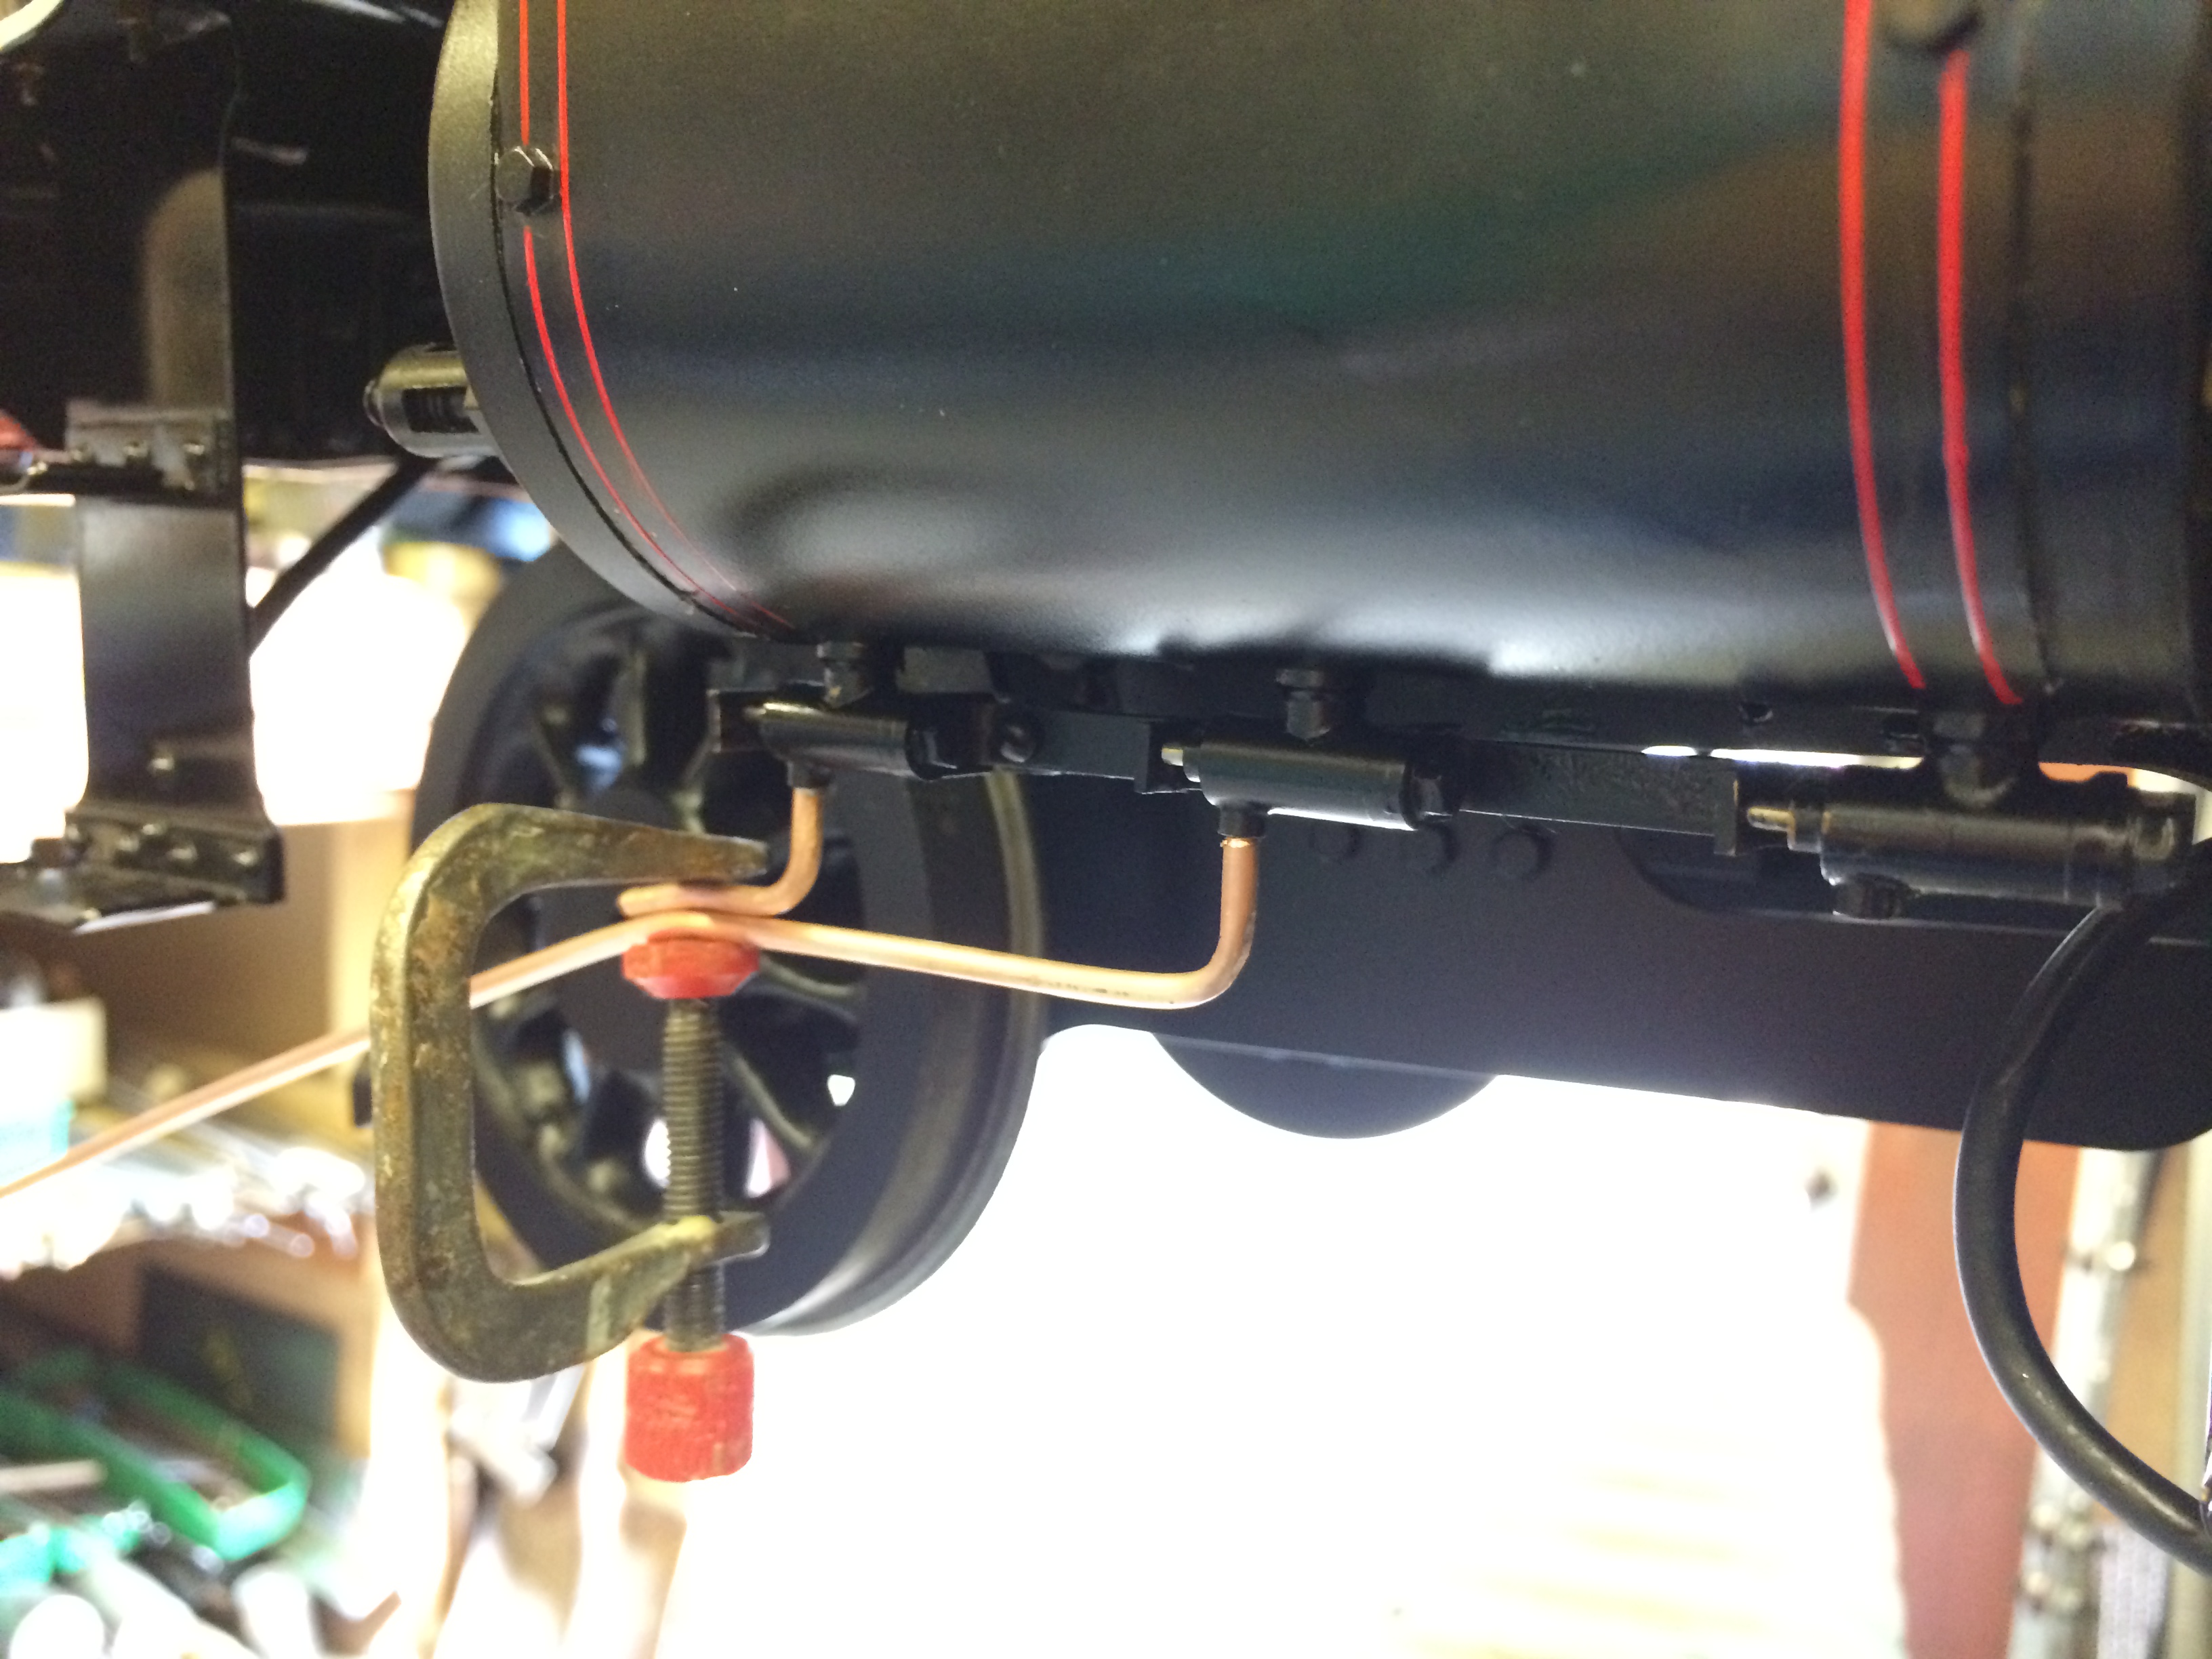
Final detail added in the form of all the little pipes for the lubricators and drain cocks.
The final paint detailing added.....
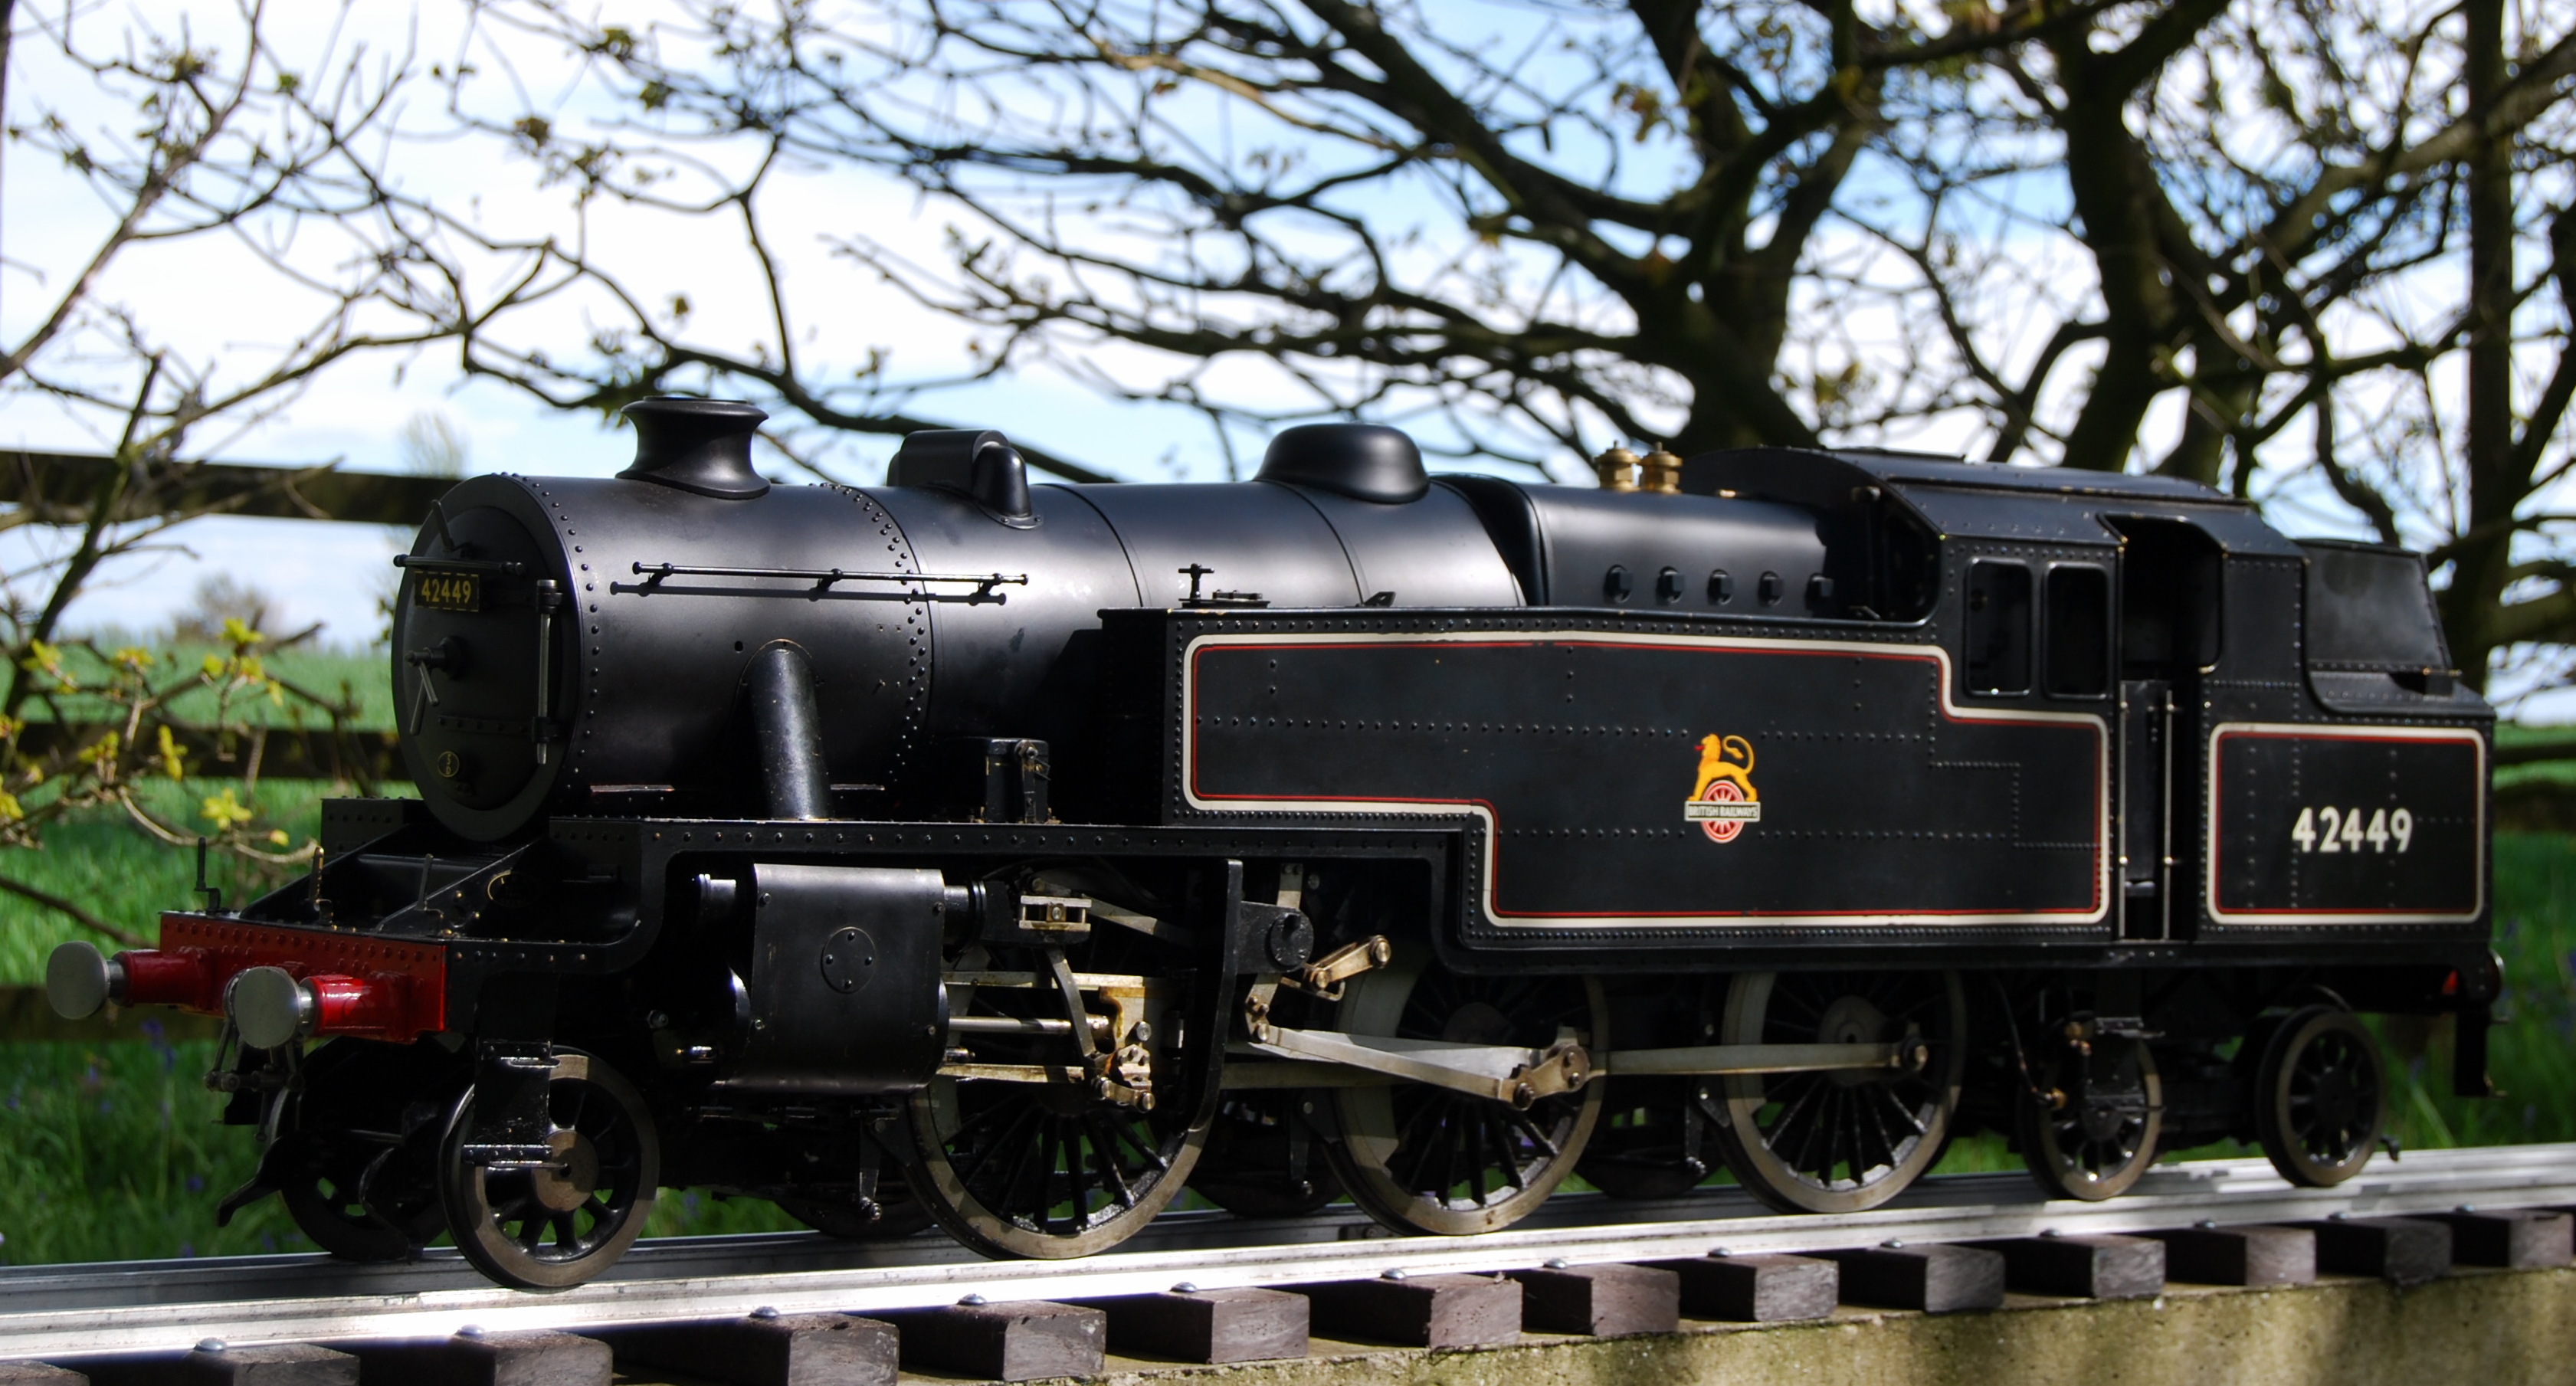
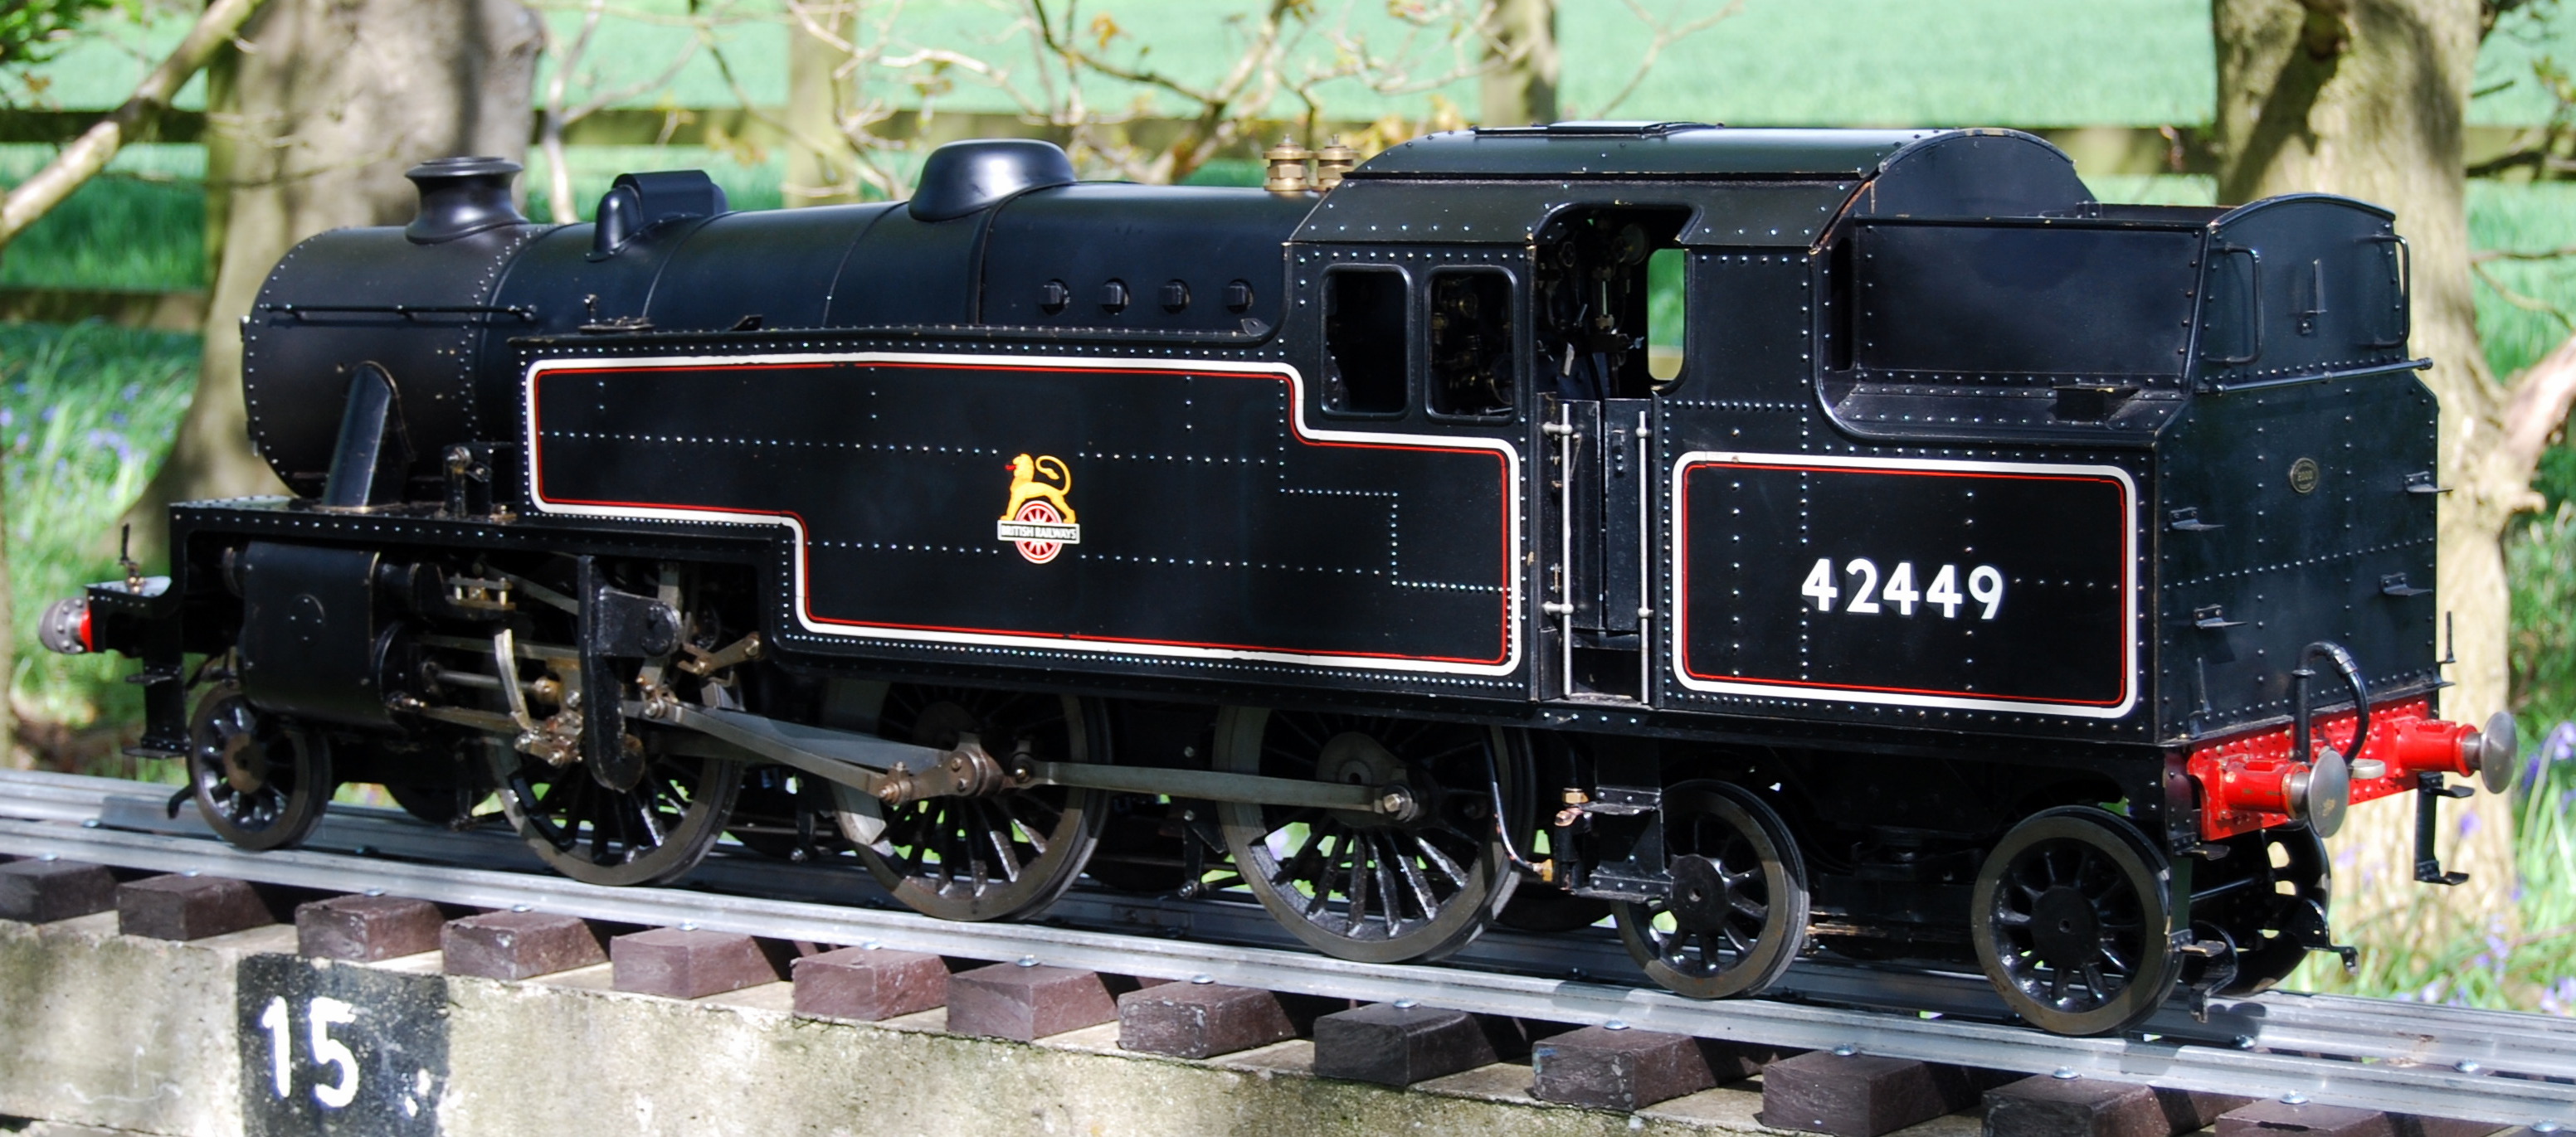
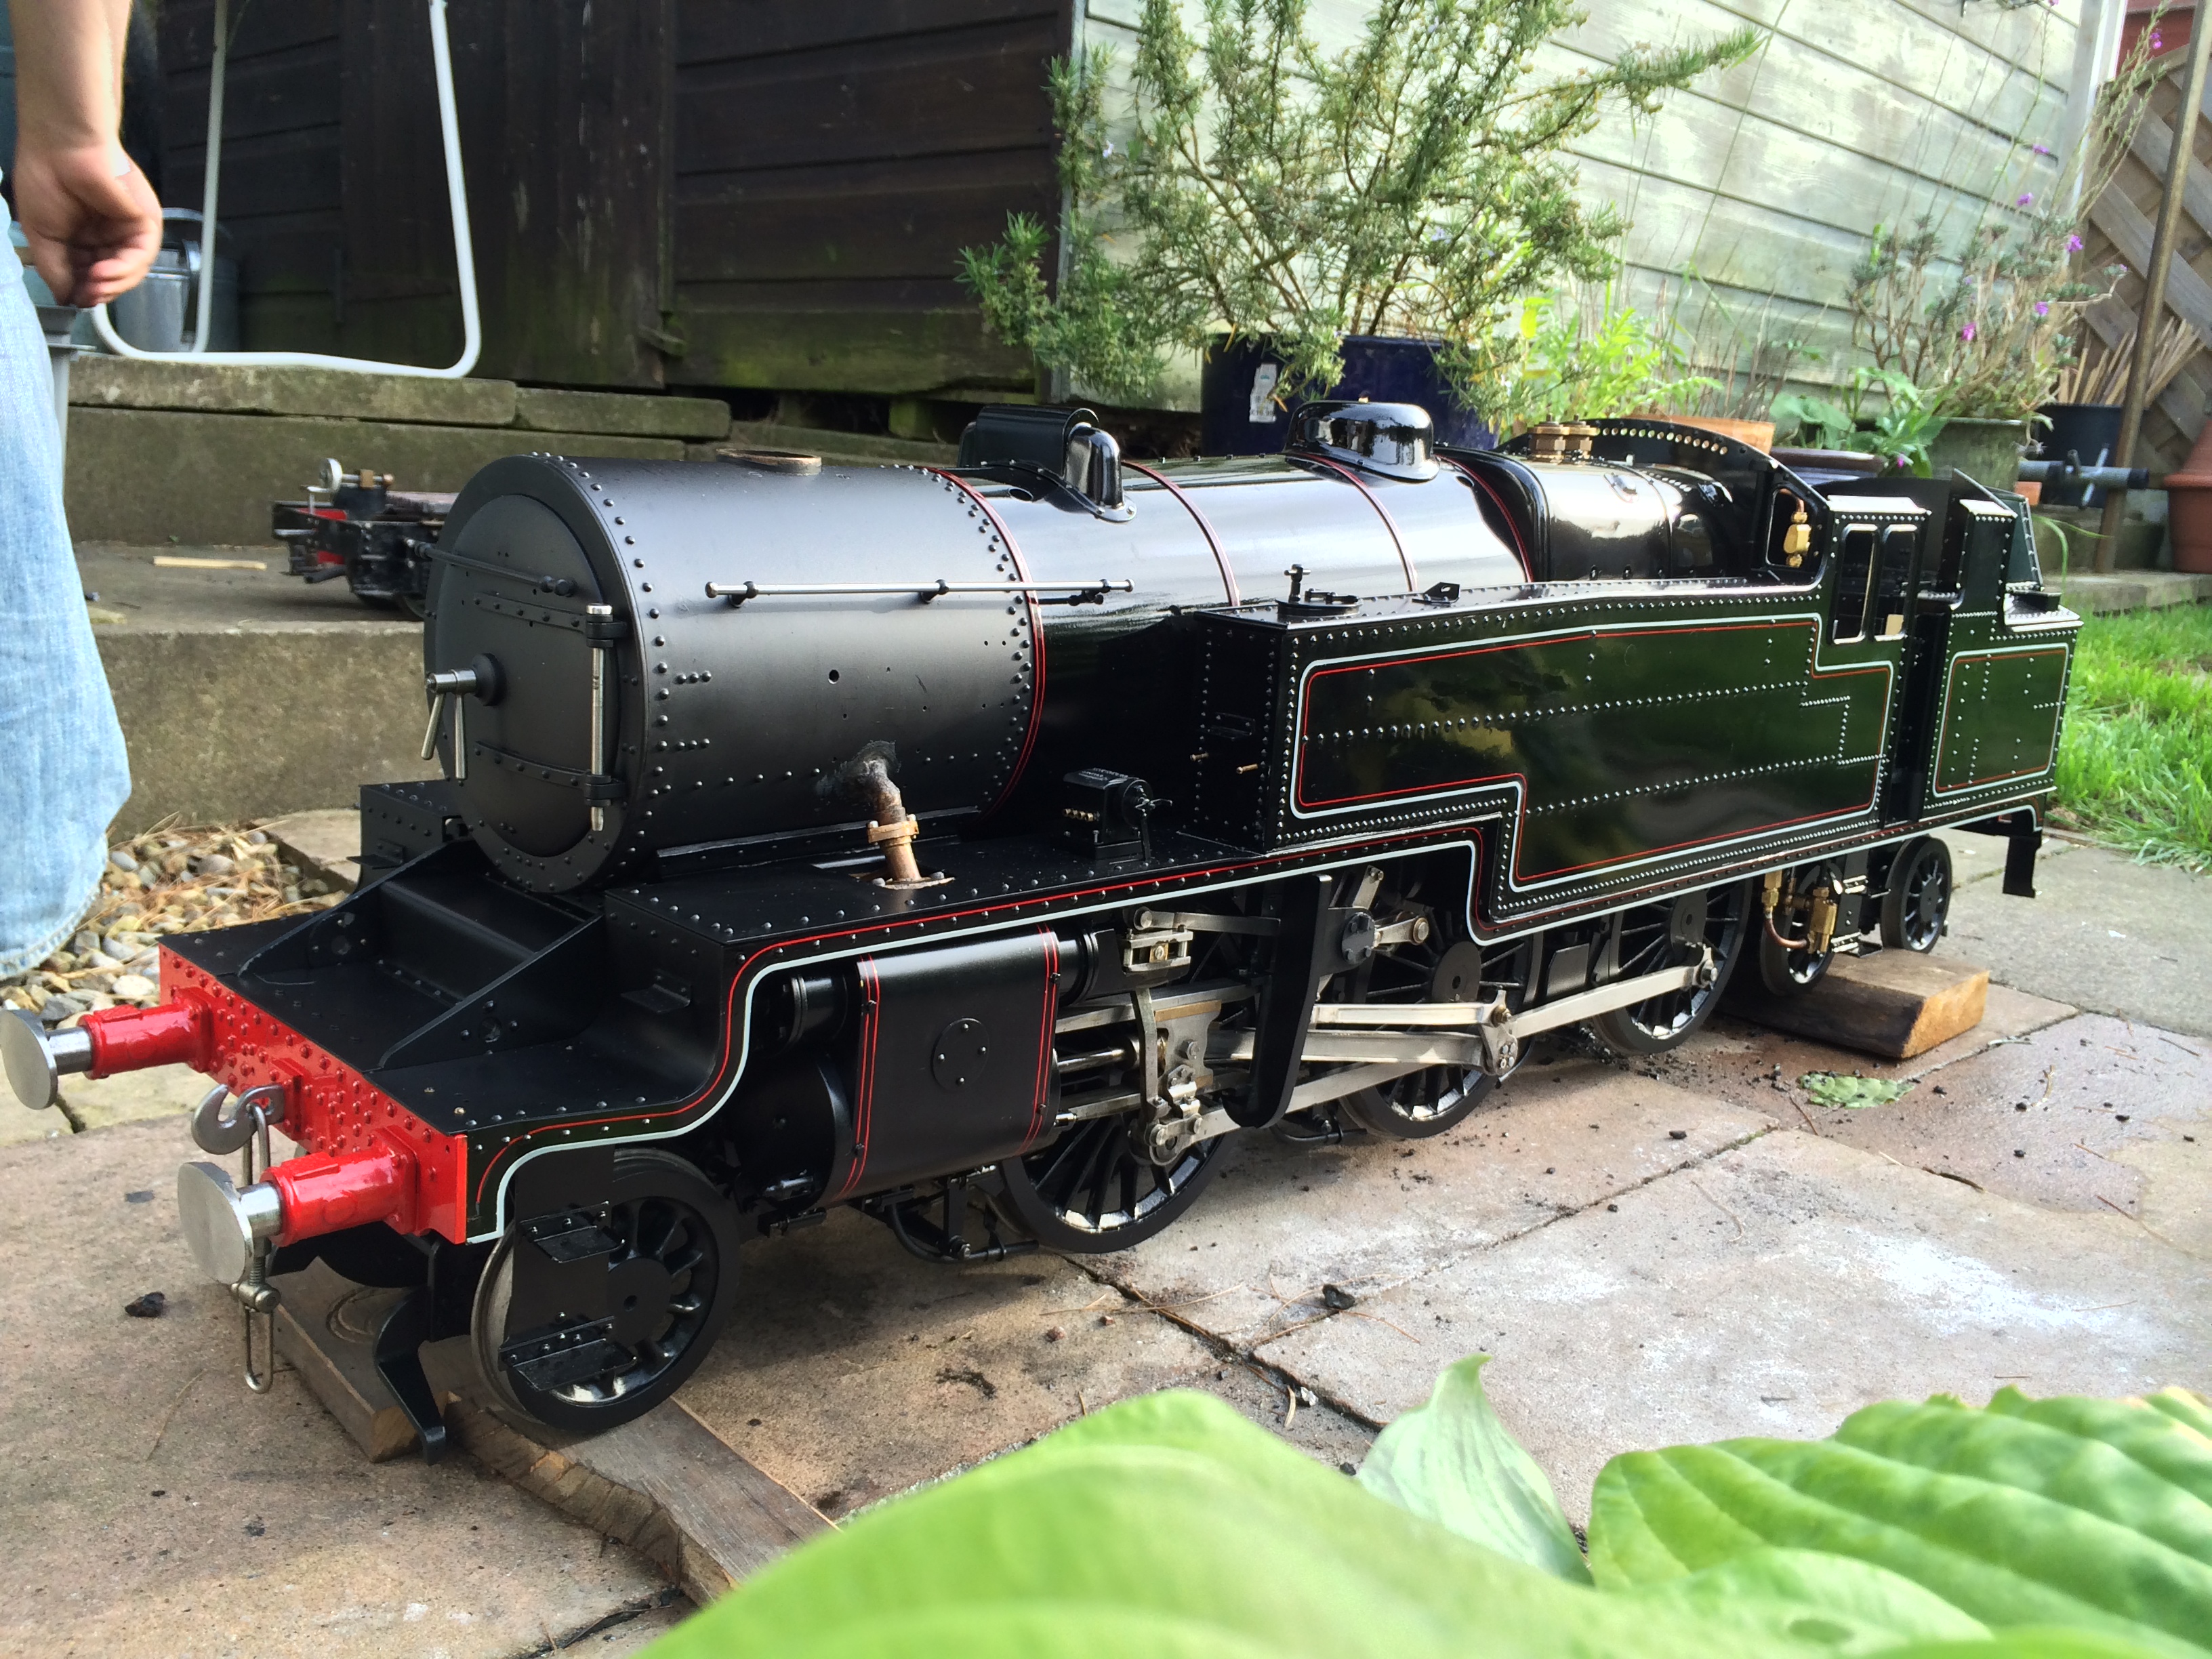
.....and finally here it is. All done and ready for a new owner to pick the number!
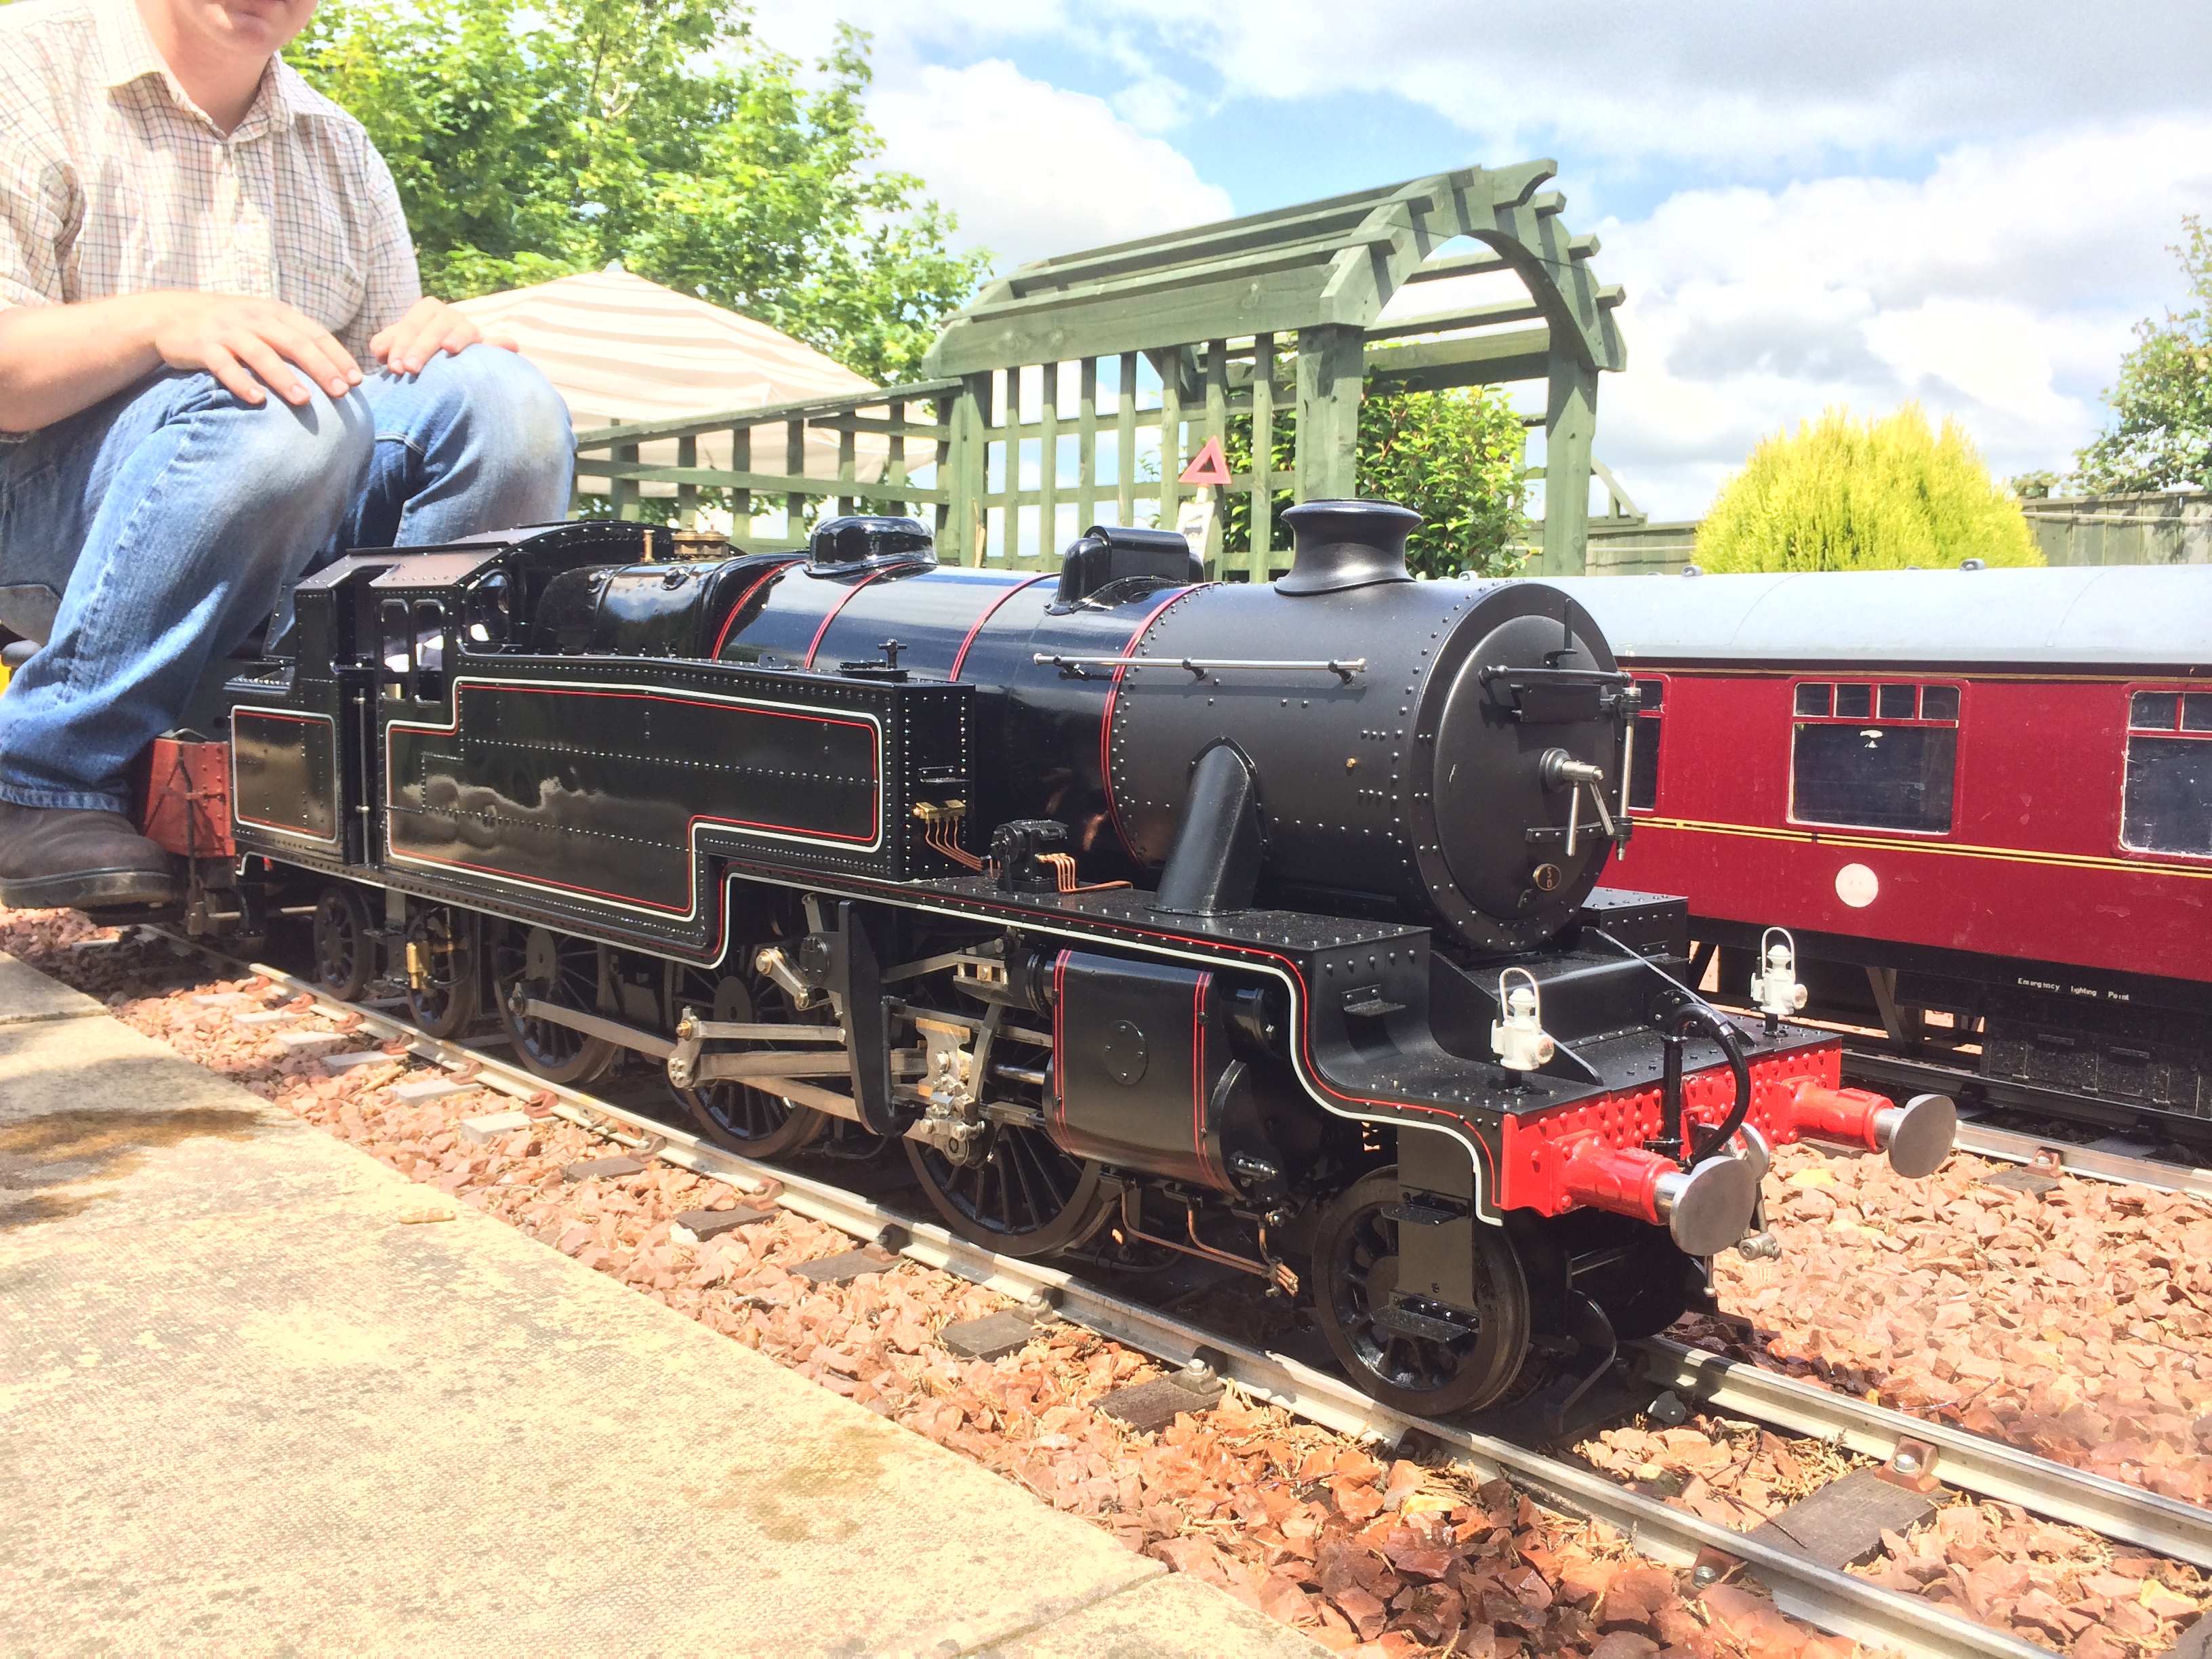
Well, the locomotive has a new owner, and therefore the numbers have been picked. Time to add the final transfers to the customers specification, and engine that he remembers running on his local line in the 50s and 60s.
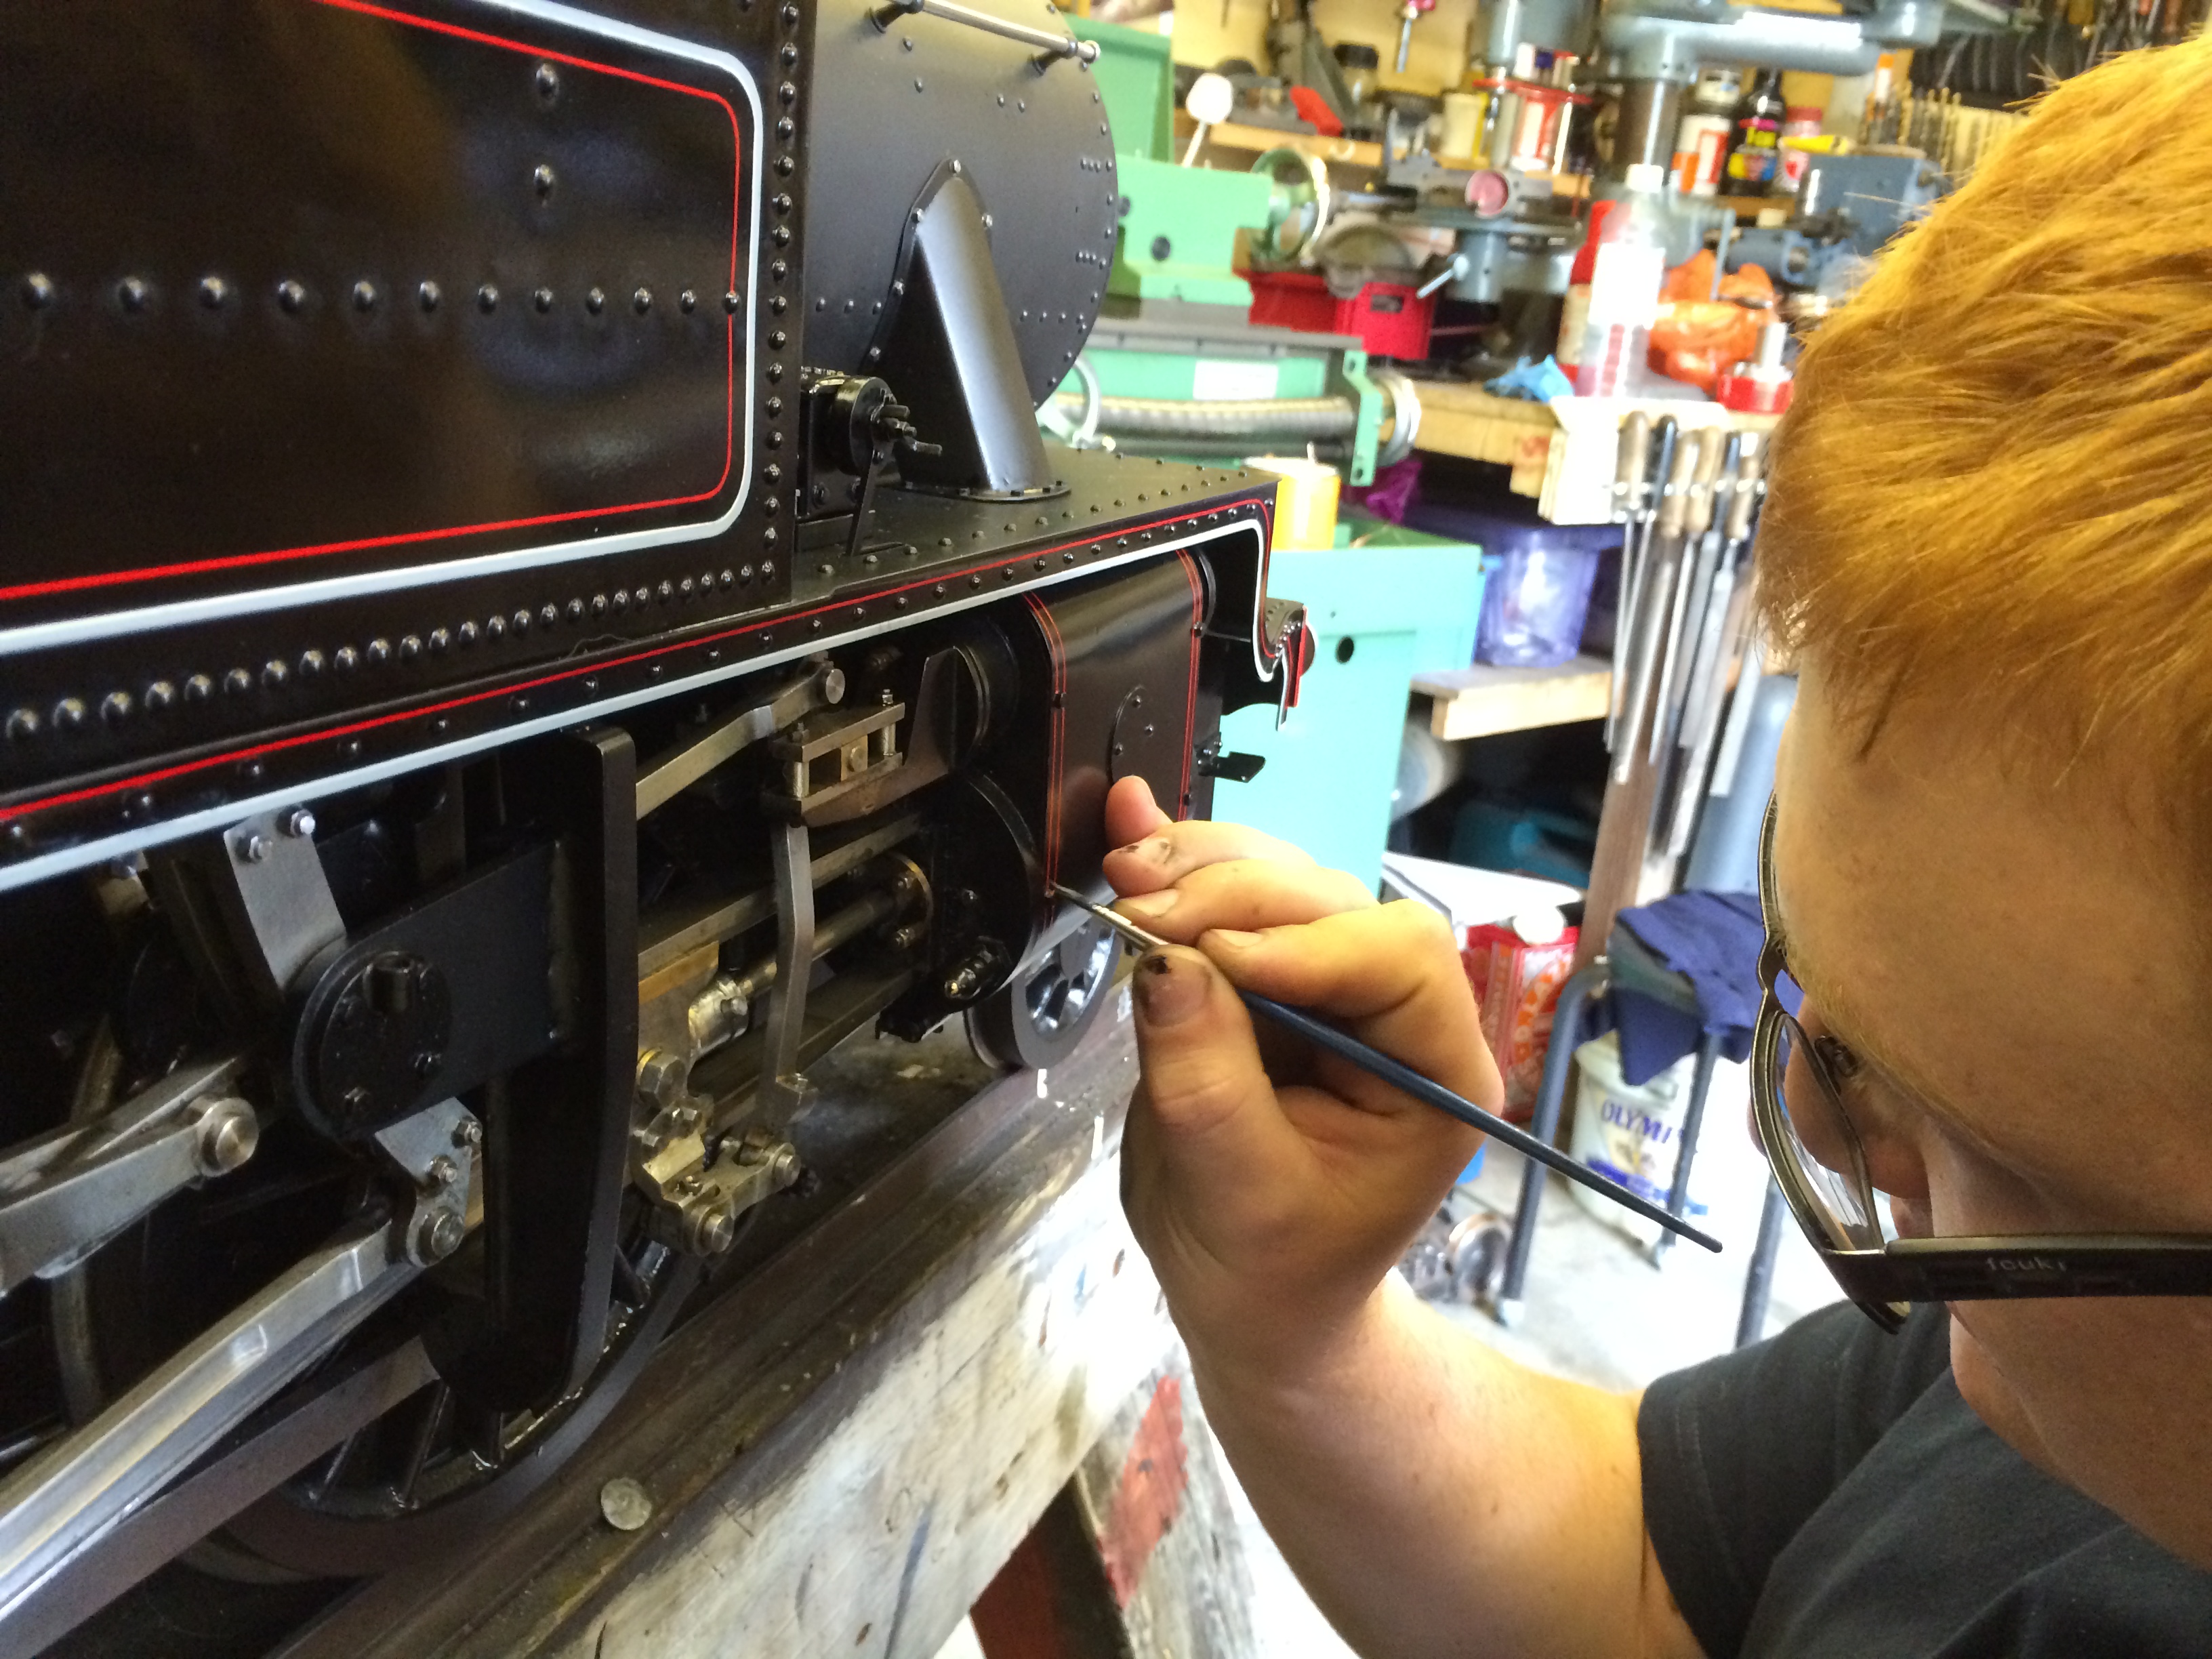
A little film of applying the waterslide transfers to the tanks. Our lining work is all hand painted, but we use transfers for complex logos, as of course they did on the full size.
As with most of our models, what you see isn't necessarily what you get!
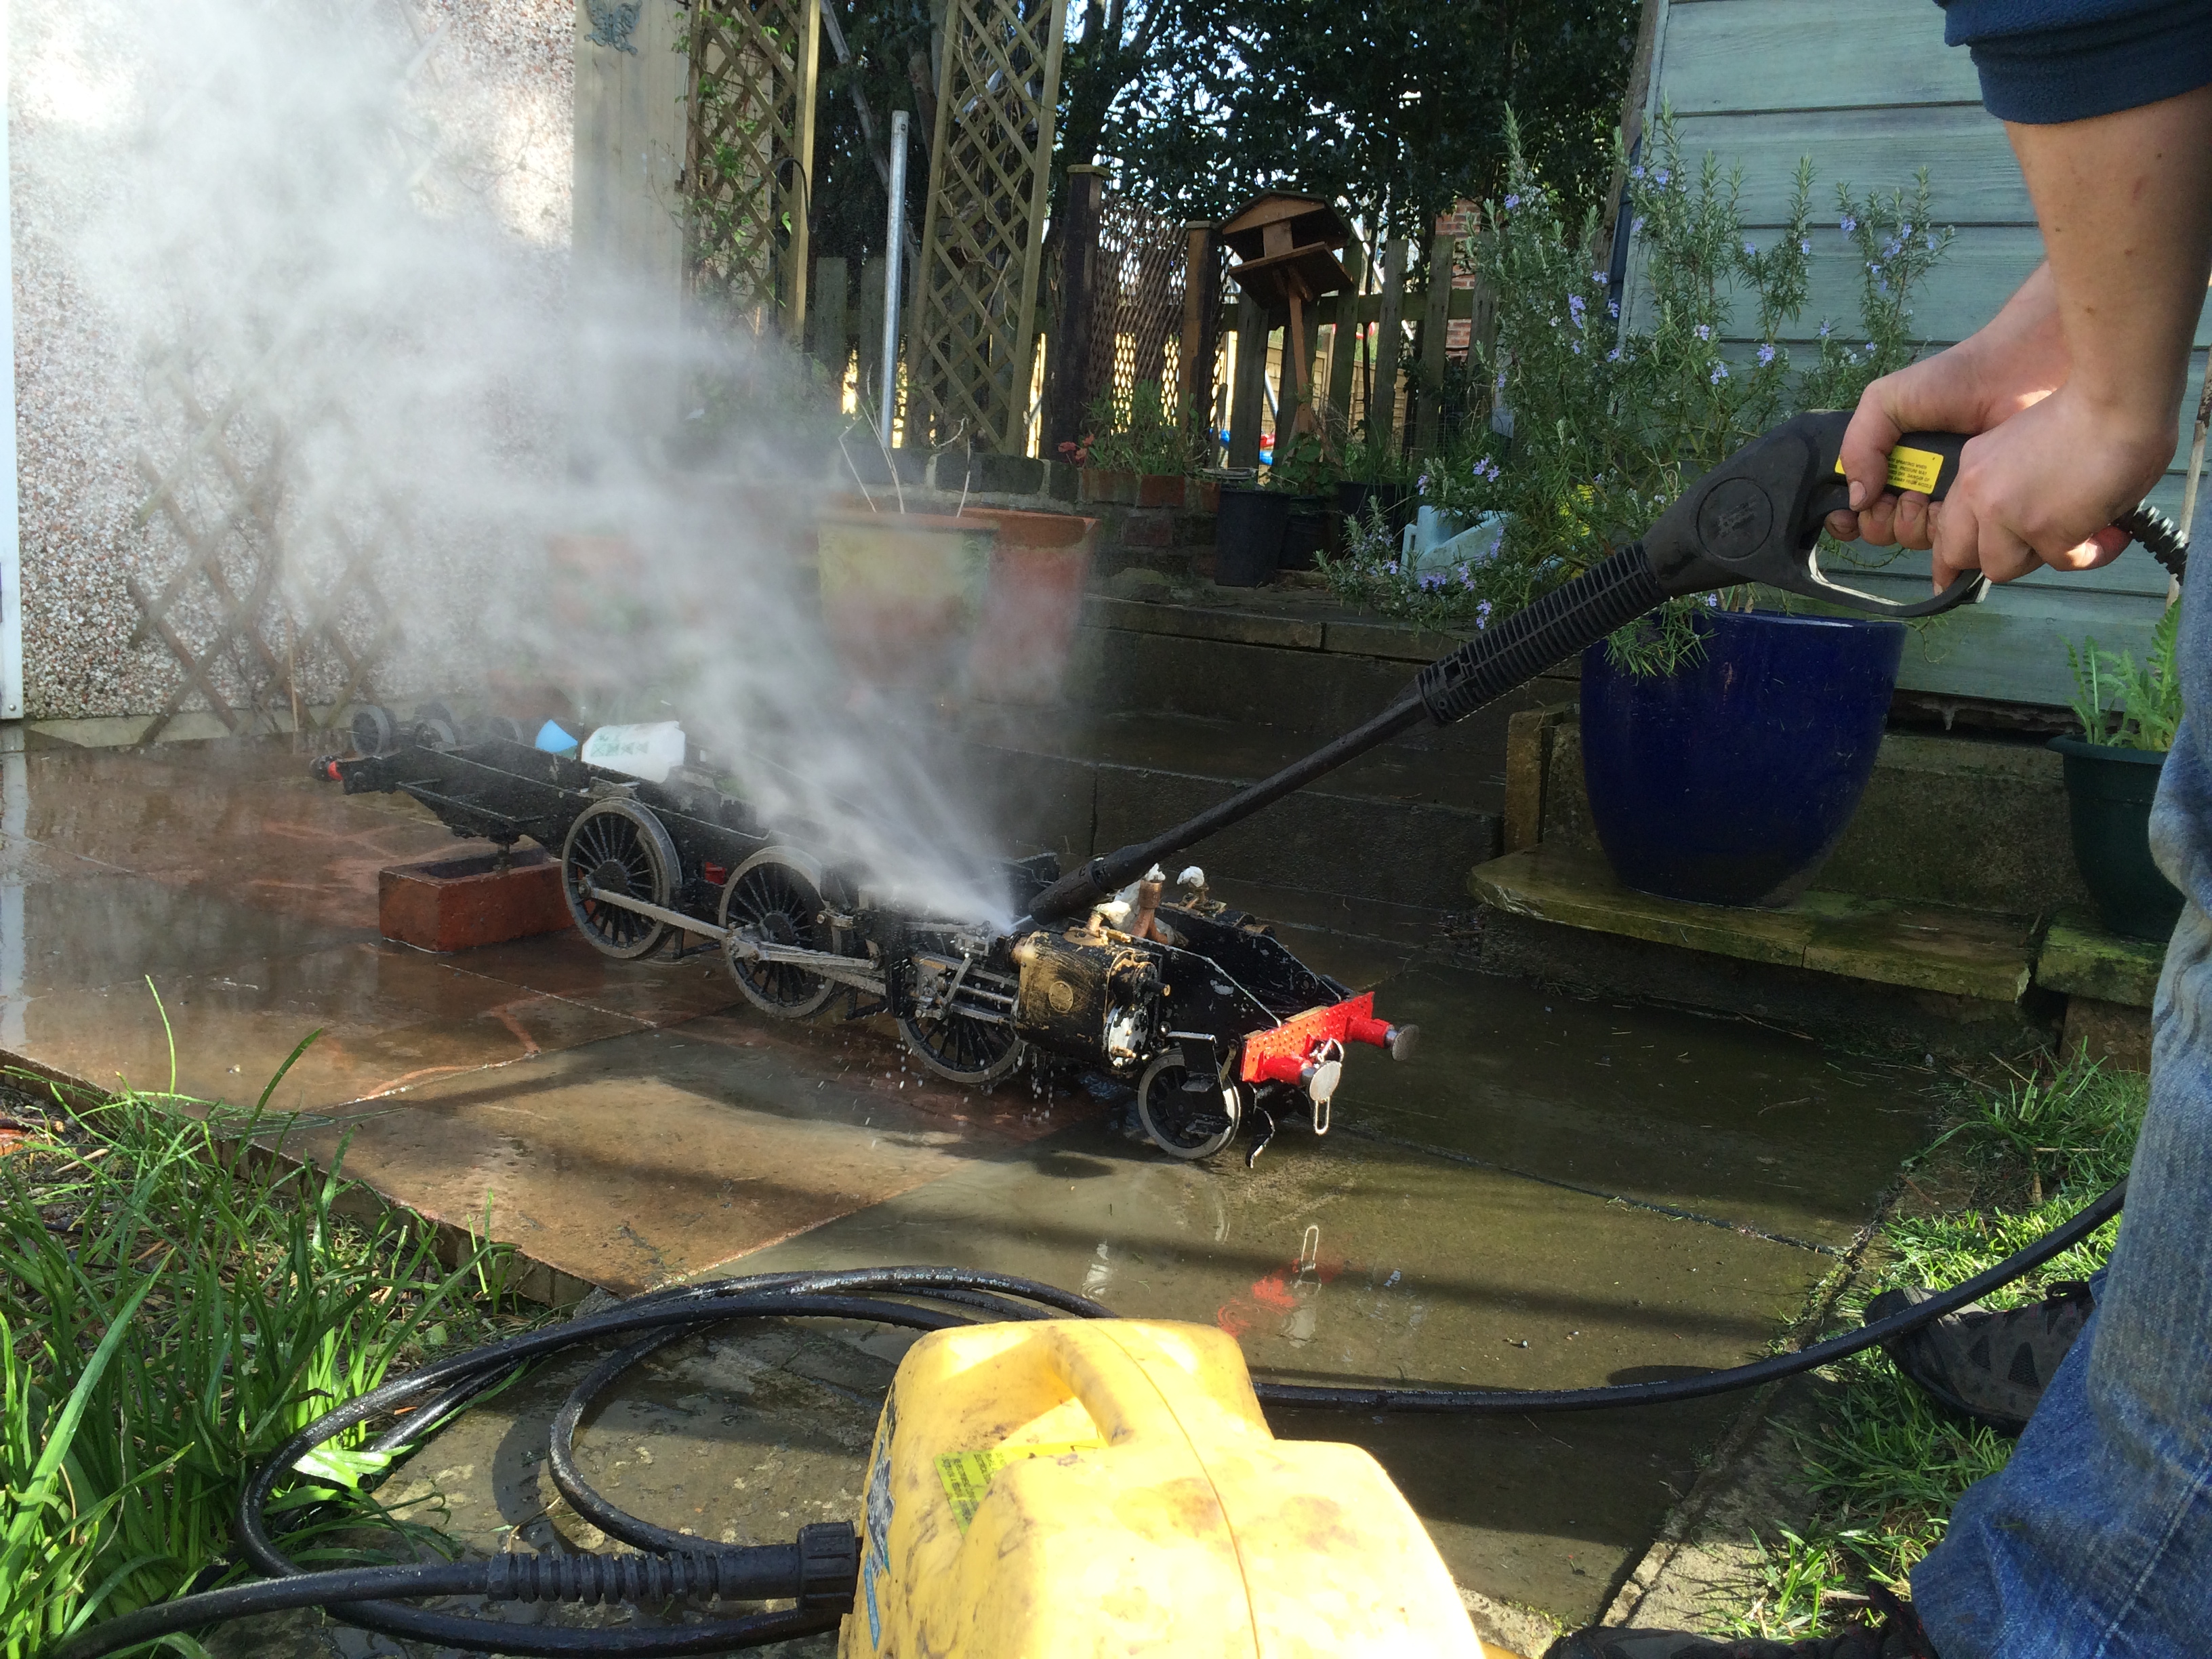
We often photograph models pretty much as they come in to us, and then when someone phones to say they are interested we pull the model into our workshops and make sure everything is tested, sorted and ready to go. So if you see the odd model photograph with a fitting missing or a return crank in the wrong place, that's just how it came in and certainly not how it will leave.
For any more information please don't hesitate to give us a bell on 07816 963463
Stock Code:
