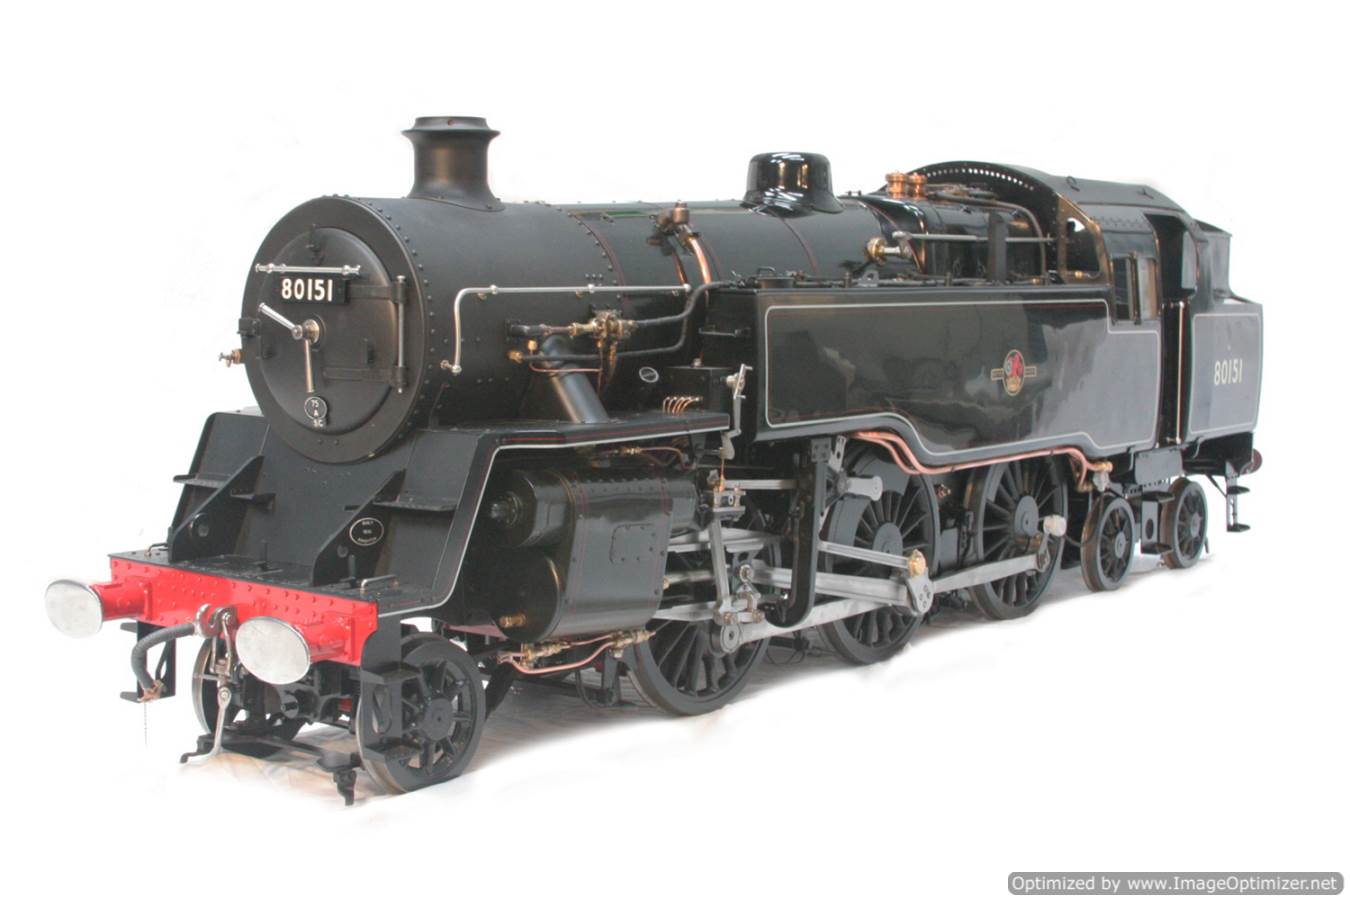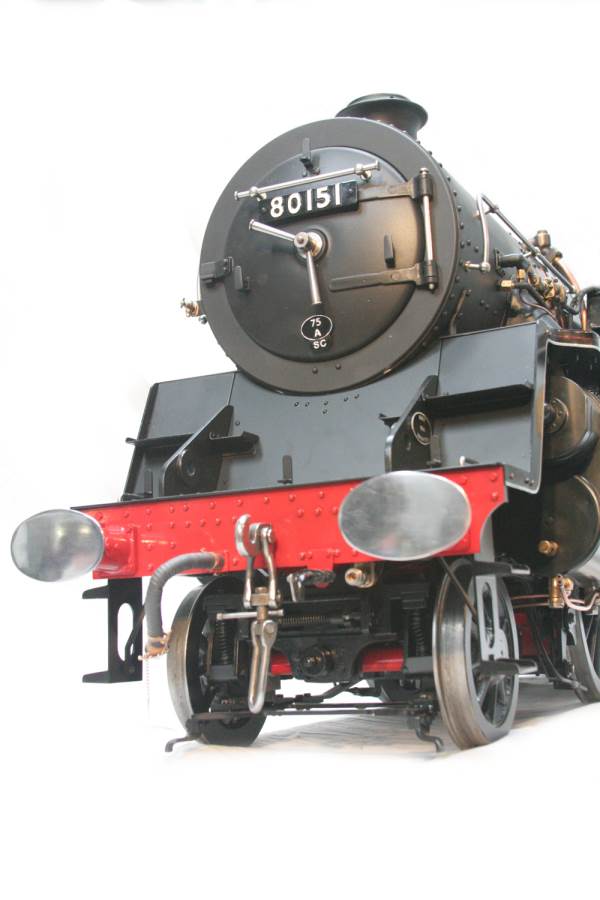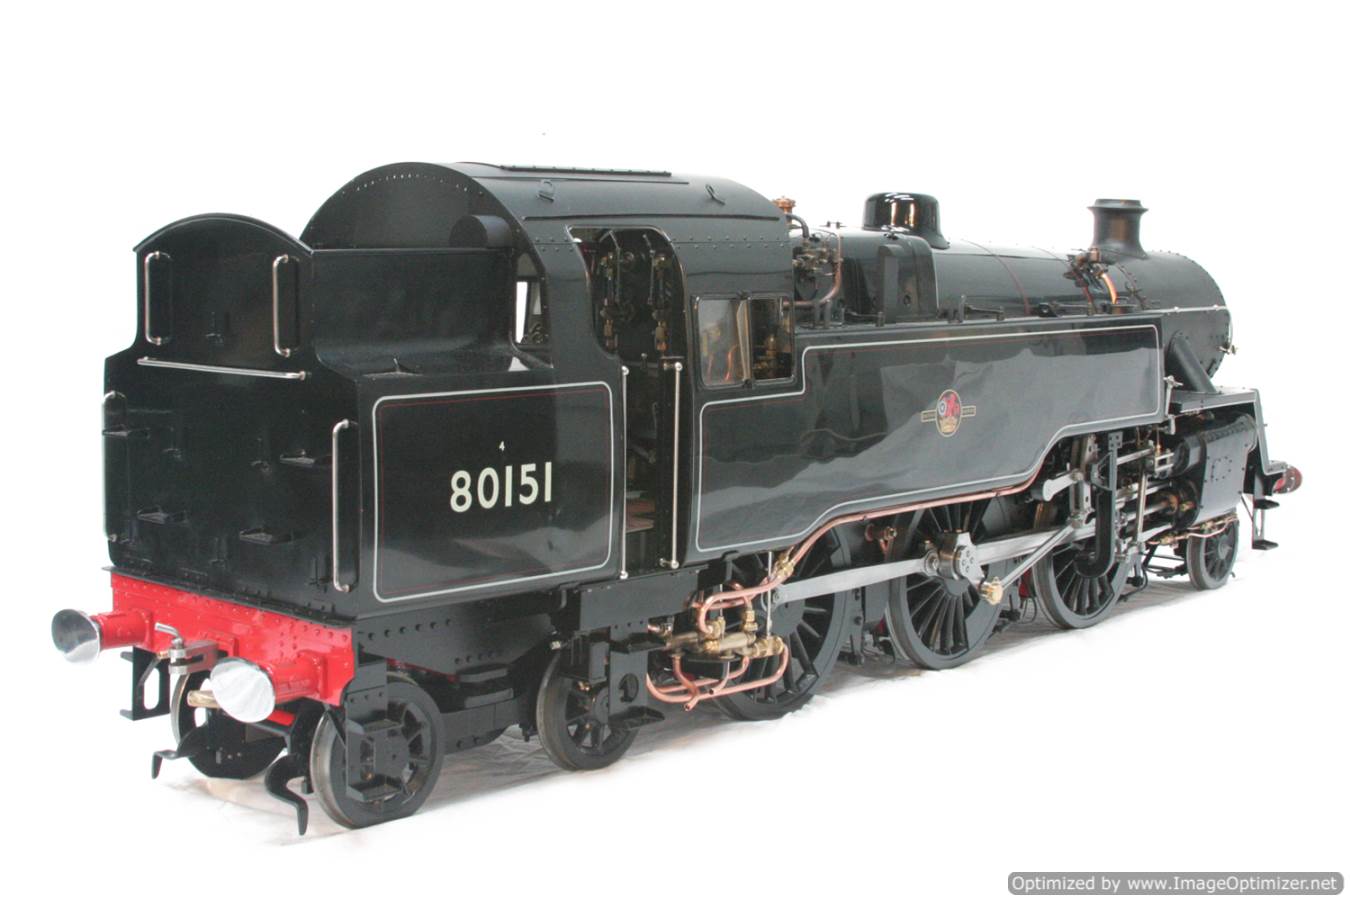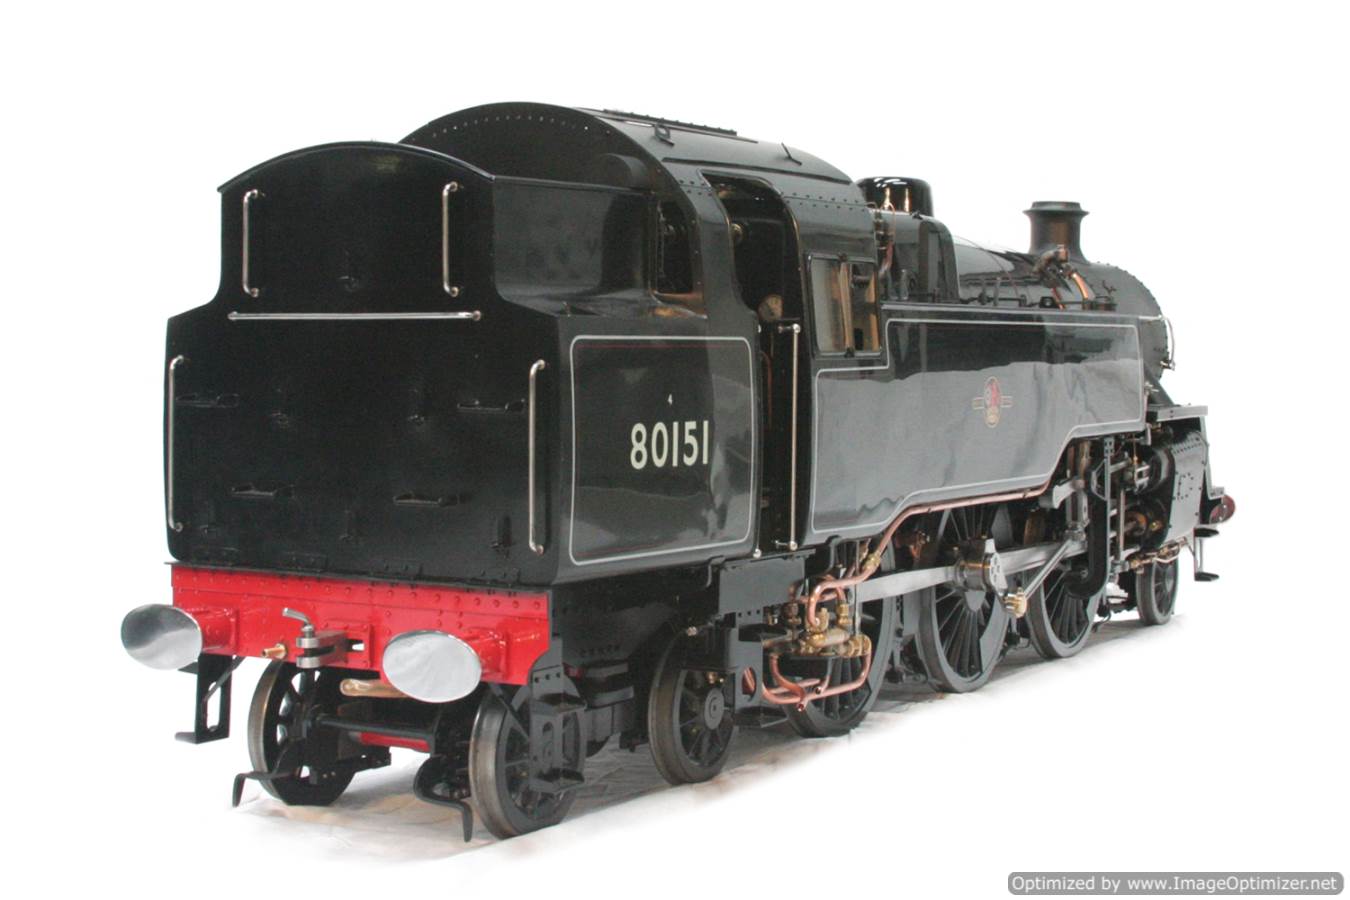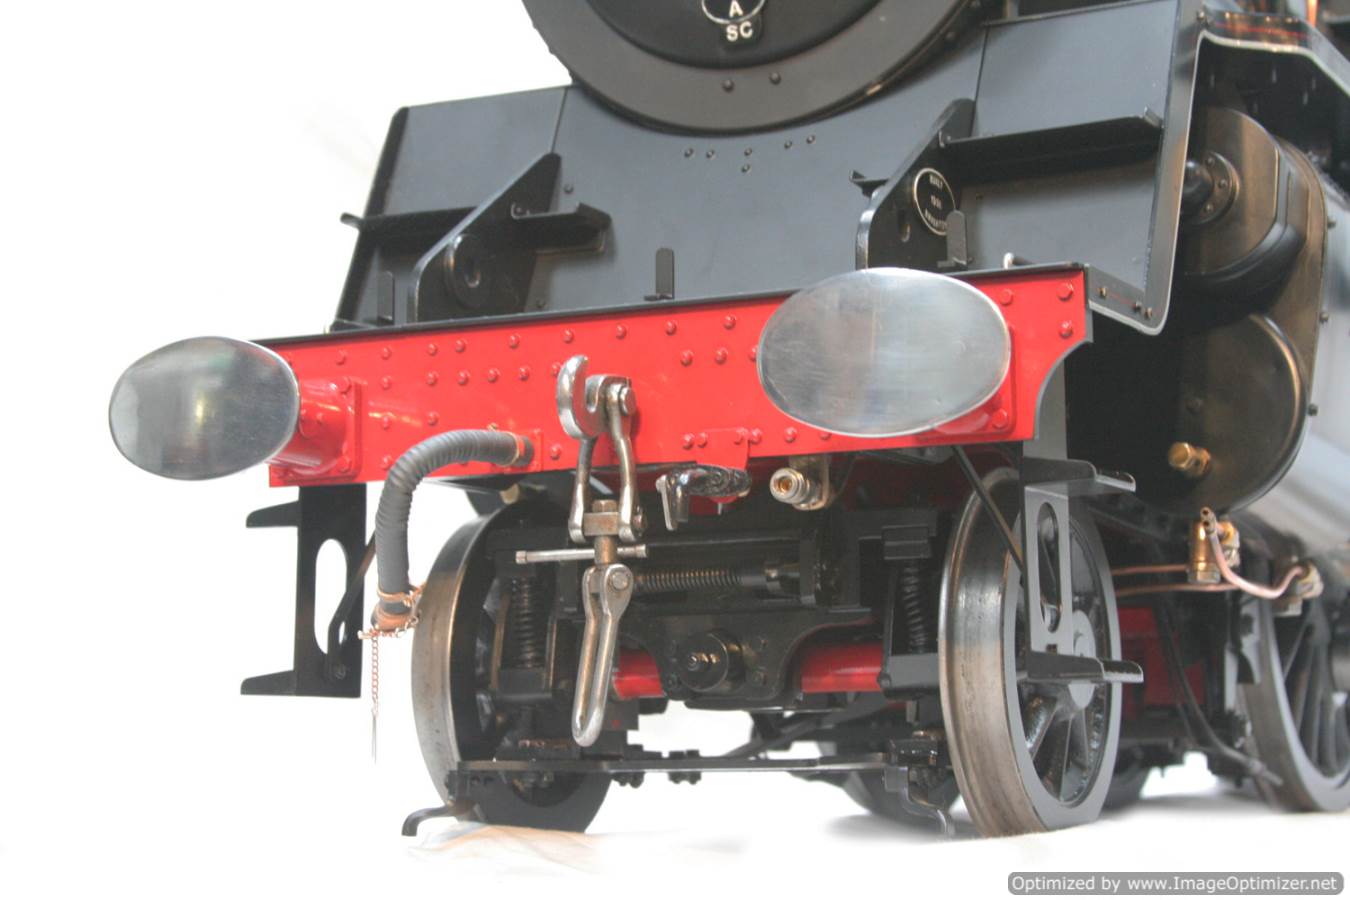
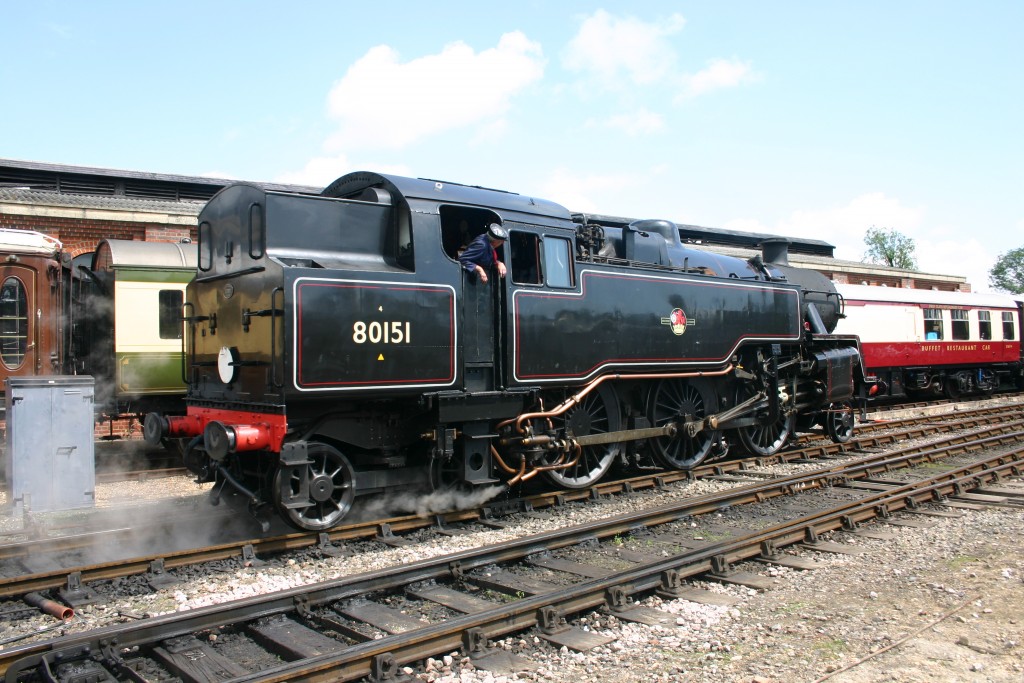
7 1/4" BR Standard Class 4 Tank.
This Re-build is one of the select few that we have taken on for an outside customer. It is not expected ever to be available for sale I'm afraid, but it has become the official 'Steam Workshop Re-Build No.9', and so it will hopefully provide and interesting read.
Here we have an album to follow the progress on our complete re-build, ('heavy general' overhaul, detail and re-paint) of what is already a lovely 7 1/4" Standard class 4 tank, built to the Jim Vass design.
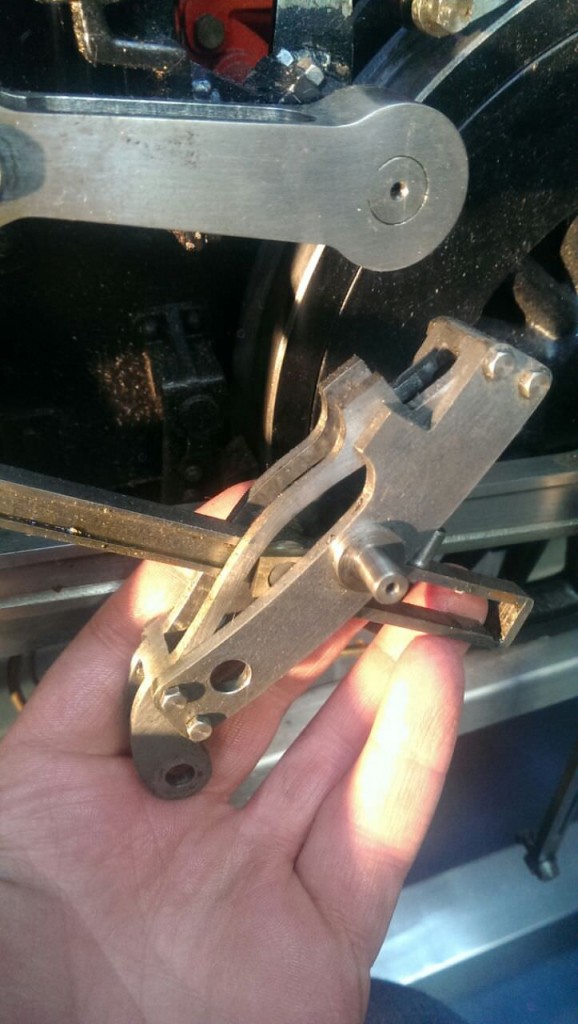
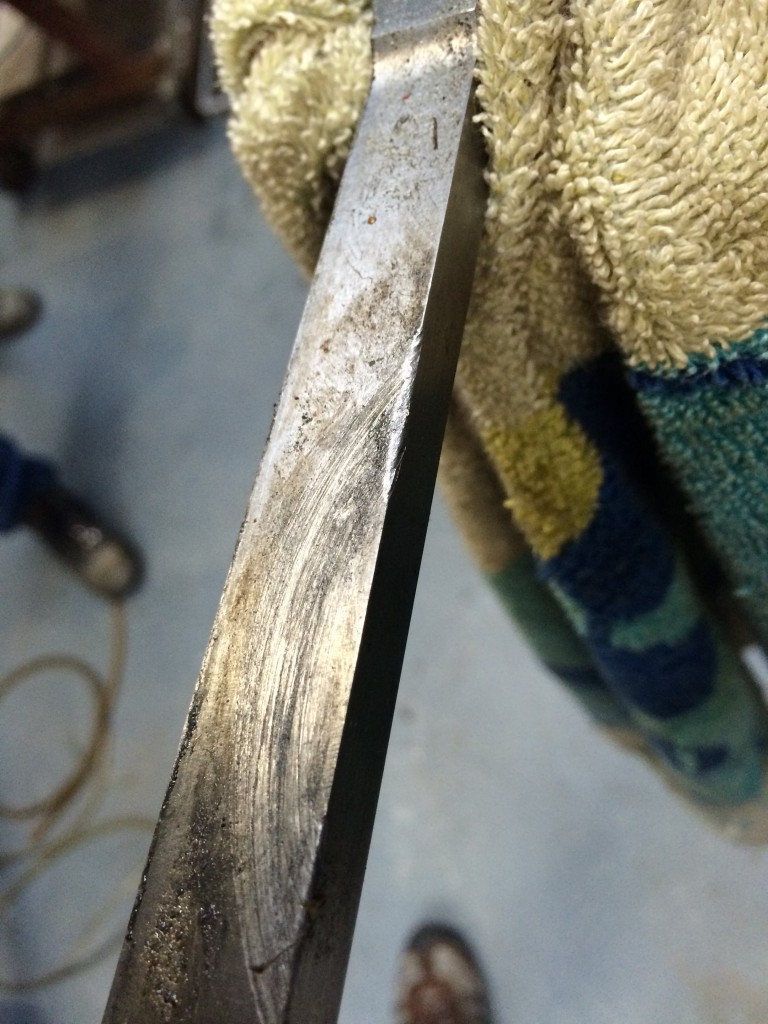
The loco has been well looked after, but at the same time well used, and so in certain areas the paintwork has started to show it's age. The bearings too will need attention, as will a suspected valve bobbin problem that has caused the die block to distort the expansion link on the left hand side. At this stage we are not sure whether it is a seized valve or perhaps a broken ring caught in a port. But certainly it will need a new expansion link, and something sorting up the front end.
The 'brief' is also to improve the level of detailing and finish on the model as it goes back together, so we will be making new parts, or 'tweaking' the existing ones as we go to push the resultant model closer toward the real thing,.... which in this instance is Watford based engine 80151, (currently preserved on the Bluebell), but as she was back in the 60's. Originally the chosen loco was 80064, but research showed it ran with fluted coupling rods and a blank return crank. 80151 has plain connecting rods and the Crewe type 4 bolt return crank,.... like the model, so it became our new prototype.
......and so the research and disassembly begins!!
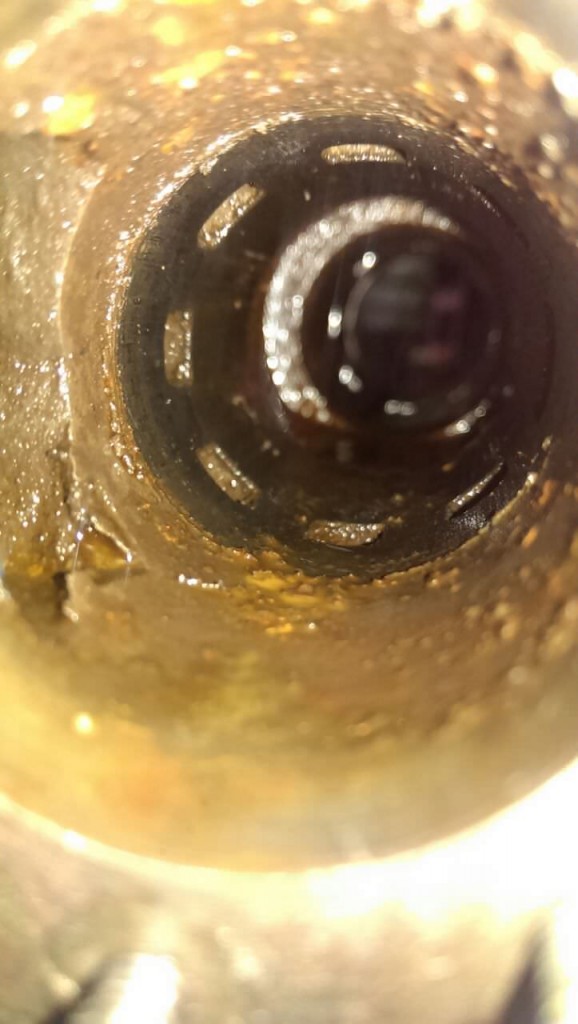
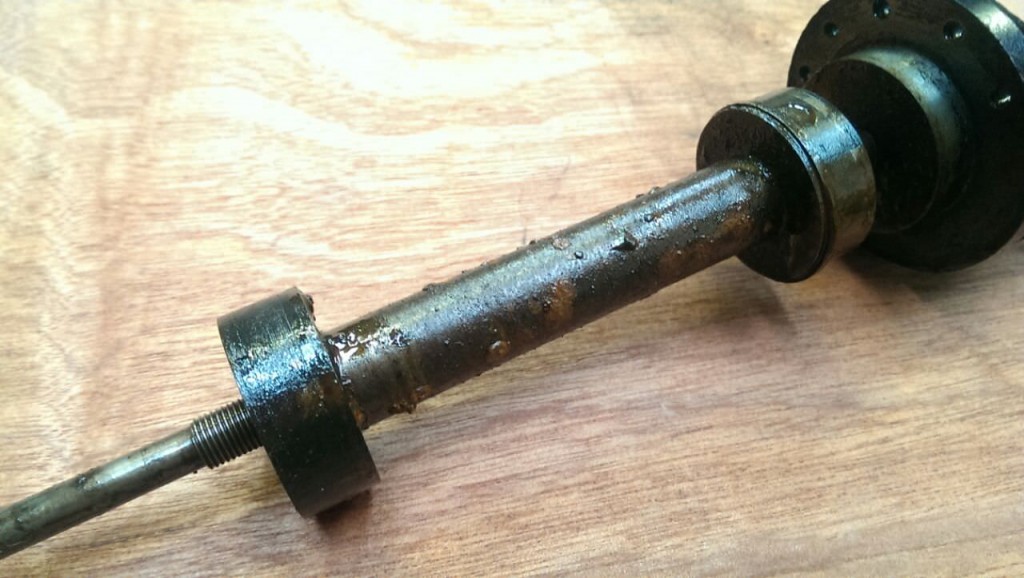
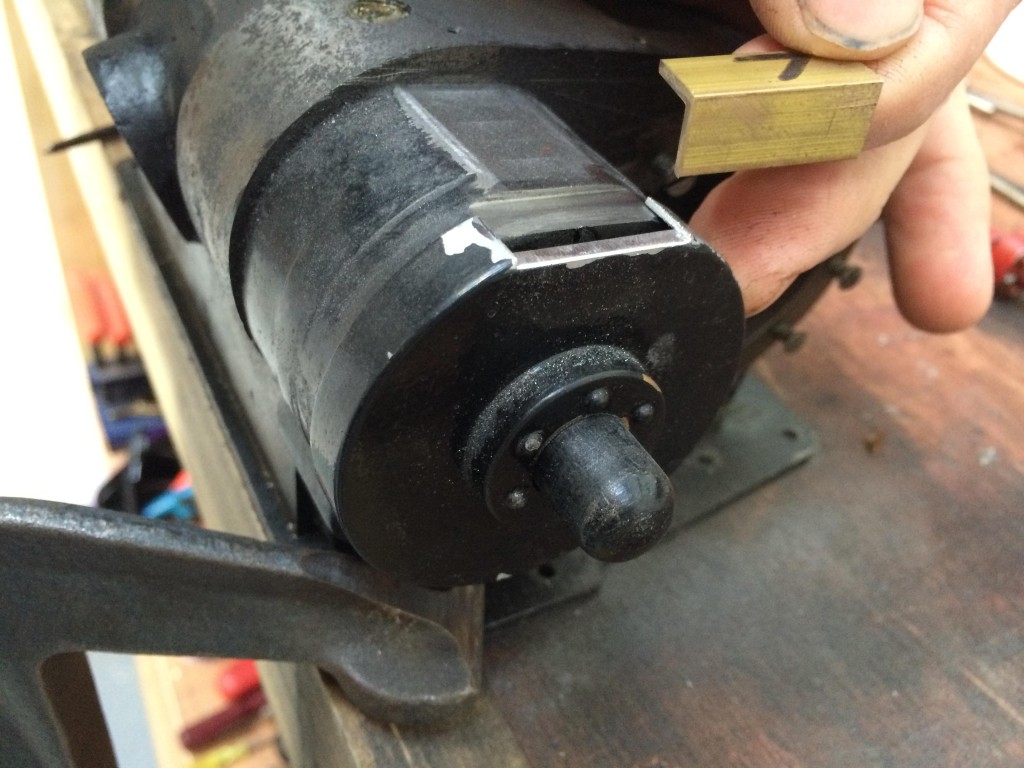
So,.... first things first, the seized valve. What's going on. Below you can see the removed expansion link. At some point when the wheels have been rotated, the die block has been held stationary by the stuck valve and the expansion link has been entirely popped inside out. The good news from a resolution point of view is that upon inspection, the main cylinder lubrication pipe on this side has been stuck in with glue! The result has been a broken seal, and the oil finding it's way to the outside world rather than the pressurised environment in the valve. The un-oiled bobbin has then seized up while the loco has been sitting out of use. A little bit of WD40 and some gentle persuasion saw it's liberation, along with the news that we won't have to make any new rings or do any drastic work up the front. A re-hone of the bores, and a re-work on the oiling set up should see her back to scratch.
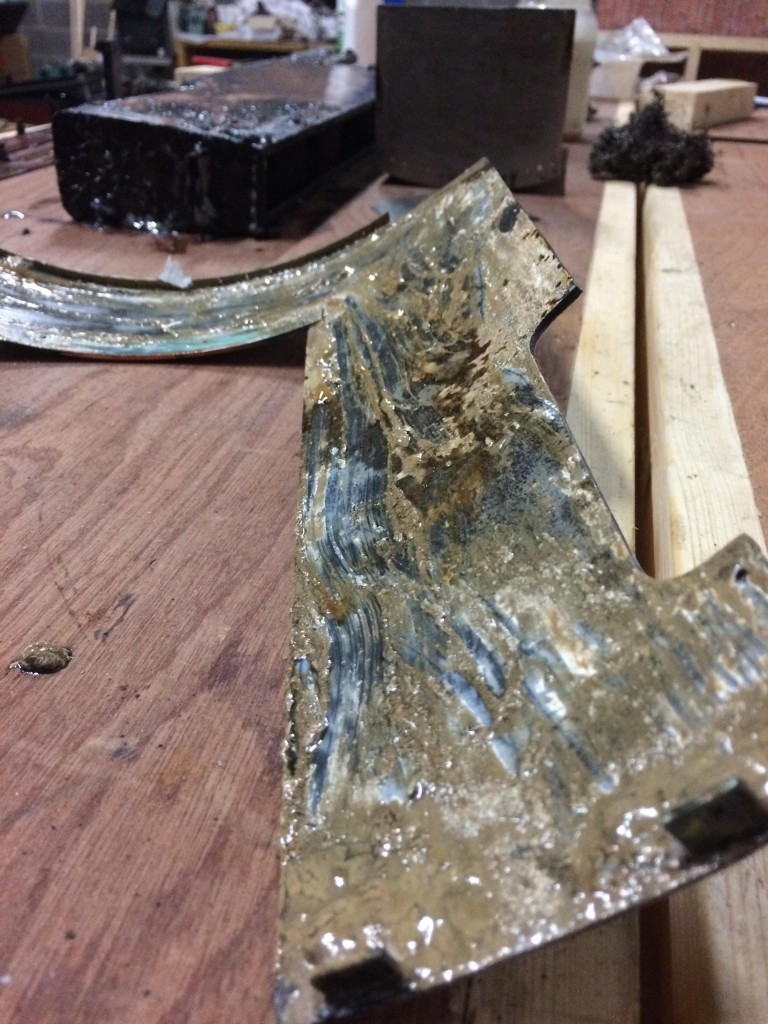
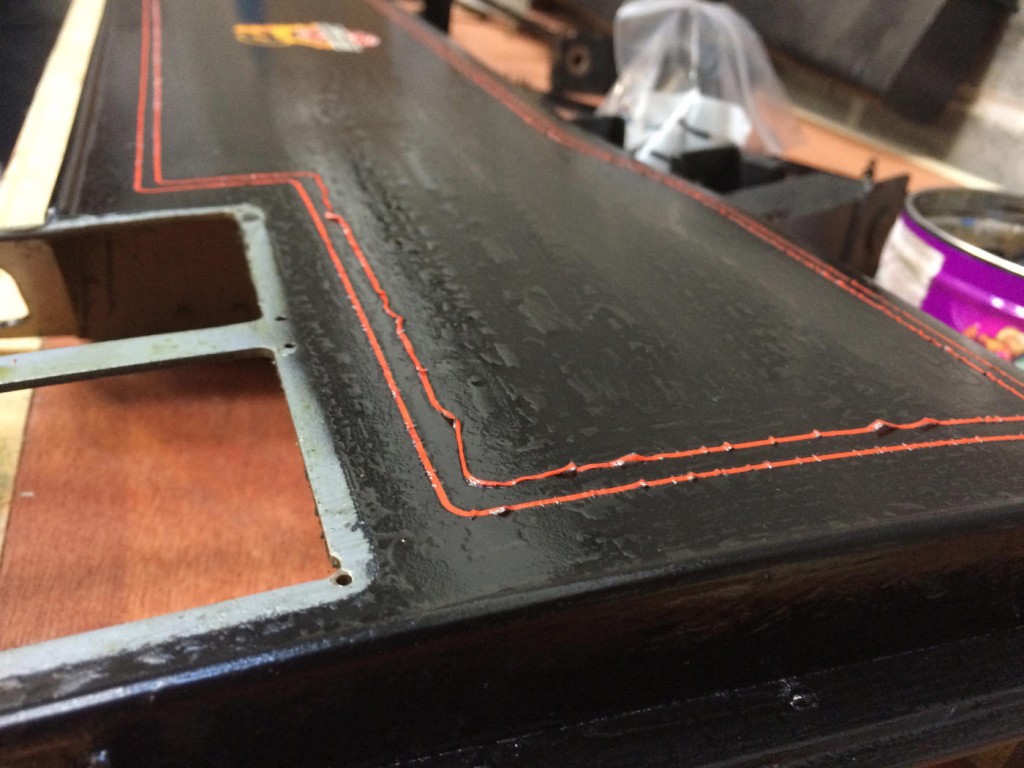
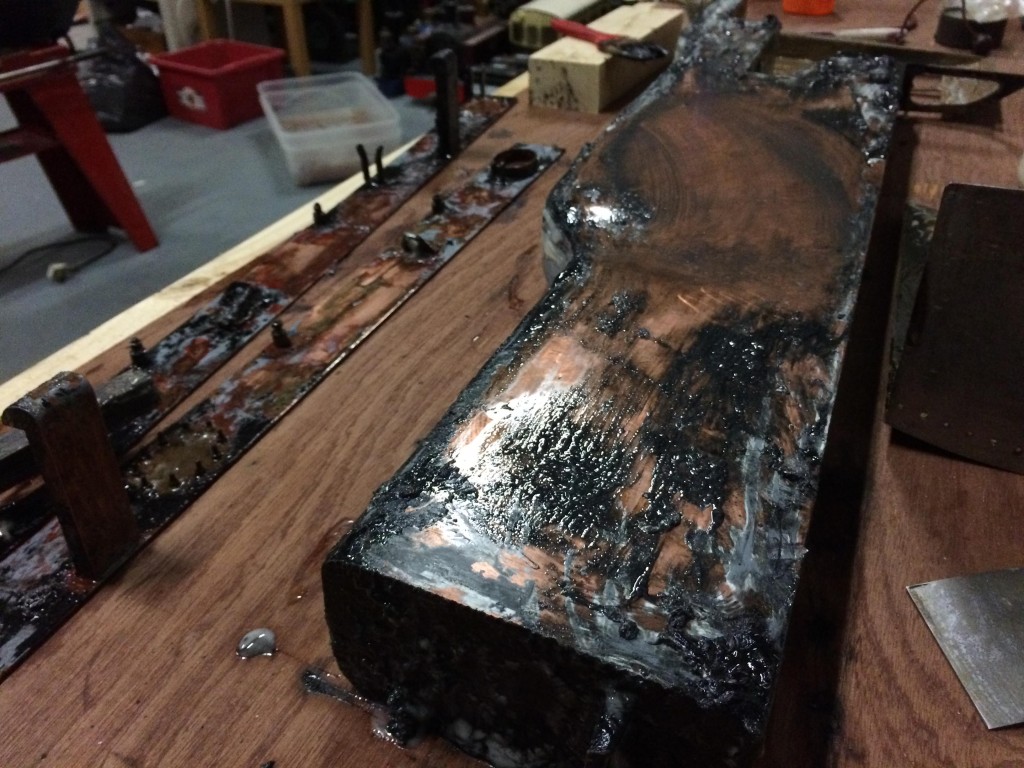
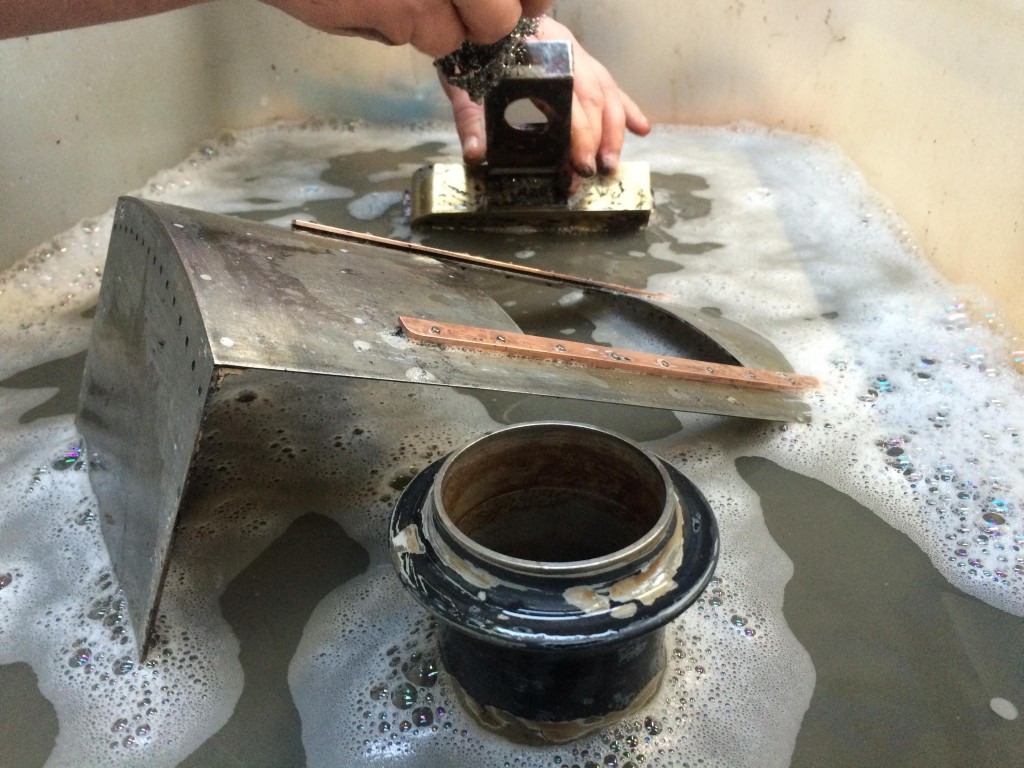
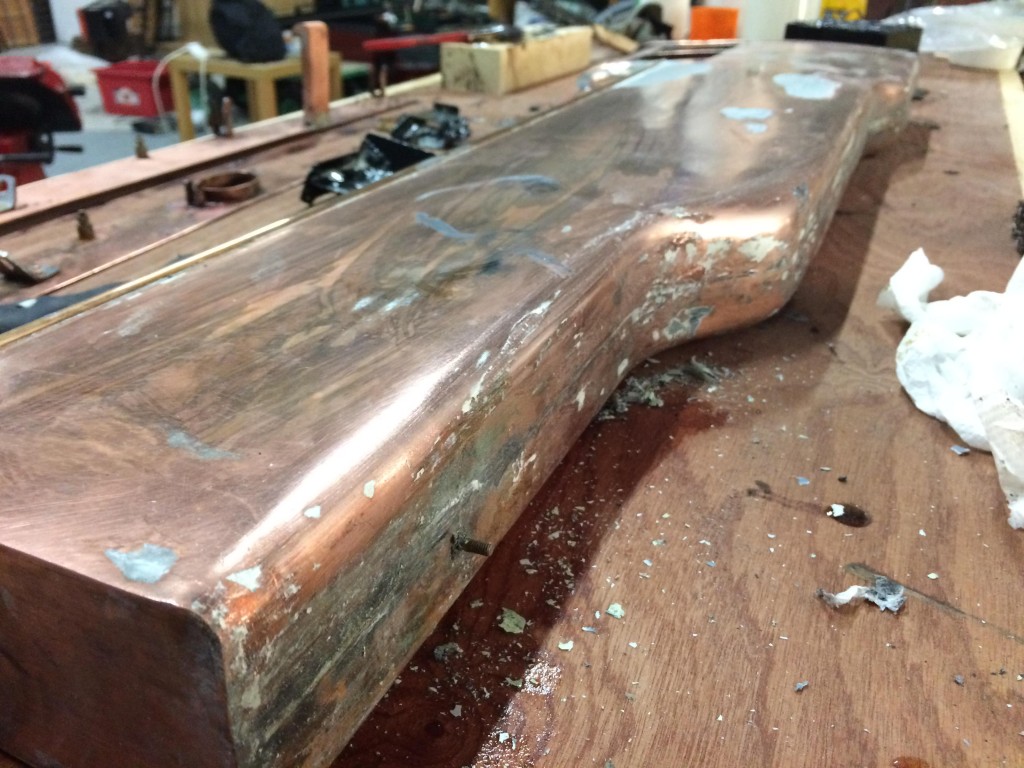
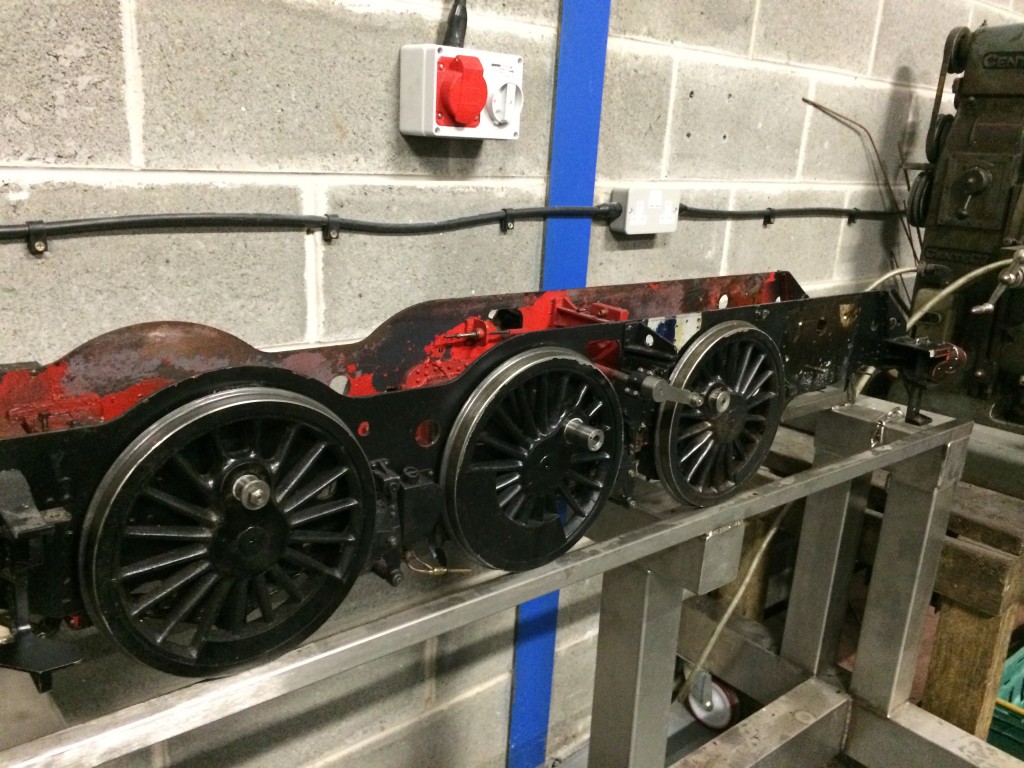
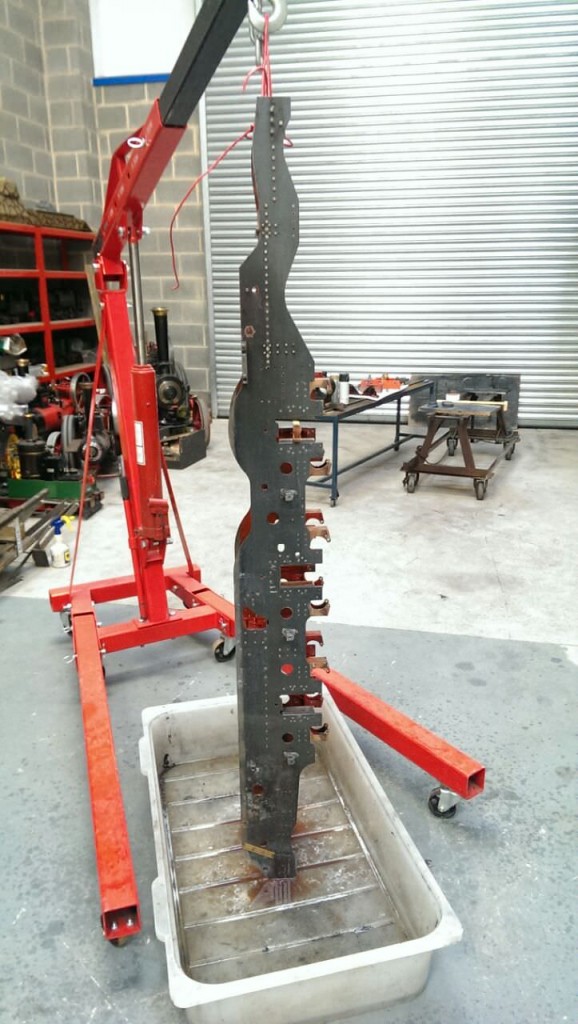
An ongoing job whilst the mechanical side progresses is the stripping off of the existing paint before everything is ready for the bead blaster to prepare the surface for etch primer and paint.


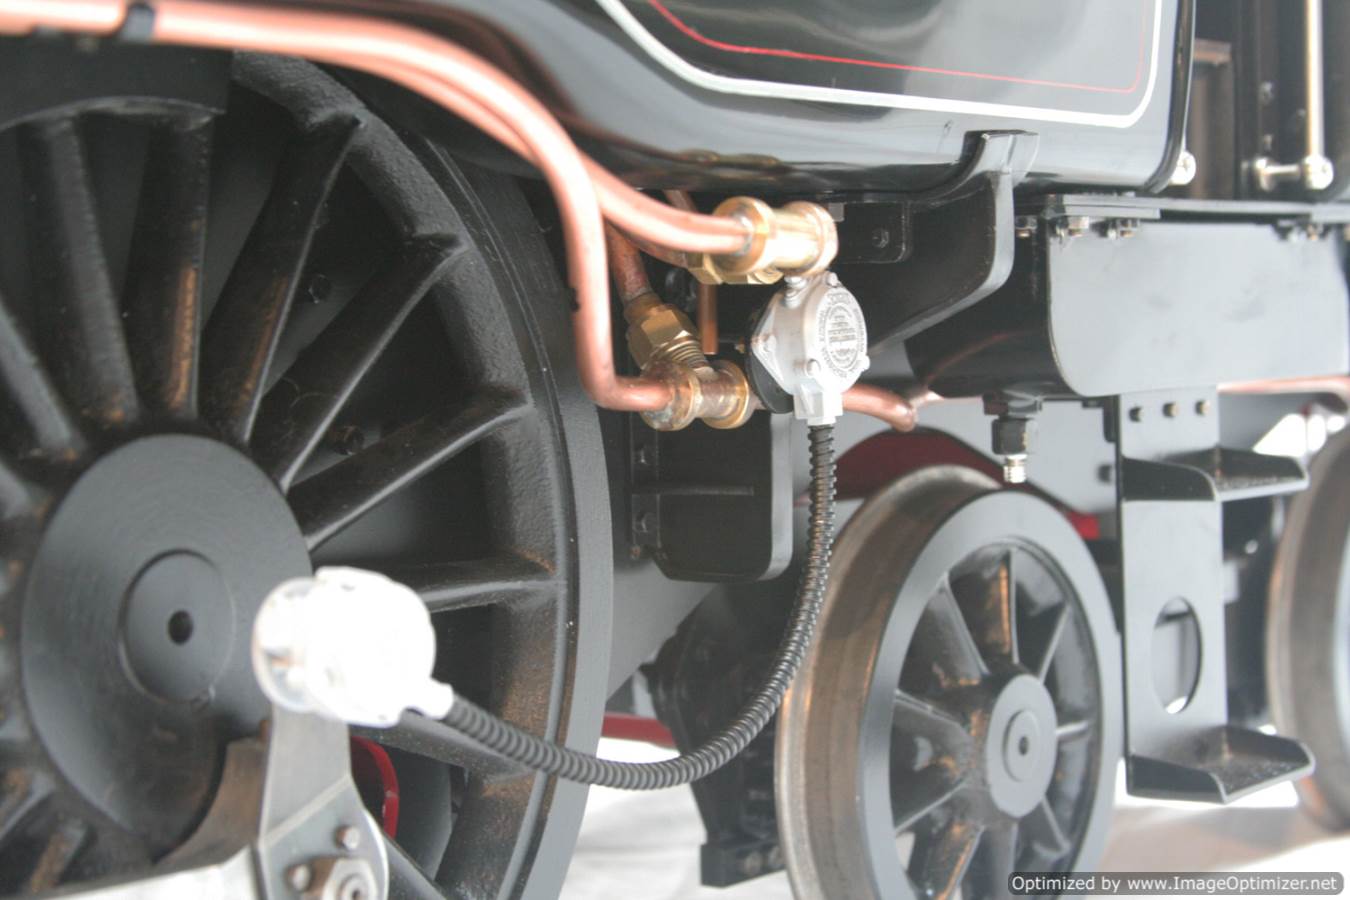
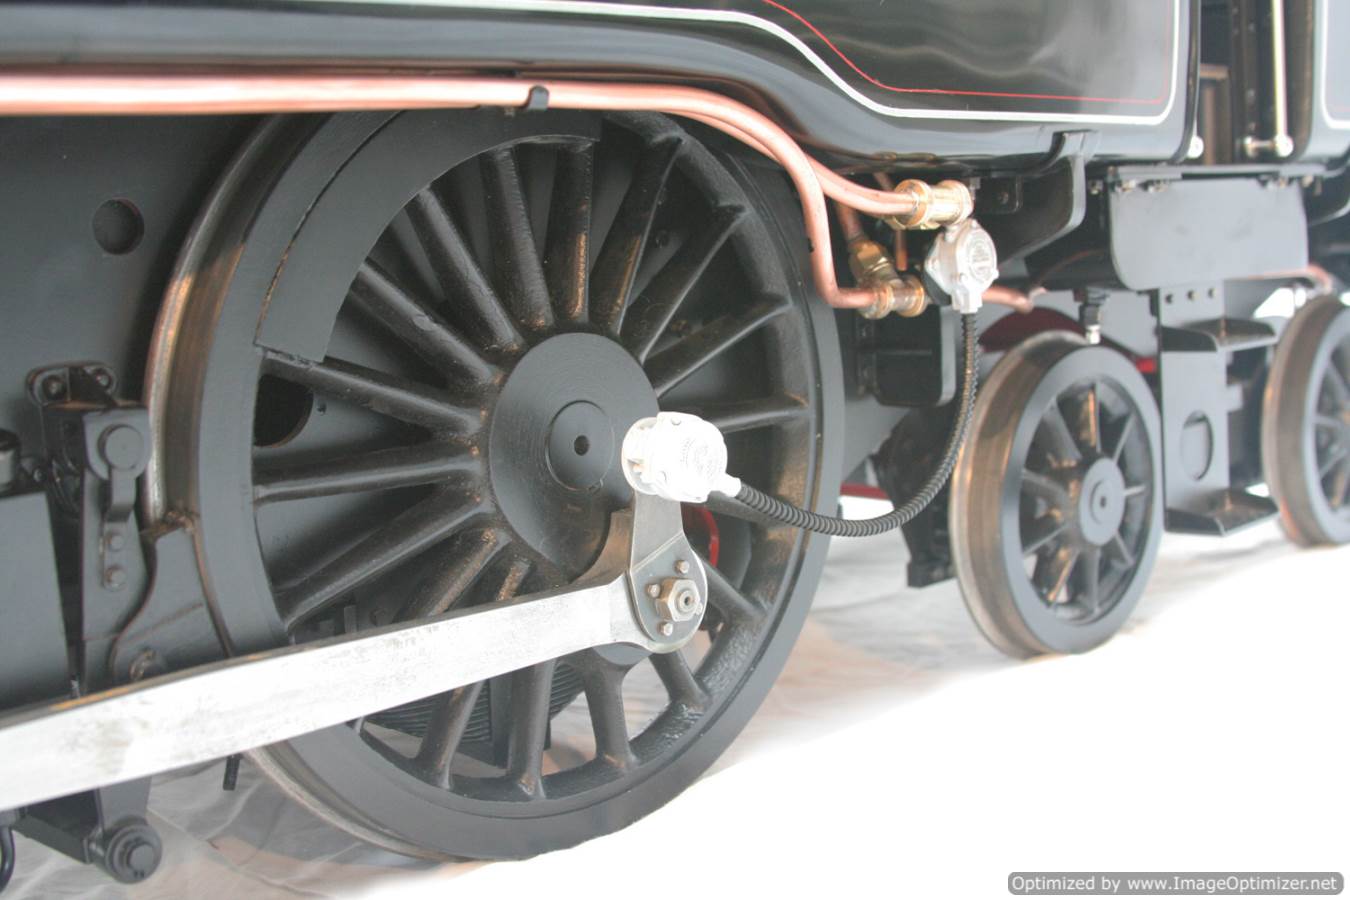
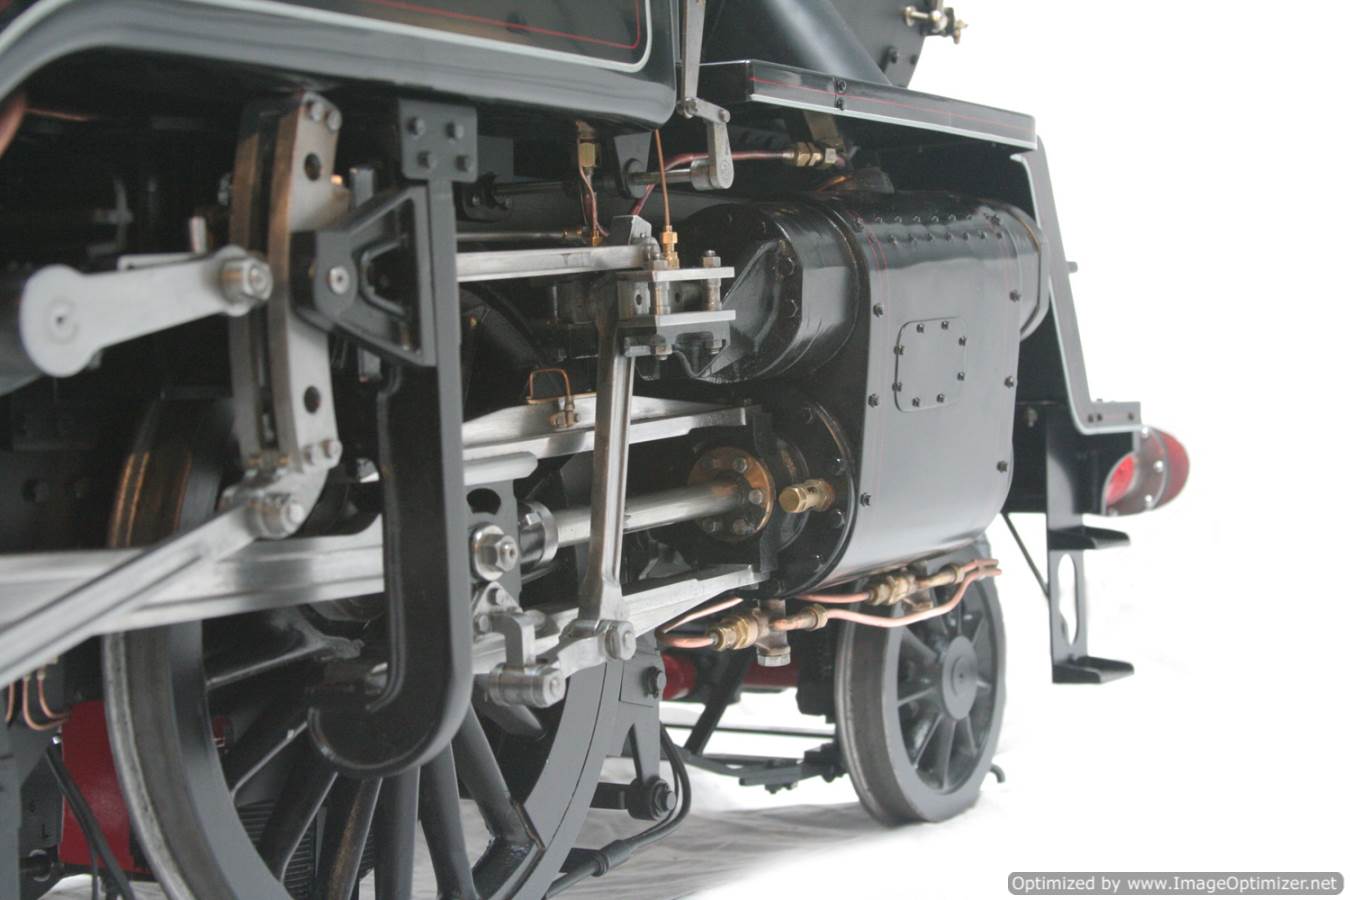
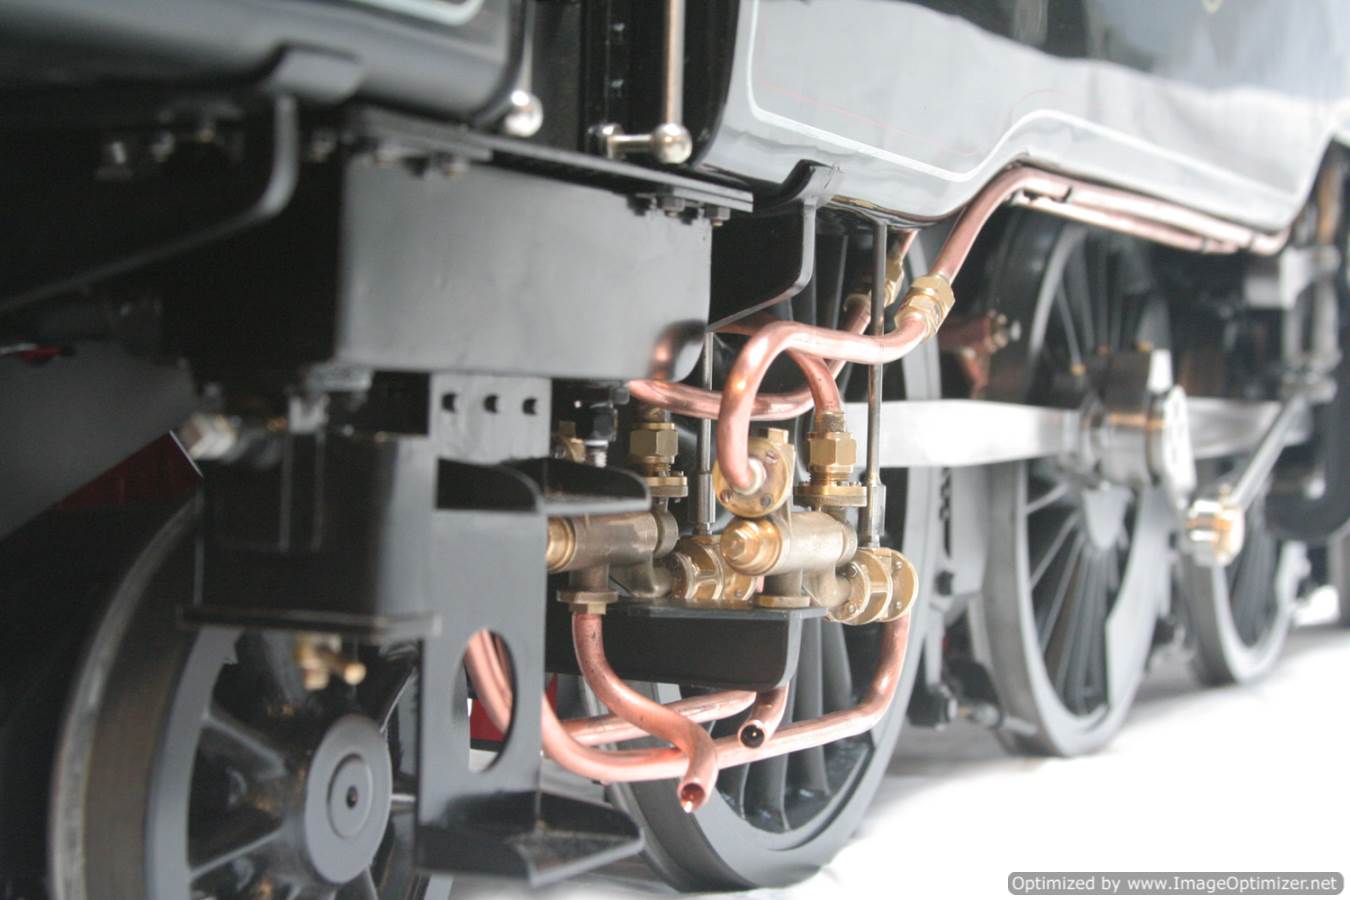
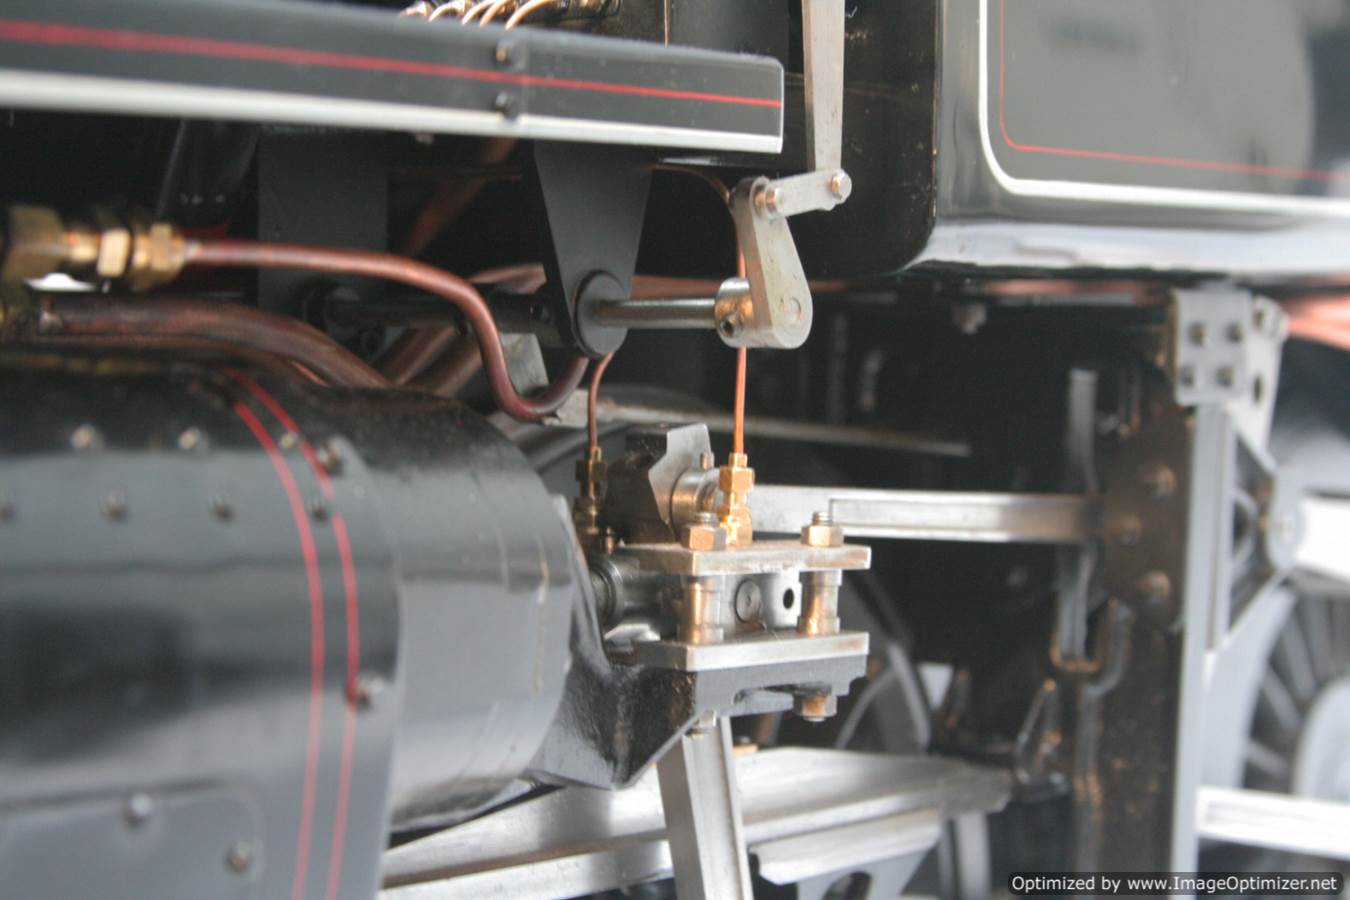
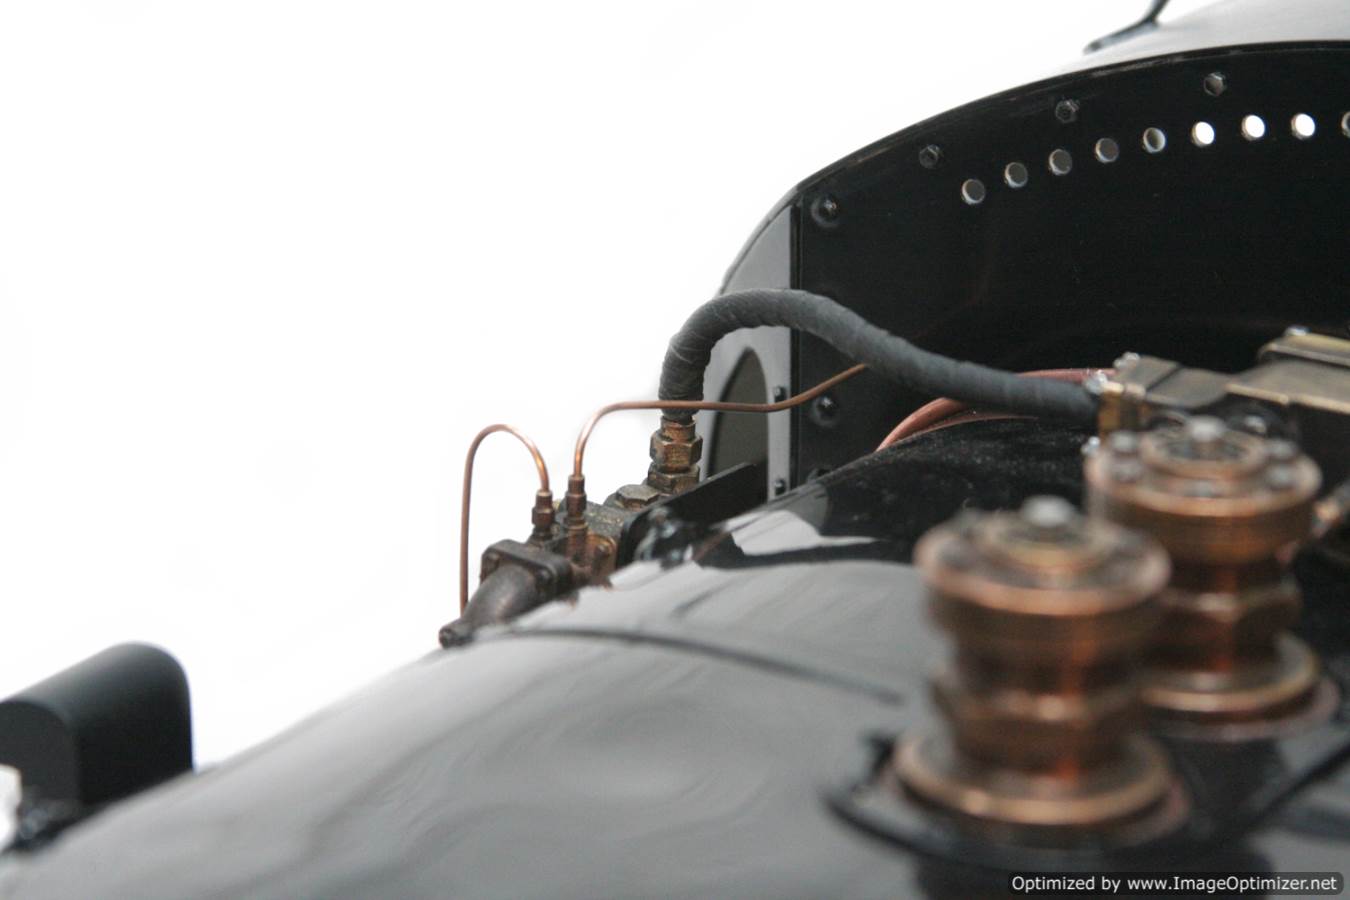
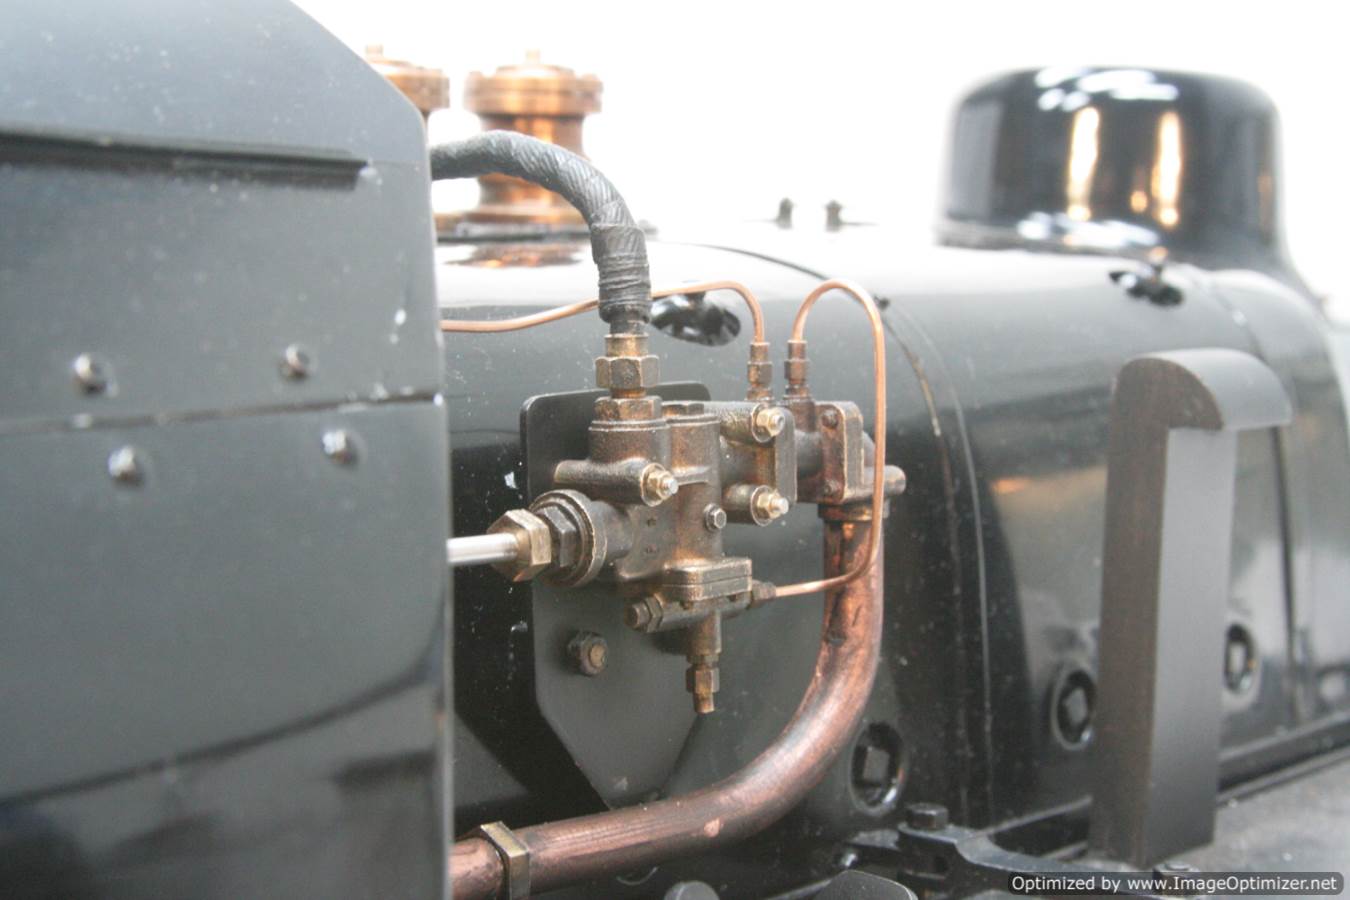
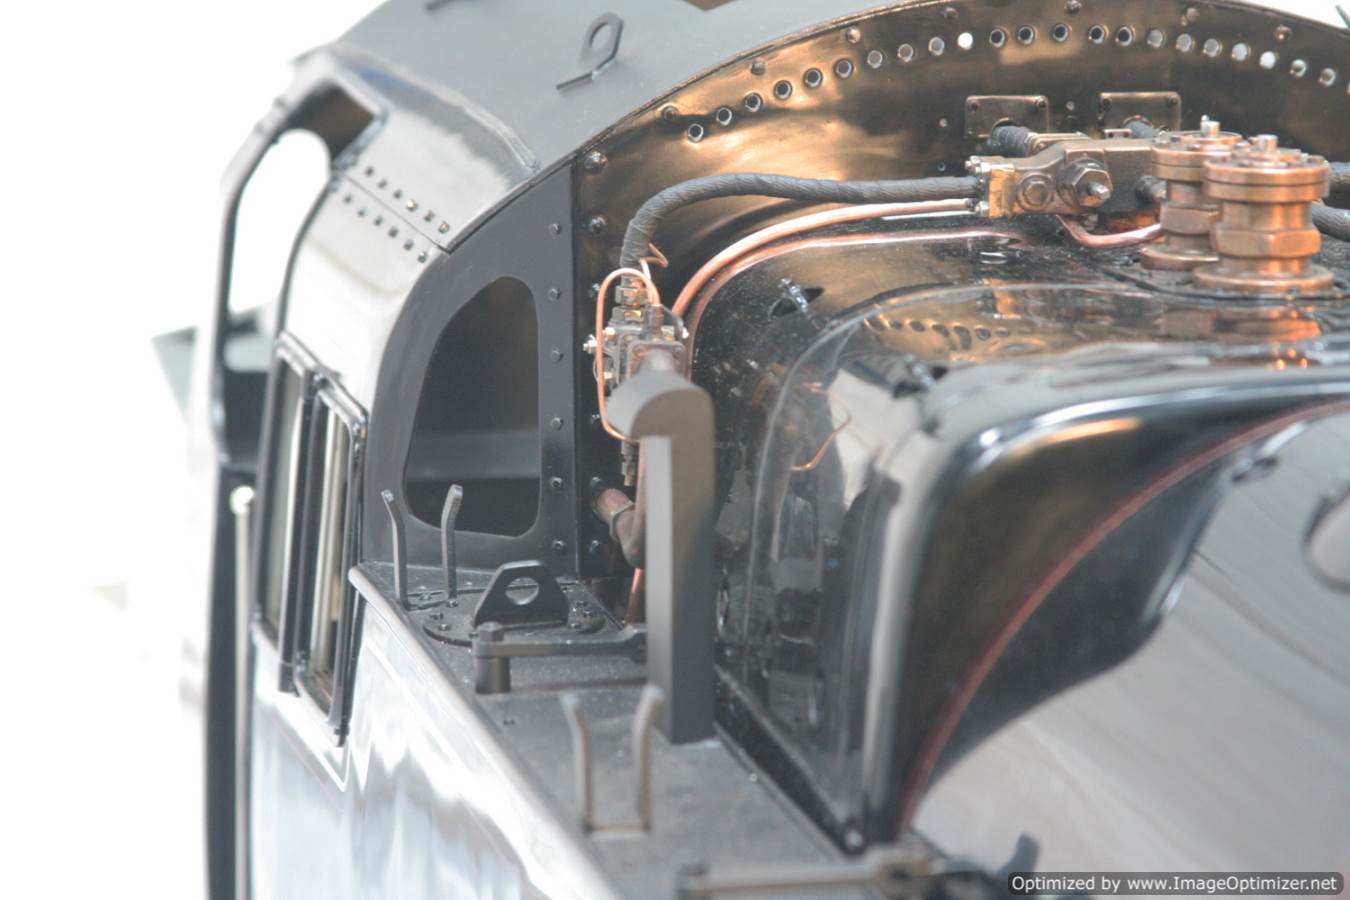
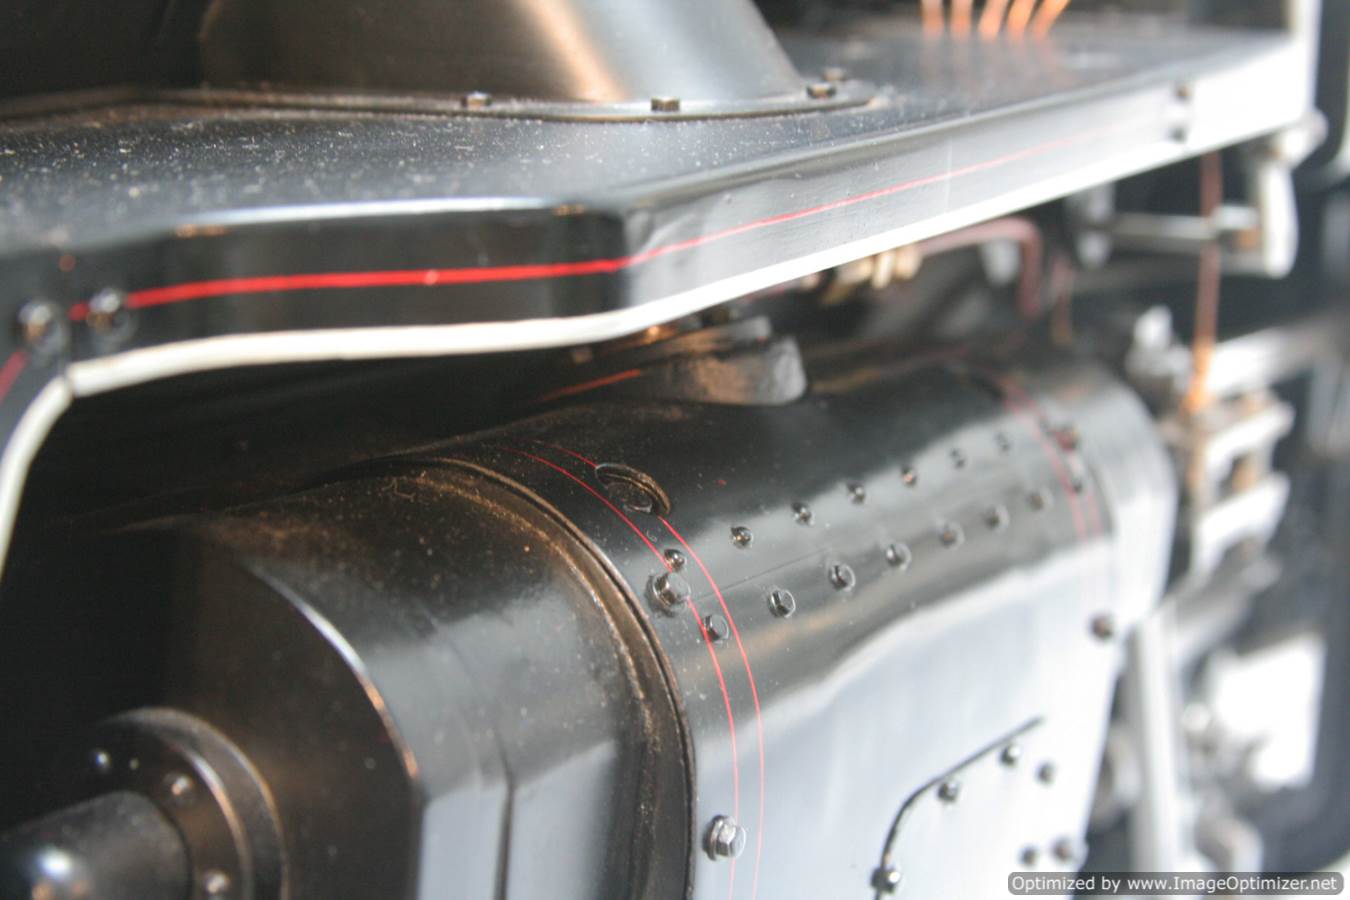
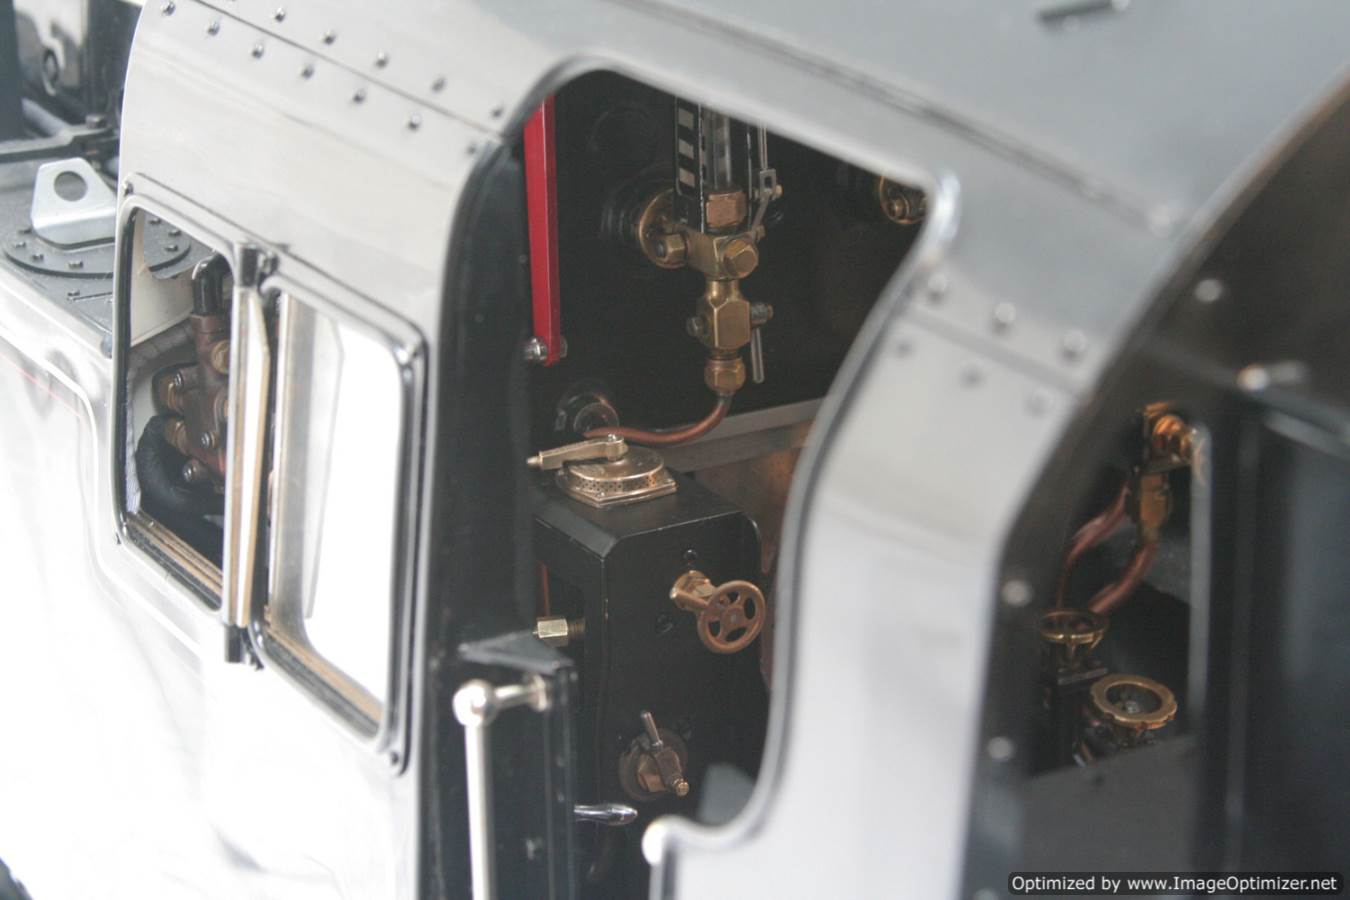
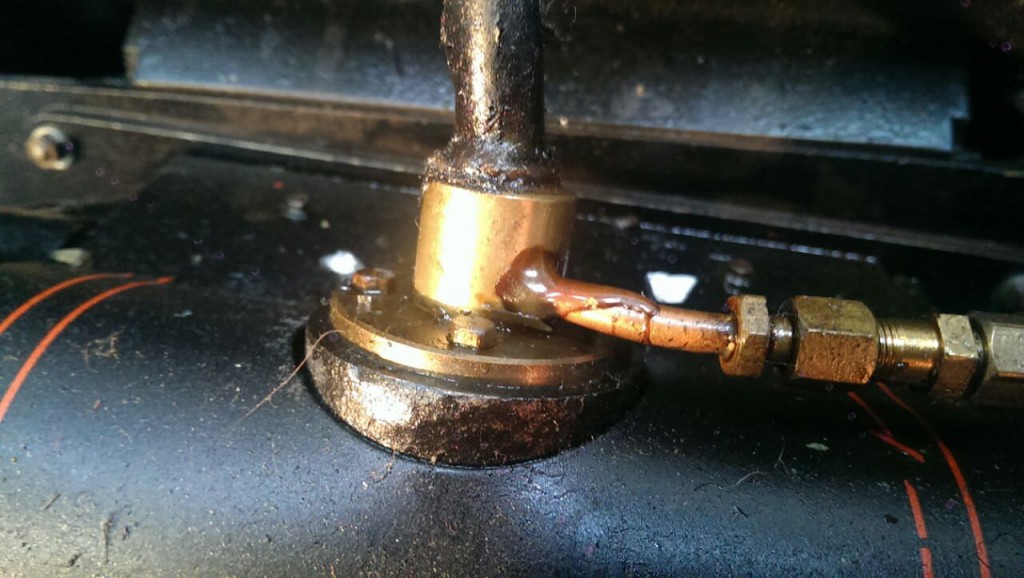
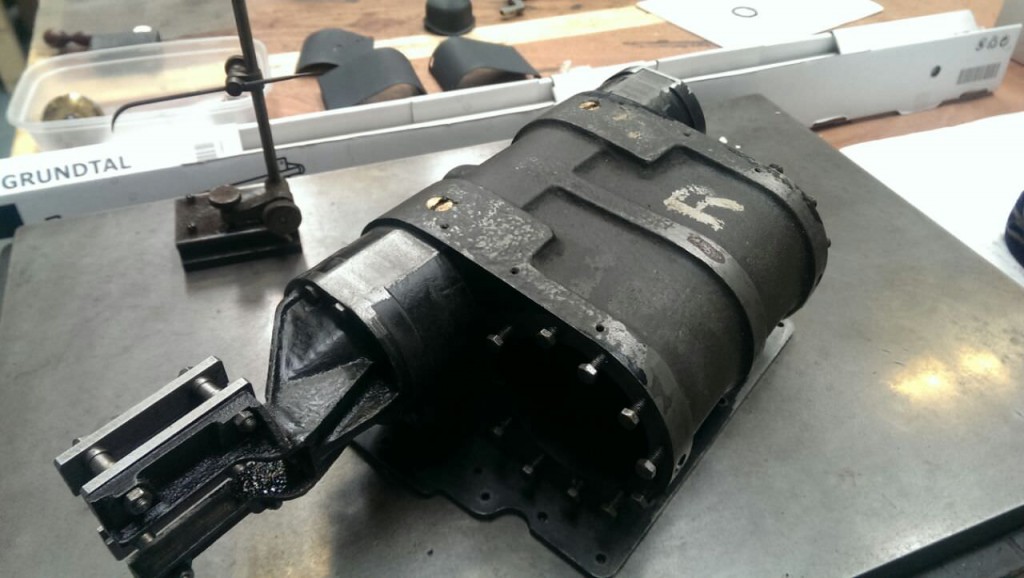
The full strip down continues apace, and a few more bits and bobs have come to light. When we removed the smoke box saddle it was found that there was no positive seal on the exhaust ports, not strictly a major issue, but it has lead to steam and oil being blown around between the frame and saddle. The plan is to machine in a cup to take an o-ring seal. More of an issue is that the main steam pipes into the valves were similarly just a face to face seal. The feed pipe smoothly pushing into a bushed cup, and then being glued in place. It will be either silver soldered or threaded when it goes back together to create a better mechanical seal.
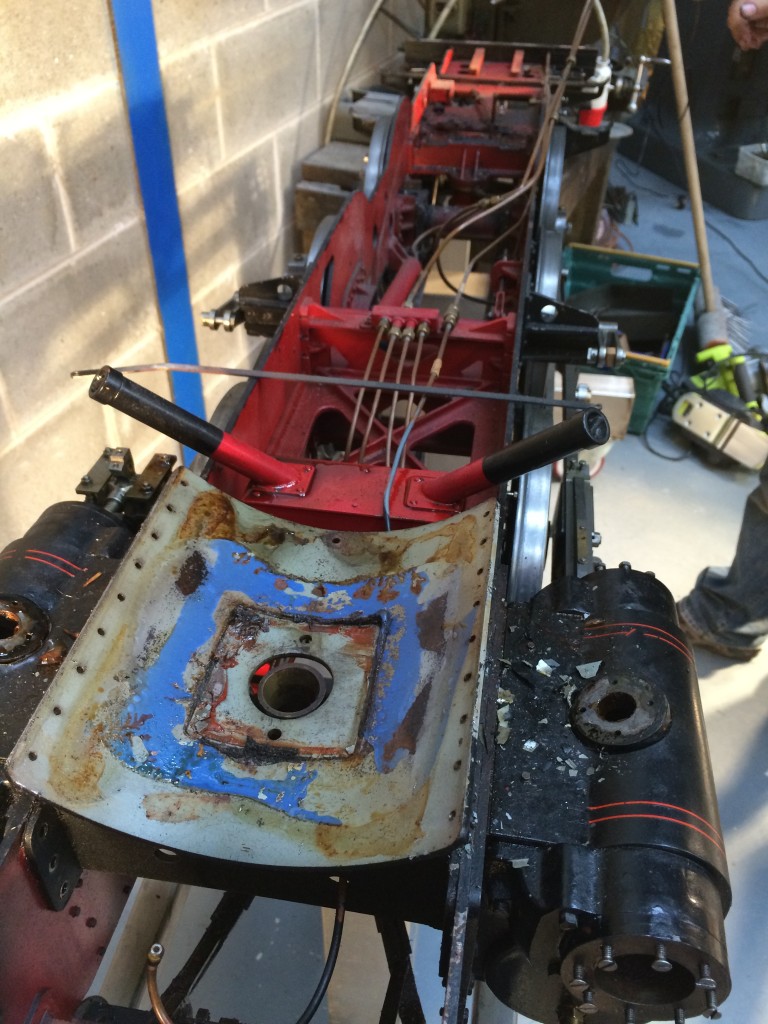

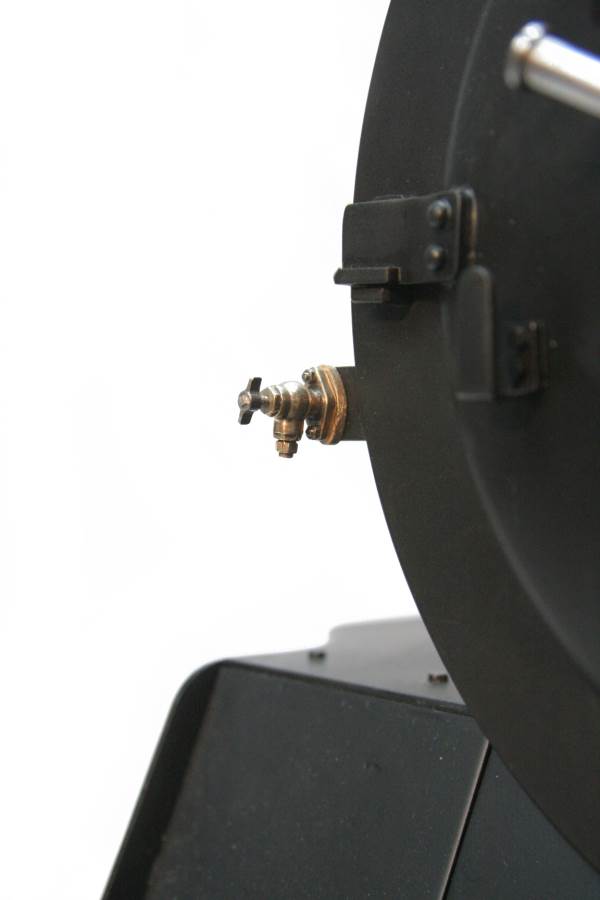
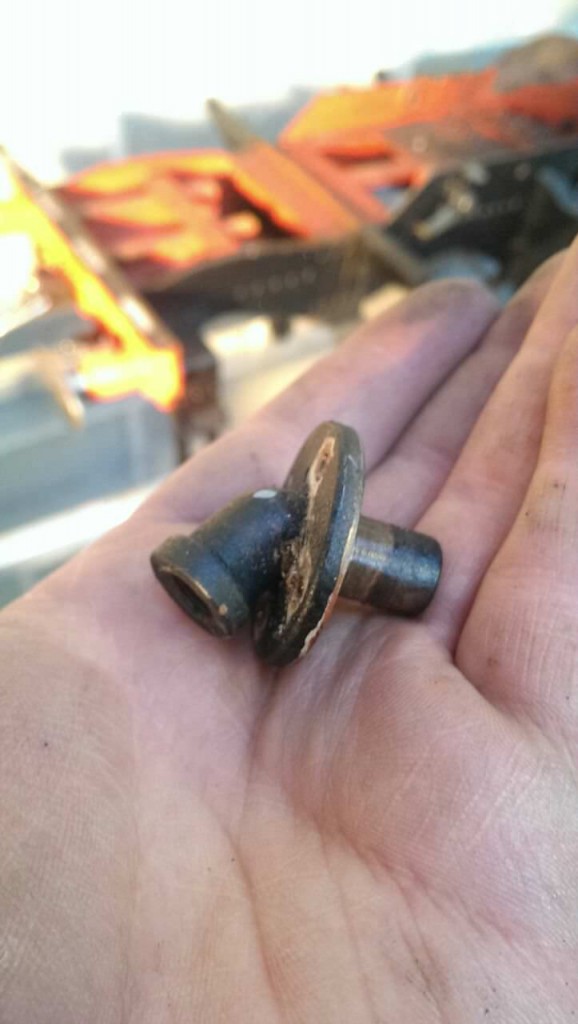
We also spotted the tell tale signs of the motion hitting the blow down valve. Probably something that has been happening in the corners when the rear axle is being pushed over bringing the two into contact. It will have to be tweaked a little before it goes back together, presumably by just skimming a little off the blow down, although part of the brief is to reduce the side play in the driving wheels a little and re-make any worn bearing that present themselves, which may indeed be all that it really needs.
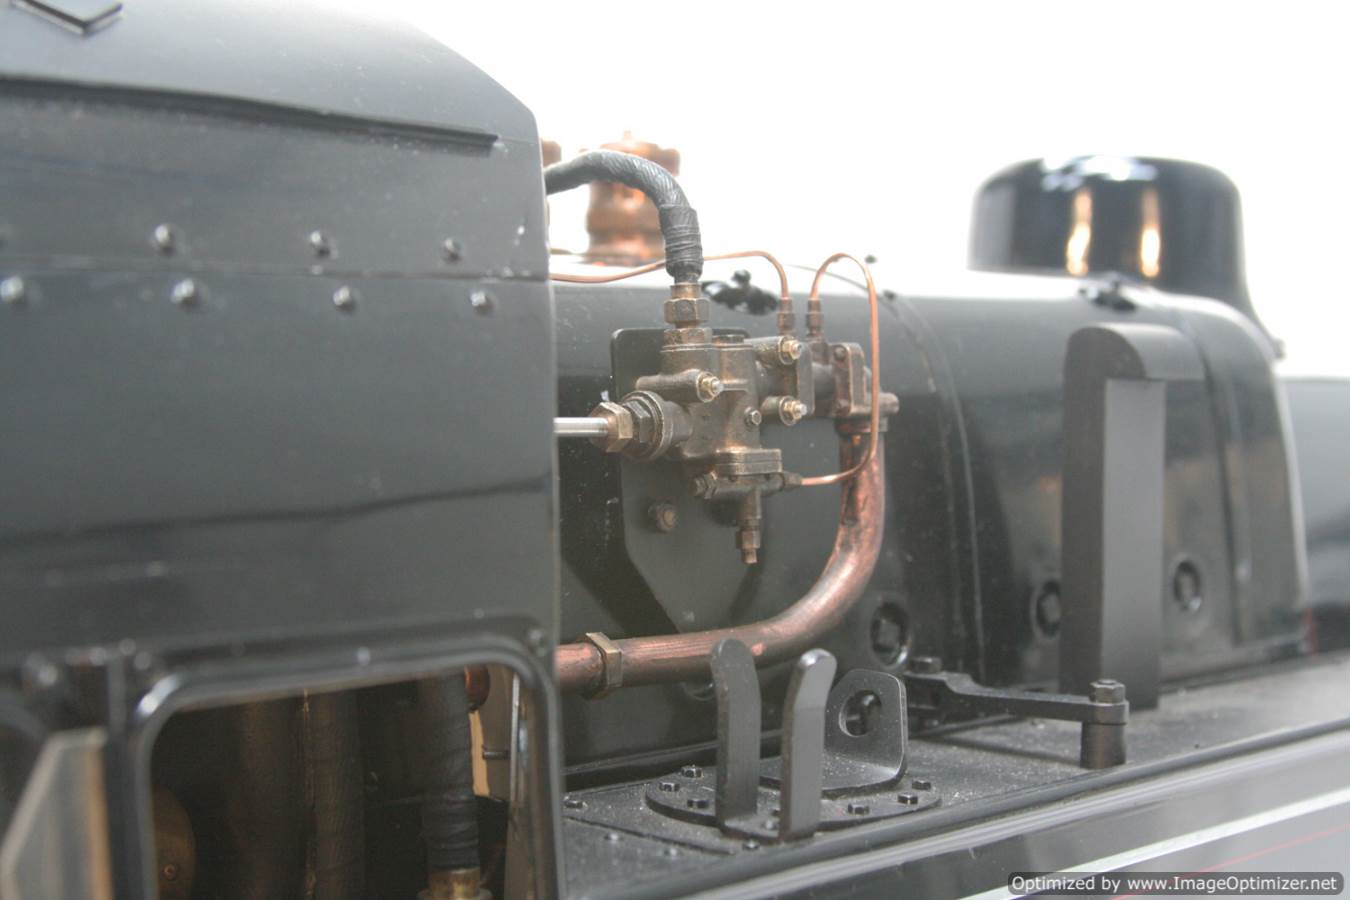
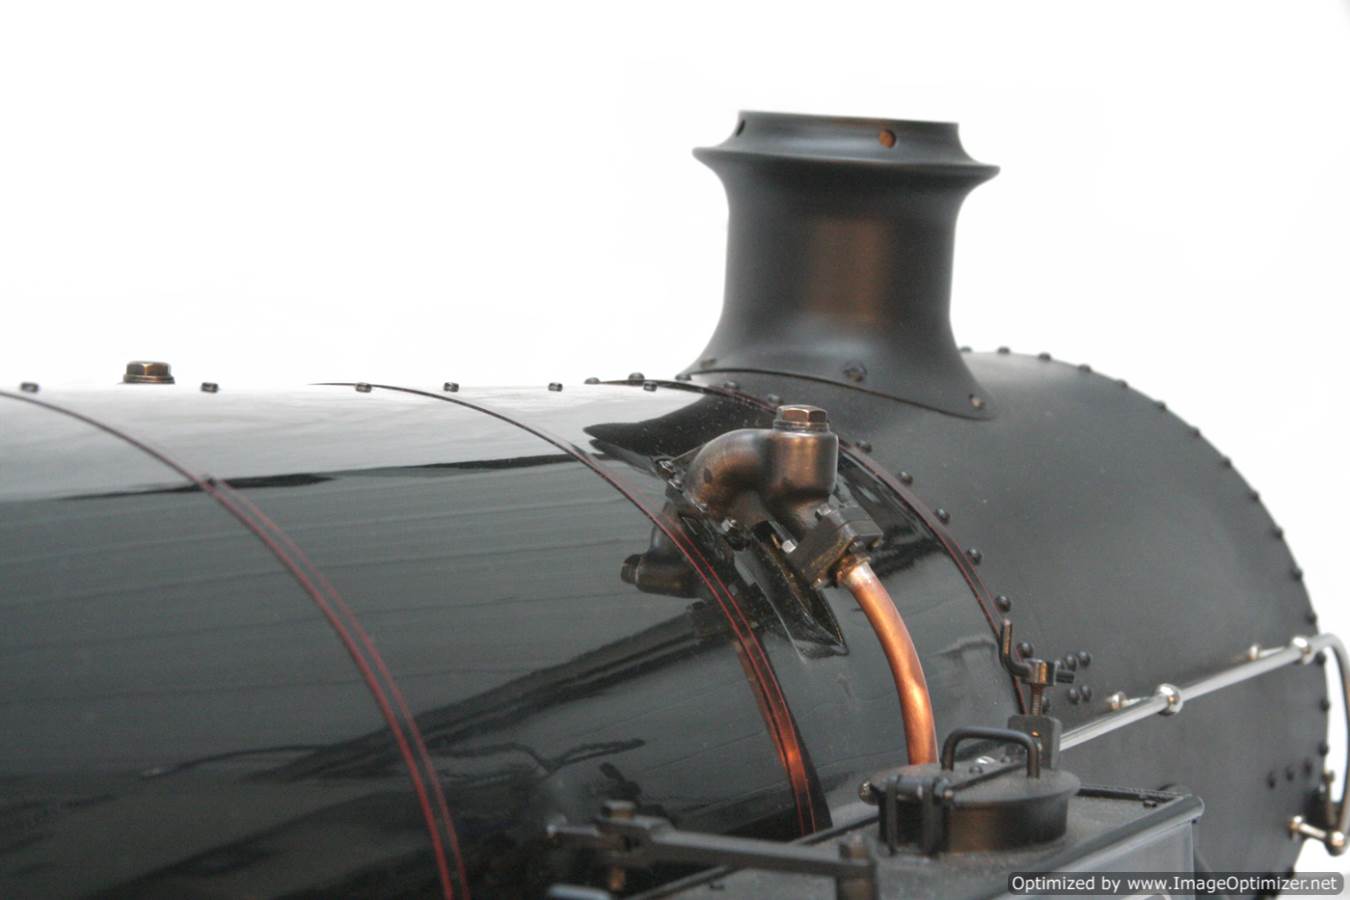
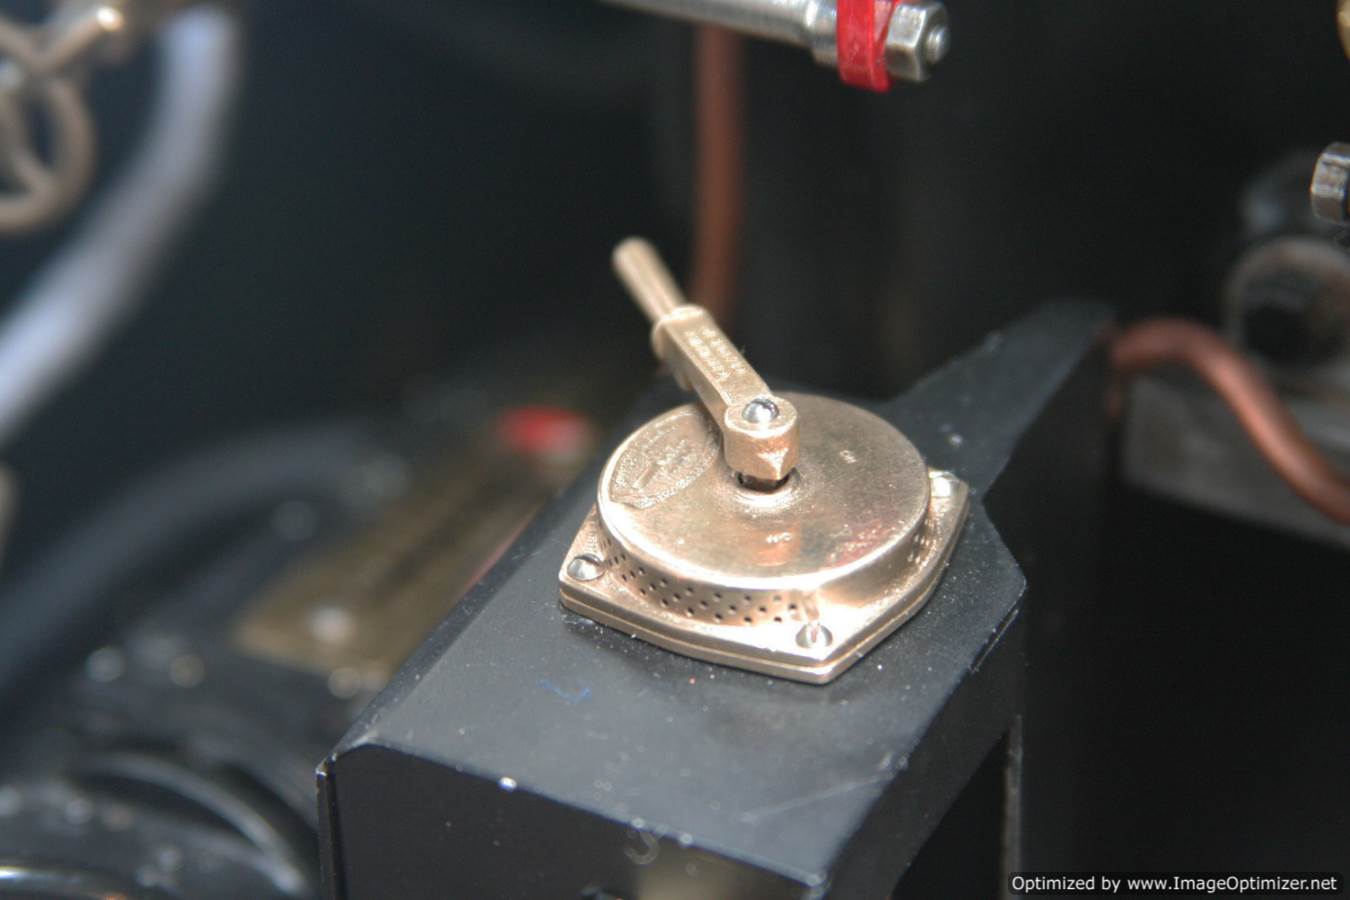
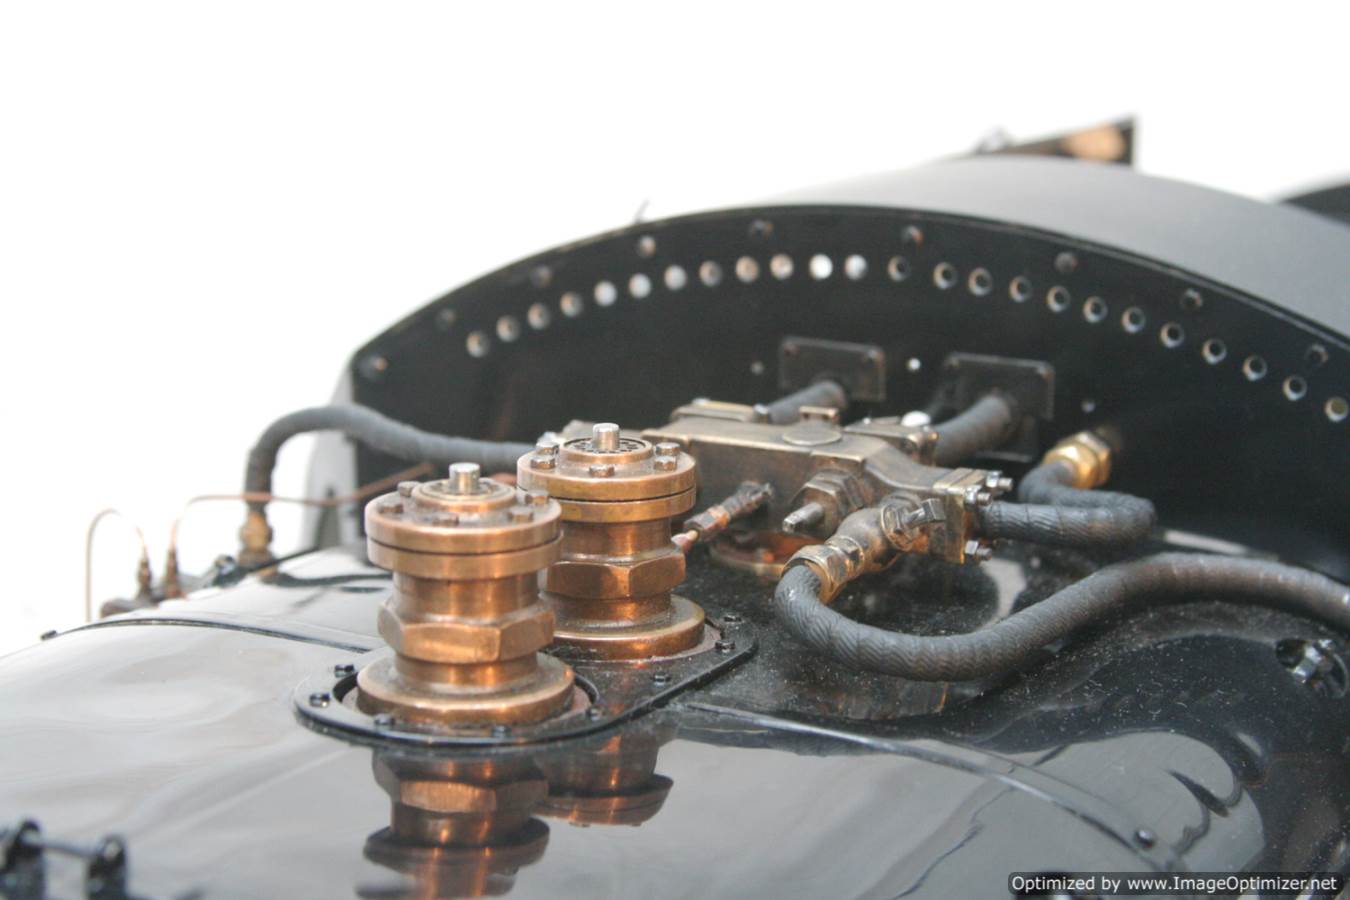
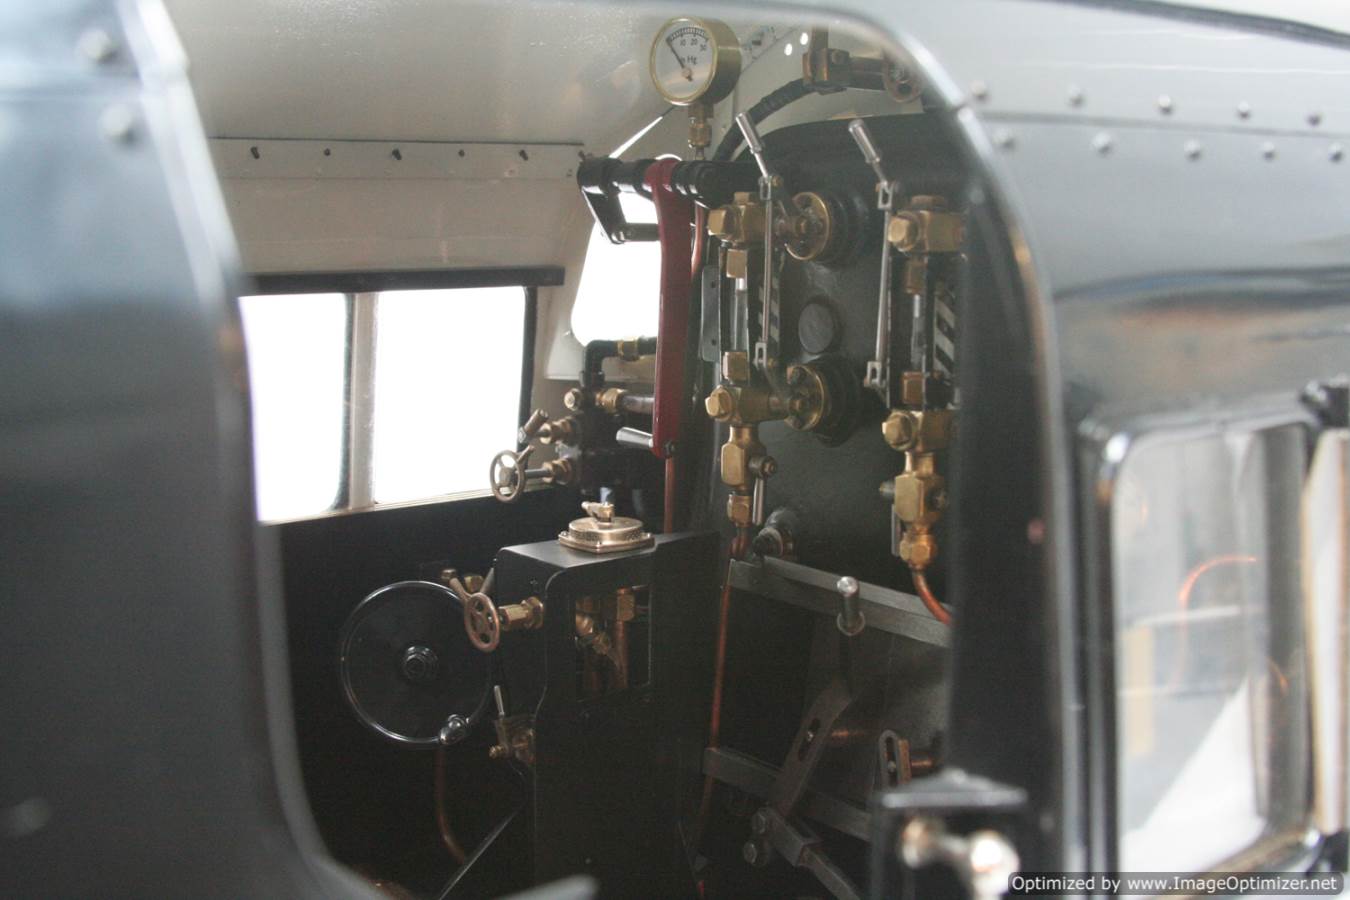
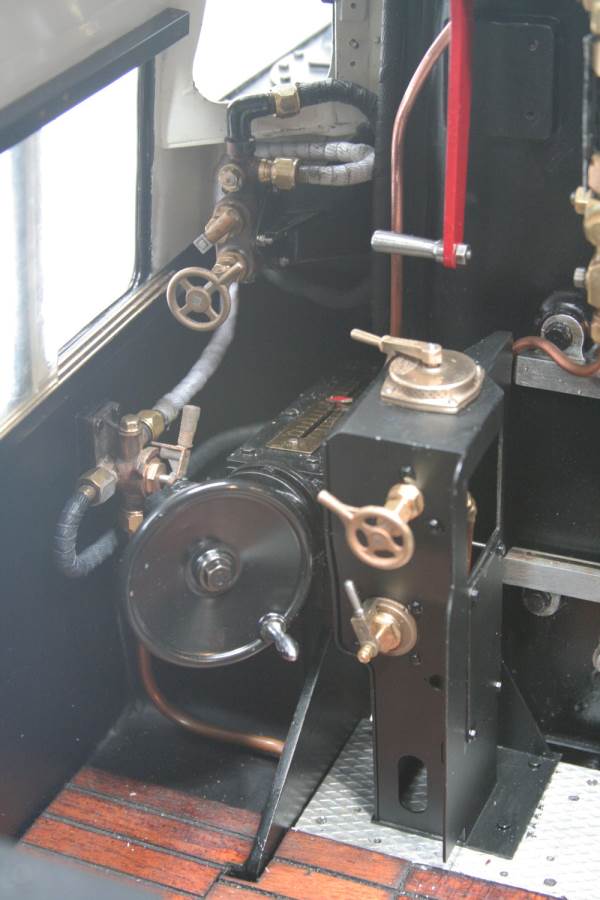
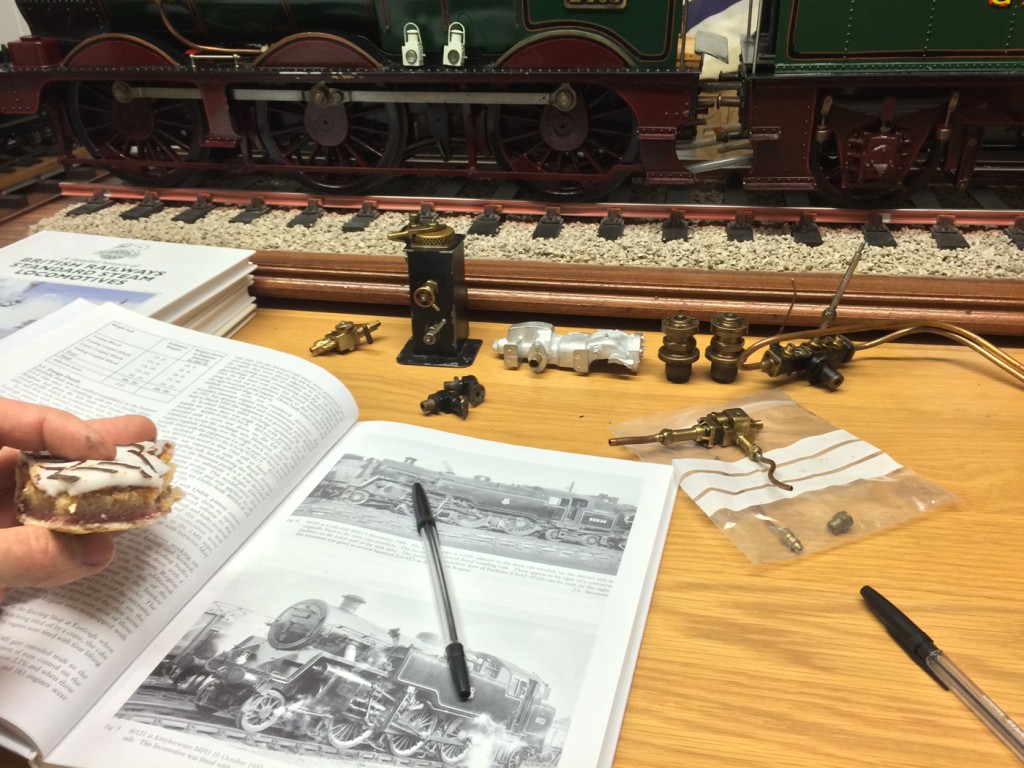
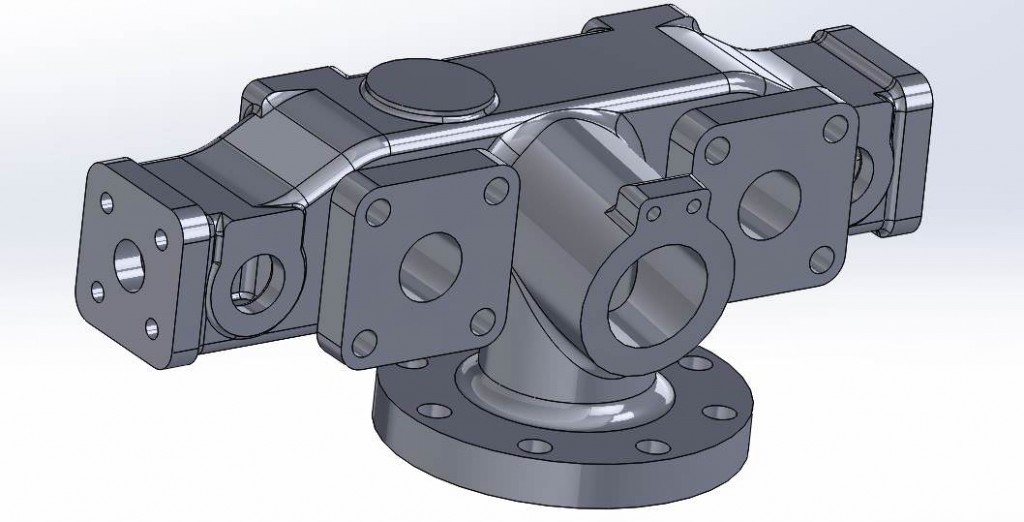
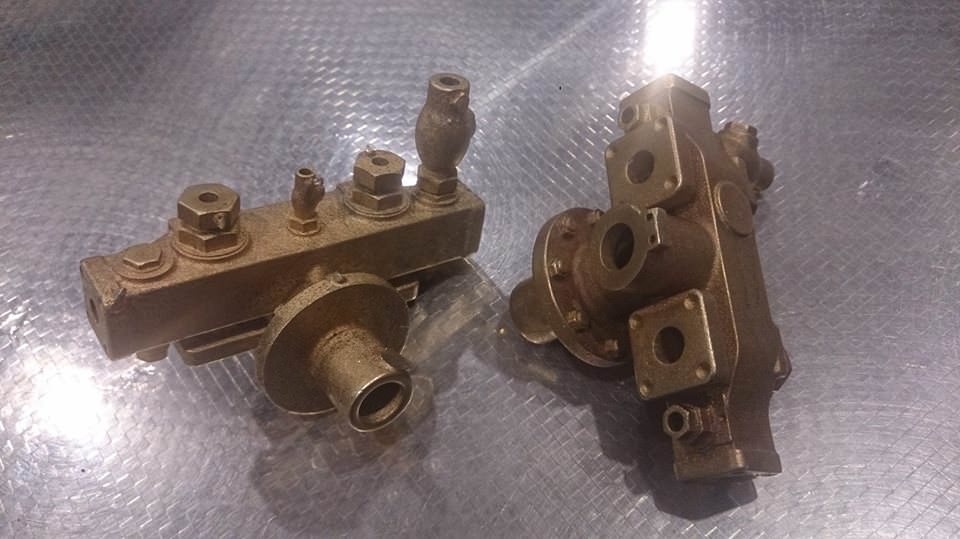
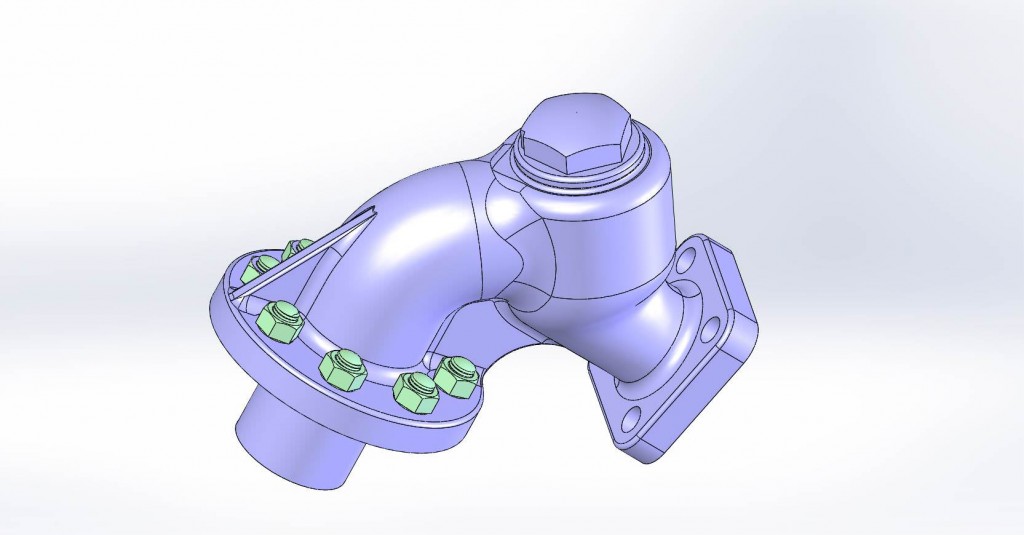
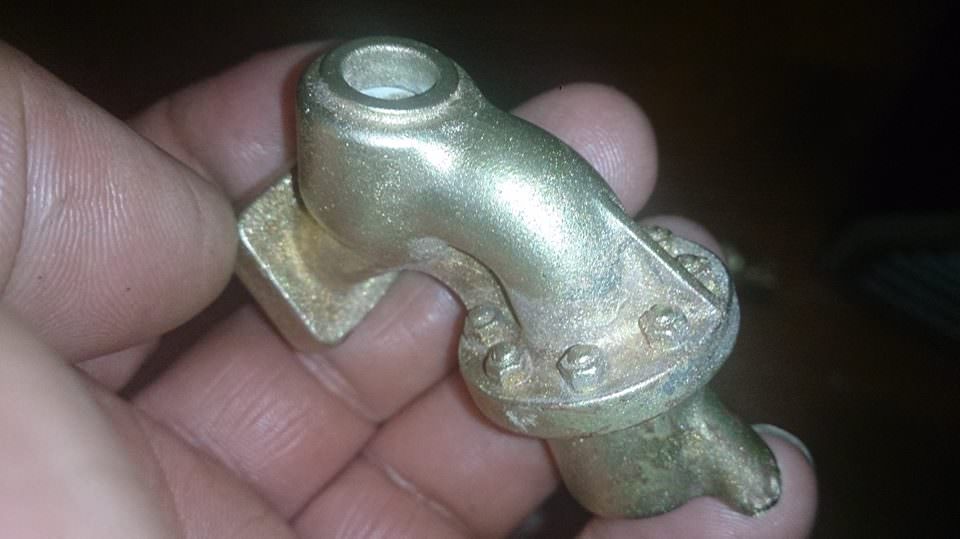
Lastly for this little update,.... it's snowing! so we've taken the opportunity to get on top of some of the CAD work this project needs. Our friends Adam and Mike have been busy creating the drawings for the new top feeds and manifold, that Mike will print off on his lovely wax-jet printer, to then be investment cast in gun metal before machining up. John is progressing a few detailing additions to re-work the reverser assembly, the decision having been taken to use the bones of the existing one as a basis, but add and re-machine various bits, including a new set of correctly aligned bevel gears. Should be an interesting little sub project in it's own right!

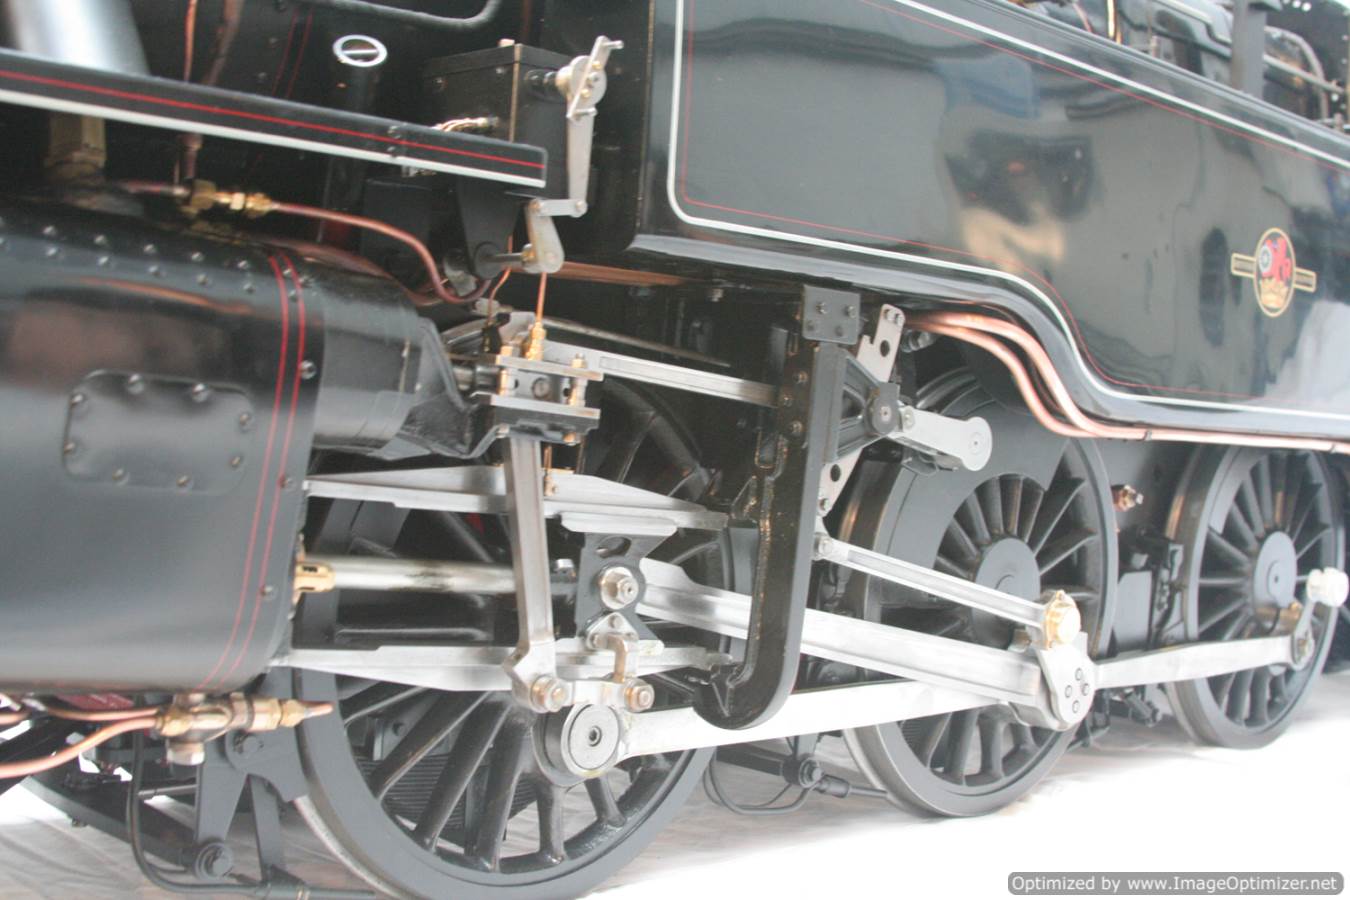
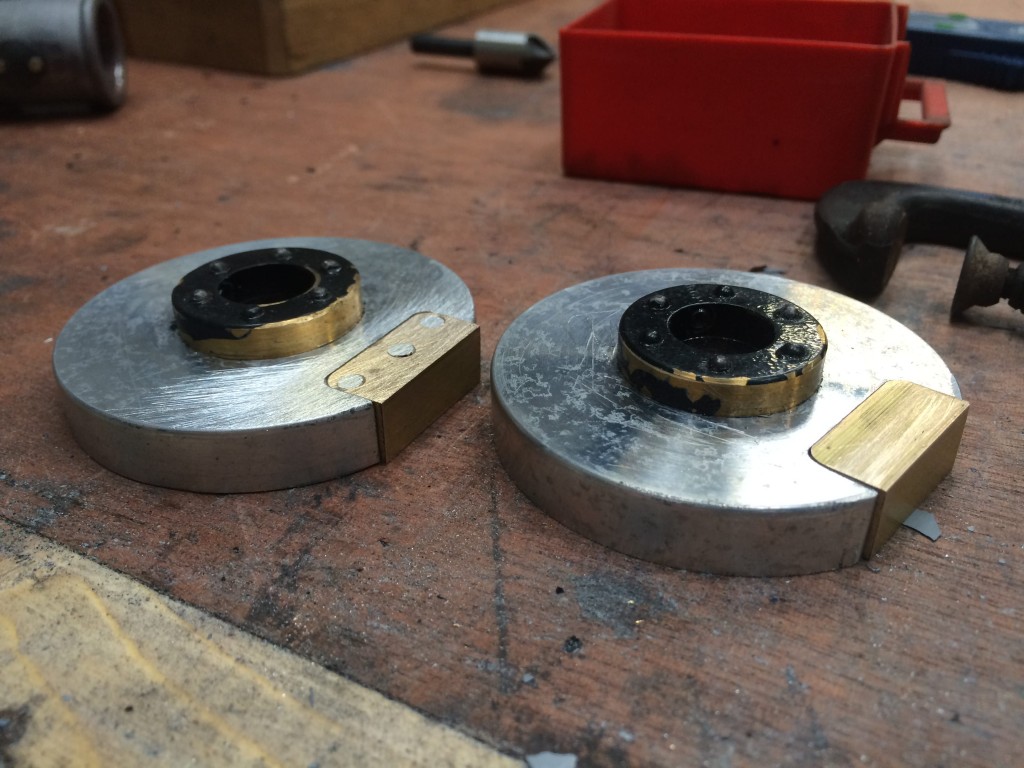
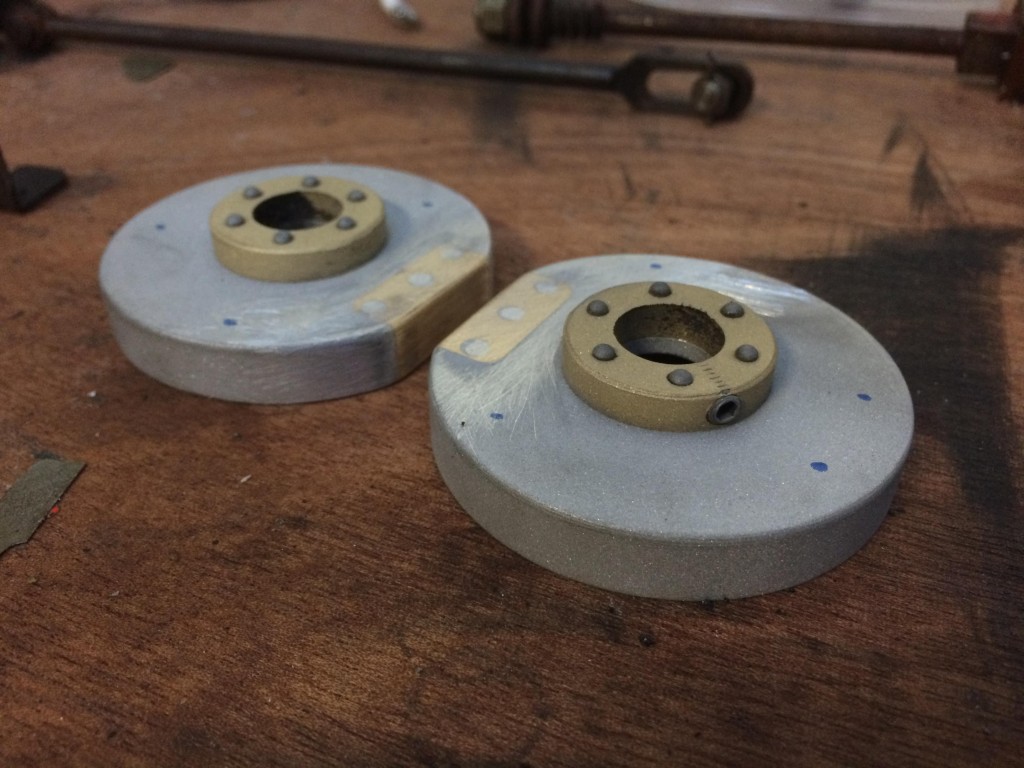
Next up, machining a new set of expansion links to replace the bent one from the model. The design of the ones on the model was definitely on the flimsy side. As you can see from the picture at the top of the page, they were fabricated from four individual layers,.... which is fine enough, but the layers were only joined to each other at the ends, thus leaving the entire thin link walls essentially unsupported. We toyed with the idea of straightening the bent one, and then silver soldering the laminates together, but ultimately came down on the side of machining new from scratch. A little clip of the process on the Bridgeport is below.
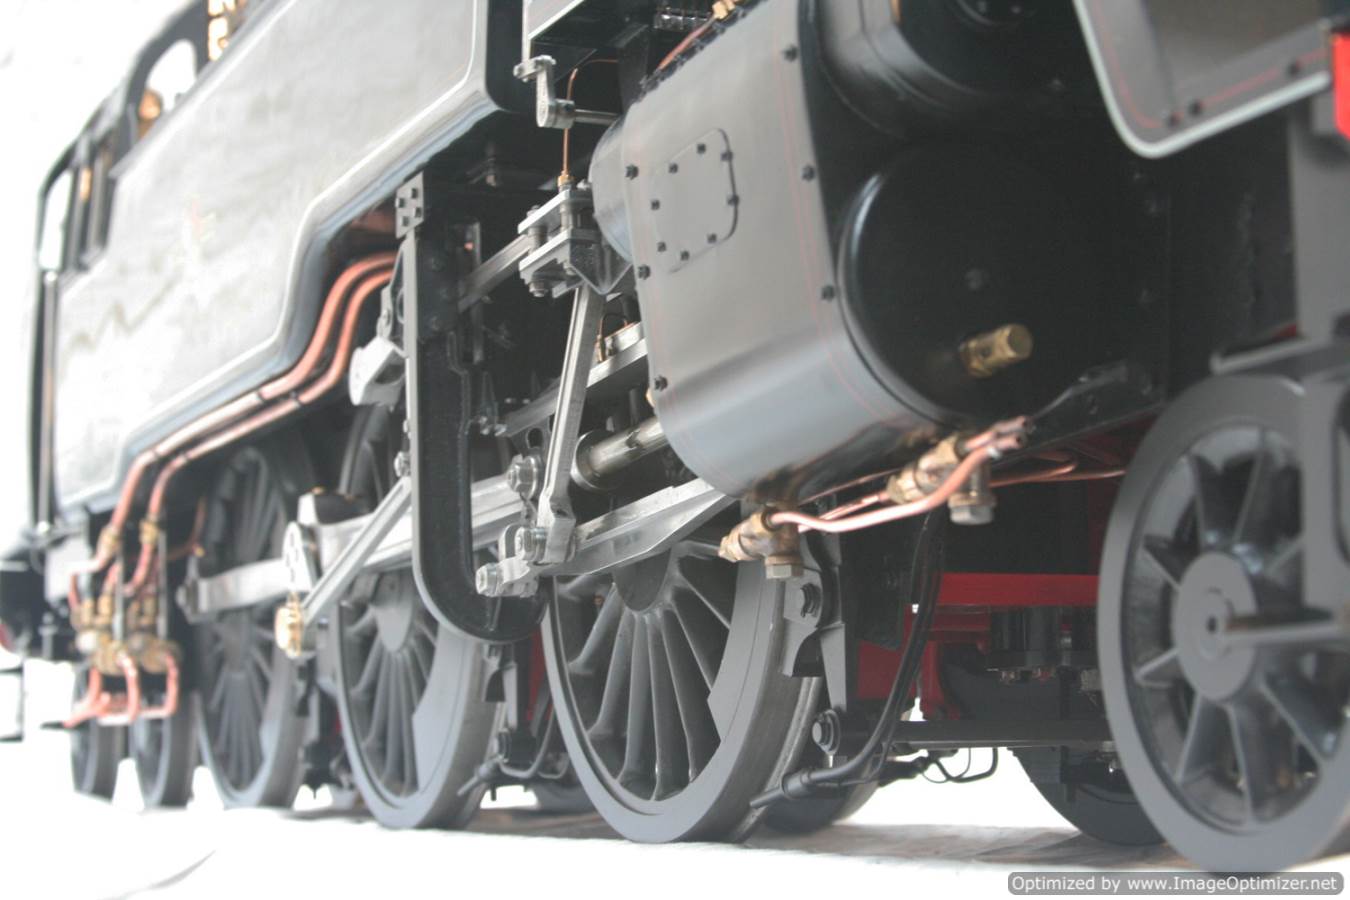
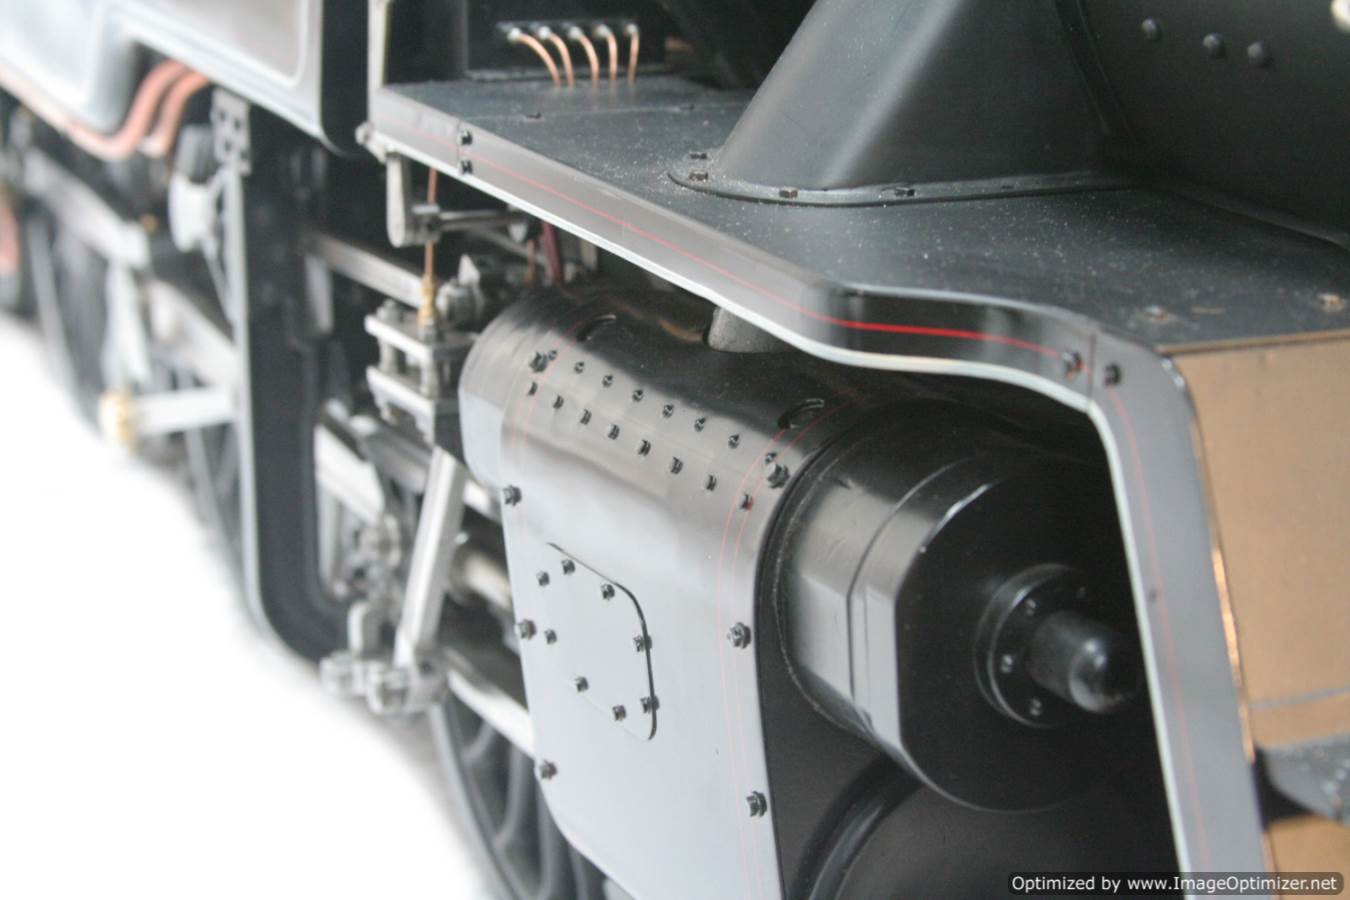
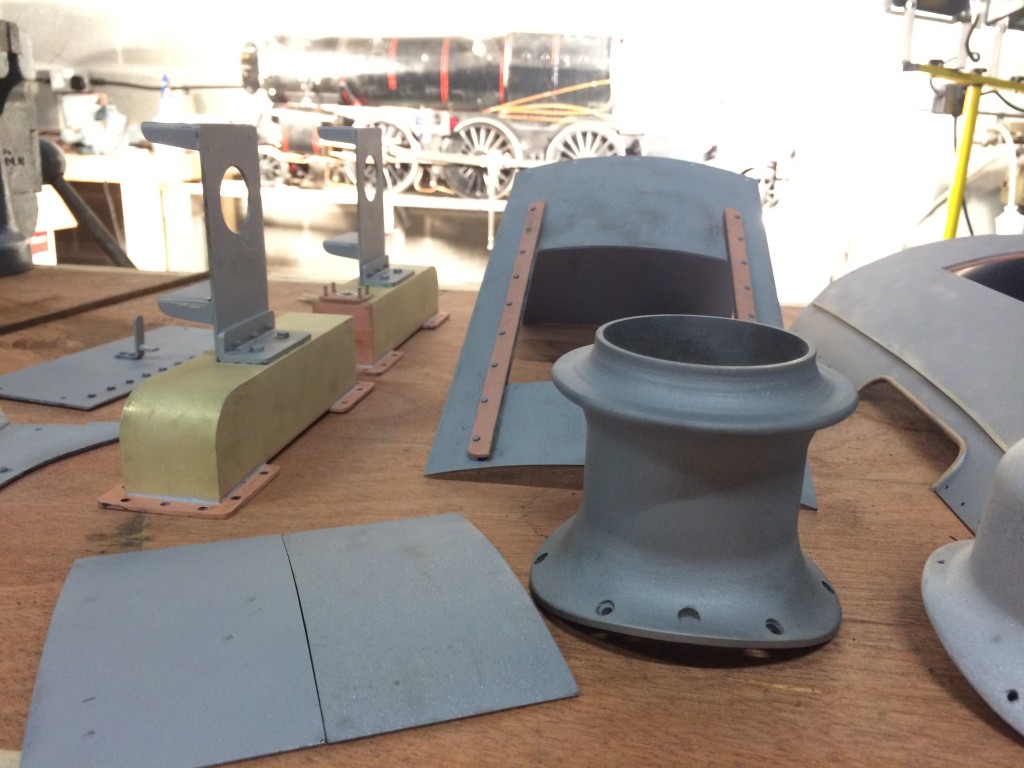
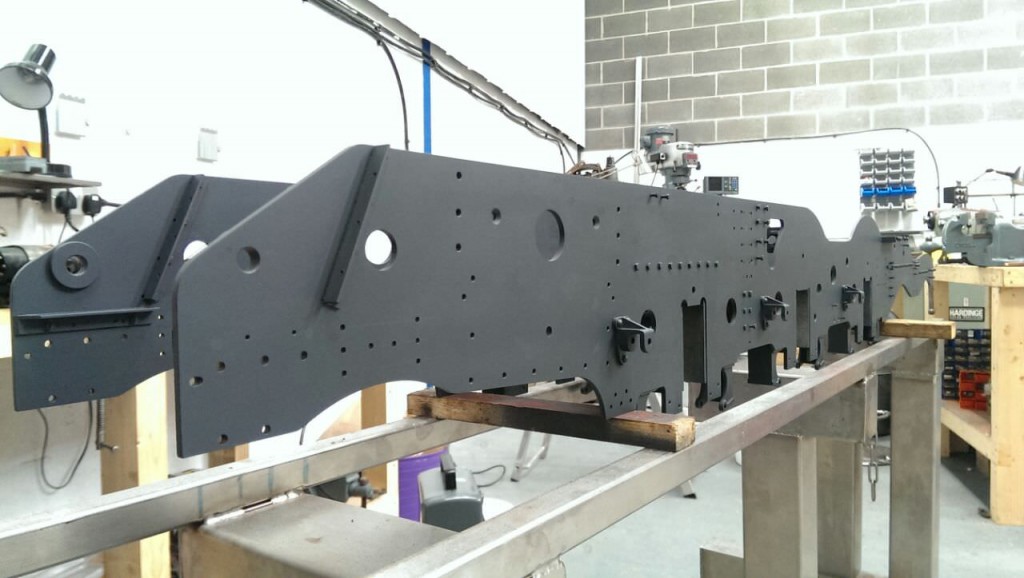
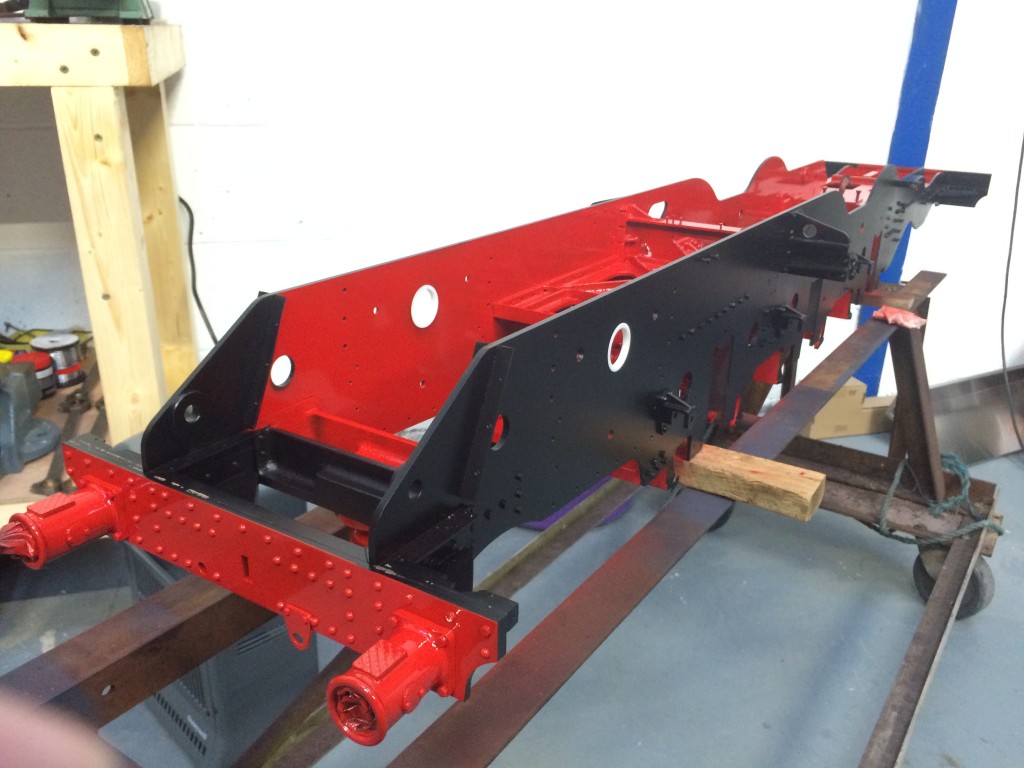
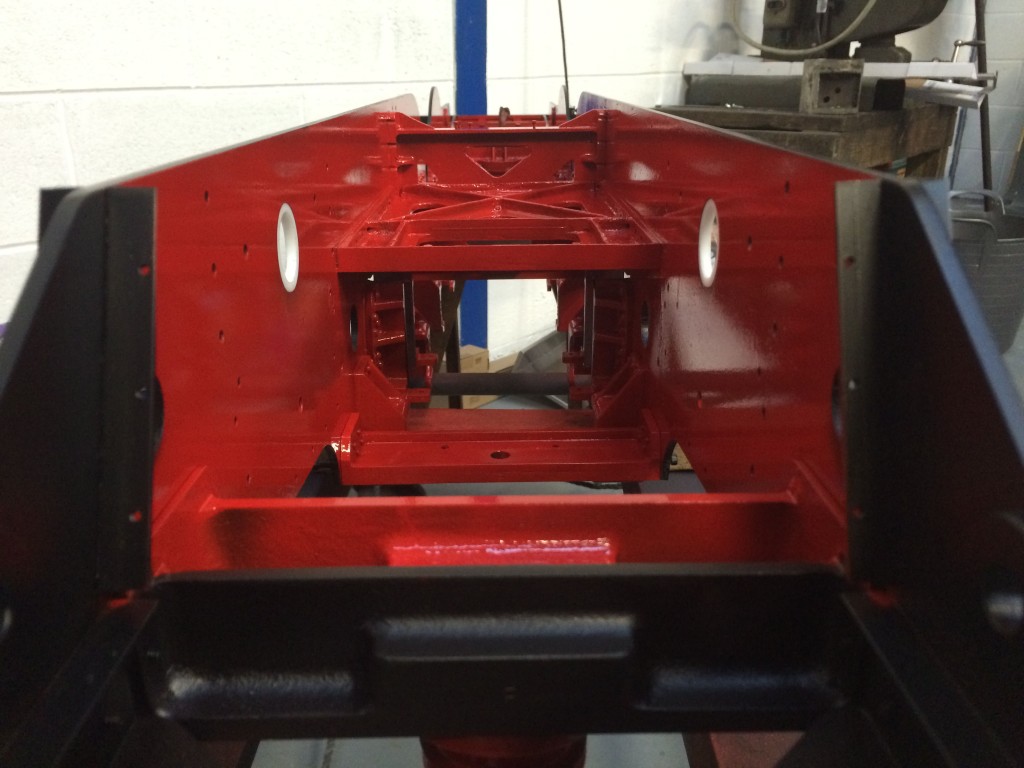
The frames having been stripped were etch primed and then painted up. You can also see the new PTFE ring that we machined up, the bare frames being milled out on the Bridgeport to accept it. It gets sandwiched in between the cylinder casting and the smokebox saddle between the frames, thus creating a thorough seal. Hopefully this will solve the internal leaks that were evident in this area when we pulled the model apart.
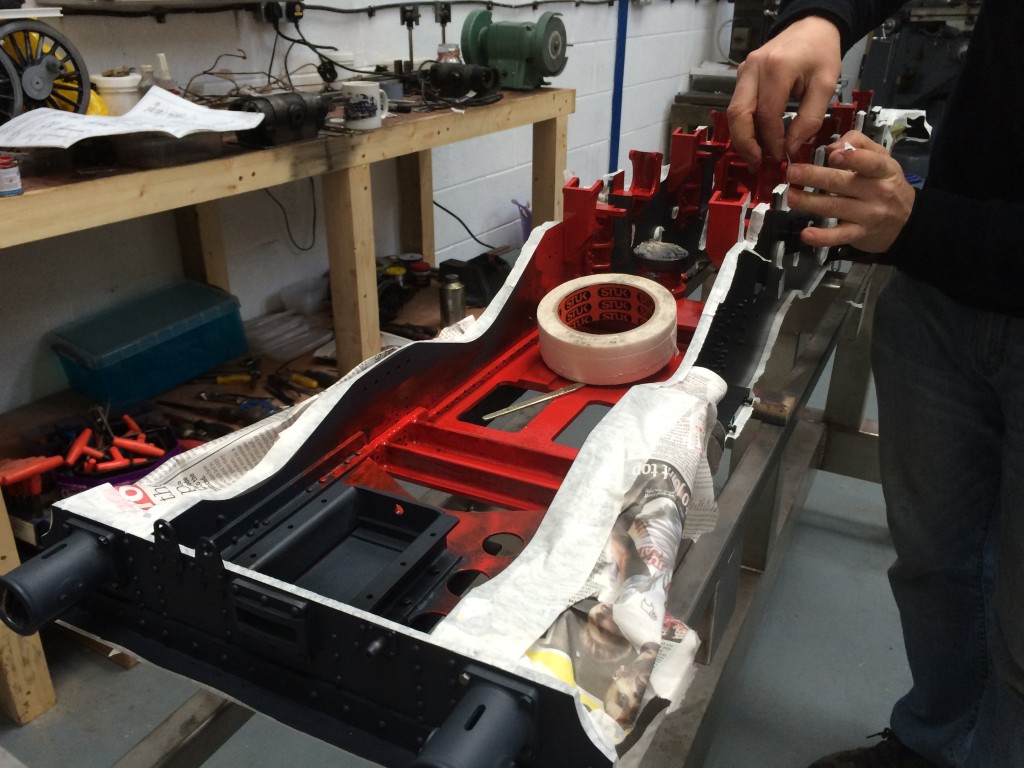
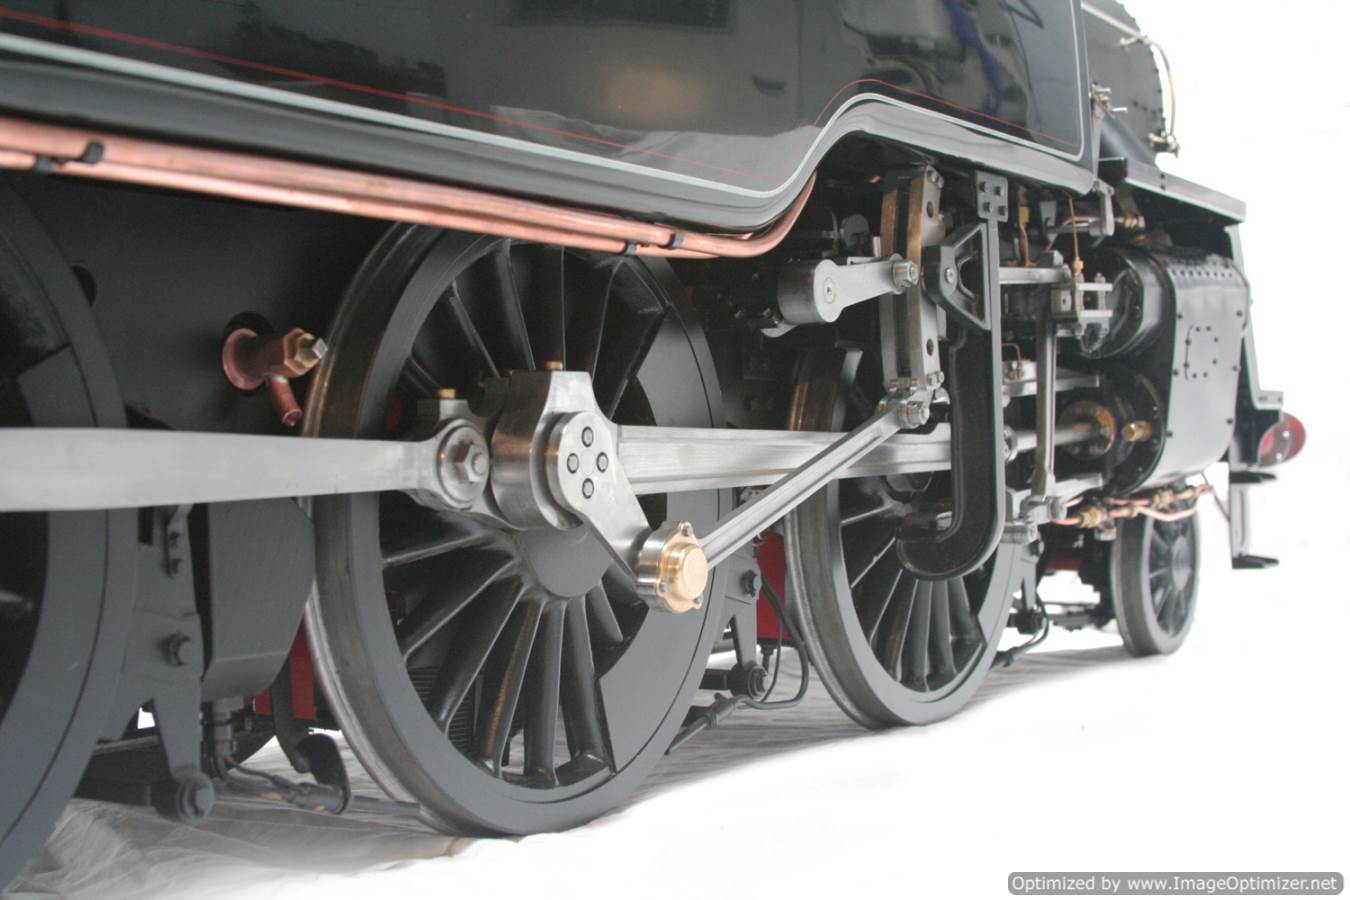
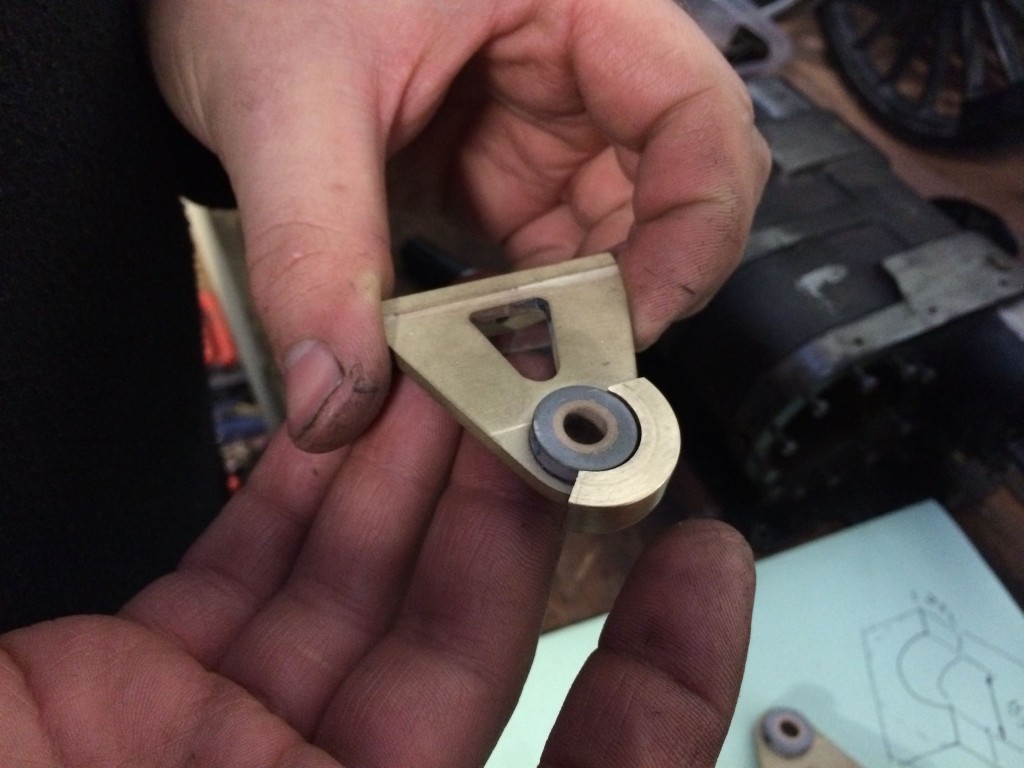
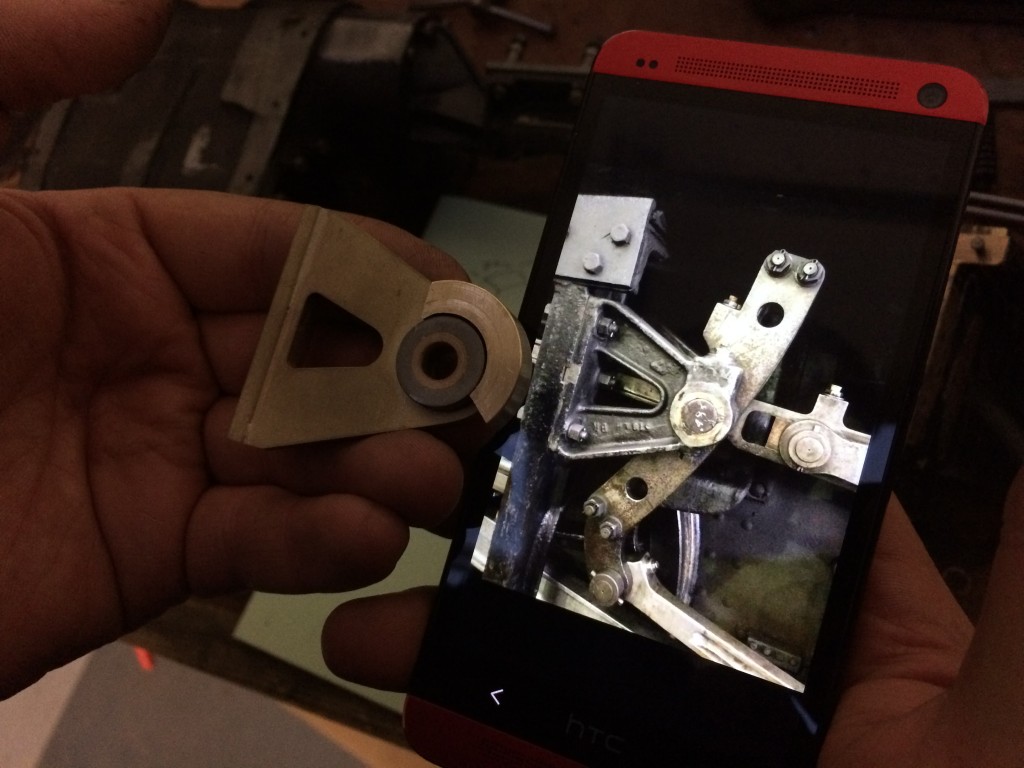
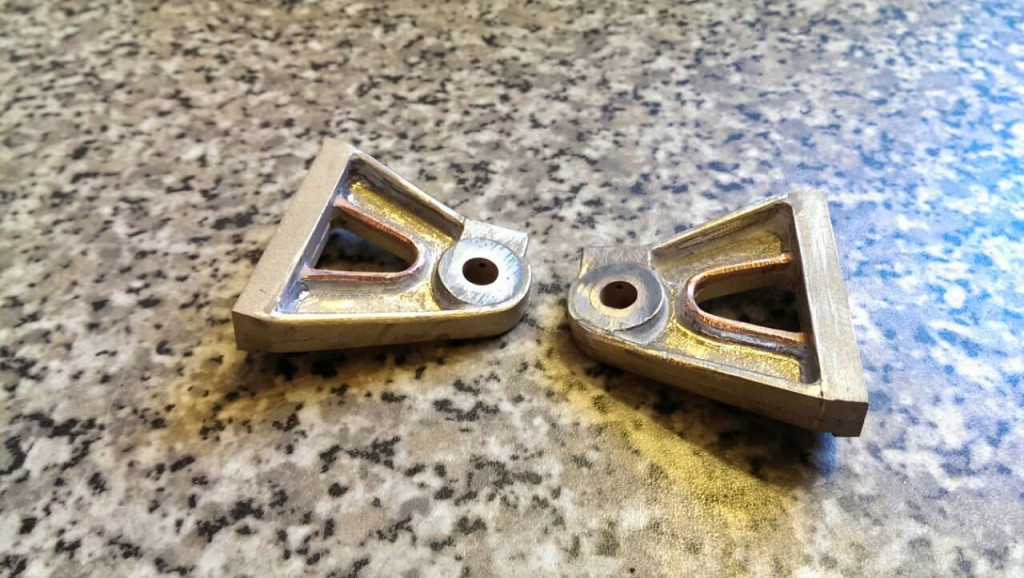
More detailing next. The expansion link brackets were quite visibly plain, and being in full view we decided to push them a little closer to the real thing.
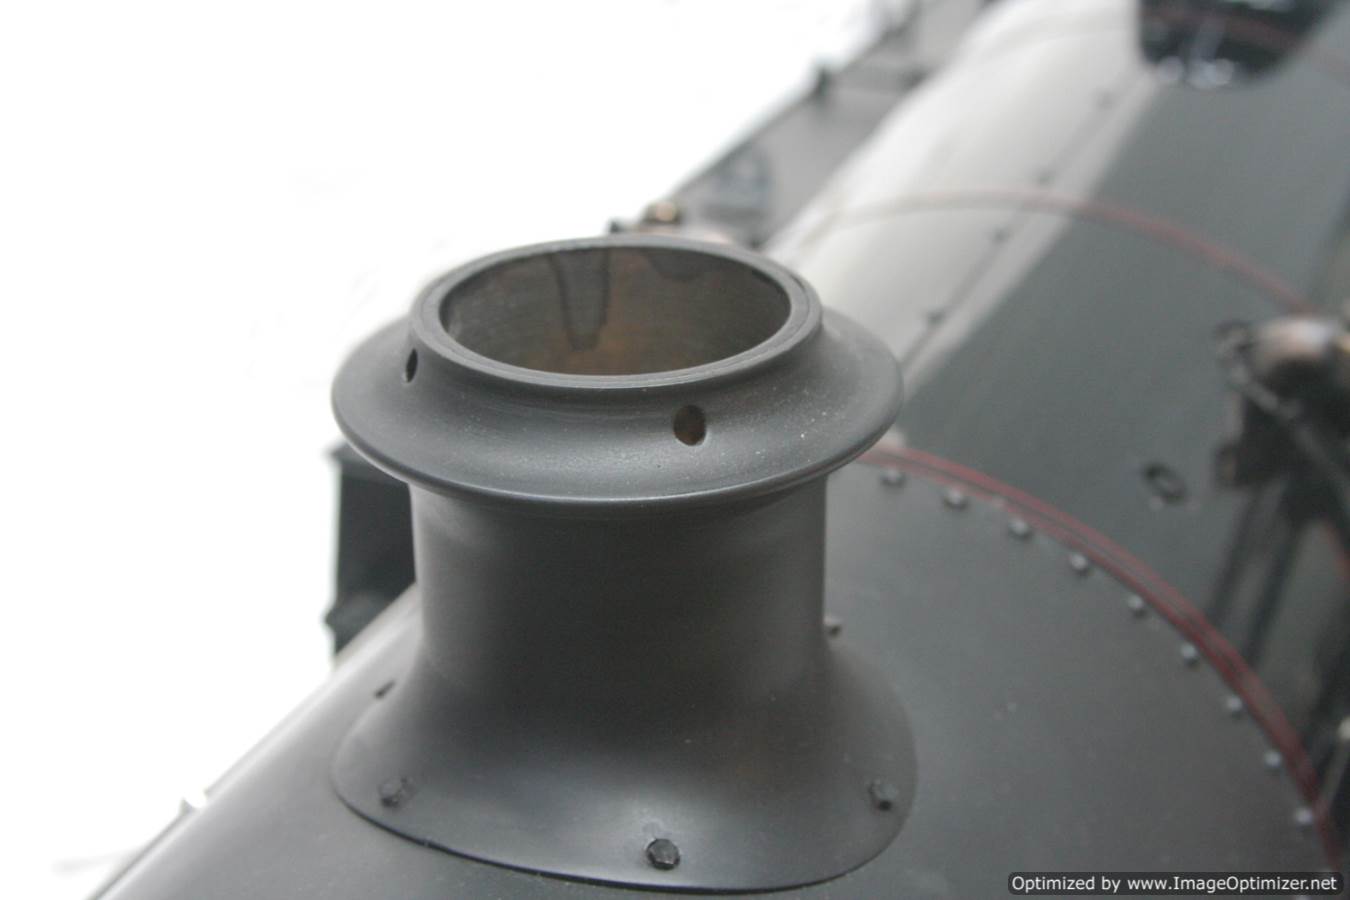
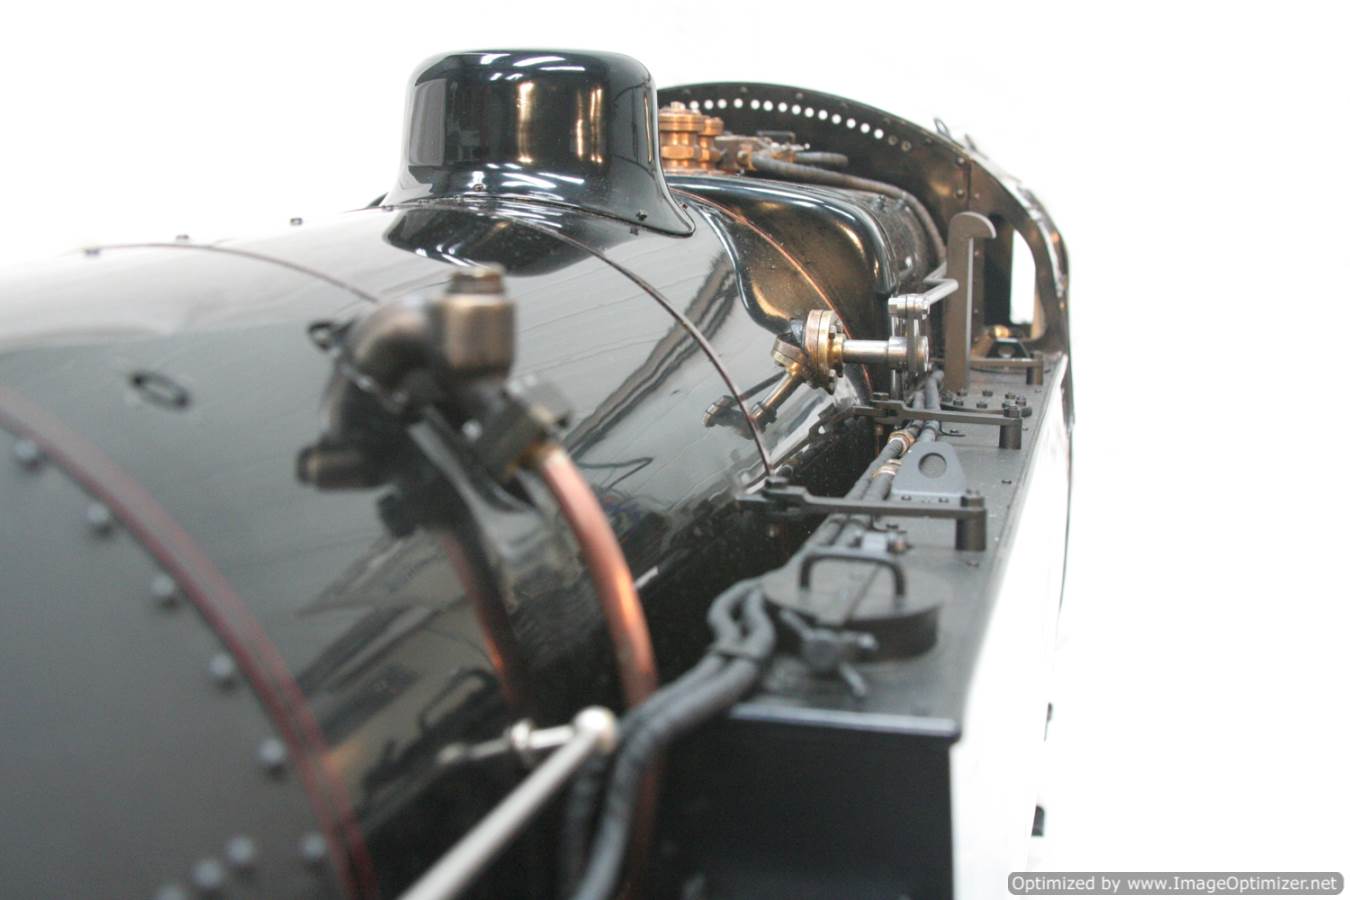
......and the same for the cylinder block. The valve ends have very obvious flats on the real thing, so the block was machined and the valve covers were modified to be more prototypically accurate. It's the little things like this that we feel make all the visual difference in the world to the impact of the finished model.
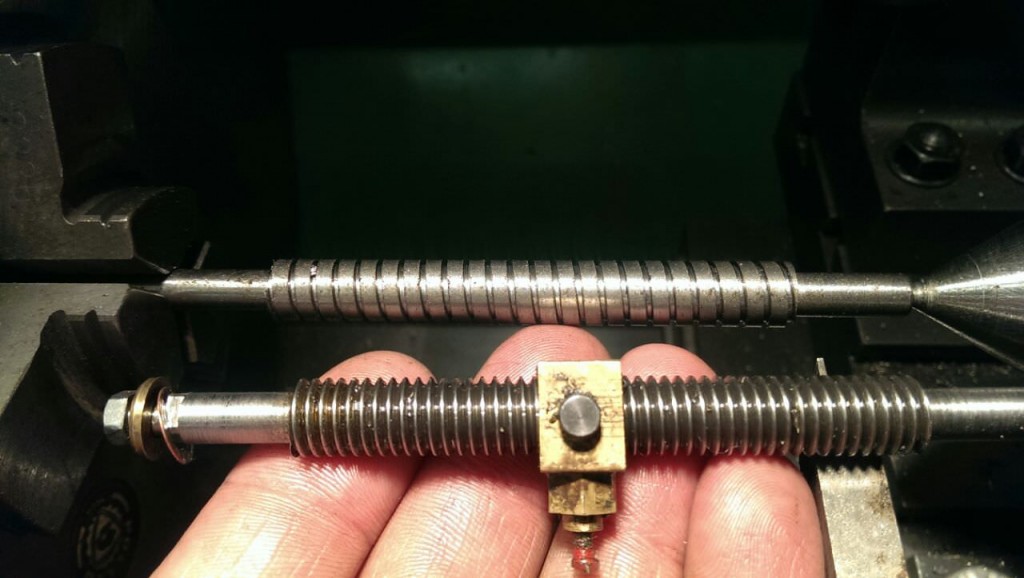
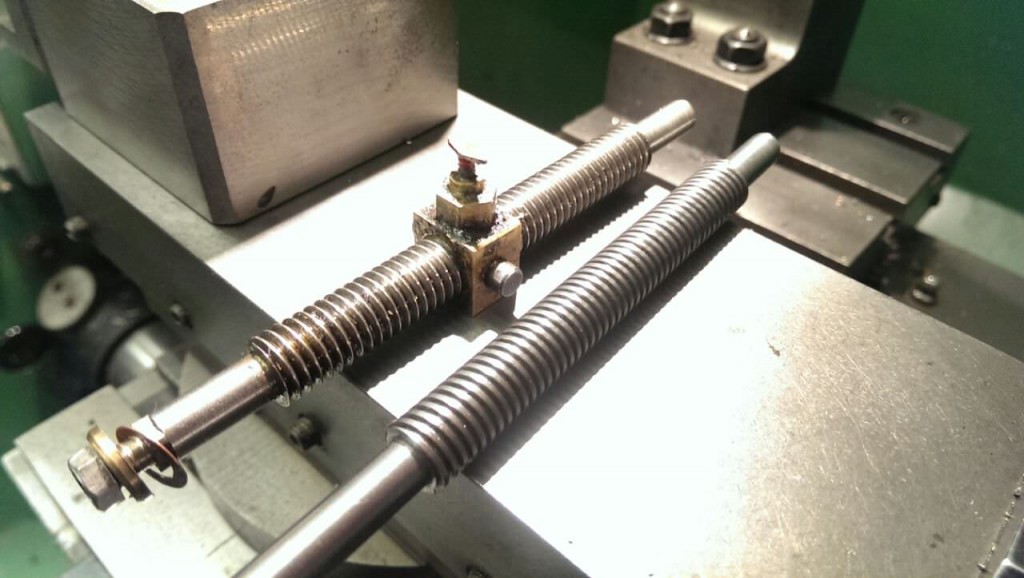
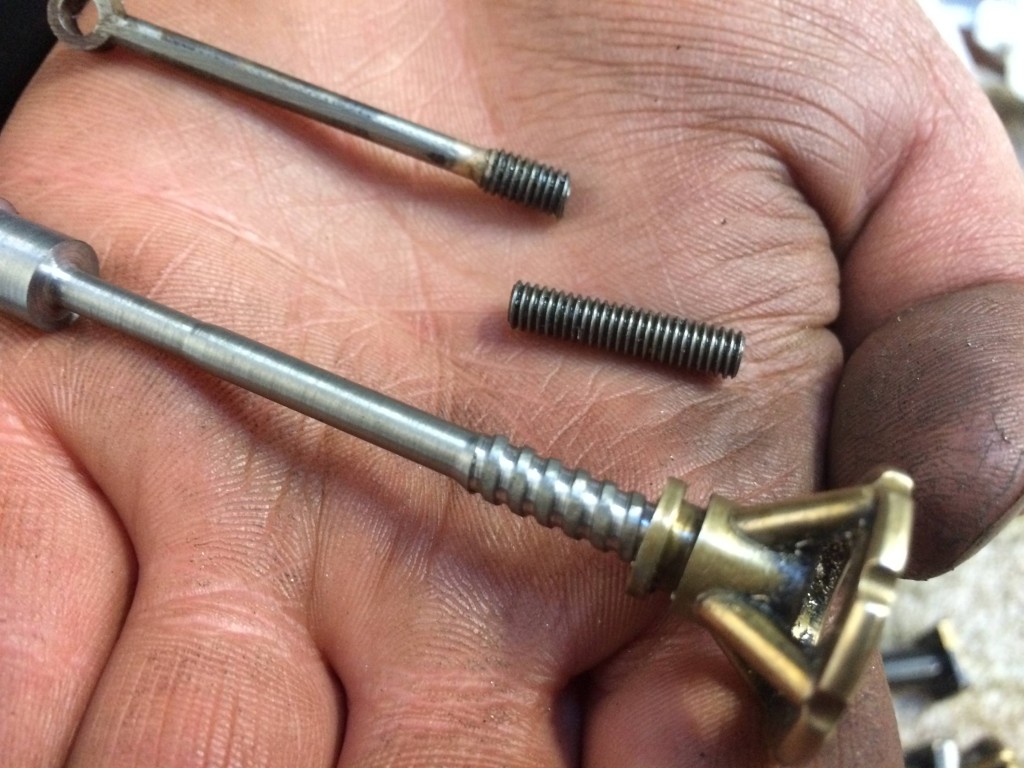
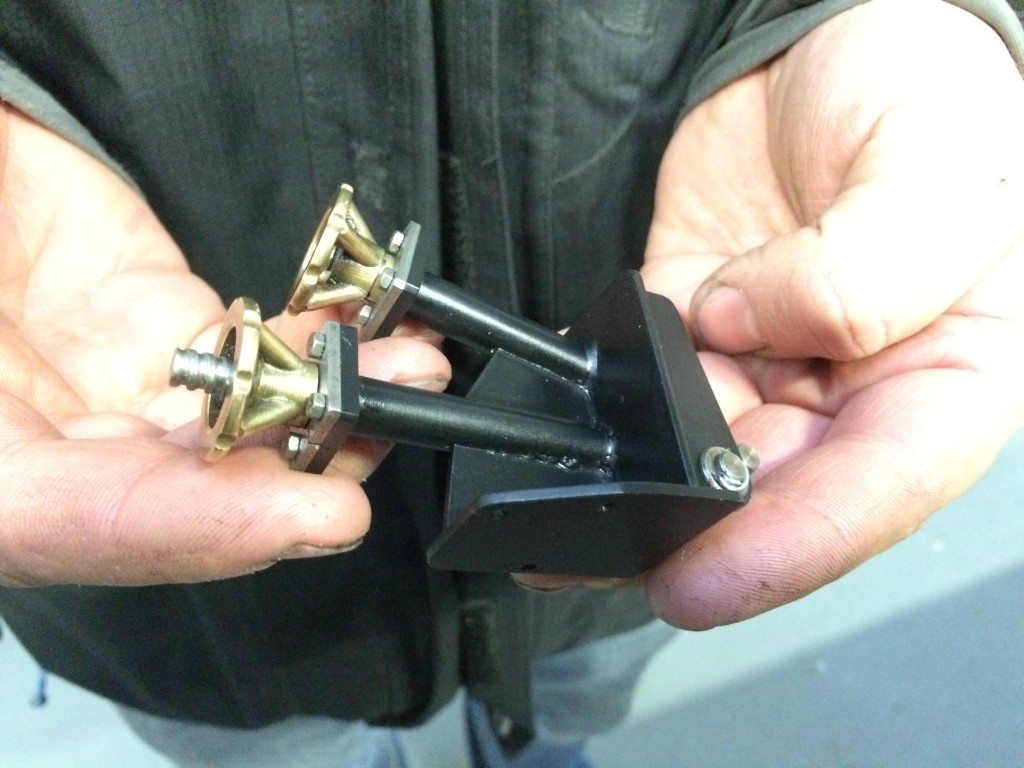
A bit more engineering in the next bit. Cutting some new, and nicely prototypically accurate square threads. The damper mechanisms and the reverser both needed winding for far too long to do anything. So we've made new threads, the reverser being a snazzy double start square thread that requires about half the number of turns to throw the locomotive into reverse now.
More to follow as the project progresses. Watch this space!
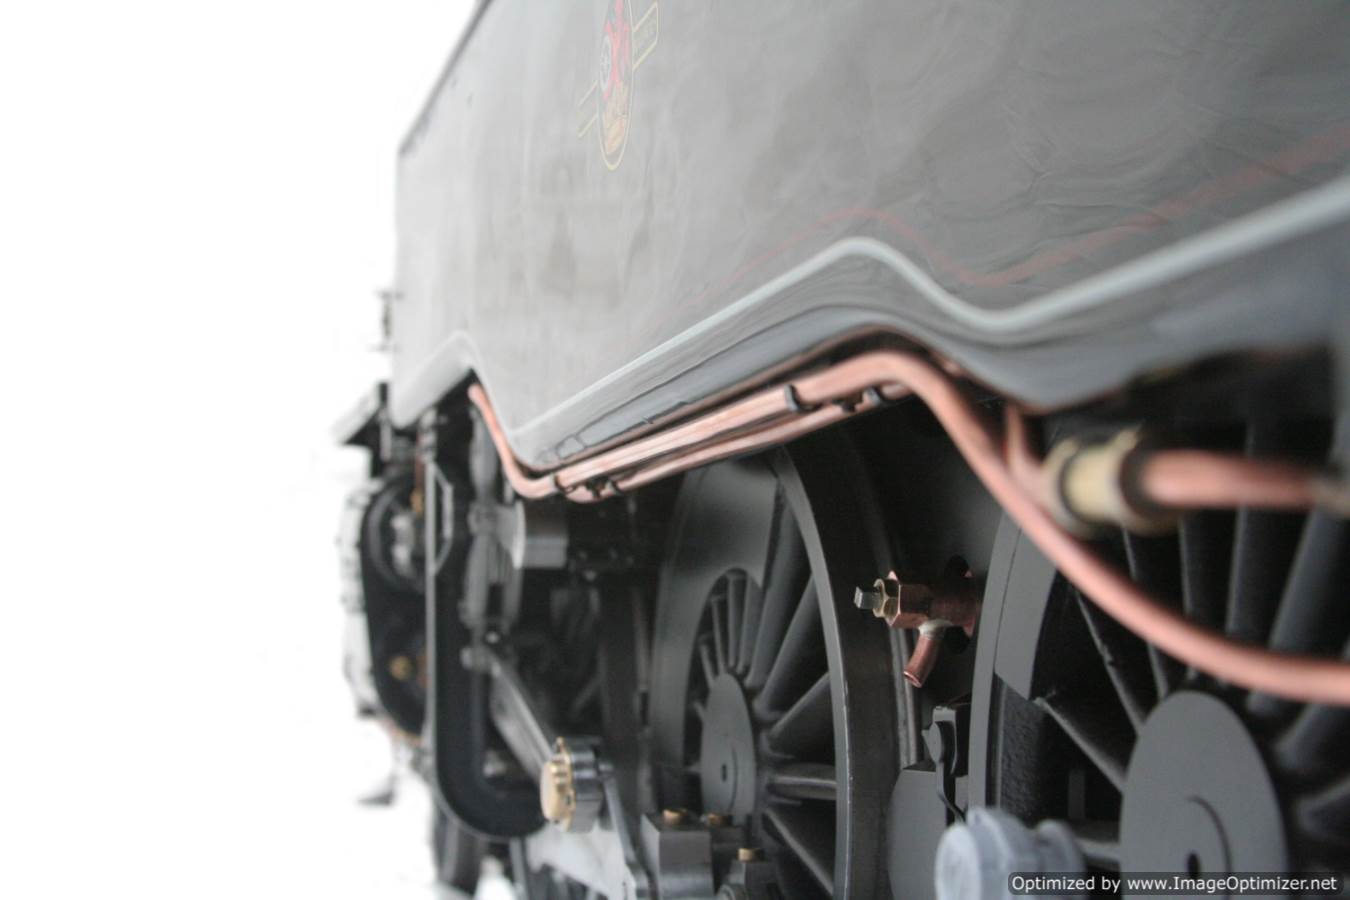
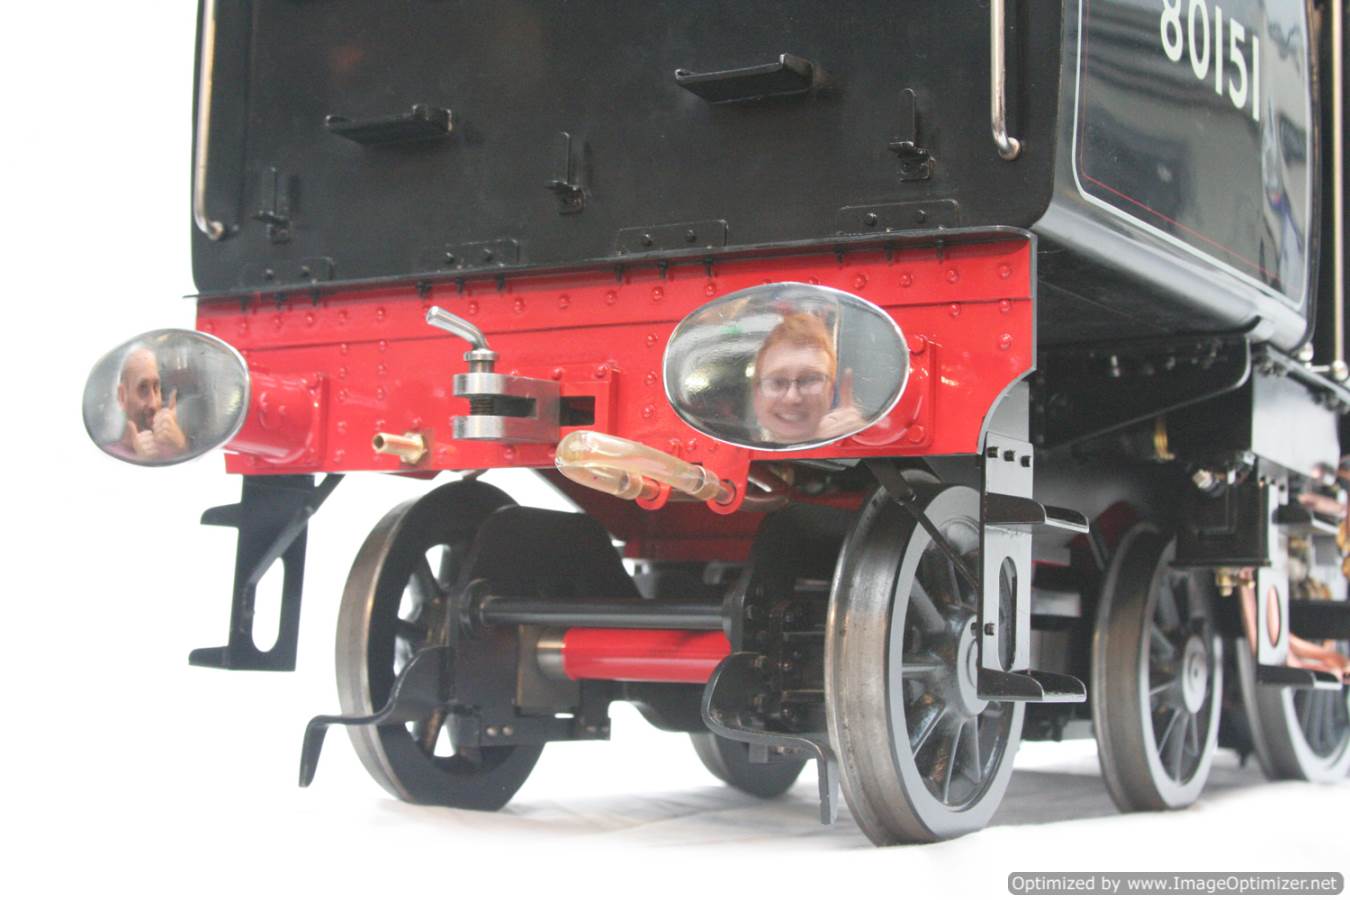
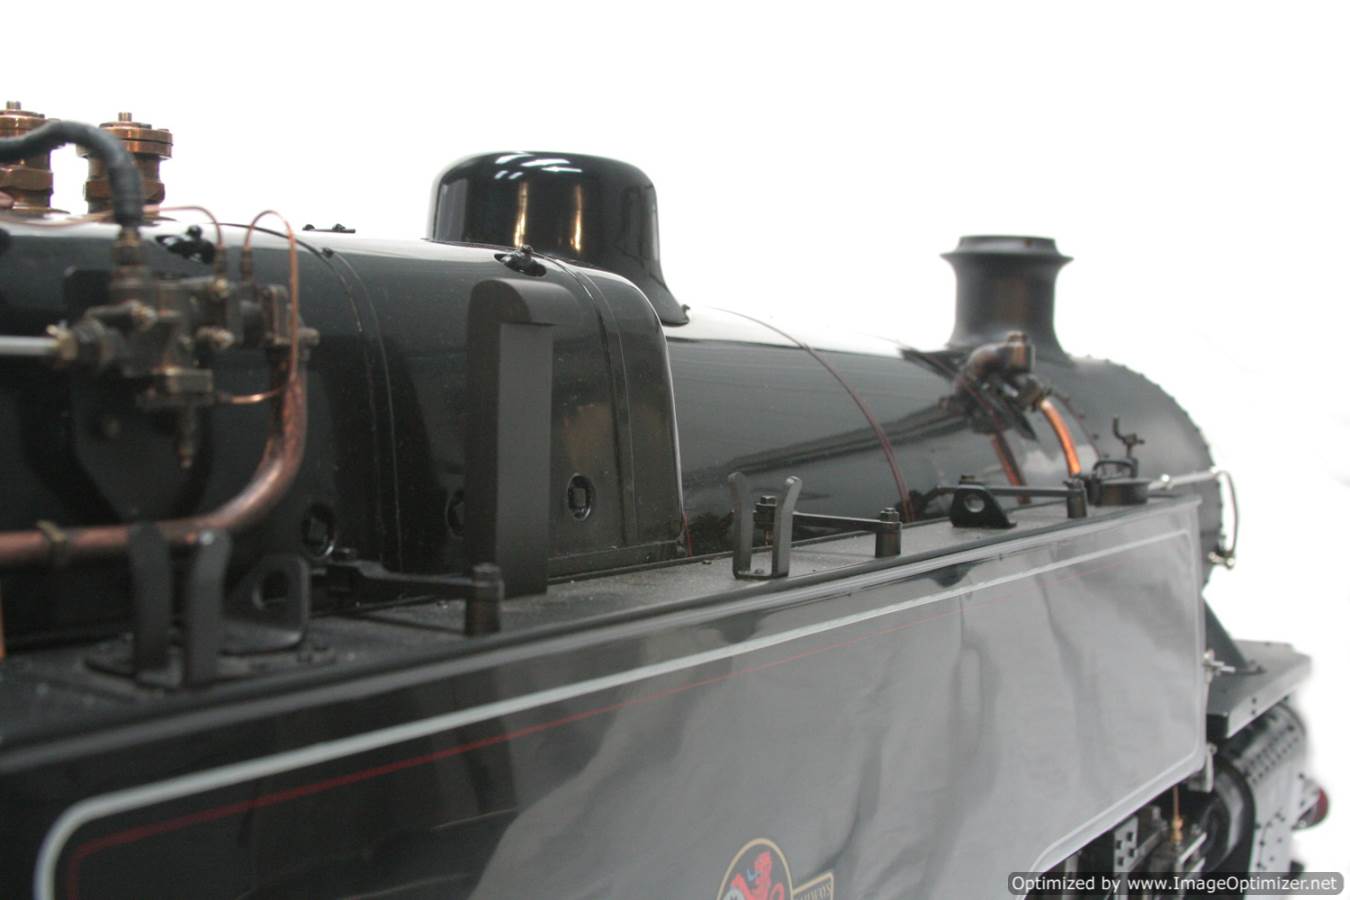
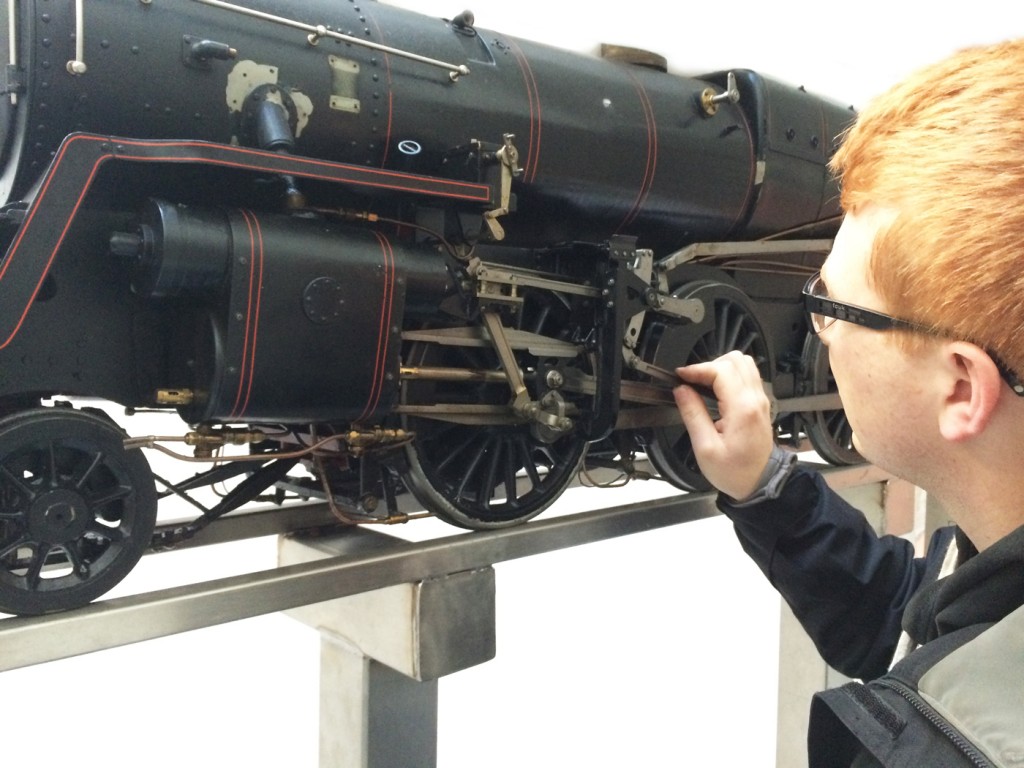
Here's a gallery of the finished locomotive. More details of the project re-build will be added to the page as soon as time allows,..... there is a huge gallery on our Facebook page if you can't wait! Enjoy.