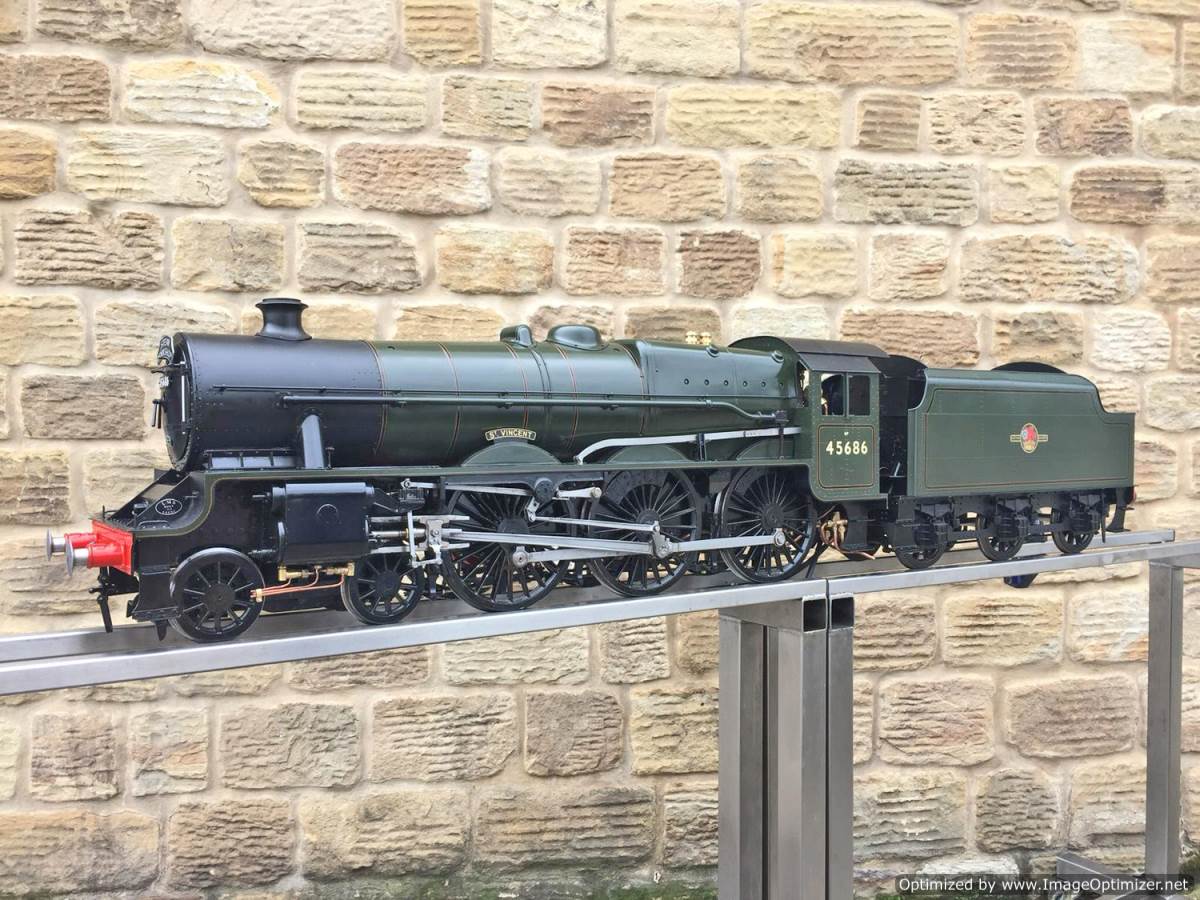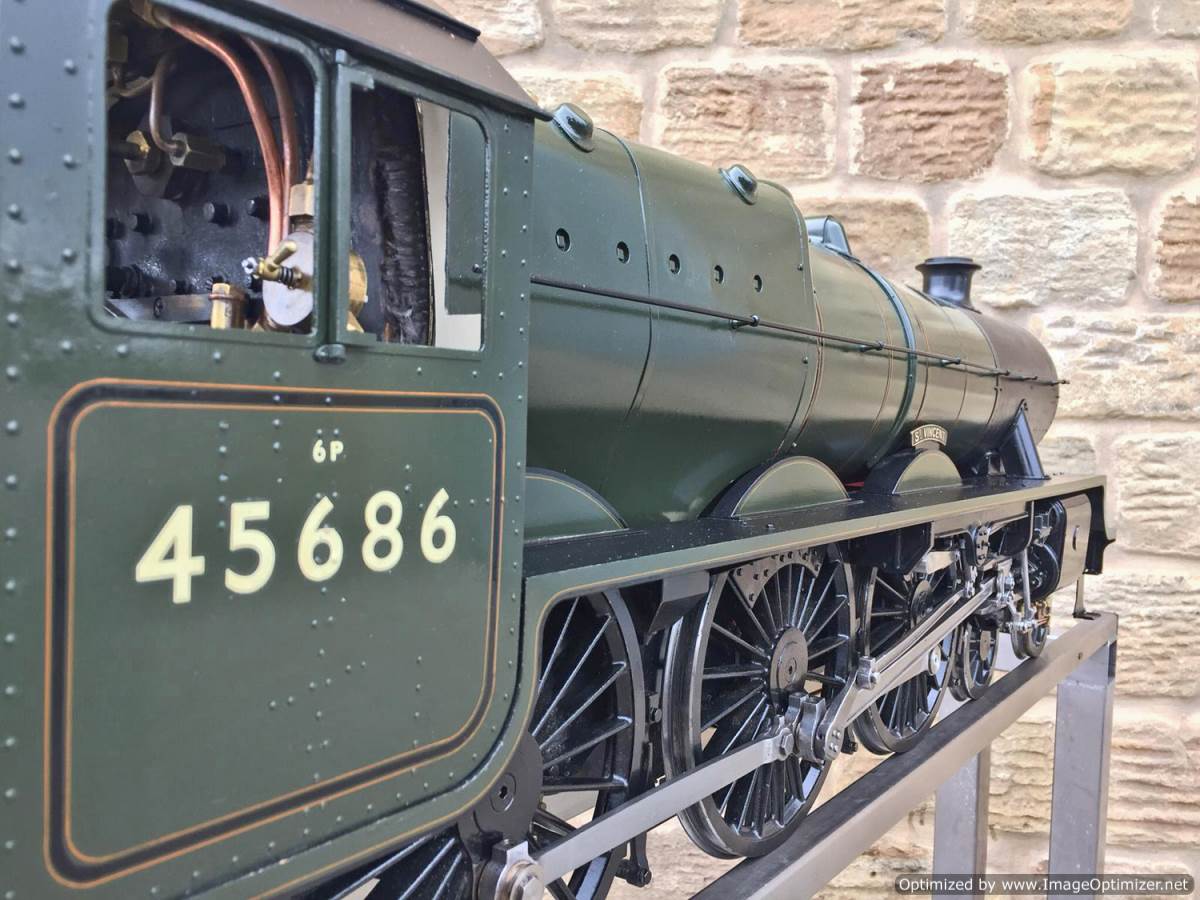
5" gauge LMS Jubilee
by Kingscale
Over the last few years, Silver Crest models 'Kingscale' brand have racked up an impressive back catalogue of 5" live steam models. A batch of GWR 14xx tanks, followed by the LMS Jubilees, a run of 45xx Prarie tanks and currently here in the workshop we are awaiting the arrival of 5 BR Class 4 tanks to fettle! With this in mind, we felt it was a good idea to get stuck into one of them to see what's underneath the extremely good looking skin! To that end, we acquired the original and much photographed Jubilee prototype, and the hope for us is that we can learn from this one, and then go into the BR Class 4 tanks batch with our eyes open and a clear plan of attack.
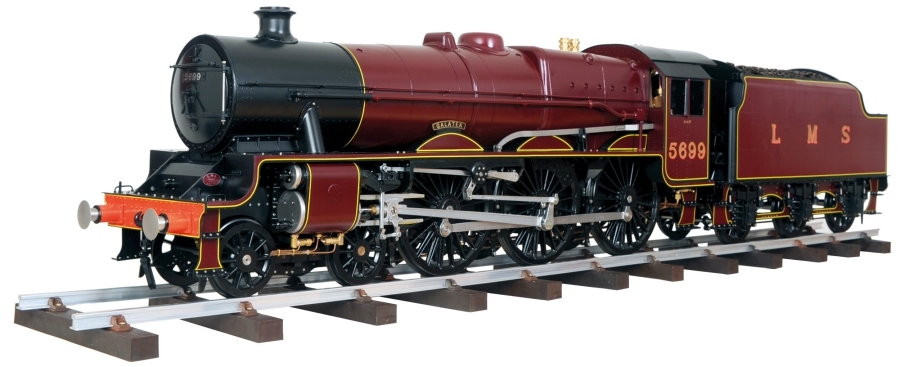
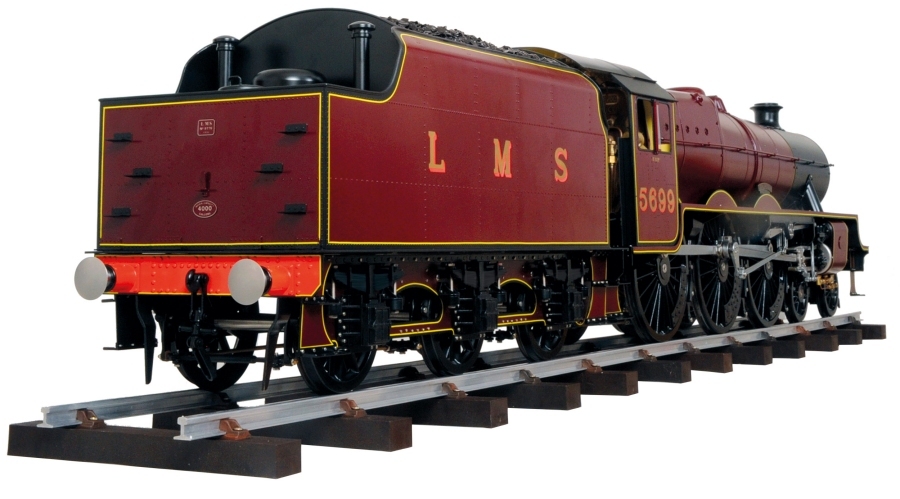
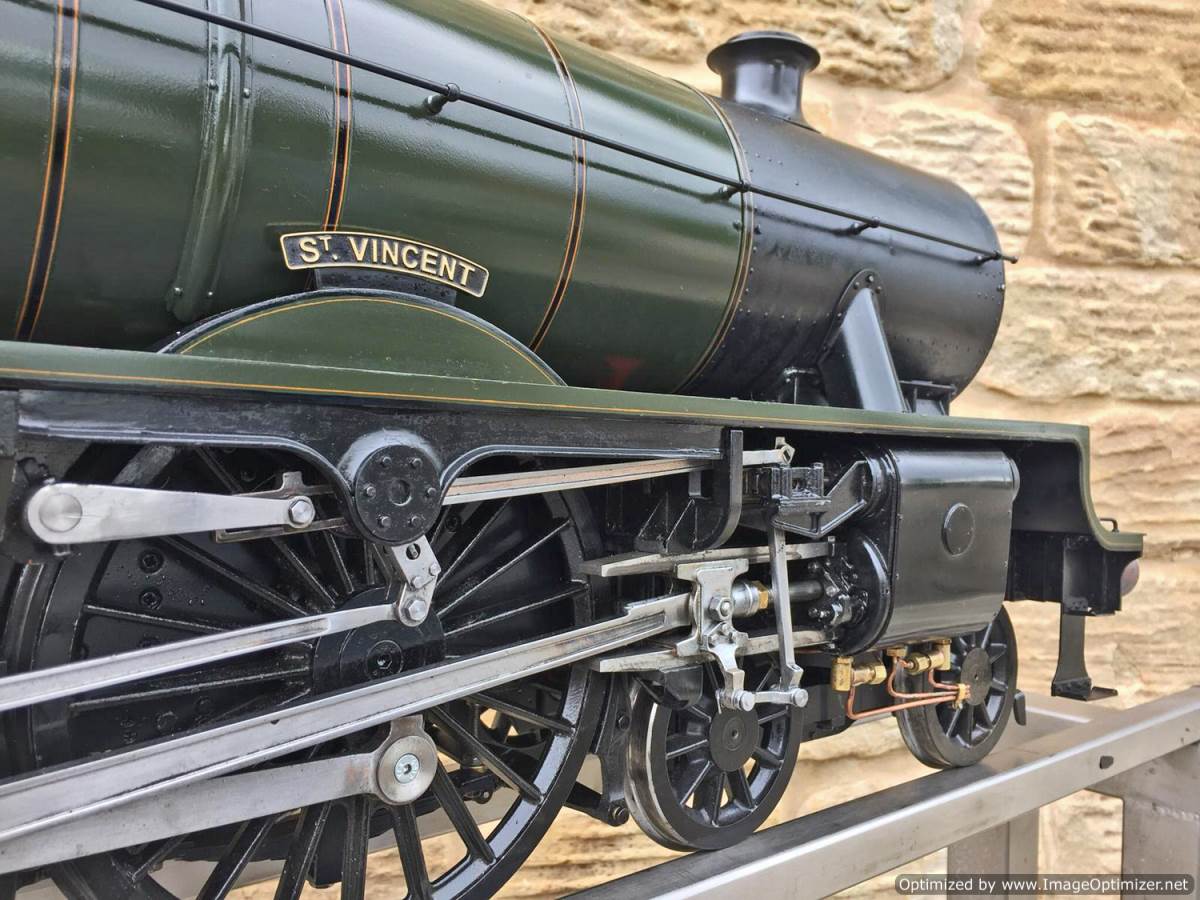
As you can see from Kingscale's photographs of our engine, the first Jubilee prototype produced, these are very good looking models, and we think good value too. The boilers seem to us well made, and the general shape and look,..... well simply put, is right. Talking to both Jon and Mike at Kingscale, their intention has always been to produce a good value model, that looks the part and that will steam and pull you round a track on a Sunday afternoon should you so wish.
We, however are setting out here with a slightly different remit. The plan is to turn the model into a strong, reliable and regular performer and so to that end, we expect to be looking at the bushing, the draughting, and generally tightening up all the manufacturers tolerances so that the model can be exposed to the more heavy duty level of use, consistent with regular club running and passenger hauling. It's worth also re-stating before we get into the project that our engine is the pre-production prototype. It differs subtly from the full production models, indeed based upon Mike's evaluation of our model, changes and improvements were made for the main batch. That said, the bones are much the same, so it's still, we think a useful exercise. So to begin.
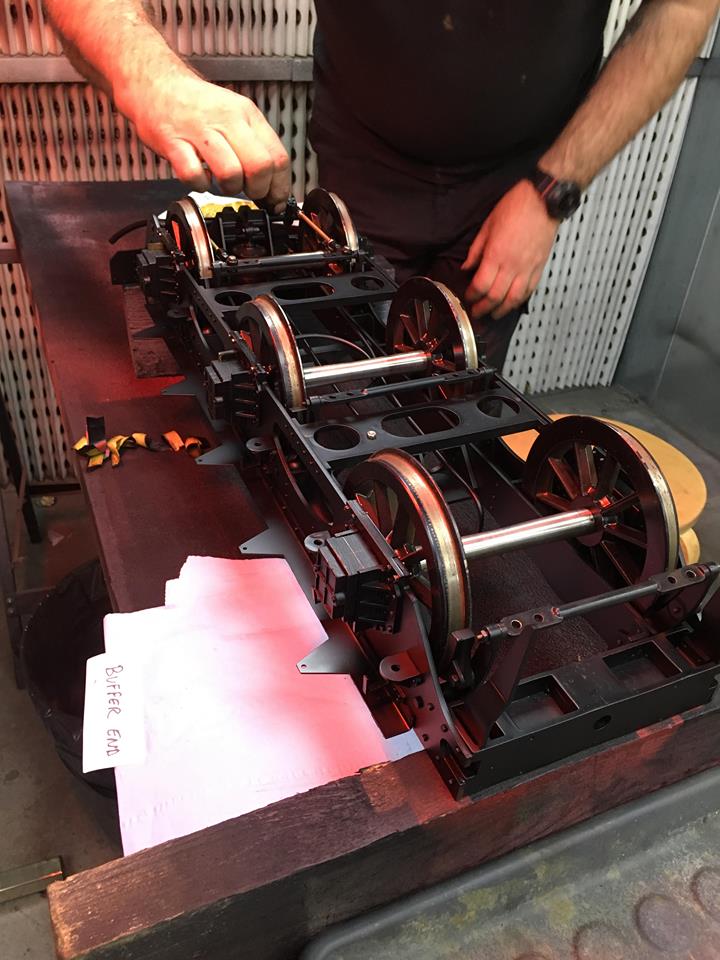
First thing, was to strip the whole thing down to it's bare frames.
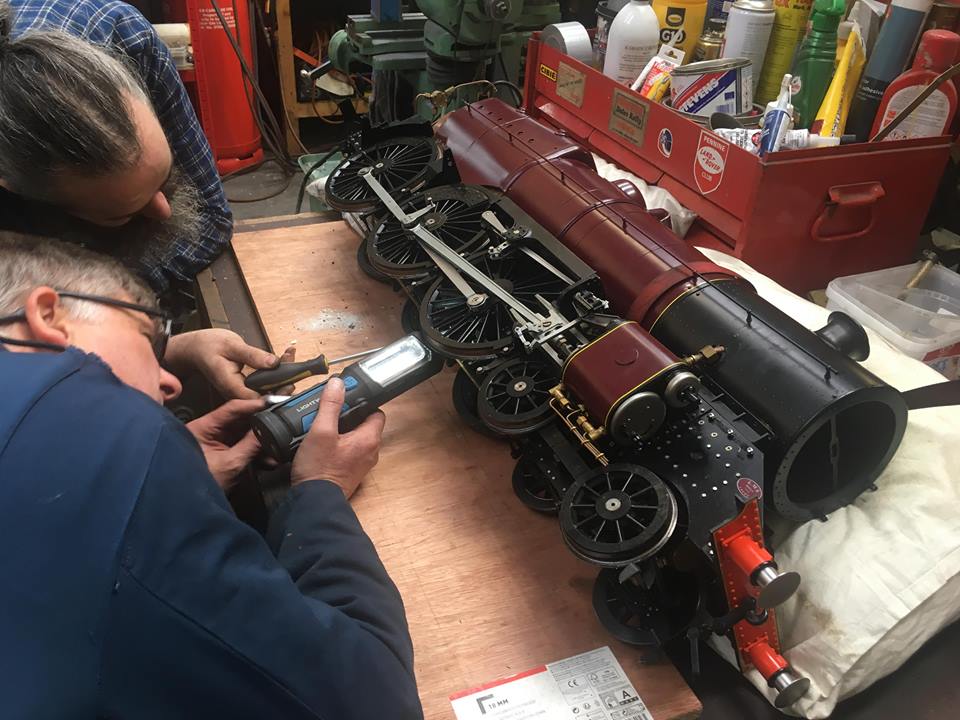
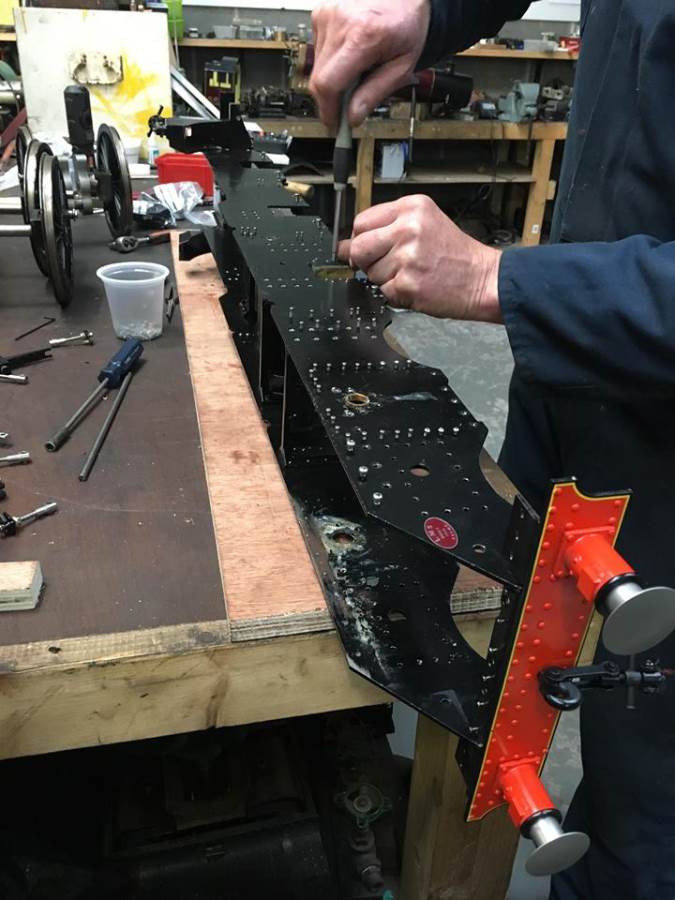
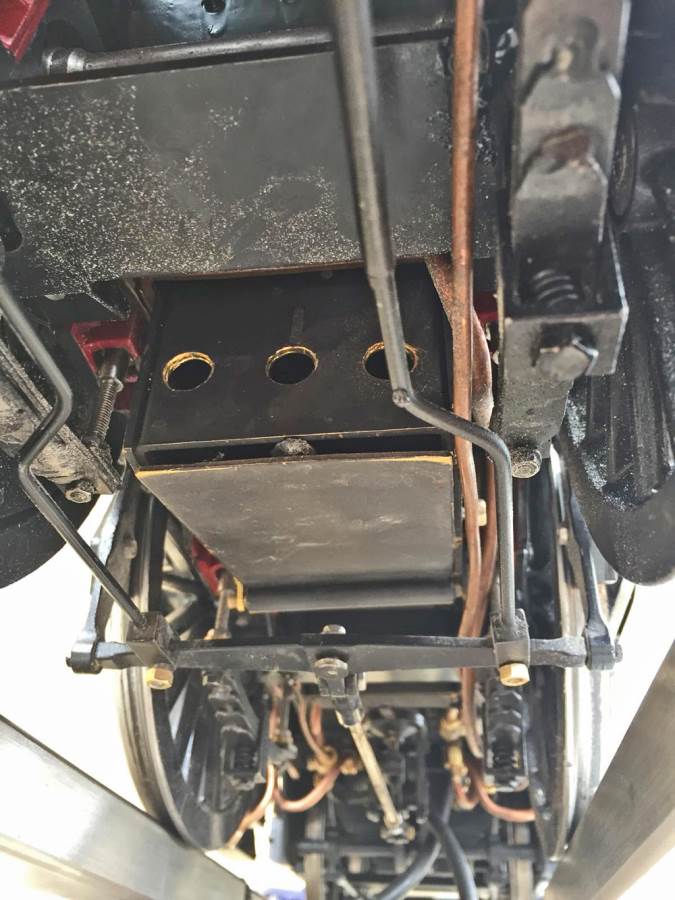
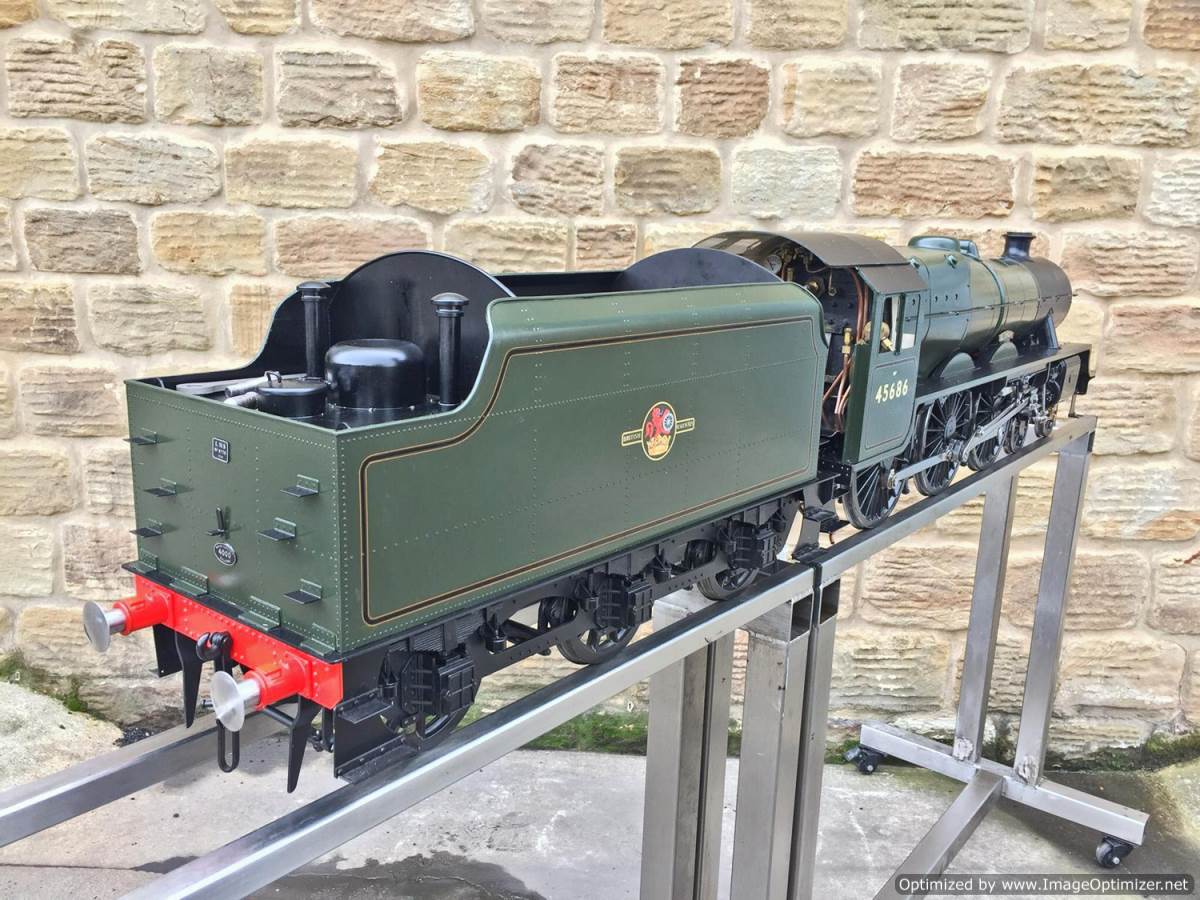
The boiler was lifted as one unit, and with any luck we hope not to have to fiddle too much there. The bottom end though has to go right down to the basics for us so that we can assess each aspect of the model to see where our efforts might best be directed.
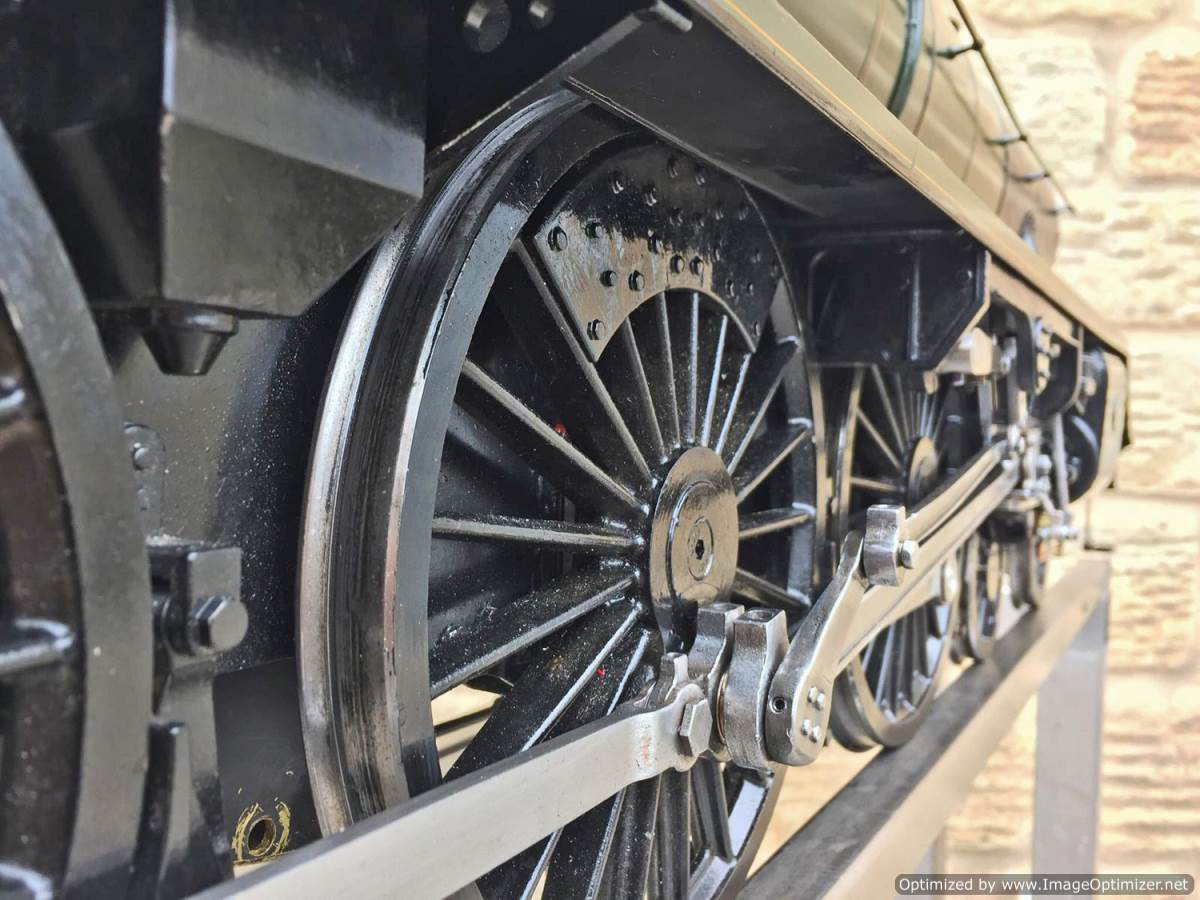
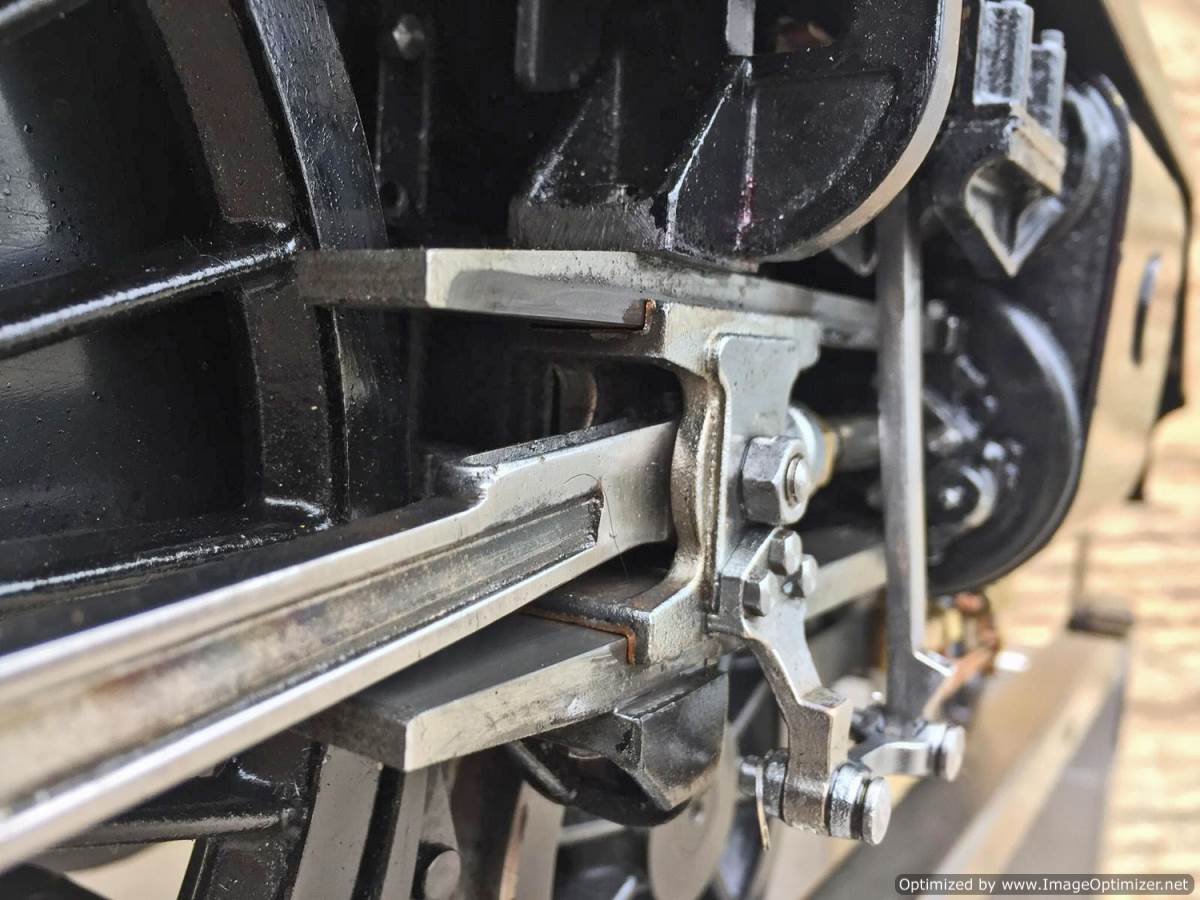
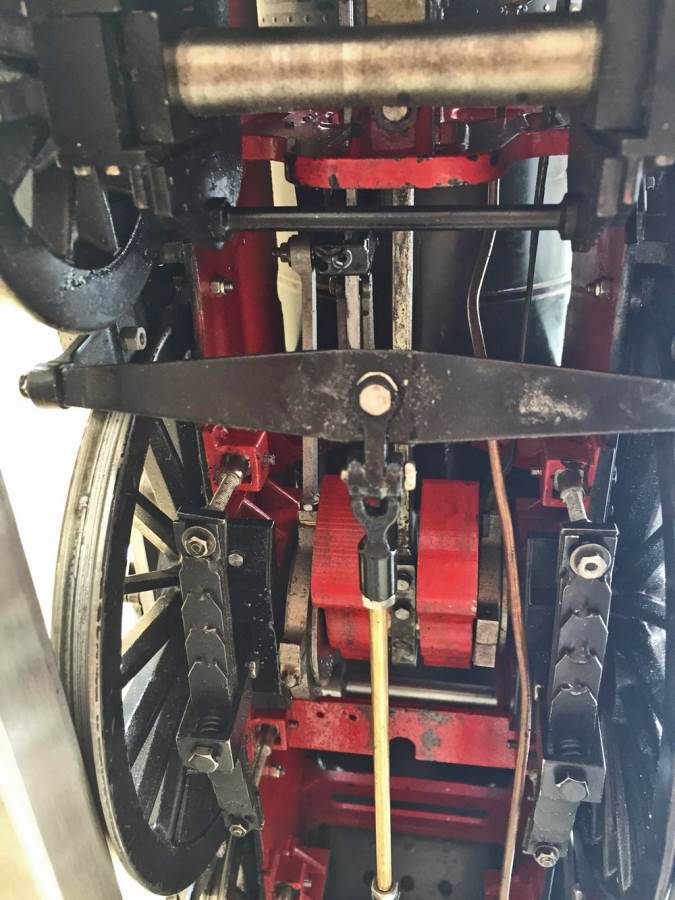
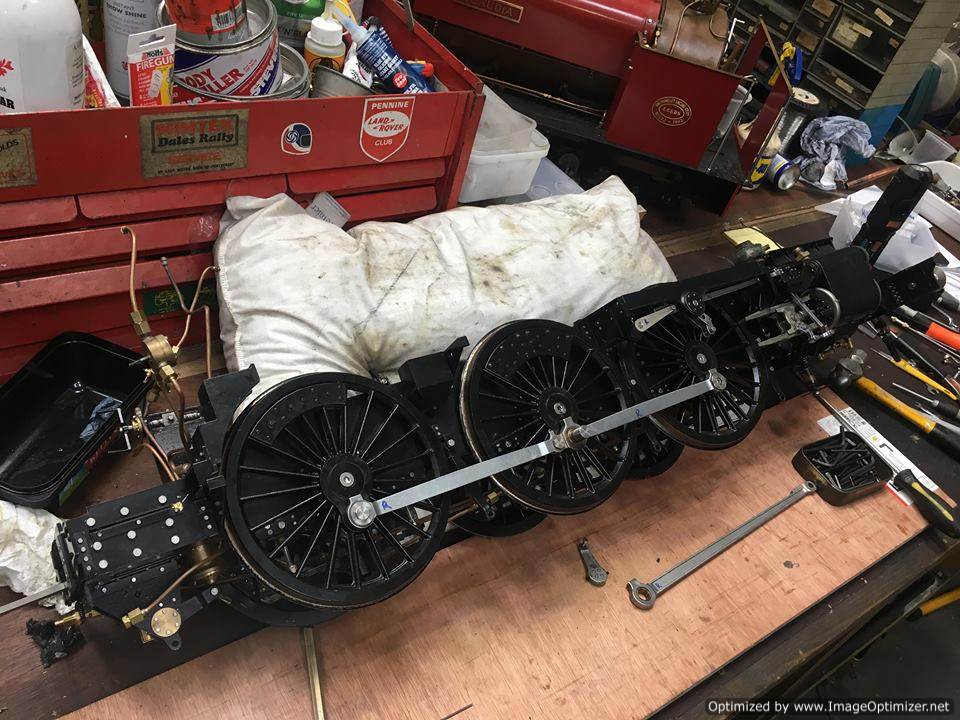
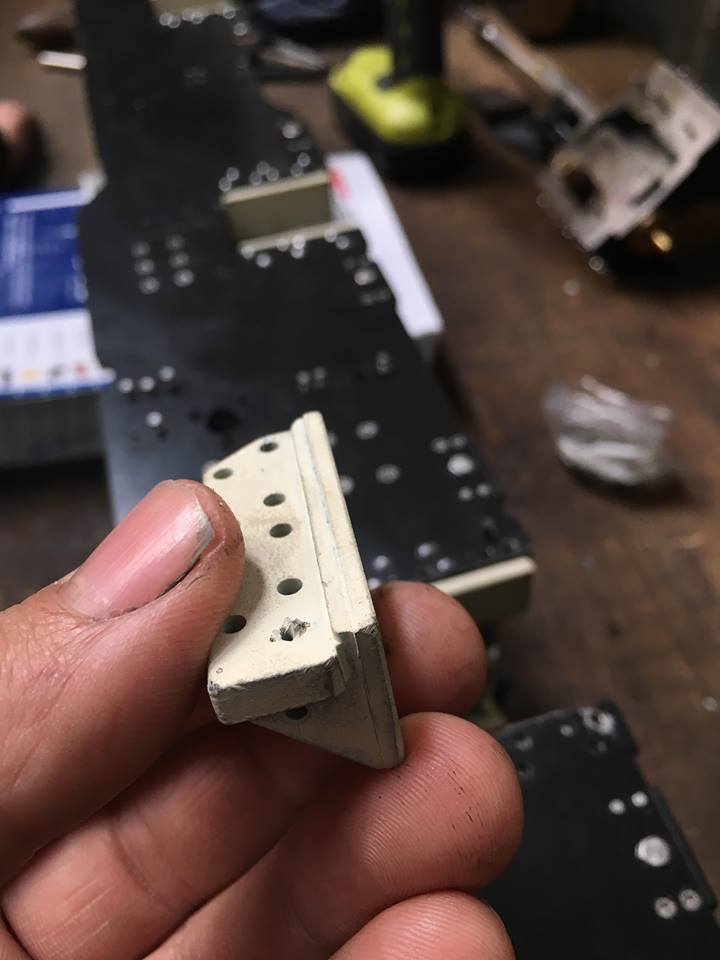
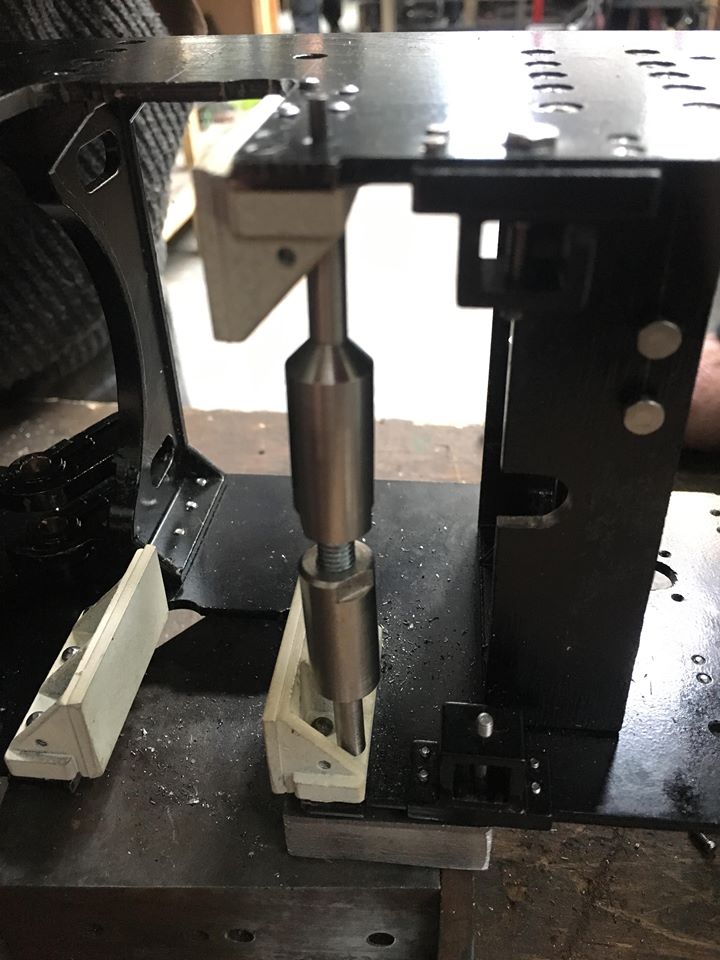
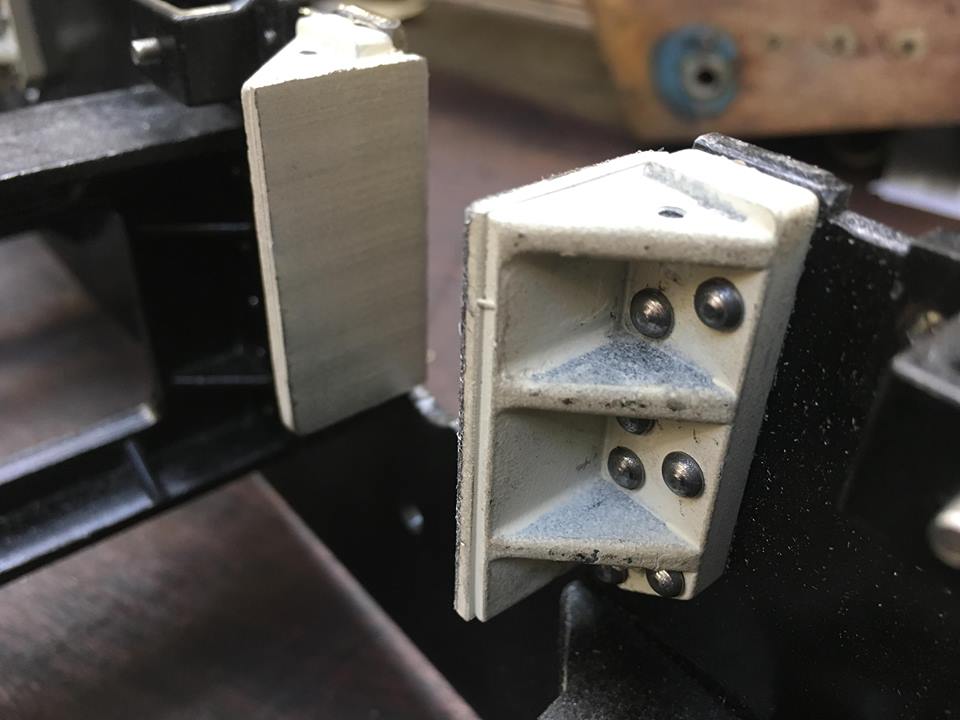
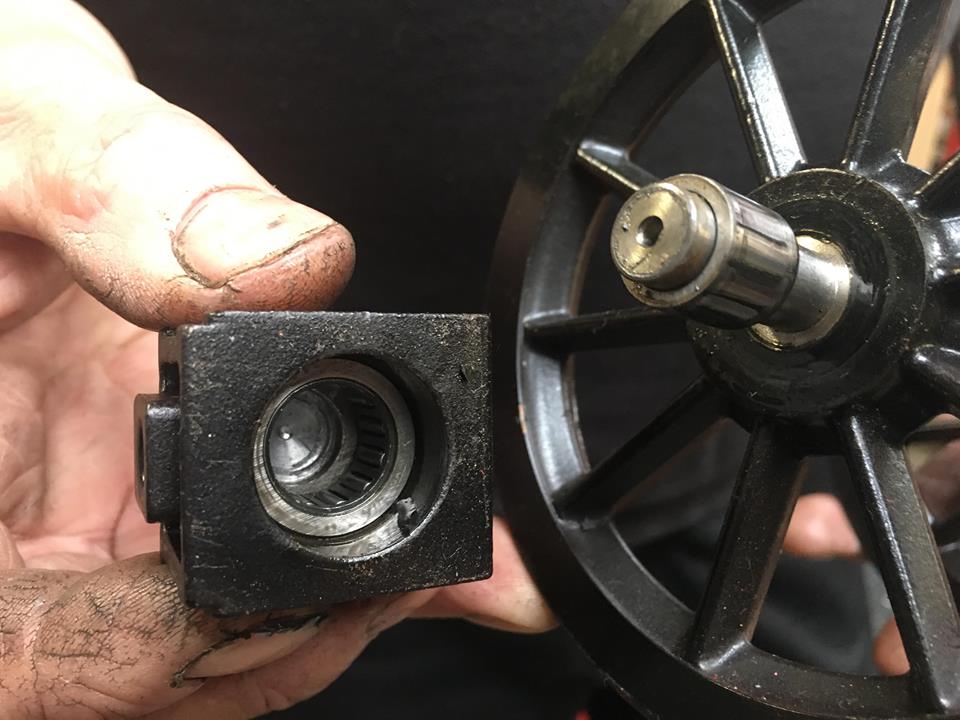
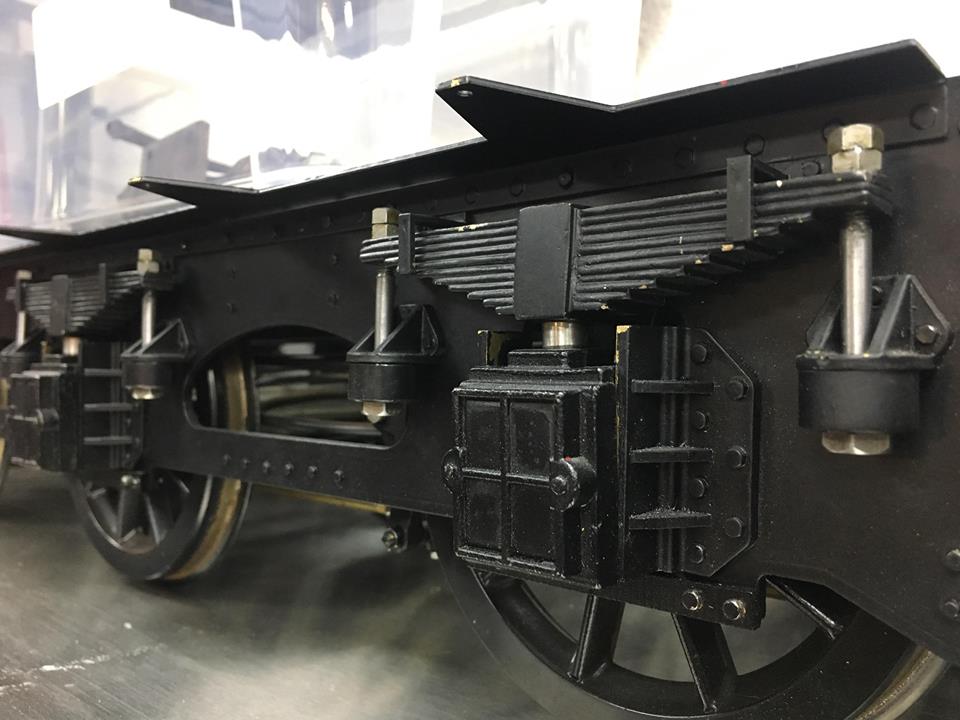
Starting from the beginning the horn guides on our model were quite sloppy on the axle boxes themselves. They all had about 1/16" slop on them, and the tiny bolts holding the horn guides to the frames were not tightened up, and in our view not man enough to grip the guides properly. As a result the 1/16" slop in the fit of each was further exacerbated by the loose horns. The horn guide faces as well weren't all the same size and shape, and they were shimmed as you can see below too.
Our solution was to take them all off, mill the faces square, weld on a new, fatter guide face, rivet them solidly onto the frames, and then square them all up to an accurate fit on the milling machine. That's what you see here.

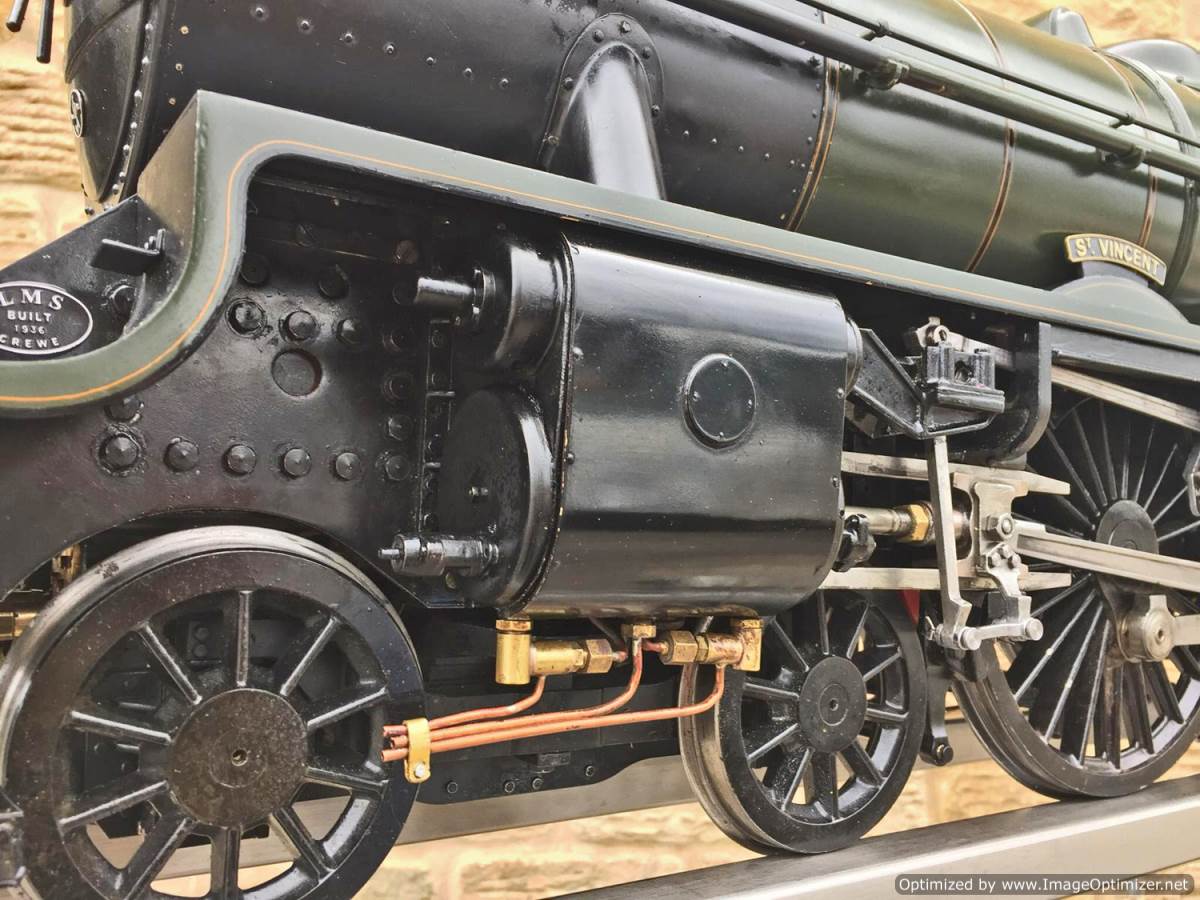
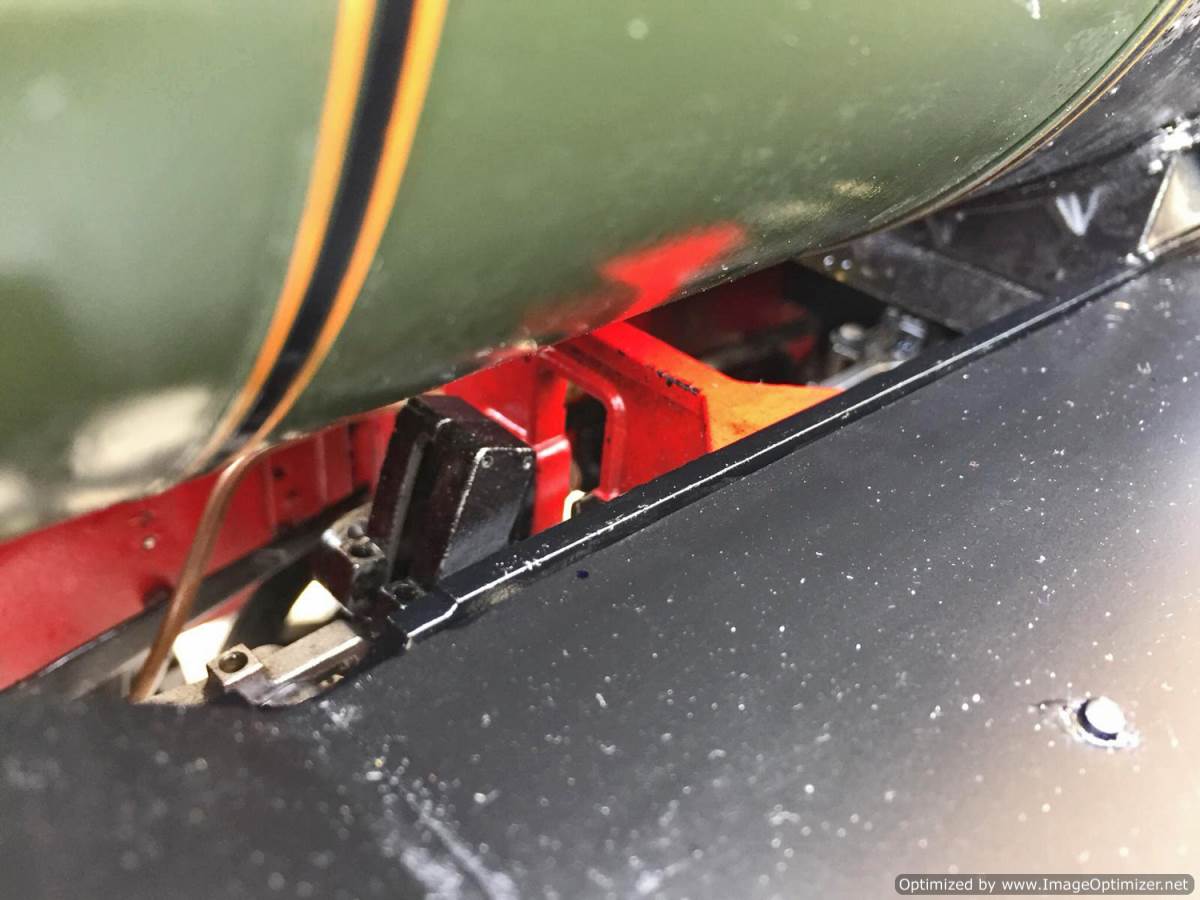
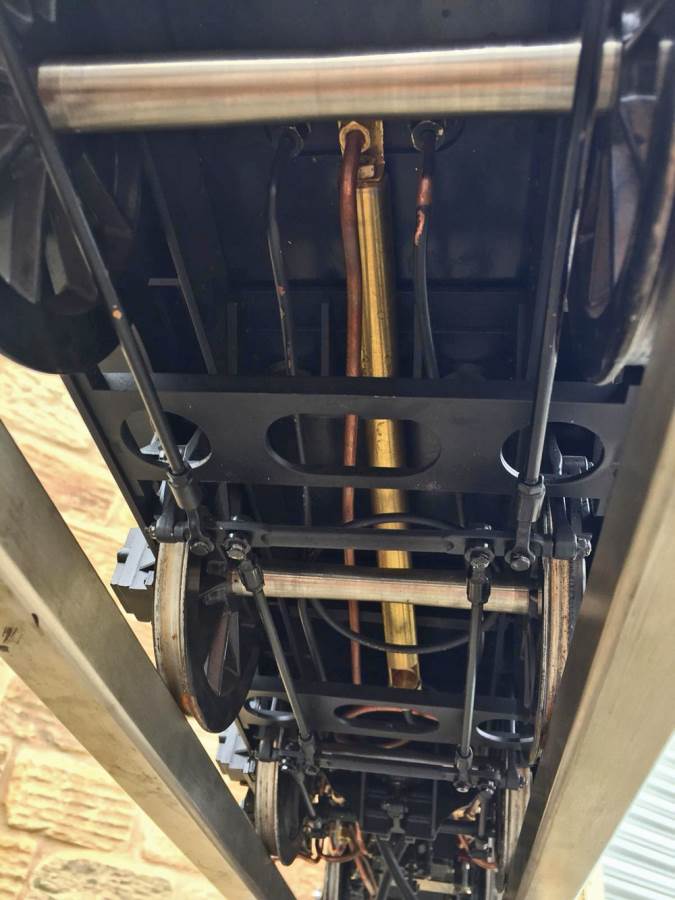
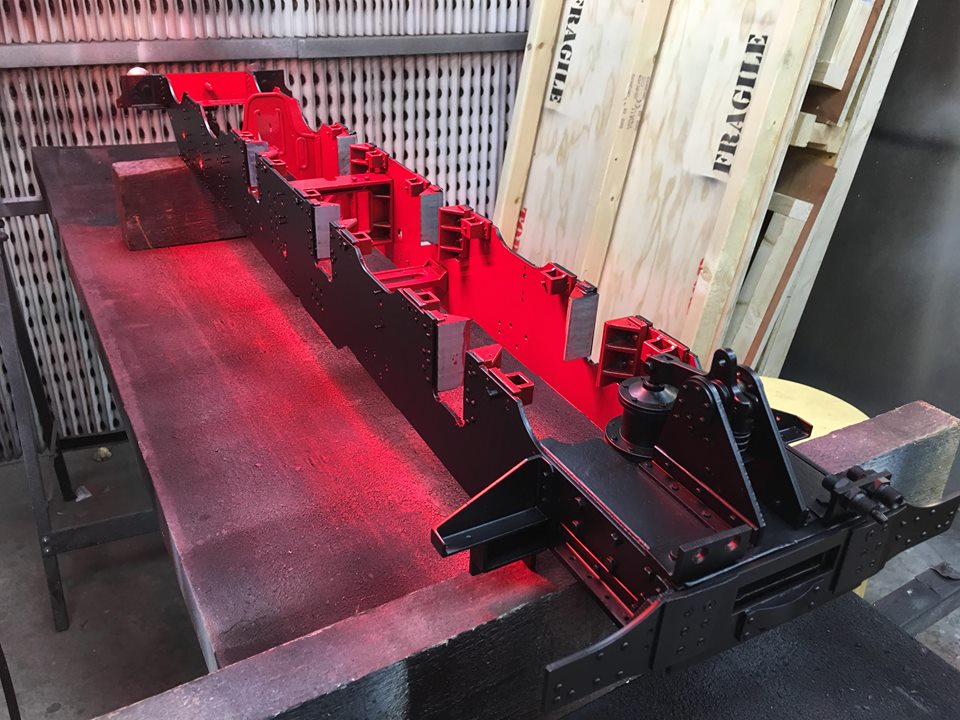
The frames then basically prepped could go to the spray booth to be prepped and painted. You'll notice we've taken the opportunity to finish the inside of the frames in prototypical red paint, and we have gone for a mat black finish to the outside of the frames as we think it looks smarter, and more like the real thing when contrasted with the semi-gloss black of the wheels.
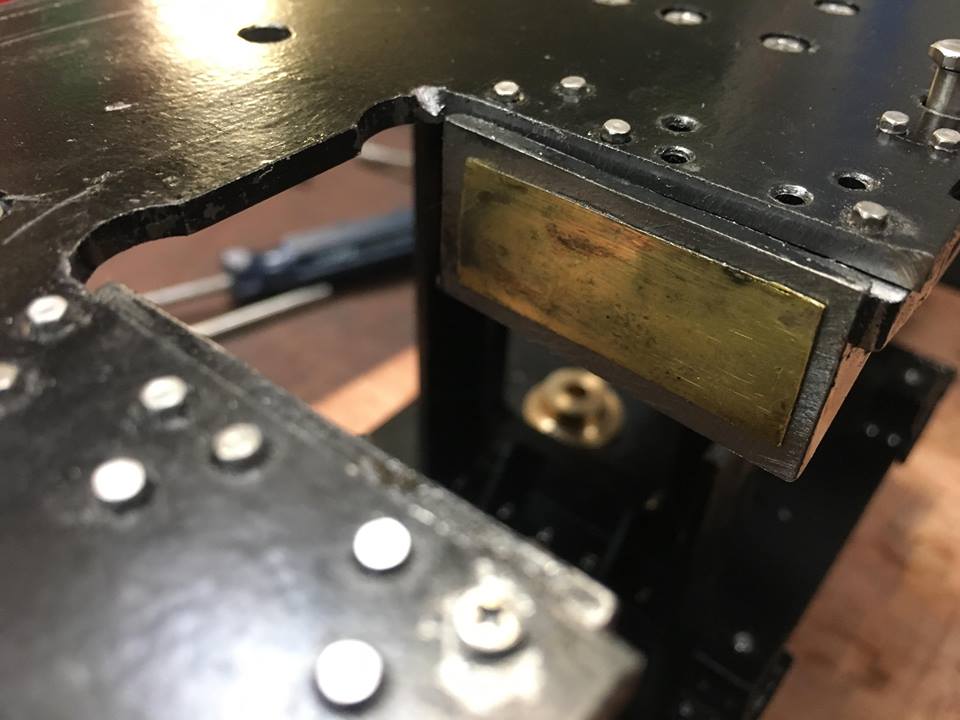
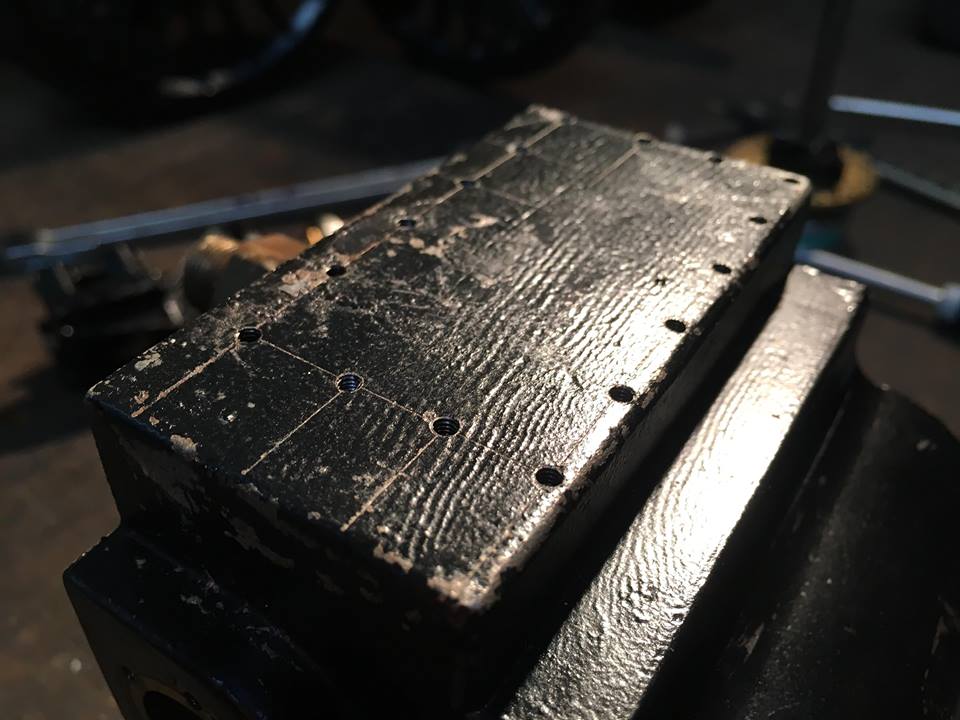
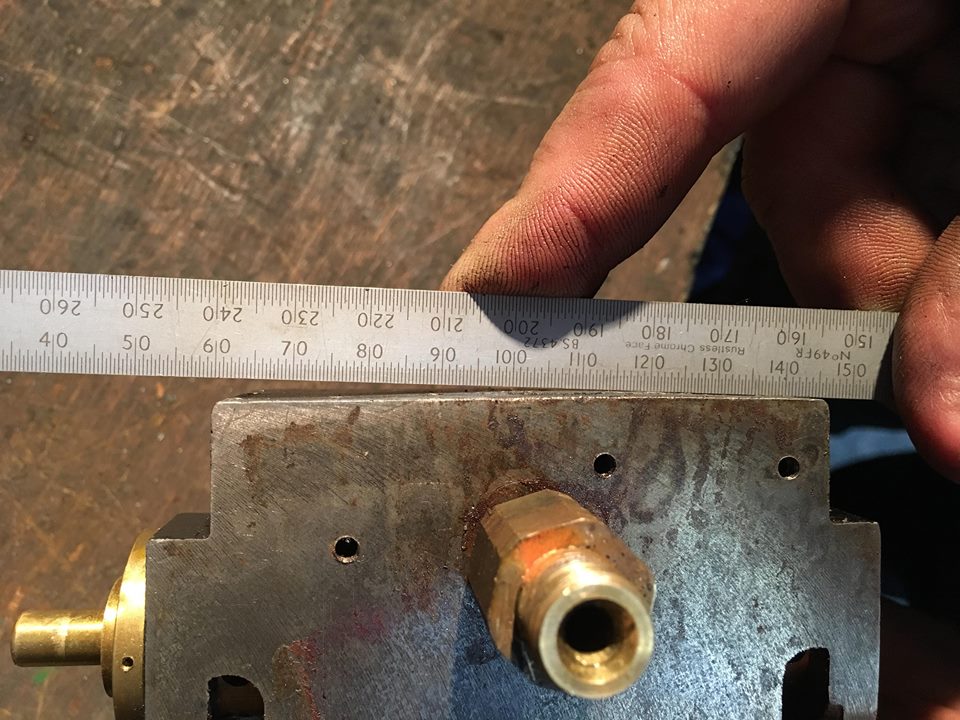
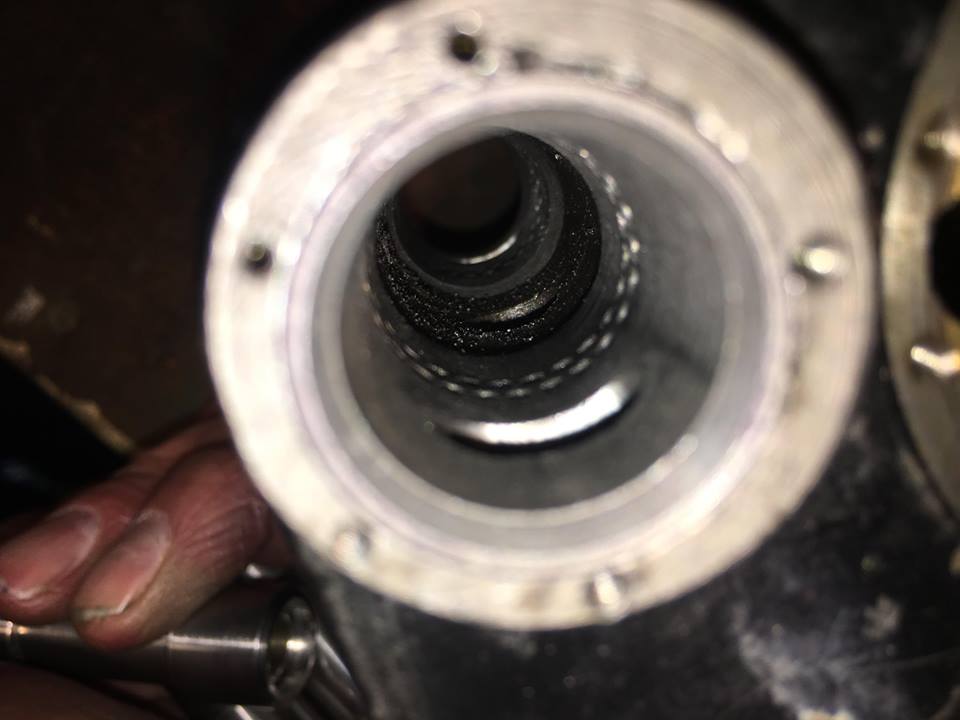
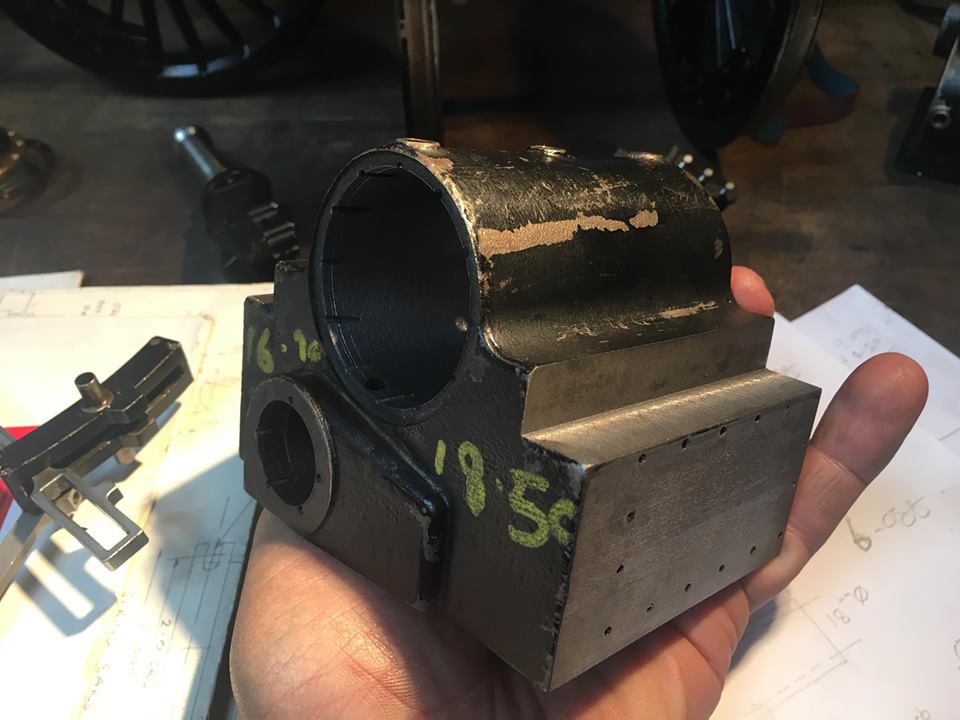
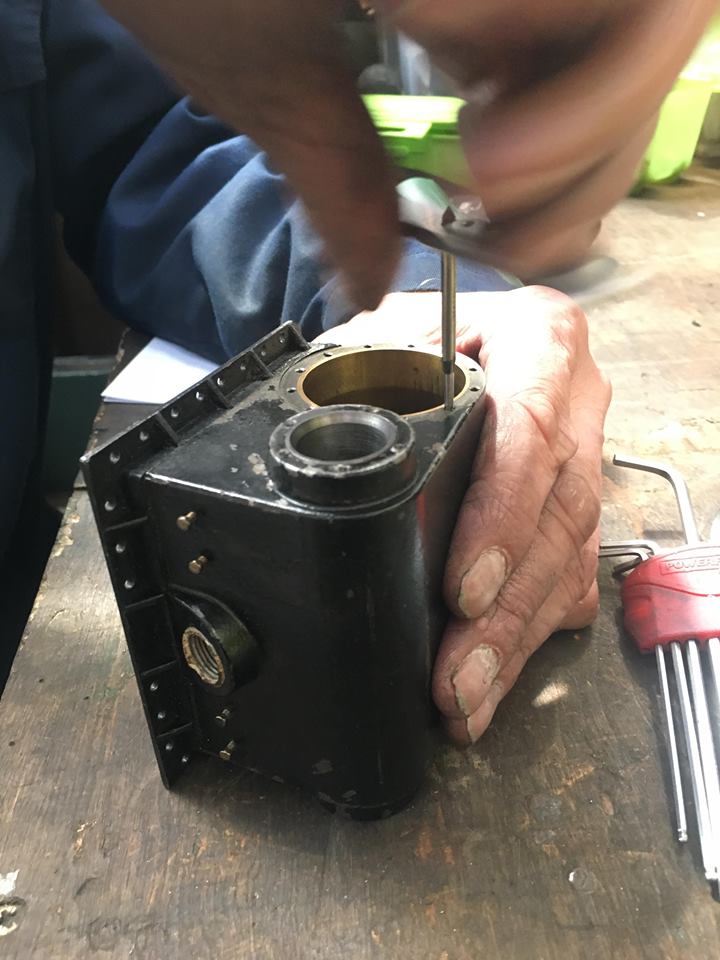
Moving on now to the cylinders. We suspected that there would be some issues to resolve here in order to make the model a strong passenger hauler. The story here is much the same as we found on the frames and horns. The castings to start with are very good. Neatly cast and well designed. The faces that bolt snugly against the frames on the inside cylinder were just raw cast though and unmachined, which on our model left a bulged surface that was around an 1/8th of an inch over width for the frames. It was therefore twisting the frames a little and would have caused problems down the line had we left it as it was. We dropped the block into the mill and faced off the casting to the correct width and it now slides beautifully into the frames as it should.

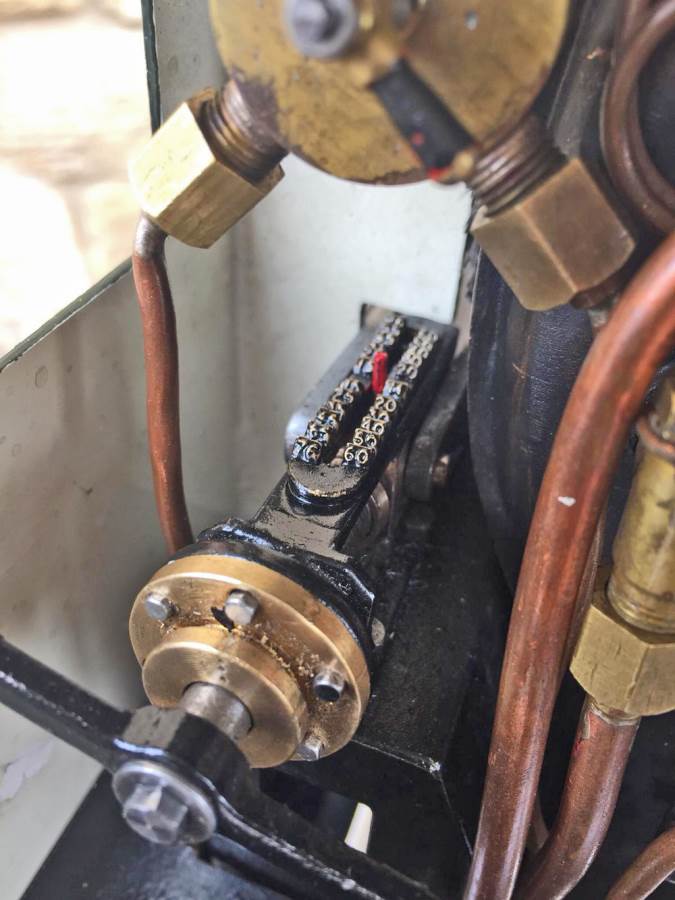
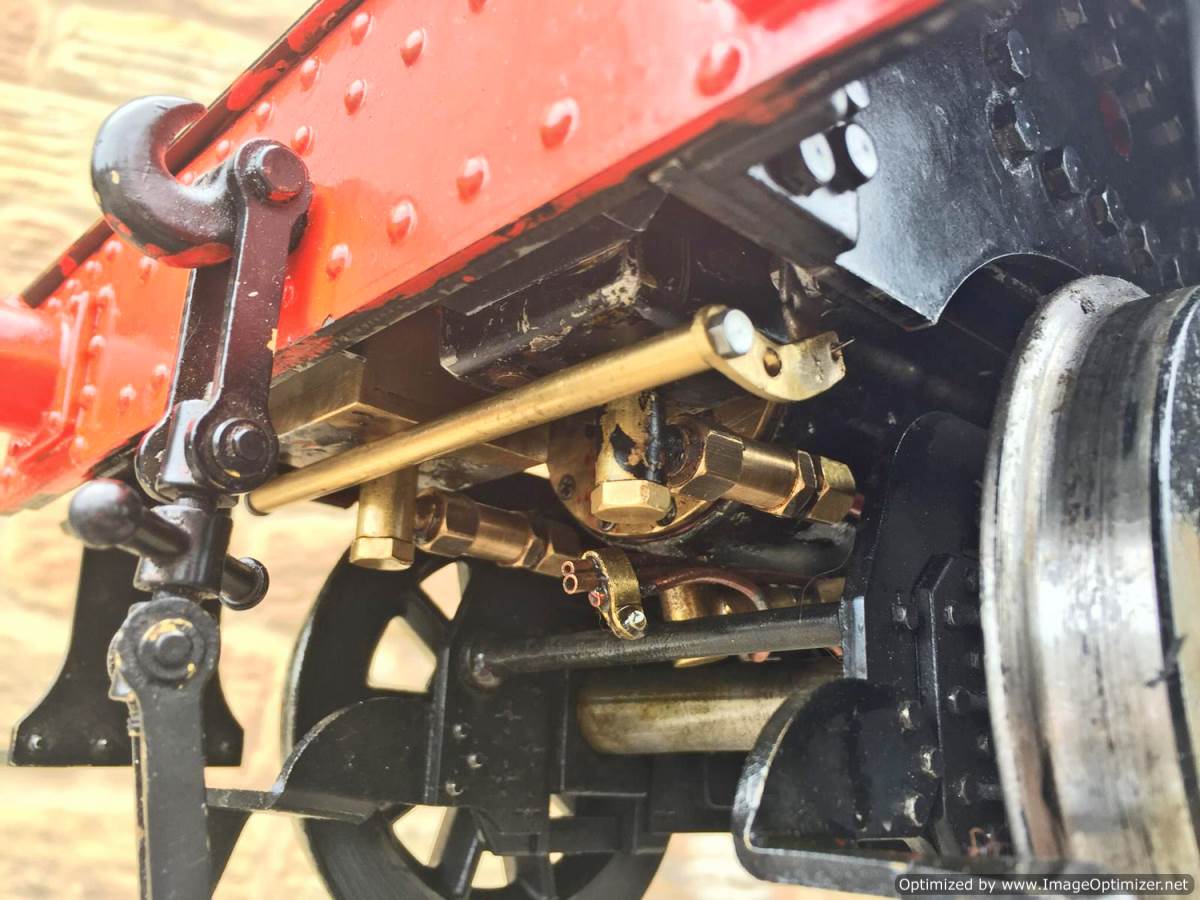
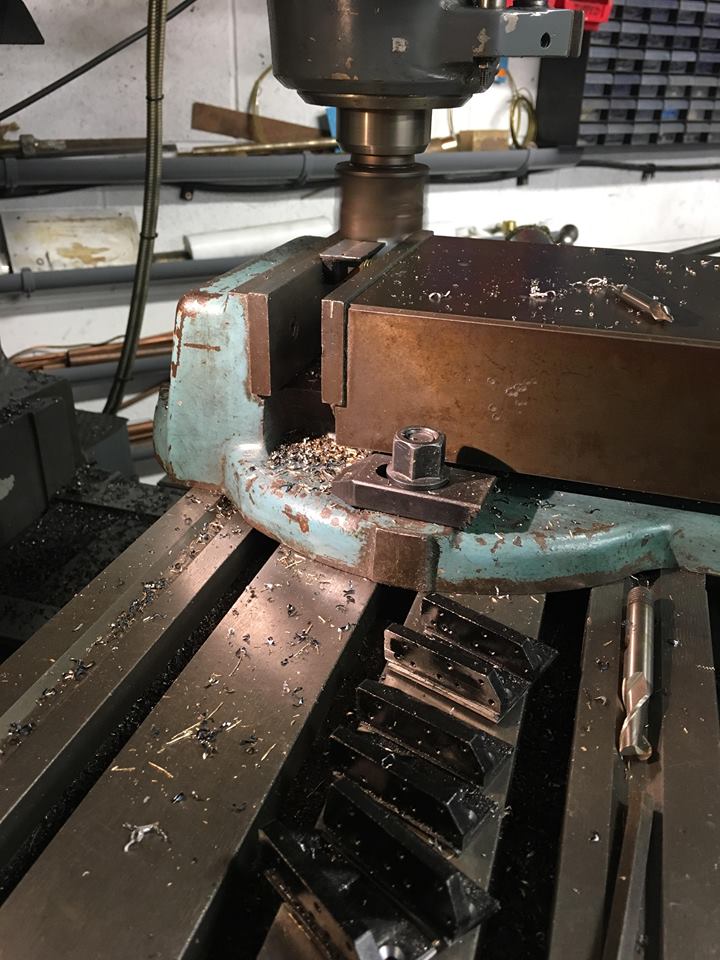
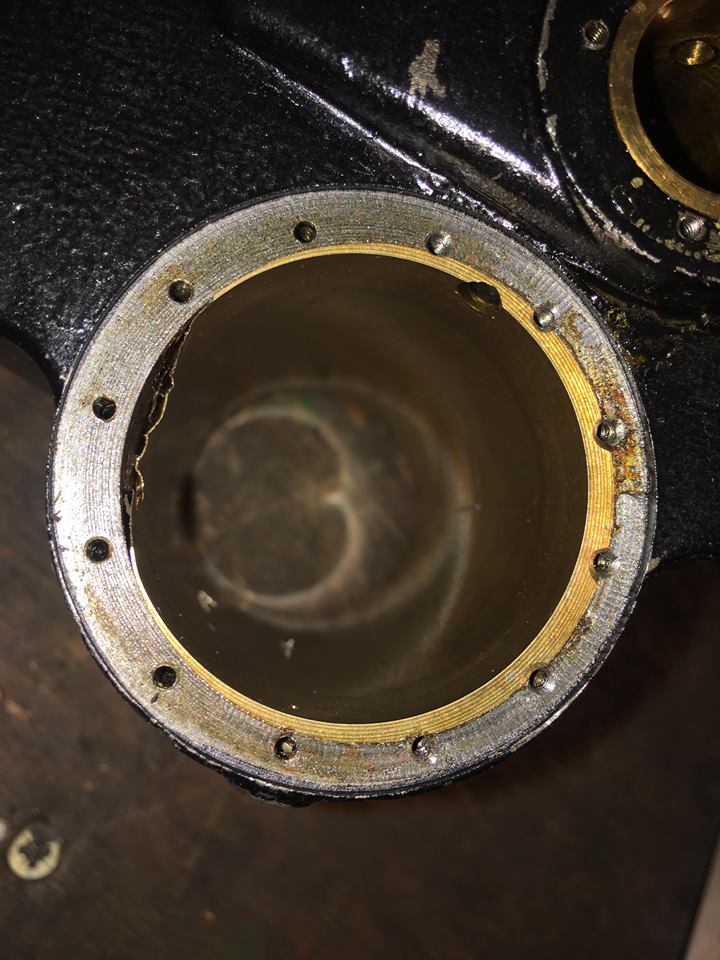
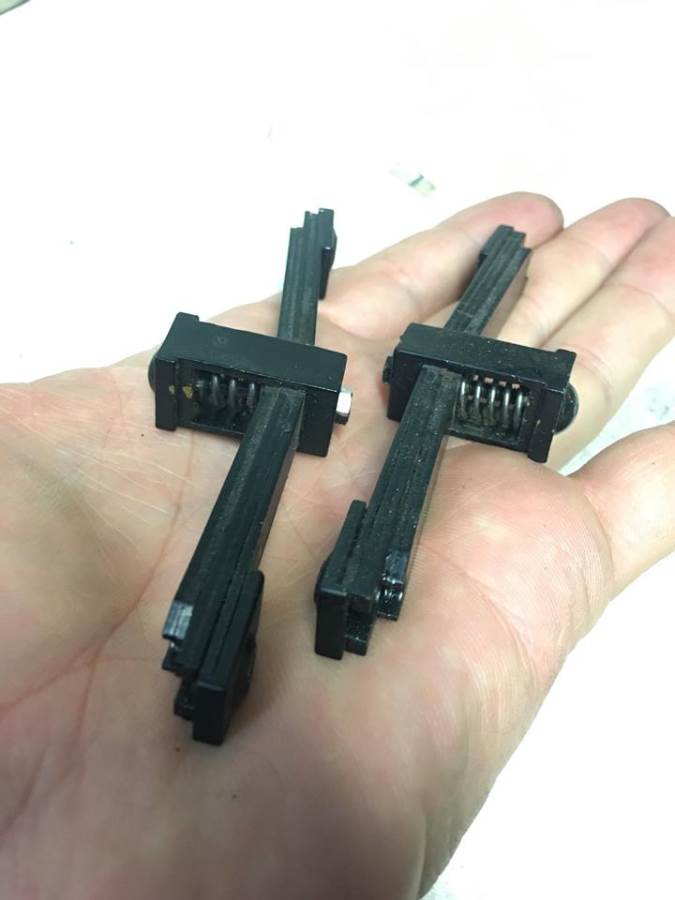
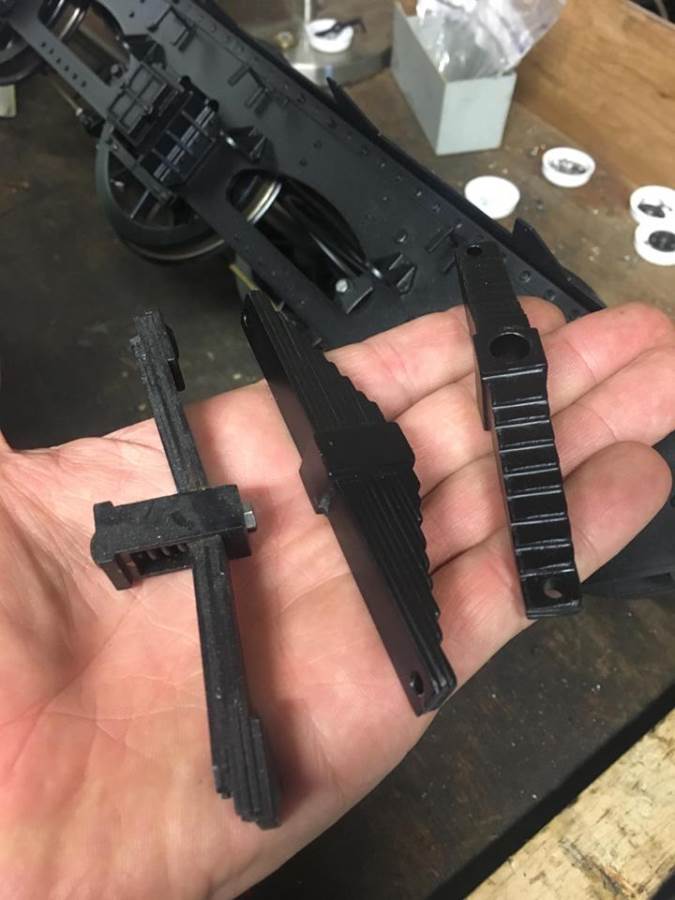
We'd heard reports from a couple of owners of production run Jubes, saying that they were a little short on power for a loco of that size, so we planned from day one to have the cylinders off and see what's inside. The huge cast in exhaust passage ways were more than up to the job,.... but then ours has bronze valve liners pressed in with the most minute steam ports that we've ever seen! We've made new liners (cast iron) that increase the cross sectional area of the port holes from a total of 12 square millimeters per end up to 200 square mil per end! The pics show the original bronze liner as compared to our new cast iron one fitted, and also the cylinder block with the liners pressed out so that you can see the cast in steam passageways behind.
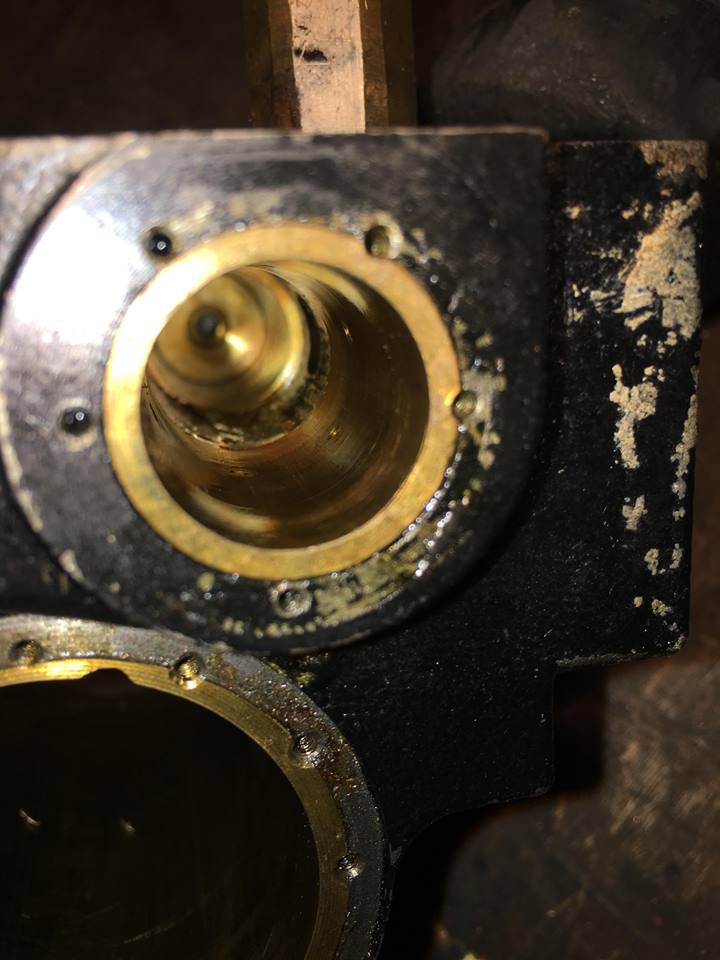
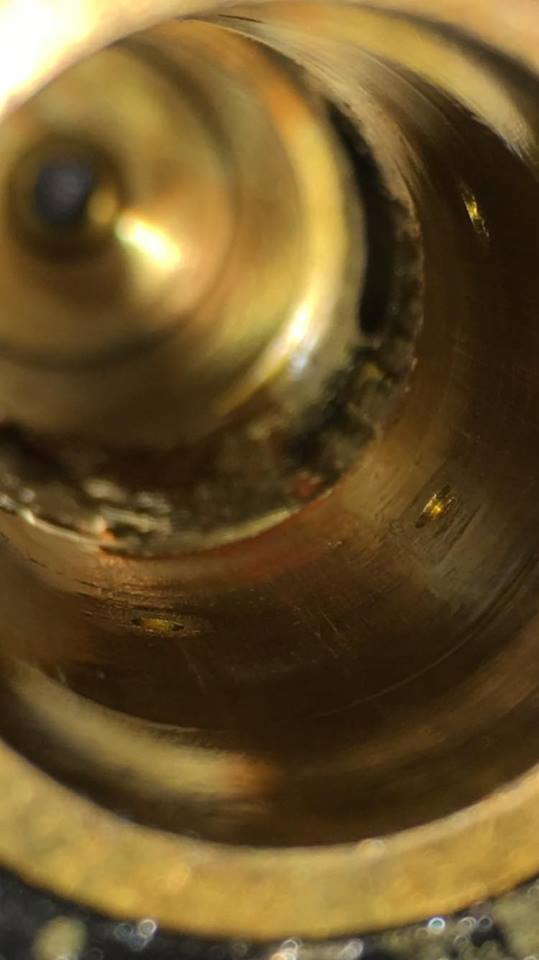

The center cylinder bore it's self on our model, (being the pre-production prototype we suspect) was weirdly bored so far off center that it broke clean through the liner, and although the drain cock holes go through the casting, they didn't go through the liner! Again, mistakes on this model that we doubt very much doubt made it through to the production batch, but noteworthy as it's forced the opportunity to get right inside the model. We've obviously made a new liner and milled everything up nice and square before it goes back together.
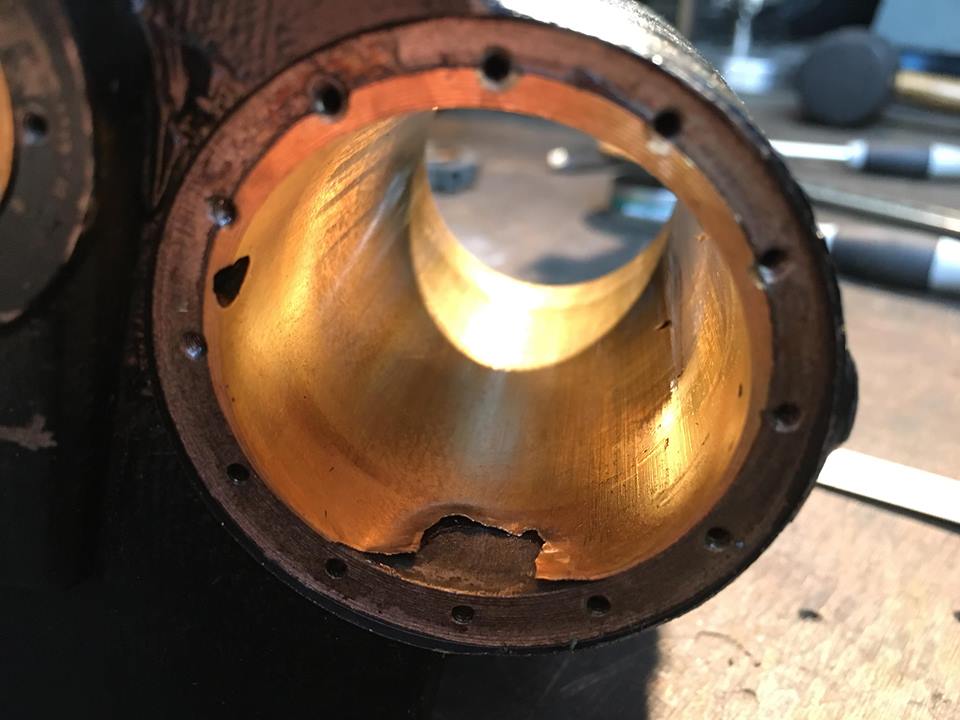
The outside cylinder liners and bores were problem free. We've retained them and haven't had them out of the castings.
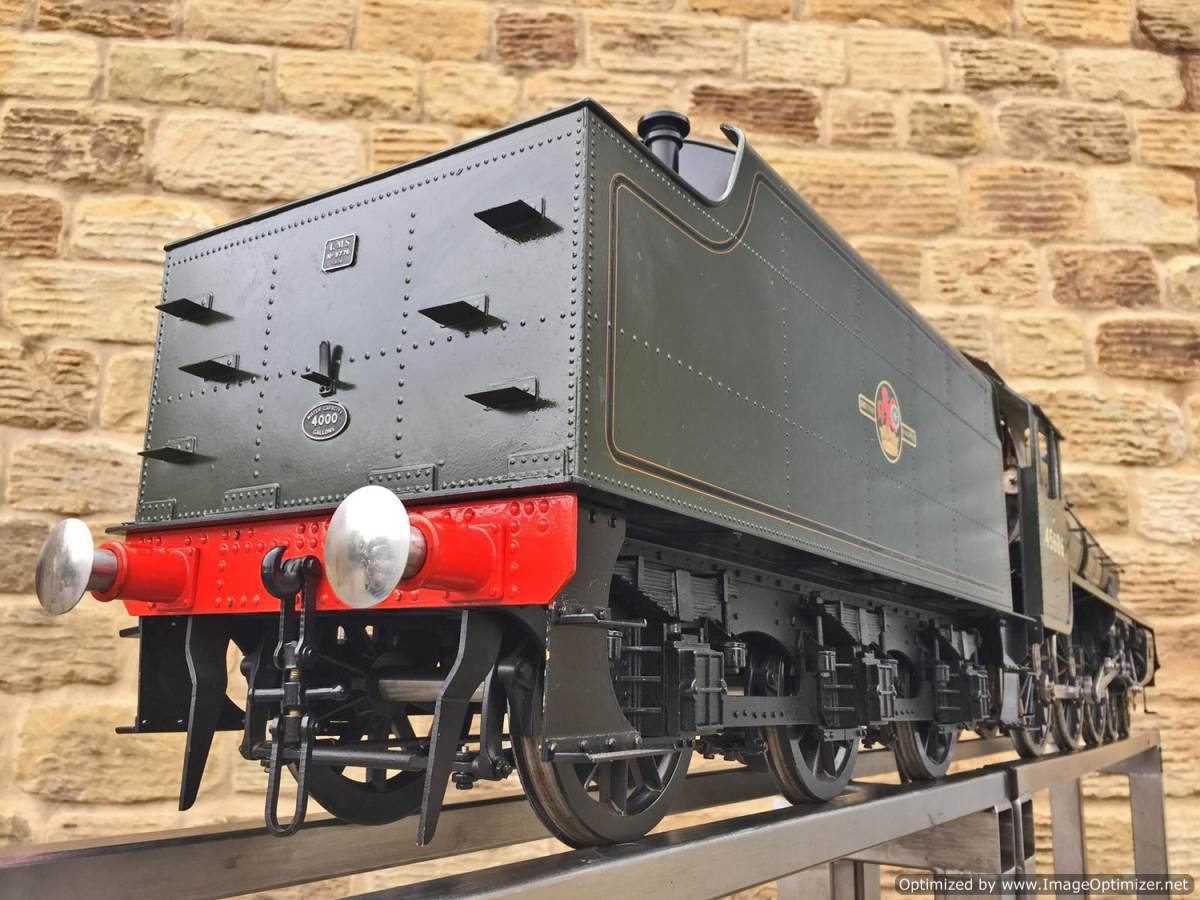
Moving briefly to the tender,..... there's very little that we would change here at all! Broadly speaking it's actually much better than 90% of the model engineer built tenders that you're likely to find. The wheels are extremely nicely cast, as are the frame stretchers. The axles are crisply machined, wasted in the center as per the full size and all on snug fitting needle roller bearings. The axle boxes are well detailed and fit the horns nicely and the fully adjustable and compensated brake gear is exceptionally nice, using lost wax castings for all the forks and adjusters.
The only exception is the rather flimsy and frankly terrible looking bent leaf springs. We aren't sure what's happened here, because the publicity photos of our engine that Kingscale used show a more complete spring than we ended up with, so we are assuming that the top two leaves are metal and designed to take the spring loading, and the missing leaves were probably plastic or Tufnol that have cracked or been lost somehow. Rather than try to modify or repair them, we decided they were a bit of a lost cause, so we machined up some new silhouette castings to take a captive spring on a plunger that bears down on the top of the axle box. Much better,..... we hope you'll agree!
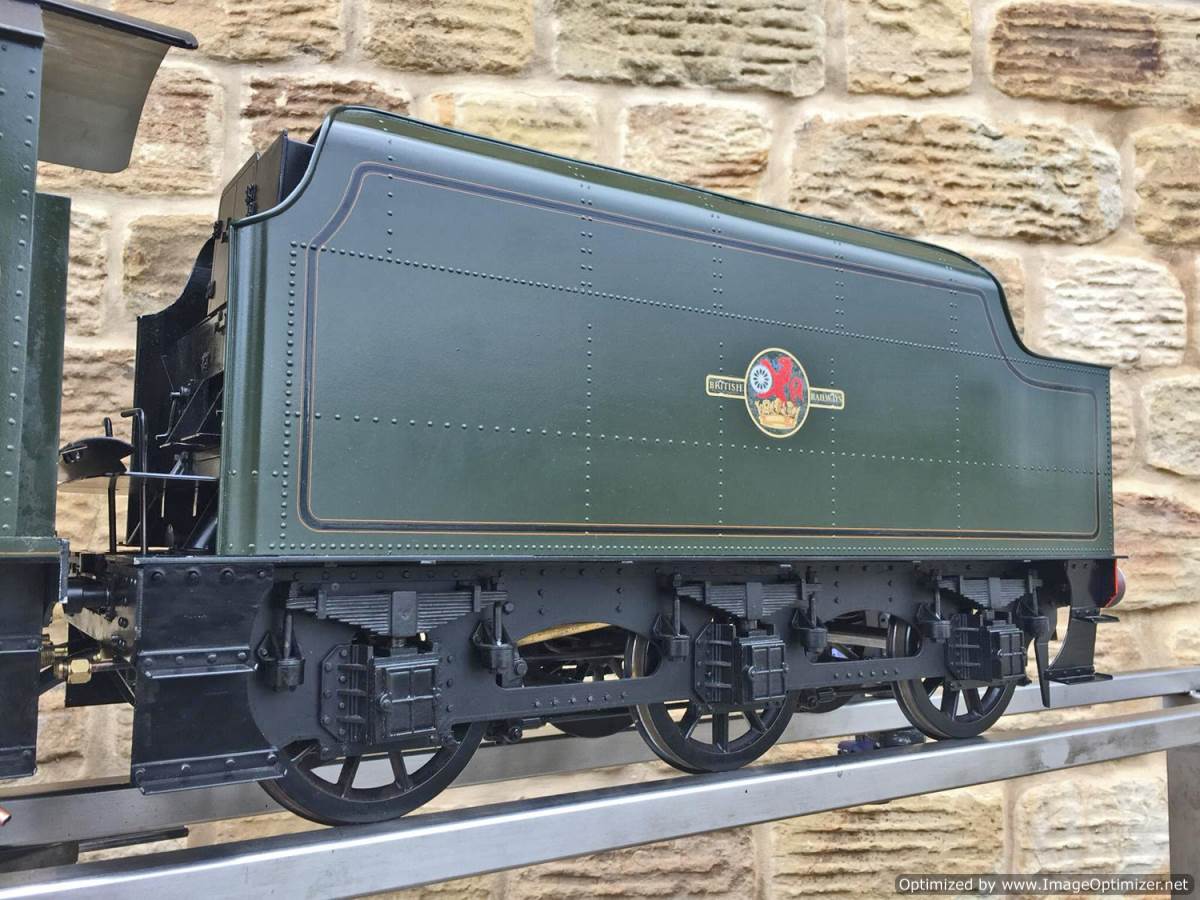
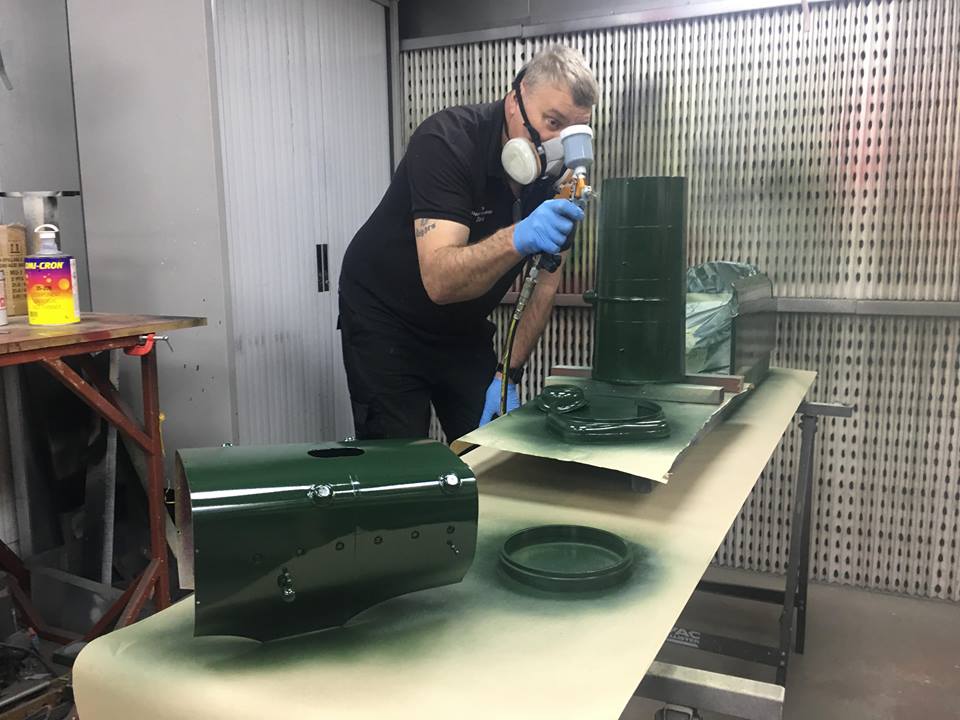
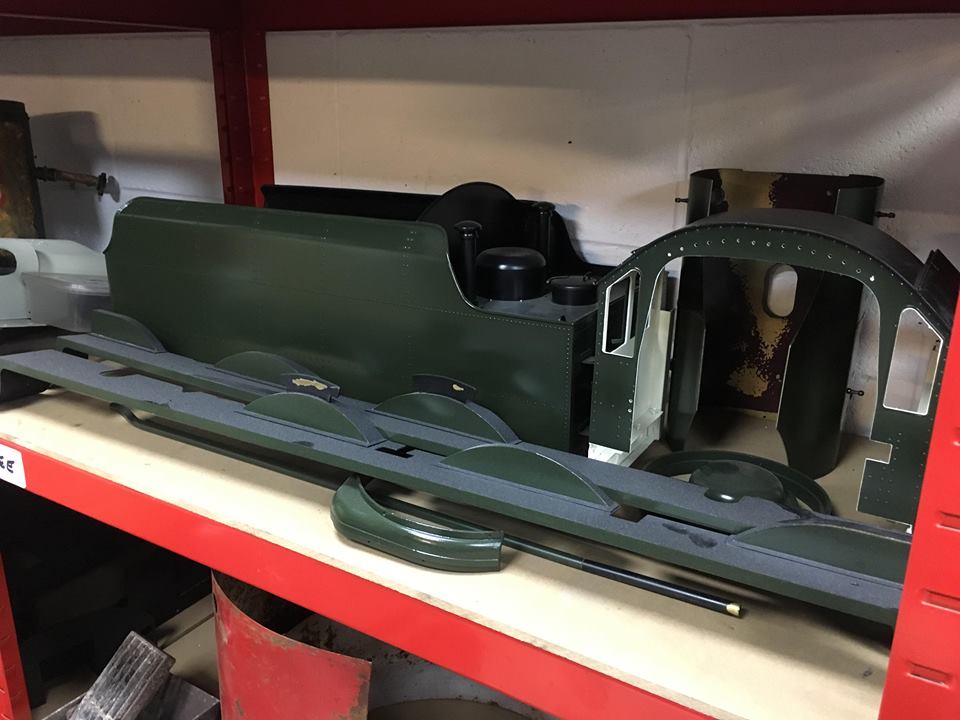
Beyond the new springs and spring hanger bolts, all we have done to the tender is strip it down to enable a nice re-paint. It didn't need it at all, this is purely because the customer want's a green one, and we prefer to finish frames in a satin black rather than a gloss paint. We just think that it adds a bit more detail and makes a model look a little more authentic. No engines were running about with shiny black frames in full size!!
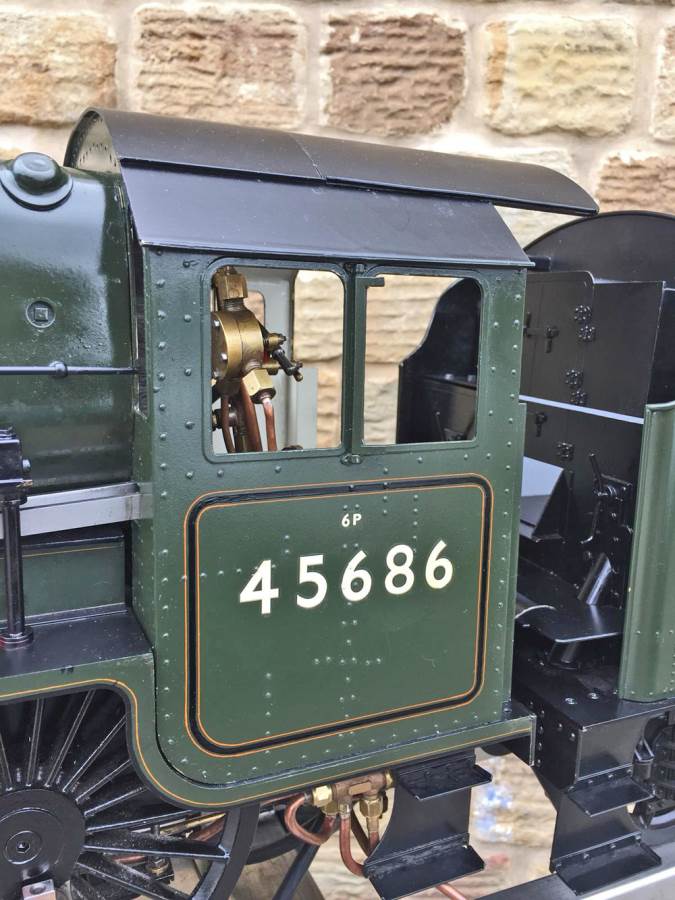
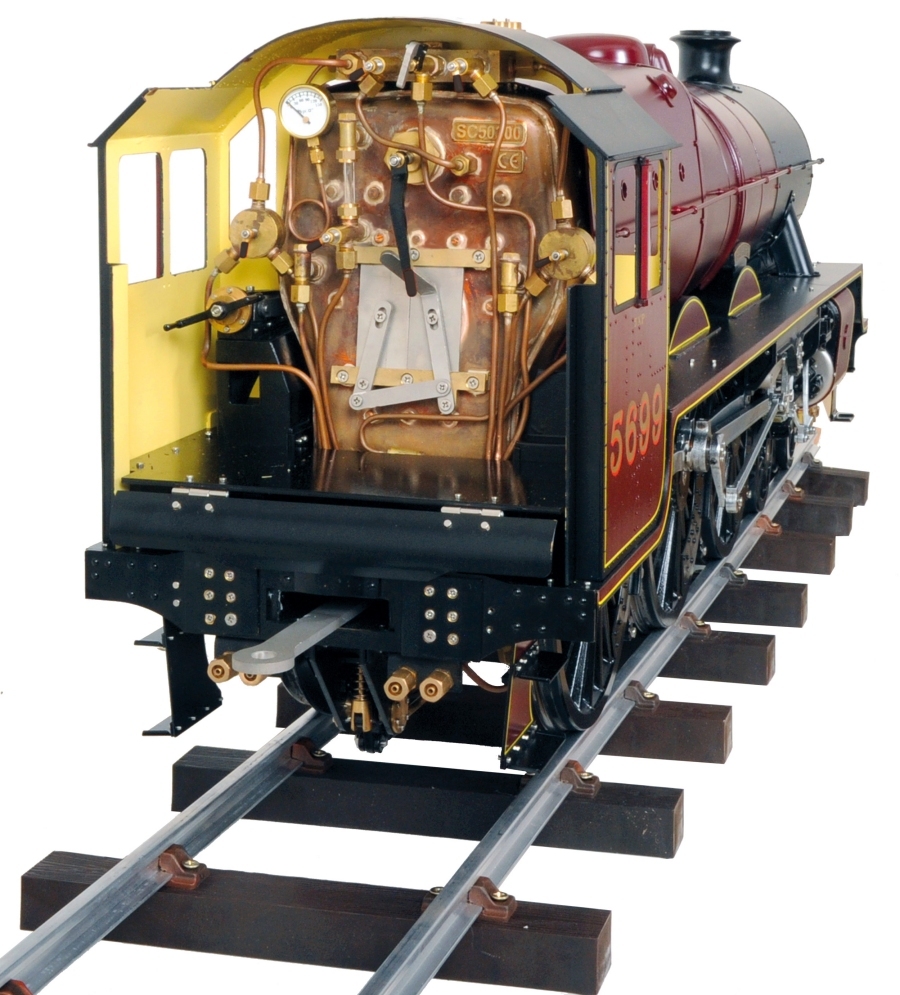
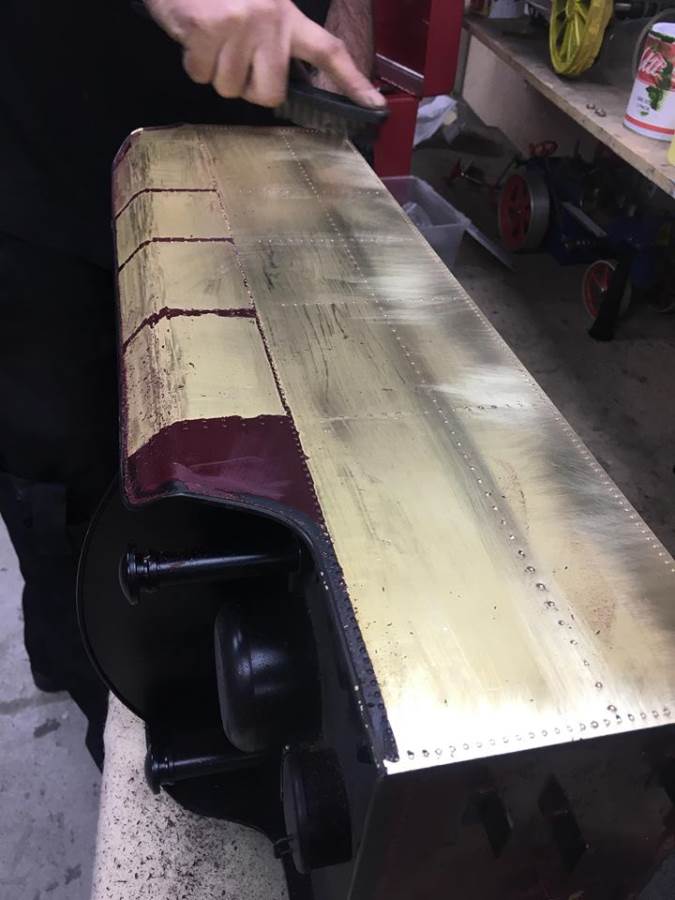
The body work and cladding was also extremely good. It's all brass, neatly made and off solid construction. There was very little for us to add. The washout plugs are all in the right places and of the correct design and size. The cab rivet detailing is superb, and good attention has been paid to the full size locos. All in all, we will add a couple of extra bits once it's all back together,.... but unusually for a rebuild, there's been no modification to the basic bodywork in order to improve it's accuracy or quality. It's all very impressive!
The End!